John Lewis ARIETTA User manual

Technical specifi cations Model: Arietta
Type: Digital Radio with FM and Bluetooth
Power supply (adaptor input): 100-240V 50/60h2
Adaptor output: 9V 1.5A DC
Radio input: 9V 1,5A DC
Speaker output: 5W RIYS, 7W (Peak)
Frequency response: B0Hz lBklz
Res stance: Speaker impedance 4C)
ARIETTA DAB / FM RADIO
INSTRUCTION MANUAL
Servicing and disposal This product should only be repaired or serviced by an authorised
service engineer and only genuine approved spare parts should be used.
\,:/
\J
This symbol A rndicates that this product should not be treated
as normal household waste and it should be recycled, John Lewis &
partners do not operate nstore take back, but as members ofthe
Distributor Take Back scheme have funded the development and upgrade
of recycling facilities across the UK, P ease take it to your nearest
collection facility or for further details contact your local counc I
or visit wwwrecycle-more.co.uk,
Guarantee For 2 years in respect of defects found to be due to fbulty workmanship
or material. Proof of purchase is required for validity of the guarantee,
This guarantee is no longervalid ifthe damage has been caused by
accidenta damage, alteration, repair by any unauthor sed persons or
poor ma ntenance, Th s guarantee in no way affects your statutory rights,
Reta n these instructions for future reference.
UK \g
cR /ai,
John Lewis Pc, SWlE 5NN.
johnlewis.com
JOH N
LEWIS
& PARTNERS
it /'.
ll
I\$,-
fl
\\
)0
,l

Contents 3 lmportant safety information
5 Your Arietta DAB / FM radio
7 Connectors
B 5 Steps guide to getting started
9 Audio modes
9 To do a full scan
9 DAB mode
17 FM mode
14 Bluetooth mode
14 Aux-ln mode
14 Alarms
16 System settings
18 Error messages
19 Troubleshooting
20 Technical Specifrcations
70 Servicing and disposal
70 Guarantee
Important safety information
Thank you for purchasing this John Lewis & Partners
Arietta DAB / FM radio,
Hereby John Lewis & Partners declares that the radio
equipment type Arietta radio is in compliance with
Directive 70141531EU. The full text of the EU declaration
of conformity is available at the following internet
ad d ress: https ://www.j o h n I ewi s, co m/co nte nt/
decl arati o n-of-co nfo rm ity
Please read the instructions and warnings carefully
before use, to ensure safe and satisfactory operation
of this product.
It is most important this instruction leaflet be retained
with the product for future reference. These warnings
have been provided in the interest of safety, You
MUST read them carefully before using the appliance,
lf you are unsure of the meanings of these warnings
contact the John Lewis & Partners store from which
you purchased the appliance,
This appliance can be used by children aged from
B years and above and persons with reduced
physical sensory or mental capabilities or lack of
experience and knowledge if they have been
73

t
given supervision or instruction concerning use
of the appliance in a safe way and understand the
hazards involved, Children shall not play with the
appliance.
To protect against flre, electric shock and injury to
persons DC NCT IMMERSE CORD, plug or base
unit in water or other liquids. Unplug from the
mains when not in use, before putting on or
taking off parts and before cleaning.
Do not operate any appliance with a damaged
cord or plug, or after the appliance malfunctions
or has been damaged in any manner Return the
appliance to the nearest John Lewis store,
Do not let power cord hang over edge of table or
counte[ or touch hot surfaces.
ln the event of a fault, contact your nearest john
Lewis store. No repair should be attempted by
the consumer
Do not use the appliance for anything other than
intended use, For household use only, do not use
outdoors.
Save these instructions for future reference,
WARNING: Polythene bags over the product or
packaging may be dangerous. To avoid danger of
suffocation, keep away from babies and children.
4

I
Your Arietta DAB / FM radio 1 Source button - Press once to enter AUDIO SOURCE IYENU
2 Presets
3 lnfo
4 Previous track / Tune - button
5 Play / Pause button
5 Multi-function 'Navigation'dial and 'Select' button
a) Press once to turn ON
b) Long press to turn OFF
c) When audio is playing, rotate to change volume
d) When audio is playing, press once to mute audio
e) When in a menu, rotate to navigate, press once to select option
f) When alarm is sounding, press once to SNOOZE
7 lYenu / Back
B Next track / Tune + button
Connectors As shown below Arietta has the following connectors
1 DC power in (9V)
2 USB for software update (service centre use only)
3 Headphones out
4 Aux ln (to connect external media)
Source
MAIV
o
eN
- Volums 1
JOHN LEWIS
@
eG€ n
---------- 3
4
)
2
---------6
------------------ 7
--B
3 ---------"---"---------
4 ---------""----
5
67
0
@
@@

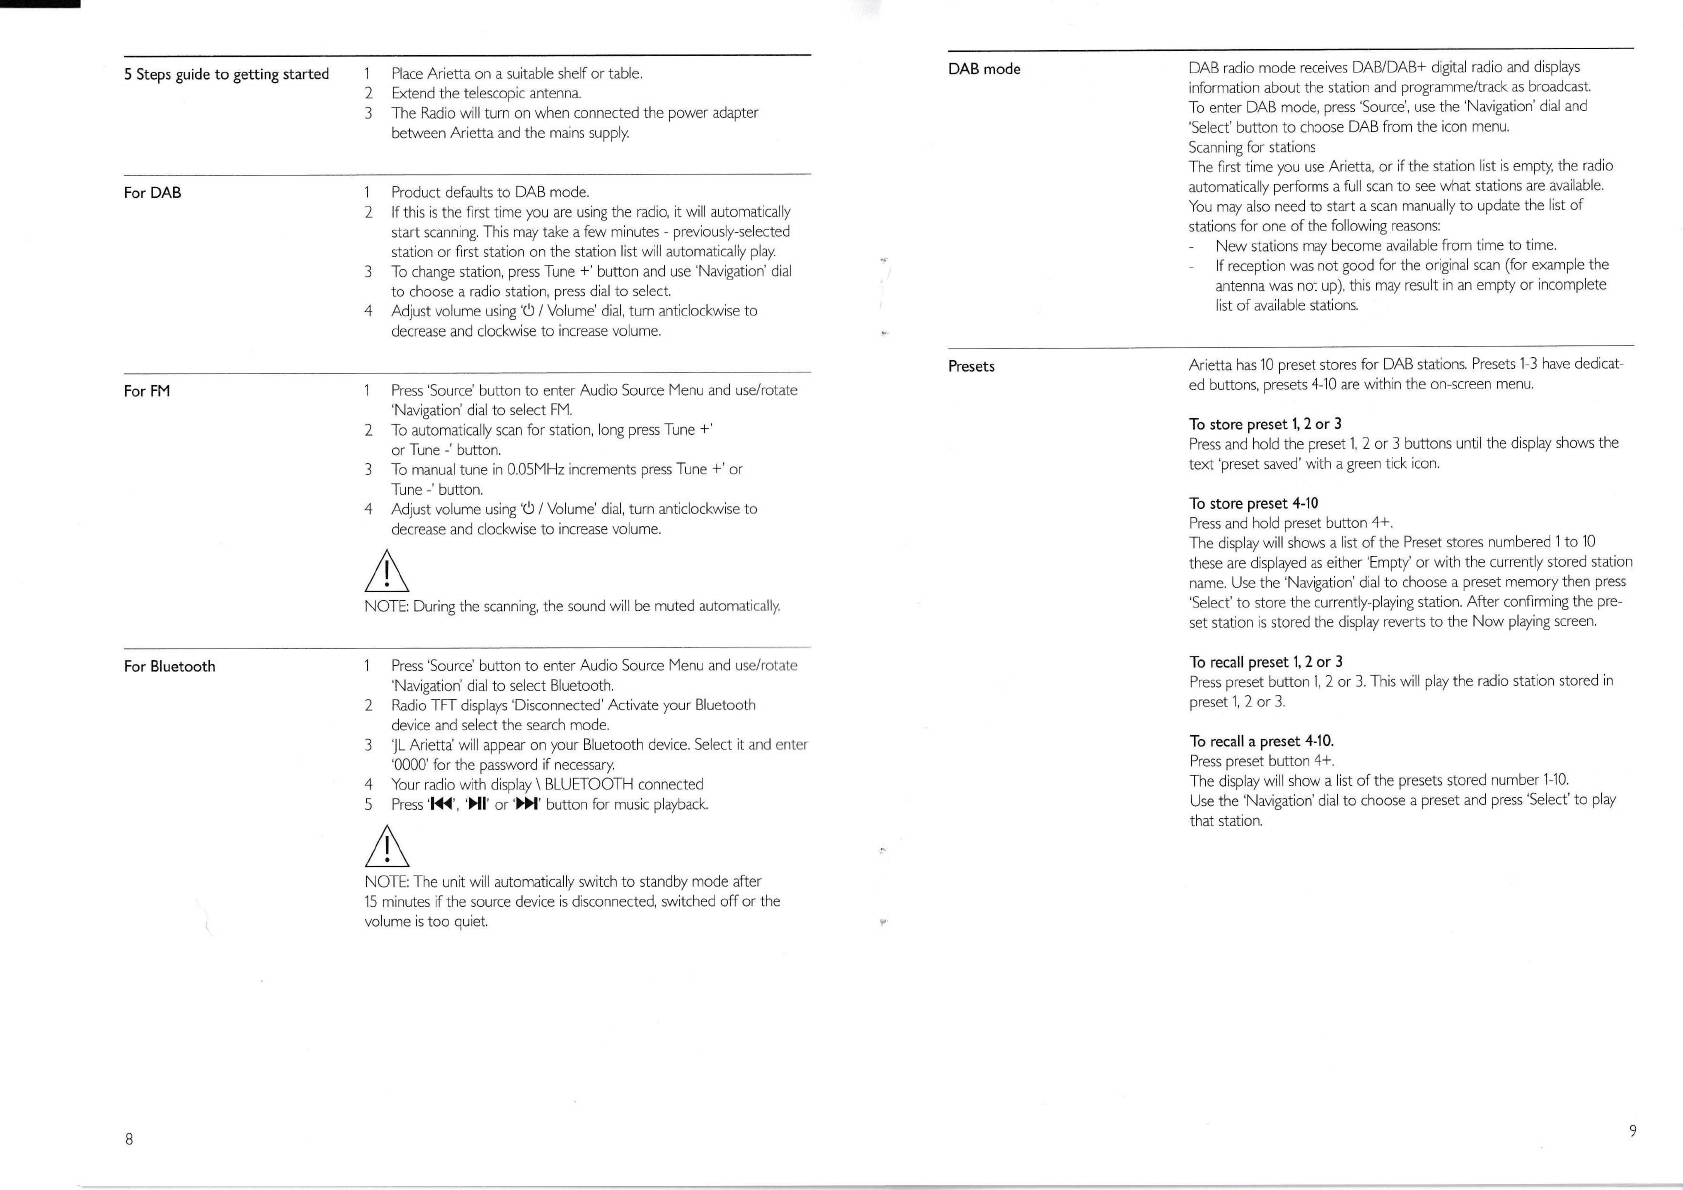
5 Steps guide to getting started 1 Place Arietta on a suitable shelf or table,
2 Extend the telescopic antenna.
3 The Radio will turn on when connected the power adapter
between Arietta and the mains supply.
DAB mode DAB radio mode receives DAB/DAB+ digital radio and displays
information about the station and programme/track as broadcast.
To enter DAB mode, press 'Source', use the 'Navigation' dial and
'Select' button to choose DAB from the icon menu,
Scanning for stations
The flrst time you use Arietta, or if the station rst is empty, the radio
autornatica y performs a ful scan to see what stations are available.
You may also need to start a scan manually to update the I st of
stations for one of the following reasons:
- New stations may become available from time to time,
lf reception was not good for the original scan (for example the
antenna was not up), th s may result in an empty or incomplete
ist of available stations.
For DAB 1 Product defaults to DAB mode.
2 lf this is the flrst time you are using the radio, it will automatically
start scanning. This may take a few minutes - previousLy-selected
station or flrst station on the station list wlll automaticaliy play
3 To change station, press Tune +' button and use'Navigation' dial
to choose a radio station, press dial to select,
4 Adjust volume using 'O / Volume' dial, turn anticlockwise to
decrease and clockwise to increase volume,
Presets Arietta has 10 preset stores for DAB stations. Presets 1 3 have ded cat
ed buttons, presets 4-10 are withln the on scTeen menu,
To store preset 1,2 or 3
Press and hold the preset 1, 2 or 3 buttons until the display shows the
text'preset saved'wth a green tick icon.
To store preset 4-10
Press and ho d preset button 4+.
The dlsplaywill shows a list of the Preset stores numbered'l to 10
these are displayed as either'Empty' or with the currenty stored station
name. Use the 'Navigation' dial to choose a preset memory then press
'Select' to store the currently-playing station. After conflrming the pre
set station is stored the display reverts to the Now playing screen,
To recall preset t,2 or 3
Press preset button 1, 2 or 3. This will play the radio station stored in
preset 1, 2 or 3.
To recall a preset 4J0.
Press preset button 4+.
The display will show a list of the presets stored number 1 10.
Use the'Navigation' dial to choose a preset and press'Select'to play
that station.
For FM 1 Press'Source' button to enter Audio Source lt4enu and use/rotate
'Navigation' dial to select FIY,
2 To automatically scan for station, long press Tune *'
or Tune . button.
3 To manual tune in 0,05f4H2 increments press Tune *' or
Tune -' button.
4 Adjust volume using 'O / Volume' dial, turn anticlockwise to
decrease and clockwise to increase vo ume,
NOTE: During the scann ng, the sound will be muted automalic;rlly.
For Bluetooth 1 Press'Source'button to enter Audio Source Menu and use/ro[alc
'Navigation' dial to select Bluetooth.
2 Radio TFT displays 'Disconnected'Activate your Bluetooth
device and select the search mode.
3 lL Arietta will appear on your Bluetooth device, Select it and enlcr
'0000' for the password if necessary
4 Your radio with display \ BLUETOOTH connected
5 Press'K< Xl or')X' button for music playback.
NOTE: The unit wi I automatically switch to standby mode after
15 minutes if the source device is disconnected, switched off or the
volume is too quiet.
Bo

-Now playing information While a staton is playing, the screen shows its name and DLS
(Dynamic Label Segment) information broadcast by the stat on such
as programme name, track title and contact details.
Press lnfo to cycle through
- Programme type
- Ensemble name
- Channel number / frequency
- Signal strength
- Power status (Mains)
- Date
NOTE: DL Plus presents additlonal information that can be broadcast
by stations and stored temporarily on your radio,
NOTE: The division in the signal strength bar indlcates the audio quality
threshoid if the signal strength, as indrcated by the so1 d rectangles,
falls below this threshold the audio quallty will deteriorate.
When a channel/frequency is selected Arietta also scans for any DAB
stations on the selected frequency and updates the station list with any
new stations found, To listen to any stations found, return to the Now
playing screen and select the requlred station from the station list as normal.
Prune invalid lf a statron is not available in your current location a '?' will appear
before the name of the station as shown ln the'station llsti
Prune invalid will remove these stations and on y leave ones that are
available at your current location.
Press Menu > Prune inva id > YES
Dynamic range compression (DRC) This function reduces the difference between the ioudest and quietest
audio being broadcast.
Effectively this makes quiet sounds comparatively louderi and loud
sounds comparatively quieter:
NOTE: DRC only works if it is enabled by the broadcaster fbr a
specific station.
To change the DRC setting
Select Menu > DRC > The options available are: DRC high I low I off,
System settings You can access system settings from all audio settings menus.
For more information see page 15,
DAB menu Station list
Full scan
lYanual tune
Prune invalid
DRC
System settings
)
I
)
I
Station list All available DAB stations will be listed here. Use the 'Navigation' dral
and'Select' button to choose a radio station.
NOTE: if there is a question mark before the name of the radio station
that means that statron is not available in your current location. See
Prune lnvalid on page 11.
Full scan Select l4enu > Full scan. Once a scan s complete, the radio returns to
playing the previously-selected station or flrst station on the station list,
To remove stations that are listed but unavailable
Select lYenu > Prune invalid.
Manual tune As well as the norma method of scanning, you can also manually tune
to a particu ar channel/frequenc;r This can be usefu for ad]usting your
antenna to ach eve the best poss ble reception.
To manually tune
Press lYenu > Ylanual tune, Then use the 'Navigation' dial and 'Select'
button to choose a particular channe /frequenc;r
The display shows a live indicatron of the received slgnal strength on
the selected frequency.
Adjustments to your antenna will be manifested in the received signal
strengh displayed,
ti10

FM mode FM radio mode receives analogue radio from the FM band and displays
RDS (Radio Data System) information about the station and show
(where broadcast).
To enter FM mode, press 'Source', use the 'Navigation' dlal and 'Select'
oulon to cnoose FM from Lhe iron menu.
Selecting stations The flrst time you select FM radio, Arietta is set to the lowest frequen-
cy in the FIY band. On subsequent selections the last used frequency /
station is displayed,
To scan for a station in FM mode
Press and hold 'Tune 1/'to automatically scan through the FM band
frequencies, showing the current frequency on the screen display, A
scan stops when a signal is found. The search will stop at each station
wlth a strong signa,
Alternatively, you can manually tune, by a single press of 'Tune +/ I
This will move up or down in 0.05 l"lHz ncrements.
Presets Arietta has 10 preset stores for FIY stations. Presets 1-3 have dedicated
buttons, presets 410 are within the on-screen menu.
To store preset 1,2 or 3
Press and hold the preset 1, 2 or 3 buttons until the display shows the
text'preset saved'with a green tlck con,
To store preset 410
Press and hold preset button 4+.
The displaywll shows a list of the Preset stores numbered'1 to 1O
these are displayed as either 'Empty' or with the currently stored statlon
name. Use the 'Navigation' dial to choose a Preset memory then press
'Select' to store the currently playing station. After confirming the pre
set station is stored the display reverts to the Now playing screen.
To recall preset 1,2 or 3
Press preset button 1, 2 or 3. This will playthe radio station stored in
preset 1, 2 or 3,
To recall a preset 4-10
Press preset button '++
The display will show a list of the presets stored number 1 '10.
Use the'Navigation' dial to choose a preset and press'Select'to play
that station.
Display information While FIY radio is playing, the screen shows its frequency or if RDS
information rs available, station name and any further 'Rad o Text'
informat on. lf no information rs available, just the frequency and
a No Rad o Text message is shown,
Press Info to cycie through inlo display options:
- RDS Radio text
- Programme type
- Frequency name
- l'4ono / stereo
- Date
FM menu Scan settings
- Strong stat ons ONLY
- All Stations
Audio settings
- Stereo a owed
- Forced mono
System settings see page 16
Scan settings By defaut, FM scans stop at only statlons with a strong signal.
To change scan selcings to stop at all stations
Press lYenu > Scan settings > All stations.
Audio settings By default, all stereo stations are reproduced in stereo. For weak
stations, this may result in poor quality audio. The audio quality can be
improved using mono.
-ro play weak stations in mono
Press lYenu > Audio sett ngs > Forced mono.
System settings You can access system settings from all audio settings menus.
For more information see page 16.
13
1)

-Parameters - Alarm - Off I On
- Frequency - Daily I Once IWeekends I Weekdays
- Wake up time Set alarm time
- Source - Buzzer I DAB I Fl4
- Duration - 15 I 30 I 45 I 60 | 90 I 120 minutes.
Voiume Set Alarm volume
NOTE: lf you choose'Once'for alarm frequency you are prompted to
enter the required date as the next parameter
lf DAB or FYI is chosen as the audio source you wil also be prompted
to select the Last played station or one of the preset stations (if set) as
the next paramete[
f the alarm is not cancelled during the set'Duration'time, Arietta
returns to standby after this time period has explred.
Thrs is the volume the alarm will burld up to. (lnitially the alarm
sounds at a low volume and gradually gets louder to the set volume).
Alarms are indicated by displaying the relevant Alarm 1 and/or Alarm 2
icons on the 'Home Screeni At the set time, the alarm will sound and
the icons in the display flashes.
Bluetooth mode Bluetooth mode a lows Ar etta to act as a wireless speaker playing
audio content from a connected Bluetooth device,
To enter Bluetooth mode, press 'Source', use the 'Navigatron' d al and
'Select'button to choose Bluetooth from the icon menu.
To connect a Bluetooth devlce, use your Biuetooth smart device to pair
and connecL w tn the Ariett.L.
Use the Press K< , 'Xl or')X' button for music playback.
Bluetooth Menu Arietta does not have Bluetooth menu settings; please check your
connected device for settings.
Aux-ln mode Aux-in mode plays audio from an external source such as an IYP3
player:
To enter AUX lN mode, press 'Source', use the 'Navigation' dia and
'Select' button to choose AUX-IN from the icon menu.
To connect to an
external audio source 1 Turn the volume low on both Arietta and, if adjustable, the audio
source device.
2 Connect the external audio souTce to the Aux-ln 3,5mm
stereo socket
3 Ad]ust the volume of Arietta (and, if necessary the audio source
device) as required,
Snooze sounding alarm To snooze sounding alarm press the'Navrgation'diai once to snooze
the alarm for 5 minutes, The radlo returns to standby for 5 m nutes
with a snooze countdown displayed. When the countdown reaches O
(,,e-o) Lhe 4121p i5 1..ggered again.
To cancel a sounding alarm and switch the radio to standby
Press Standby or Alarm,
Alarms Arietta has 2 alarms wh ch can be set independently of each other.
lcons on the 'home screen'wl indicate which alarms are active.
lf there are no icons, no alarms are active.
NOTE: Alarms wl only function when the Arietta unt s On
(Ylains power only) or rn Standby mode (lYans power only).
NOTE: Aarms can be switched on or off n standby mode (see below),
howevel the alarm parameters can only be set when the Arietta is on.
Sleep To set the sleep timer while the radio is playing press
Menu/Back > System settings > Sleep
You can choose the sleep delay time in minutes from:
Sleep Off 15 | 30 145 i 60 I 90
Use the 'Navigation' Dial and 'Select' button to choose an option.
Once you select a sleep delay period, the display returns to the Now
playing screen displaying a Crescent moon icon and the remaining time,
in mi.uLes, beao,e tl^e s,eep time e.pires.
After the sleep delay period the radio switches to standby mode.
To set alarms Press l'lenu/Back > System settings > Alarms
Navigate to either Alarm 1 or 2
The alarm setup prompts you for the parameters listed below
Use the 'Navigation' dial and 'Select' button to input the alarm
parameters
15
14

System settings System setting can be accessed whichever mode you are in
Press Menu/Back button > System settings
Then choose from the various options as described in the menu as below.
- Sleep
- Alarms
- Equaliser
- Time / Date
- Backlight
- Language
- Factory Reset
- Software update
- Software version
Set Time/Date
This option ls for manually setting the time and date displayed, The time
displays as hh:mm, with the flrst value, hh, active (flash ng). Adjust each
value using the 'Select' control button and press 'Select' to con{lrm. The
next value then becomes active and flashes. The date values follow and
are set in the same way,
Auto update
Auto-update work with data sent over DAB, FIY. The clock is only
updated when in a corresponding mode, so it is best to select a mode
you use regularly,
lf you set 'No update', the wizard now prompts you to set the time
and date manually. The date and time are displayed as dd-mm-yyyy and
hh:mm.
Set 12124 hours
To change between 12 and )4 hour dispiay select Set 12124 hour and
then select your preference.
Set date format
The date displays as dd-mm-yyyy or mm-dd-yyyy depending on
your choice of date format (see above),
Sleep - see page 15 Thls allows Arietta to automatically turn itself off alter a set amount of
time. Use the 'Navigation' Dia to select either
15, 30, 45 or 90 m nutes sleep period. Press'Select'to actlve,
Alarm - see page 15
Equaliser This presents a number of preset settings plus a lYy Equaliser option to
allow you to create your own equal ser settings,
|4y EQ ... I Normal I Casslc | )azzlPop I Rock I Speech Backlight Arietta has a backlight with three brightness settings, and adjustable
timeout
(this is the time delay, in seconds, after which the display switches to
the Dim level),
There are three settings:
Timeout - Light On 10 I 20 | 30 145 160 190 I '120 | 180
On level 'High I Mid I Low
Dim level - High I f'1id I Low
NOTE: A green t ck lnd cates the currently selected va ue for each settlng.
MY EQ... This option allows you to set a bias in the treble and bass audio
frequencies and turn 'Loudness' On or Off. Values can be set between
-7 (Minus 7) and + 7 (plus 7).
Treble - (Use the'Select'control button to choose a bias value
between -7 and +7)
Bass (Use the 'Select' control button to choose a blas value
between -7 and +7)
Loudness - On or Ofl (When On, low leve high and ow frequency
sounds are boosted to gve a'fuller sound.) Language To change it please select lYenu > System settings >Language > select
your prefu rred language,
Time/Date The time and date can be updated manually or automatically. With
auto-update, the tlme and date are automat caily synchronised with
national time signals broadcast over DAB and FM (when available).
The time menu contains the lo lowing options:
- Set Tlme/Date
- Auto update
- Set 12124 hour
- Set date format
Clock style
Factory reset A lactory reset clears al user deflned settings, replacingthem with the
original defauit values, so time/date, preferences/settings, DAB station
st and preset stations are all lost
lfyou select'Factory reset', you are asked to conflrm by selecting "Yes'l
16
A
/.\
17

Error messages Tioubleshooting Problem Cause Solution
FIY: Hiss
DAB: Burbling /
intermittent
cut-out
Low s gnal strengh Checldmove antenna
IYove radio
Rescan high-strengh
stations only For
DAB or DAB+,
check the current
status of local
coverage with your
natonal digital radio
author ty
DAB: 'No stations
availab e' message Low signal strengh As above then
rescan statrons
The unit does not
work Incorrect/lack of
connections Check adapter lead
is correcty plugged
into the mains and
the DC nput jack at
the side of the unit.
Check socket used
is connected to the
power outlet
No sound Volume may be
set to minimum or
headphones not
piugged 1n
Turn up vo ume and/
or check head
phones are p ugged
lnto the jack
Radio reception
noisy (FM) Signai strength too
low Extend the antenna
or adjust the po-
sition of the radio.
FYI stereo - if weak
switch to I4ONO
as this requires less
signa strengh,
Radio reception stut-
ters/bubbiing sounds
(DAB)
Signal is weak Extend the antenna
or adjust the
locat on of the rad o.
Positions higher up
oT neareT windows
may mprove the
reception,
No DAB reception Location or local
coverage Try re-orienting the
antenna or moving
the radio to a differ-
ent location,
Check that your
local area has DAB
coverage.
lYessage Description
DAB mode
Serv ce not available No DAB receptlon
Signal error The DAB signal has been inter-
rupted
No DAB Station The listed station cannot be
found
(No Name) The current station does not
broadcast an identity name
No statlons found No DAB sLations are available -
check antenna
FIY mode
No Rad o Text No RDS text information is
ava lable on thls station
No PTY No RDS programme type infor
mation is avallable
No Name No RDS stat on name is being
broadcast
General messages
Update failed Software upgrade failed
T me is not set No time value is currently set on
thls platform
Tlme Not saved Any changes made to the time
settings will be lost
Aiarm Not saved Any changes made to the Alarm
settings wil be ost
lnval d Date The entered value does not
match a valid date
1B 19
Table of contents
Other John Lewis Radio manuals