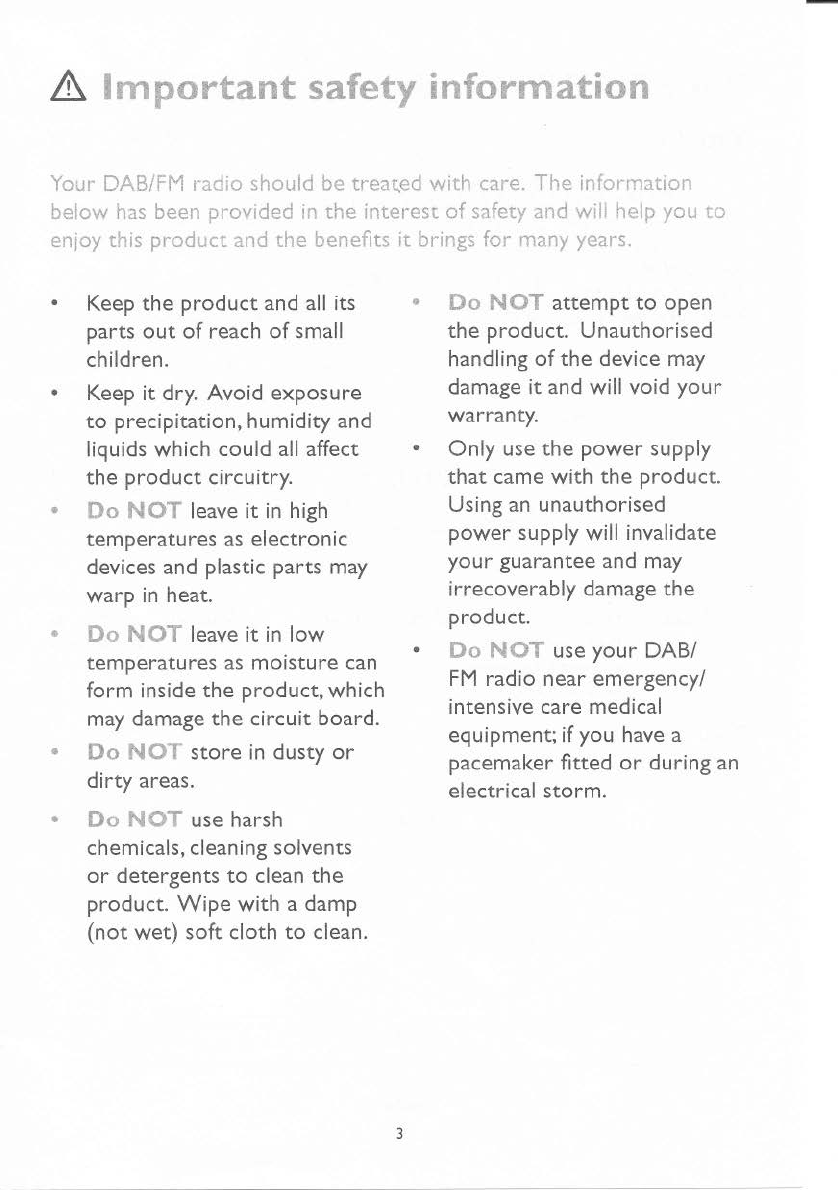
John Lewis Retro User manual

DAB
Digitai/FM radio
lnstruction manual
John
Lewis
--
John
Lewis

---•L
~
The
information
provided
gives
details
of
the
signal strength
you
are receiving.
The
row
of
solid
rectangles indicate
the
actual
signal strength
that
you are
receiving.
The
stronger
the
signal,
the
further
to
the
right
the
row
of
solid rectangles
will
Ье.
1.
Press
the
'Menu'
button
'Menu
tune'
is
displayed. Press
the
'Menu'
button
again
'lnfo'
is
displayed.
2.
Continue
to
press
the
'Menu'
button
to
cycle
through
the
different
information
options.
с-
1
\.:'"'dunor'1es
You
can
connect
headphones
(not
included)
to
your
radio.
The
headphone
socket
can
Ье
found
on
the
back
of
the
radio
near
to
the
mains
power
socket.
When
you have headphones
connected
the
radio speakers
are
switched
off
and all sound
is
via
the
headphones.
Note:
Headphones
will
need
а
З.Smm
stereo
plug and
an
impedance
of
32 ohms.
-
10

DAB
Digitai/FM radio
Thank you
for
purchasing this
DAB
Digitai/FM radio.
Please
read
the
instructions and warnings carefully before use
to
ensure
safe
and
satisfactory
operation
of
this product.
Conte
t
lmportant
safety
information
...
3
Your DAB/FM radio
..........
4
lnstructions
for
use
...........
5
Check
the
package contents
..
5
Where
to
put
your
radio
....
5
Setting up
.................
5
Using your DAB radio
..........
7
What
is
DAB
digital radio?
...
7
Switch on
.................
7
Switch
off
.................
7
Adjusting
the
volume
.......
7
Changing DAB stations
......
7
Scanning
for
DAB stations
...
8
Storing
а
DAB station preset . 8
Tune
to
а
DAB
station preset. 9
DAB display
information
.....
9
Signal
strength . . . . . . . . . . . . 1
О
Using headphones. . . . . . . . . 1
О
2
Using
your
FM
radio.
. . . . . . . . 11
FM
radio
mode
. . . . . . . . . . . 11
Tuning
to
an
FM
station
....
11
Storing
an
FM
station preset. 11
Tune
to
an
FM
preset station
12
FM
display information
.....
12
Simple solutions
............
14
Helpdesk
..................
15
Technical
information
........
16
Firmware version
.........
16
Reset
your
radio
..........
16
General
information
.........
17
Service
..................
17

&.
lmportant
safety
information
Your DAB/FM
radio
should
Ье
treat.ed
with
care.
The
informatюn
below
has
been prov1ded in
the
interest
of
safety and wil· help you
to
enjoy this
product
and the benefits
it
brings
for
many years.
•
Кеер
the
product
and all its •
Do
NOT
attempt
to
open
parts
out
of
reach
of
small
the
product.
Unauthorised
children. handling
of
the
device may
•
Кеер
it
dry.
Avoid
exposure
damage
it
and
will
void
your
to
precipitation,
humidity
and warranty.
liquids
which
could all affect •
Only
use
the
power
supply
the
product
circuitry.
that
came
with
the
product.
•
Do
NOT
leave
it
in high Using
an
unauthorised
temperatures
as
electronic
power
supply
will
invalidate
devices and plastic parts may
your
guarantee and may
warp
in heat. irrecoverably damage
the
•
Do
NOT
leave
it
in
low
product.
•
Do
NOT
use
your
DAB/
temperatures
as
moisture
can
form
inside
the
product,
which
FM
radio
near emergency/
may damage the
circuit
board. intensive
саге
medical
equipment;
if
you have
а
•
Do
"'OT
store
in dusty
or
pacemaker
fitted
or
during
an
dirty
areas. electrical
storm.
•
Do
NOT
use harsh
chemicals, cleaning solvents
or
detergents
to
clean
the
product.
Wipe
with
а
damp
(not
wet)
soft
cloth
to
clean.

Your
DAB/FM
radio
TopView: Telescopic aerial
Battery
compartment
at
rear
for
non-rechargeaЬie
_batteries
(not
supplied)
Power on/off
Press and release
to
power
on
Press and release
to
power
off
Disp_lay
Preset
Mode Select Menu
Press and release
to
switch
between
DAB
and
FM
FrontView:
·.
·.
john
Lewis
.·
Speakers
4
Headphone
socket
(at rear)
!
Volum~
(+) up/Scroll up
Volume
(-)
down/Scroll down
.·
.·

lnstructions
for
use
Check
the
package
".
...
t~
The package contains:
• 1 DAB/FM radio
• 1mains
adaptor
instruction
manual
lt
is
importa
nt
that
you consider
carefully in advance
where
your
radio will
Ье
situated and
make sure
that
it
is:
*on
а
flat
and
staЫe
surface
Note:
Never
place
your
radio on antique
or
polished
surfaces.
*
within
1.5
metres
of
а
power
socket
(if
using mains
power)
*
where
you
can
fully
extend
the
telescopic aerial
*away
from
bright
sunlight
or
heat sources, such
as
а
radiator
*
not
in
а
humid
or
very damp
place such
as
а
bathroom
~~""t
.
19
'L
1.
Connect
the
mains
power
lead
into
the
socket on
the
bottom
left
of
the
back
of
the
radio and plug
the
power
adaptor
into
the
mains
power
wall socket and switch on.
5
2.
Fully
extend
the
radio aerial in
а
vertical position
to
obtain
the
maximum signal strength.
3.
When
switching on
for
the
first
time,
press and release
the
power
switch on
the
front
of
the
radio.
Your radio
will
display
'Welcome
to
Digital Radio' and automatically
begin
to
scan
for
DAB
radio
stations.
А
progress bar
will
show
the
progress
of
the
scan
and
the
number
of
stations found
during
the
scan
will
also
Ье
displayed.
When
the
scan
is
complete
your
radio
will
select
the
first
availaЫe
station and begin
to
play.
Note:
The
DAB
radio station list
is
stored
in
the
memory
and
so
the
next
time
you switch
your
radio on,
the
station search does
not
take place.
lt
is
possiЫe
to
scan
manually
for
stations. Please
see
page
8.
4. lnserting
the
batteries
(
optional). Before installing
the
batteries
(not
included) please
ensure
that
the
DAB
Radio
is
unplugged
from
the
mains
power
supply.

On
the
back
of
the
radio,
remove
•
the
battery
cover
using
the
tab
on
the
right hand side.
lnsert
four
Ад
size batteries, making
sure
to
note
the
'+' and '-' markings and
position
the
batteries
the
correct
way
around.
Replace
the
battery
cover, making
sure
it
'clicks' shut.
lf used continuously
on
battery
power,
your
radio has an
approximate
battery
life
of
6
hours
when
using
good
quality
batteries.
Note:
For
battery
operation,
please switch off
the
mains
adaptor
and
remove
the
mains
power
plug from
the
back
of
the
radio.
Only
use
recommended
batteries
or
those
of
the
same
equivalent type.
•
Do
not
mix old and new
batteries
or
batteries
of
different types.
• Batteries
are
to
Ье
inserted
with
the
correct
polarity.
The
supply terminals
are
not
to
Ье
short-circuited.
• Remove
the
batteries
from
the
radio
if
they
will
not
Ье
used for an
extended
period
of
time.
•
Do
not
attempt
to
recharge
non-rechargeaЫe
batteries.
6
Dispose
of
old
batteries
carefully.
Never
throw
batteries
in
а
fire
or
attempt
to
open
the
outer
casing.
Batteries
are
harmful
if
swallowed,
so
keep away from
young children.

Using
your
DAB
radio
What
is DAB
Digital
Radio?
DAB
means Digital
Audio
Broadcasting.
The
difference
between
а
DAB
radio
and
а
conventional
AM/FM
radio
is
that
broadcasts are
transmitted
· digitally resulting in
а
high quality
audio sound*,
without
any hiss,
fading
or
crackles.
Your
DAB
radio
will
automatically
scan
and find all
the
availaЫe
stations
for
you.
Each
station
name,
is
shown
on
the
display; all
you need
to
do
is
scroll
through
the
station names and select
the
one
that
you
would
like
to
listen
to,
so it's
very
easy and
quick
to
use.
For
more
information
about
DAB
services and
to
find
а
list
of
stations
availaЫe
in
your
area visit
www.digitalradionow.com.
*
Please
note that the sound quality
is
dependent
on
а
strong
signal
strength.
Signal
strength
can
vary
from
area
to
area.
То
check the
signal
strength
in
your area visit
www.digitalradionow.com
7
Switch on
Press
the
power
switch on
the
front
of
the
radio, above
the
display.
The
display
will
switch
on and
your
radio
will
return
to
the
mode
that
it
was last used in
(DAB/FM).
lf
you
were
listening
to
а
DAB
station before
then
this station
will
Ье
automatically
selected.
Note:
Always make sure
that
the
aerial
is
fully extended and
adjusted
(а
vertical position
is
recommended),
to
ensure
the
maximum
signal strength and
the
best
possiЬie
sound quality.
Switch
off
Press
the
power
switch on
the
front
of
the
radio,above
the
display.
The
mode
(DAB/FM) and
the
clock
will
Ье
displayed.
Adjusting
the
volume
Press
the
'Vol +'
to
increase
the
volume
and
the
'Vol
-'
to
decrease
the
volume. Press and hold
the
'Vol +'
or
'Vol
-'
to
progressively
increase
or
decrease the volume.
Changing
DAB
stations
l.lf
you
are
not
already in
DAB
mode,
press
the
'Mode'
button
to
go
to
DAB
mode.

2.Press
and
release
the
'Menu'
button,
'Menu
tune'
will
Ье
displayed.
3.
Use
the
'Vol
+'
and
'Vol -'
to
scroll through
the
stations.
4.
When
the
station
that
you
would like
to
listen
to
is
displayed
press
the
'Select'
button.
There
will
Ье
а
short
delay whilst
your
DAB
radio
tunes
to
your
selected
station.
ng
for
DAB
With
DAB
radio, additional
stations
and
services regularly
become
availaЫe
so
it's
а
good
idea
to
carry
out
а
scan
every
now
and
then
to
make
sure
that
you have
the
most
up
to
date
station
listing
stored
within
the
memory
of
your
radio. lf you have
moved
your
radio
to
another
location, e.g.
if
you go
on
holiday,
then
it's also
а
good
idea
to
carry
out
а
scan.
l.lf
you
are
not
already
in
DAB
mode,
press
the
'Mode'
button
to
go
to
DAB
mode.
2.Press
and
hold
the
'Mode'
button
for
more
than 1
second
to
begin
а
full
scan for stations.
The
display will change
to
'Auto
Scan,
Full
Auto
Scan'
and
а
progress
bar
will
show
the
progress
of
the
scan and
the
number
of
stations found during
8
the
scan will also
Ье
displayed.
When
the
scan
is
complete
your
radio will
select
the
first
availaЫe
station
and
begin
to
play.
The
number
of
stations
found during
the
scan will
Ье
displayed.
А
station
scan takes approximately
one
to
three
minutes.
Note:
See
page 7 for
how
to
change DAB
stations
after
а
scan.
Stc.
.1g
d.
uA
St..at.IOrt
Your radio can
store
up
to
1
О
DAB stations
in
its
preset
memories
for
instant
access
to
your
favourites stations.
Note:
When
you
store
DAB
radio
station
presets,
these
do
not
overwrite
your
FM
station
presets.
1.
Tune
your
radio
to
the
station
that
you wish
to
preset
(see
changing DAB stations, page 7).
2. Press
the
'Preset'
button.
'Preset
1'
is
displayed
and
'ЕМ
РТУ'
if
no
previous
station
has been
stored.
3.
Use
the
'Vol
+'
and
'Vol -'
buttons
to
move
to
the
Preset
location
that
you would like
to
store
the
radio station
to
.

4.
Press and hold
the
'Preset'
button,
the
display will confirm
'Preset
Х
stored',
where'X'
is
the
number
of
the
preset
(
1-1
0).
Note:
lf
there
is
already an
existing
DAB
station
stored
under
а
preset,
it will
Ье
over
written
when
you
store
the
new
station.
Tu:.e.
t..:>
а
D~d
pгeset.
.
~
i::l.
•\.
ln
DAB
mode:
1. Press
the
'Preset'
button.
'Preset
1'
is
displayed
and
the
name
or
frequency
of
the
station
stored
there,
or
'ЕМ
РТУ'
if
no
previous
station
has
been
stored.
2.
Use
the
'Yol
+'
and
'Vol
-'
buttons
to
move
to
the
Preset
location
where
the
station
you
. would like
to
listed
to
is
stored.
3.
Press
the
'Preset'
button.
The
radio
will
instantly
tune
to
that
station and begin
to
play.
Note:
lf
no
DAB
station
has been
stored
under
the
preset,
the
radio
will immediately
revert
to
the
previously
selected
radio station.
9
DA.,.
clis::>lгy
i-fc
'"~'"'atit-"l
When
listening
to
а
DAB
station
you can change
the
information
that
will
appear
on
the
second
line
of
the
display.
There
are
several
different
types
of
information
that
are
sent
Ьу
the
broadcaster.
Dynam.c
_abel
Segment
;Г)LS)
This
is
scrolling
text
information
supplied
Ьу
the
broadcaster.
lnformation could
Ье
the
name
of
an
artist
or
music title, DJ's
name,
contact
details for
the
radio
station
etc.
r
roъram
Туре
!РТУ'
Such as 'Rock','Pop',Talk'
or
'News'
~
ц
trplex
name
Displays
the
broadcasting
area
and
collection
of
radio
stations
on
this
frequency e.g.
ВВС
National DAB,
Digital 1
Network.
-.-ime :tnd
aate
·supplied
Ьу
the
broadcaster.
c-ig11al
.rtforrnatrc,rr
Stereo
or
Mono
and
the
data
rate
at
which
the
signal
is
being
transmitted.

Table of contents
Other John Lewis Radio manuals