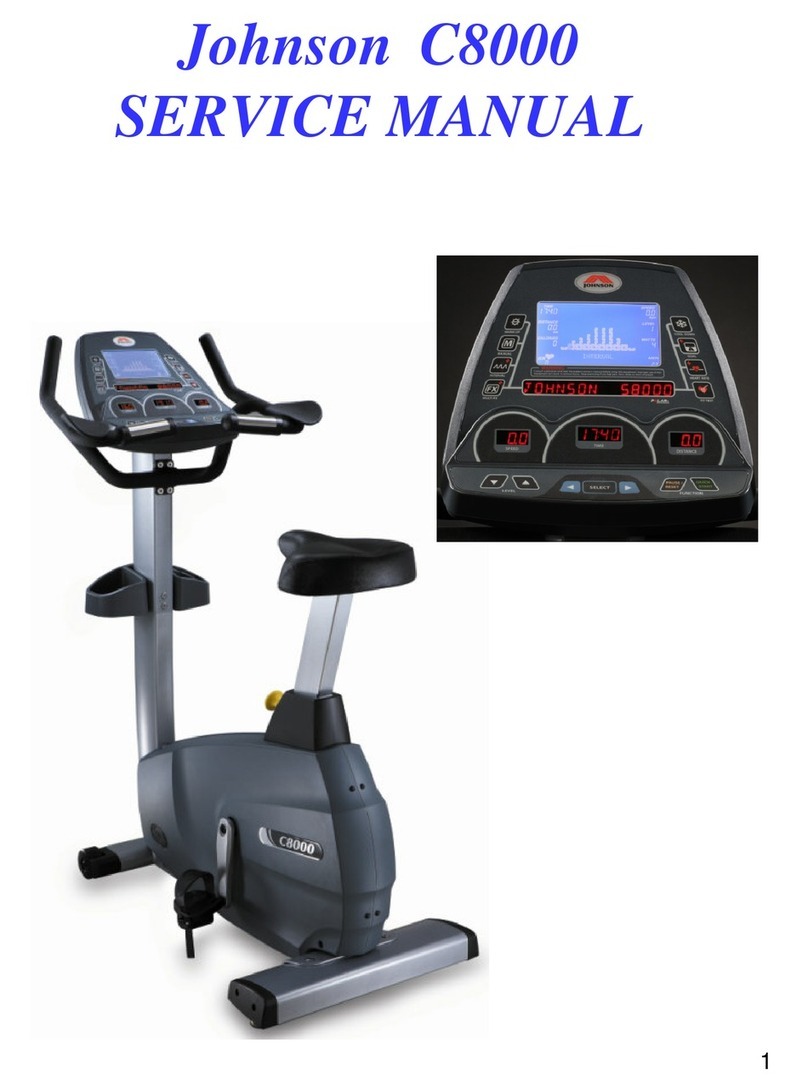
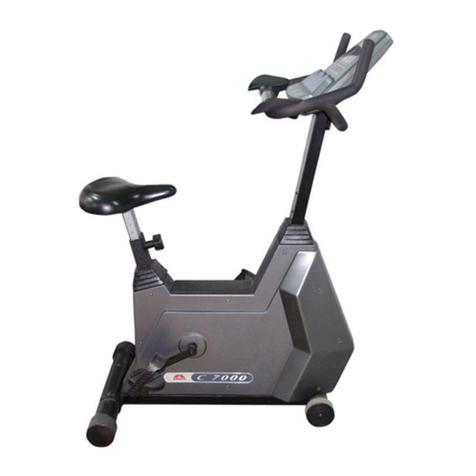
Johnson C7000 User manual

C7000 Service Manual
Revision: 1.0 Date:2004/7/25

TABLE OF CONTENTS
SECTION 1: LIMITED WARRANTY
SECTION 2: EXPLODED DIAGRAM
SECTION 3: WIRING DIAGRAM
SECTION 4: TROUBLE SHLOOTING
SECTION 5: PARTS REPLACEMENT
SECTION 6: PREVENTIVE MAINTENANCE
APPENDIX : RECOMMENDED TOOLS

SECTION 1
LIMITED WARRANTY
Comments and Questions
Scope of Warranty
Intended Use
Warranty Time Period
Defects Replacement
Safety Stock of Warranty Parts
Defects Return Procedure
Technical Support

Limited Warranty
Johnson Health Technology Company and its employees are committed to
providing our customers with the state-of-art designed and manufactured fitness
equipment. This Limited Warranty and Service Procedure states JHT’s warranty
policy and warranty procedures.
Comments and Questions
C
Co
om
mm
me
en
nt
ts
s
a
an
nd
d
Q
Qu
ue
es
st
ti
io
on
ns
s
We welcome comments and questions regarding our products. Please contact us at
CustomerService
Johnson Health Technology Company
P.O.BOX 22-100
Taichung,Taiwan,R.O.C
Telephone: 886-4-25667100
Facsimile: 886-4-25683456
E-mail:[email protected]
Scope of Warranty
S
Sc
co
op
pe
e
o
of
f
W
W
a
ar
rr
ra
an
nt
ty
y
All JHT products are warranted against defects in workmanship and materials.
Any repairs to the parts itself, especially the electronics parts, will then void the
warranty unless the rework is authorized in a written format by JHT in advance.
This warranty will also not cover any damage, failure or loss caused by accident,
misuse, neglect, abuse, improper assembly, or failure to follow instructions or
warning in the owner’s manual.
Intended Use
I
In
nt
te
en
nd
de
ed
d
U
Us
se
e
JHT products may be warranted for just home use only, all distributors are
advised to consult the owner’s manual for the limitations of the application.
WarrantyPeriod
W
W
a
ar
rr
ra
an
nt
ty
y
P
Pe
er
ri
io
od
d
Generally, if not otherwise specified, JHT provides one and a half year warranty
for all JHT products starting from the date of production. Warranty coverage for
each product will be detailed in the respective product owner’s manual.

D
D
De
e
ef
f
fe
e
ec
c
ct
t
ts
s
s
R
R
Re
e
ep
p
pl
l
la
a
ac
c
ce
e
em
m
me
e
en
n
nt
t
t
The distributor should send out the replacement parts without charge within 24
hours for any customer’s warranty claim due to defects of JHT workmanship or
materials and the defects occurs during the warranty period. The distributor
should also send out the replacement with charge within 24 hours for the service
claims due to accident, abuse, neglect, or for the claims with the warranty expired.
S
S
Sa
a
af
f
fe
e
et
t
ty
y
y
S
S
St
t
to
o
oc
c
ck
k
k
o
o
of
f
f
W
W
Wa
a
ar
r
rr
r
ra
a
an
n
nt
t
ty
y
y
P
P
Pa
a
ar
r
rt
t
ts
s
s
All the importers and distributors are required to keep an inventory of spare parts
especially for those of which are recommended by JHT to service their customers
in time. Distributors are advised to purchase the spare parts at 2%~3% of the total
value of each shipment along with the shipment order or to always keep in their
stock at least 2 to 5 pieces of each spare parts, especially the electronics parts, of
the different model. If there is any importer or distributor failed to do so and wish
that JHT send the replacement parts by express, it will be within JHT’s discretion
how to charge the distributor for both the replacement parts and shipment cost. A
list of recommended spare parts could be provided with the shipment sales
confirmation as long as the request is made to your JHT sales representative and is
contained in the service manual as well. Please refer to the parts list to fill out the
Parts Order Form and send it to your sales representative to order the parts as
required.
W
W
Wa
a
ar
r
rr
r
ra
a
an
n
nt
t
ty
y
y
P
P
Pr
r
ro
o
oc
c
ce
e
ed
d
du
u
ur
r
re
e
e
Defective electronics: To receive a credit accordingly, the distributor must collect
the defective electronics, attach a label or tag on the defective part to identify the
following information as a minimum requirements which contain the production
serial number, symptom of failure and the warranty claim number. Send the
defective electronics back to JHT in a routine basis (monthly is preferred). Fill out
the warranty claim form and send it to JHT.
Defective motors: The distributor may choose by himself the disposition of the
failed motors under warranty. You can either send the motors to your local motor
manufacturer’s authorized dealer for repair or you can remove the name plate,
attaching a label on it to identify the failure symptom and send it back to JHT on a
routine basis (monthly is preferred).
Defective Mechanical Components/Accessories: To receive a credit or the free
replacement parts for the defective mechanical component under warranty, simply
fill out a warranty claim form attached with the photo, graph or other media that
could show us the outlook of the failure. Send all the information to JHT for
approval.
Defect Return:
After finishing the above processes with each kind of component,
the distributors are then required to contact JHT for a returned authorization and
shipping arrangement (This may not be required for the mechanical defects). Once
it is authorized by JHT, the distributor should pack the parts in the most
appropriate way and send the package by the way as advised by JHT.
Issuing Credit: It is within JHT’s discretion to issue a credit or send parts with no
charge to the distributors after the returned parts have been verified to be really
defective. If the parts returned has been verified to be non defective and is good
enough to be used, it will be sent back to the distributor. The distributor will be
responsible for all the shipping cost incurred. No credits will be issued on the
defective returns that can be proved to fail due to misuse, neglect or abuse.
T
T
Te
e
ec
c
ch
h
hn
n
ni
i
ic
c
ca
a
al
l
l
s
s
su
u
up
p
pp
p
po
o
or
r
rt
t
t
If you have any trouble in troubleshooting the failures or if you wish to complain
for a mass failure to JHT, you can fill out the Field Failure Report to JHT. JHT will
respond to your report within one day. You may call JHT customer service
department directly as well if you wish, but before doing this it is preferred for you
to send out the forms in advance.

SECTION 2
EXPLODED DIAGRAM
CONTENTS
C7000 EXPLODED DIAGRAM

C7000 EXPLODED DIAGRAM

SECTION 3
WIRING DIAGRAM
CONTENTS
CONTROL BOARD WIRING DIAGRAM
WIRING DIAGRAM

CONTROL BOARD WIRING DIAGRAM
¾A1 : 3-pin terminal to the generator
¾A2 : 2-pin terminal to the electromagnet
¾A3 : 4-pin terminal to the console

WIRING DIAGRAM

SECTION 4
TROUBLESHOOTING
Pedal speed has to be over 30 rpm
CONTENTS
No display on the console or the display is dim
o RPM is displayed during the exercise
ll or some of the function keys do not response
Feel the resistance increase/decrease or fell no resistance
Feel slipping while pedaling
nocking or creaking noise
o pulse is displayed on console
No pulse is displayed on the console(hand pulse type)
Console diagnostics mode
N
A
.
K
N

No display on t
ug the console cable
from the control board and
check if the voltage on the
and 5’th pin of control
board is greater than 5 VDC
he console or the display is dim
ix:
First, Check if the adapter is connected properly
Possible causes:
1. Console is damaged or
the console cable is not
connected properly.
2. Poor connection to all
the terminals on the
control board.
3. Control board is
damaged.
4. Generator is damaged.
F
1. for
move the console, then
check if the console cable is connected properly.
use a multi-meter to
the
VDC.
If it is, replace the console and check again.
2
3. Unpl
1’st
If it is, replace console cable with a new one.
If it is not, next step.
4. Unplug the generator cable from the control board
and check if the voltage is variable.
If it is, replace the control board with a new one.
If it is not, replace the generator with a new one.
both input & output ends . Re
Unplug the console cable and
check if the voltage on the 1’st and 4’th pin of
console cable is greater than 5
.Open the side covers of the bike and check if all the
wire harnesses are connected
properly to the terminals of
the control board.
註解:

No RPM is displayed during the exercise
Possible causes:
1. Console cable is
damaged or the console
cable is not connected
properly.
2. Console is damaged.
3. Control board is
damaged
4. Speed sensor is
misaligned(for JPS/E)
5. Poor connection of the
sensor.
6. Sensor is damaged(for
JPS/E)
Fix:
1. Remove the console and check if the terminal of
console cable is connected properly to the console.
If it is not connected well.
¾
Connect the terminal properly.
¾
If cable is damaged, replace it with a new one.
2. Console is damaged, replace it with a new one.
3. Open the side covers of the fitness then replaces the
control board with a new one.
4.
Check if the sensor is misaligned.
If it is, place the
sensor in the correct position.
5. Open the side covers of the stepper and check if the
connection of the sensor is connected properly.
If it is not connected well.
¾
Connect the terminal properly.
If cable is damaged, replace this with a new one
6.
Sensor is damaged, replace it with a new on
註解:

All or some of the function keys do not respond
Possible causes:
1. Keypad connecting
plug has been not
fit-in properly.
2. Keypad is damaged.
3. Upper board is
damaged.
Fix:
1. Remove the console cover, and then check if
keypad cable is connected properly to the upper
board.
If it has not been connected well, reconnect it
to the terminal and check again.
.
2. Keypad or upper board is damaged.
Replace the console

Feel the resistance increase/decrease suddenly or feel no resistance
Possible causes:
1. Console is damaged
or the console cable
is not connected
properly
2. Console cable is
damaged.
3. Control board is
damaged.
4. Generator is
damaged.
5. Gap between the
electromagnet and the
copper disc of the
generator is too wide.
Fix:
1. Remove the console and check if the console
cable has been connected properly.
2. Console cable is damaged, replace it with a new
one.
3. Remove the side covers of the fitness and check
if the terminal of the control board has been
connected properly. Control board is damaged,
replace it with a new one.
4. Generator is damaged, replace with a new one
5. Check if the sensor is positioned correctly.
Re-align the sensor to the correct position
6. Sensor is
damaged, replace
it with a new one
7. (1)Loosen the
assembly screws
of electromagnet
(2) With a c-vice press
the electromagnet to narrow the gap then check
again.
.

Feel slipping while pedaling
Possible causes:
1Belt tension is not
enough
2Poly v Belt is
damaged
Fix:
1Re-adjust the belt tension.
2Replace poly v belt with a new one.

Knocking or creaking noise
Possible causes:
1Pedal is on crank arm
too loose
2Crank or axle is wear
out
3Belt tension is too
loose or poly v belt is
too dirty
4Rail or roller is too
dirty
Fix:
1Re-tighten it.
2Replace it with a new one
3Re-adjust the belt tension and clean the poly v belt
4Clean the rail and roller.

No pulse display on console (Chest belt type)
Possible causes:
1. Chest belt is not
placed properly.
2. Chest belt is
damaged.
3. Console is damaged.
Procedure:
1. Place the chest belt in
the correct position.
<Remark 1>
2. Replace the chest belt with a new one.
3. Replace the console with a new one.
<Remark 1> The correct operation of a Chest Belt.
1.Moisten the electrodes that are located on
both ends of the belt.
2. The belt functions will most effective
when placed close to the heart and to the
skin.

No pulse display on the console (Hand pulse type)
Possible causes:
1. Connection of hand
pulse cable.
2. Hand pulse cable is
damaged.
3. Console is damaged.
Procedure:
1. Remove the console to check if the terminal of hand
pulse cable has been connected to PCB well.
OR
2. Replace the hand pulse cable with a new one.
OR
3.
Replace the console with a new one
Other manuals for C7000
1
Table of contents
Other Johnson Exercise Bike manuals

Johnson
Johnson CLASS CYCLE P8000 User manual

Johnson
Johnson JCC 5100 User manual

Johnson
Johnson JPC-5000 Generator Series User manual

Johnson
Johnson C7000 User manual

Johnson
Johnson R7000 User manual

Johnson
Johnson Matrix Retail R30 User manual

Johnson
Johnson C8000 User manual

Johnson
Johnson C8000 User manual