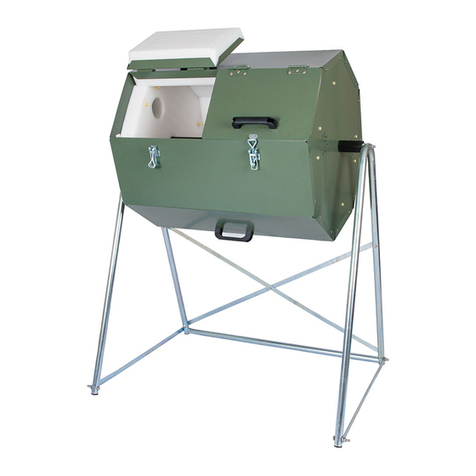
ASSEMBLY INSTRUCTIONS JK270
Slide the Octagonal foam insulation piece #9 (one of two with
ventilation holes) over the long and medium black tube until it
reaches the metal side piece. Line up ventilation holes.
Slide the thin plastic octagonal piece #13 over the black tube
until it rests on the medium tube #11.
Slide on the octagonal insulator #14 (the one that does not
have ventilation holes)
Slide on 2nd Octagonal piece # 13 to rest on insulation and
sandwich the insulation.
Slide on 2nd medium plastic pipe #11
Slide on octagonal insulation piece #9 over the medium pipe.
Slide on 2nd metal side and line up ventilation holes.
Note: The diagram shows you can now insert the nylon bolts,
nuts and washers. I nd it easier to install these after Sketch
4 when the unit is standing up and after one panel has been
installed. It is up to you which you choose.
3
(Hand tighten only) Attach the cross brace #4 to the front hole
on the 2nd V shaped stand. Place 2nd side of the stand #2 on
the 2 metal threaded rods, and attach locknuts on the top and
bottom rods. Be sure the cross brace is on the threaded rod
and attached by the locknut.
Place and attach X brace #5 with bolts #6 and locknuts #7 to
rear of stand. Have 2 people stand up the composter. Tighten
all nuts and bolts.
Note: The ends of the hollow metal tubes are formed at
each end to conform to the sides to prevent spinning and
strengthens the composter. When tightening the locknuts you
may need the second person to lift the center slightly as well
as securing the nut to position this properly.
Line up the Octaganol insulation panels with the ventilation
holes and sides and insert plastic screws #15, through the
insulation, add washer#17 and bolt #16. (hand tighten) There
are no pre-drilled holes in the insulation, applying pressure to
the nut will force it through. Washers are only used on the end
panels. Repeat at other end.
For the middle section line up the sides and push the screws
through #15 and attach nut #16. (no washers are used for
these).
4
Tools needed:
2
p
c adjusta
b
le wrenches
1 pc Phillips Screwdriver
1 pc Flathead Screwdriver All Measurments In Metric Units*
Tools needed:
2
p
c adjusta
b
le wrenches
1 pc Phillips Screwdriver
1 pc Flathead Screwdriver All Measurments In Metric Units*


