manuals.online logo
Brands
  1. Home
  2. •
  3. Brands
  4. •
  5. Joy-it
  6. •
  7. Computer Hardware
  8. •
  9. Joy-it StromPI V2 User manual

Joy-it StromPI V2 User manual

StromPI V2
User manual
www.joy-it.net
Dear customer,
thank you that you have decided to buy this product.
Following we have listed the things which you have to care for the rst use:
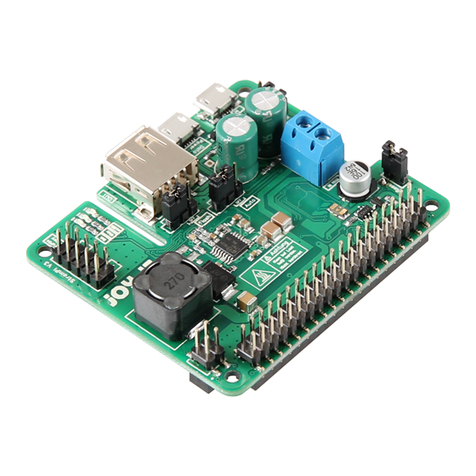
The StromPi 2 expansion board is the new development of the popular company Joy-IT
Power-Soluon.
Not only that the voltage-range was increased to 6V-61V that you can connect more bae-
ries or a higher voltage supply, the StromPi 2 board now outputs a maximum current of 3A,
that also bigger projects of you are no problem.
Addional to that, a reset-funcon for the Raspberry Pi was included to extend the UPS-
funcon of the StromPi 2.
Because of the new super at design and
binding, you can put the StromPi 2 in
many dierent casings and use it in
addional ways.
The StromPi 2 allows you to connect your
Raspberry Pi with any voltage source with
a 6V-61V voltage range.
Because of that you have addional ways
to use your Raspberry Pi ( car, truck, ship,
industrial plant for example).
Oponal, the Raspberry Pi gets an up-
grade of the USB-output to a high-power-
USB connecon, to provide performance
intense USB-disk drives.
The integrated UPS-funcon enables you to secure your crical applicaons against power
blackouts.
You can monitor the UPS-funcon via Raspberry Pi soware and the soware can send an e-
mail, for example, if a power blackout occurs.
Because of eciently used controllers, you can use baeries to run the Raspberry Pi mobil.
Useful expansion of the UPS-mode: Aer the StromPi 2 shuts down the Raspberry Pi becau-
se of a power blackout, the new reset-funcon restarts the Raspberry Pi if the power black-
out ends.
Intended Usage: Expansion card for connecng a compable one-circuit-board
computer (like Raspberry Pi) with a 6V-61V power source
Warning: Under heavy load, the Strompi 2 can get really hot. To secure
against burnings, please don't touch the circuit board while the
Strompi 2 is acve and enable a good air supply that the device can't overheat.
!
GPIO-Port
1. Mode switch
[UPS|Wide]
2. Mode switch
microUSB (5V)
Voltage-Input
[primary]
T-PIN
High-Power USB Output
Data-/Current-Output
to connect with the
Raspberry Pi
Wide-Range (6V-61V)
Voltage-Input
[secondary]
Reset-switch
Operaon modes
The StromPI 2 provides two operaon modes, the UPS and the Wide mode
which we listed below.
UPS mode
The UPS Mode is the Baery-friendly Mode: During standby only 20µA – 80µA
will be used from the wide range voltage source.
Because of the low power consumpon during standby, the maintenance cycle
of possible baeries is really high.
While standby for one year, this circuit uses between 175mAh and 700mAh from
the wide range power source.
With a standard 3200mAh LiPo-Akku with 7,2V for example, theorecal there
would be 2500mAh le aer 1 year standby (if you don't consider self-discharge,
area eects like weather, temperature and the quality of the baery. This is only
theoracally, to show how low the energy consumon is. The real baery-
capacity depends on to many factors).
That low standby-current results of the fact that the wide range board will only
be acvated if there is no power supply at the with "IN" marked micro-USB-port.
In this case it will be switched to the wide-range source without a break. The
current which is needed while the switch will be provided by the StromPi 2.
Disadvantage of that is that the StromPI 2 can only be started with the micro-
USB-port "IN", while in UPS-mode.
Wide mode
While in the "WIDE"-mode, the StromPi can be started and used with the stan-
dard micro-USB port or with the WIDE-range voltage input, which is for energy
sources with 6V-61V.
This funcon will be used at vehicles (like cars, trucks, ships), or at mobile usage
with baeries.
The power source of the micro-USB connecon will be preferred here, at a
power blackout, it will also switch to the WIDE-range power source without a
break. We advise this mode for the direct use of a power source at the WIDE-
range input - for baery buered systems we advise you to use the before men-
oned UPS-mode. Even if the StromPI will be provided with the micro USB, it will
use 3-7mA, while in WIDE-mode, from the wide-range-power source, thats like a
thousand mes higher than the standby-usage of the UPS-mode.
We advise you to use a ON/OFF switch at the Wide-range power supply because
if it is not used in a car for example, the baery will not discharged from it.
Switching between UPS & Wide mode
You could pick one of the two modes at the front site of the board - please check
the marks at the circuit board.
For a mode change, both jumpers have to be replugged!
High-Power-USB
One of the big disadvantages of the Raspberry PI is that its UBS connecons
can't give up high performances. You can't use USB-disk drives, for media centre
oder NAS-applicaons for example, with that.
With the StromPi 2 you have the oponal choice to extend the Raspberry Pi with
a high-power-USB port and gives the Raspberry Pi USB-ports a higher current
output.
For this you have to connect the second micro USB port, which is marked with
"Data IN, Power OUT", with a standard micro-USB-cable, and connect the se-
cond site of the cable with a free USB-port of the Raspberry-Pi.
Here you will connect the StromPi 2 via USB with the Raspberry-Pi and with that
it can output, depending of the connected voltage, a maximum current of 3A.
Addional to that you have the chance to get a higher current at the other USB-
ports of the Raspberry-Pi.
Voltage control
At the StromPi you can nd a with Test point which is marked with "T-Pin", with
it you can broadcast the status of the StromPi to the Raspberry-Pi.
It will be connected with a Jumper to the GPIO21 pin of the Raspberry-Pi by
default. If you want to use the GPIO21 pin for other things you have to remove
the Jumper. You can now connect the T-Pin with a free GPIO pin of the Raspber-
ry-Pi, for that you need a Pin-Connector cable.
If the StromPi switches into the baery mode, it can, with help of our soware,
send you an e-mail or safely shutdown, to provide your recorded data from
being lost.
You will nd the soware at our download area from our website
www.joy-it.net
Reset-Circuit
One of the expansions compared to an older version is that the StromPi 2 has an
onboard reset-circuit. This restarts your Raspberry-Pi automacally if the main
power supply is acve again. This is a big help at the UPS-mode.
If you want to switch between the power
sources oen (baery -> power supply ->
baery -> power supply for example), you
can disable the funcon if you pull out the
jumper.
The posion of the reset eld from the
older models of the Raspberry Pi B+, 2B and Raspberry Pi 3 is dierent. Because
of that the StromPi 2 has 2 reset pins at the back site:
The reset pin of the StromPi
for the Raspberry Pi 3 is isolated by default, because it would short the older
versions of the Raspberry-Pi!
Reset pin for
Raspberry PI
3
Reset pin for
Raspberry PI
B+, 2B
Raspberry PI 3
If you want to use the reset funcon at the Raspberry Pi 3, you rst have to
pull the isolaon from the reset pin which is for the Raspberry Pi 3.
You can ignore the Raspberry Pi 2 reset pin because it don't touch any other
components here.
If you want to use the StromPi for a Raspberry Pi B+ / 2B aer that, you
must put the isolaon back at the reset pin, if you don't do this the Rasp-
berry Pi and the StromPi can take heavy damage.
Raspberry PI B+ / 2B
The pin for the Raspberry Pi 2 has no isolaon and the pin for the Raspberry
Pi 3 has an isolaon by default. That means you can plug in the StromPi 2
directly.
WIDE-range voltage input
Connect the marked port with any power supply like power adapter or baeries
for example.
Alternavely you can run the StromPi with the micro USB connecon of the
front site of it. It is marked as "IN".
The voltage range of it has to be
between 6V-61V - please take care
of the polarity to secure the Rasp-
berry Pi and the StromPi from dama-
ge.
If you have any problems, please visit our FAQ
www.joy-it.net
If you have any open quesons, please contact us via mail or
phone
service@joy-it.net
+49 (0)2845 9360 – 50
(11 am - 6 pm)
EC Conformity Declaraon
We the manufacturer, Joy-IT Europe GmbH, declare that the product RB-StromPi2 in ac-
cordance with the regulaons for use match the basic Requirements of the follwing guide-
lines:
EMV-Richtlinie 2004/108/EG, R&TTE-Richtlinie 99/5/EG .
JOY-iT Europe GmbH , Pascalstr. 8, 47506 Neukirchen-Vluyn
14.10.2015 Yue Yang Geschäsführerin
ART-NR.: RB-StromPi2
Inverkehrbringer:
JOY-iT Europe GmbH
Pascalstr. 8
D-47506 Neukirchen-Vluyn

Other Joy-it Computer Hardware manuals
Joy-it EXPLORER 500 User manual

Joy-it

Joy-it EXPLORER 500 User manual

Joy-it COM-ZY12PDG User manual

Joy-it

Joy-it COM-ZY12PDG User manual
Joy-it Ard-CNC-Kit1 User manual

Joy-it

Joy-it Ard-CNC-Kit1 User manual

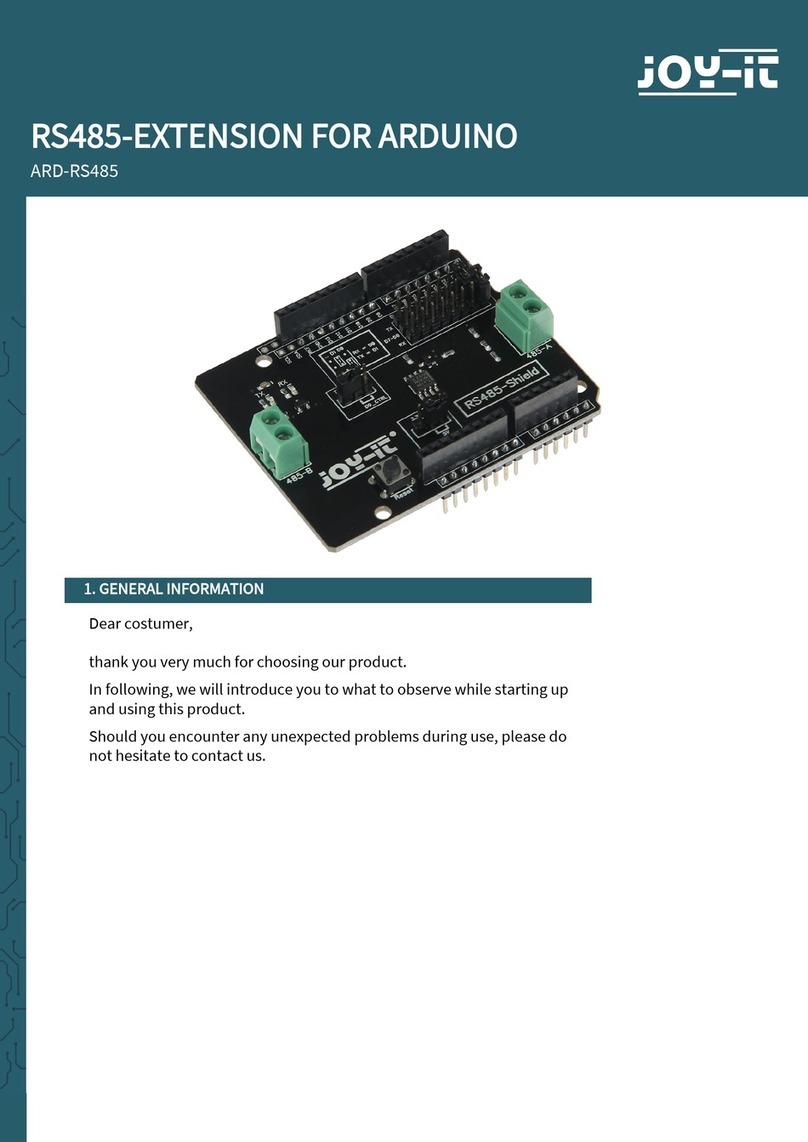
Joy-it RS485-EXTENSION Instruction manual

Joy-it

Joy-it RS485-EXTENSION Instruction manual

Joy-it EXPLORER 700 User manual

Joy-it

Joy-it EXPLORER 700 User manual

Joy-it StromPi3 User manual

Joy-it

Joy-it StromPi3 User manual

Joy-it StromPi 3 User manual

Joy-it

Joy-it StromPi 3 User manual

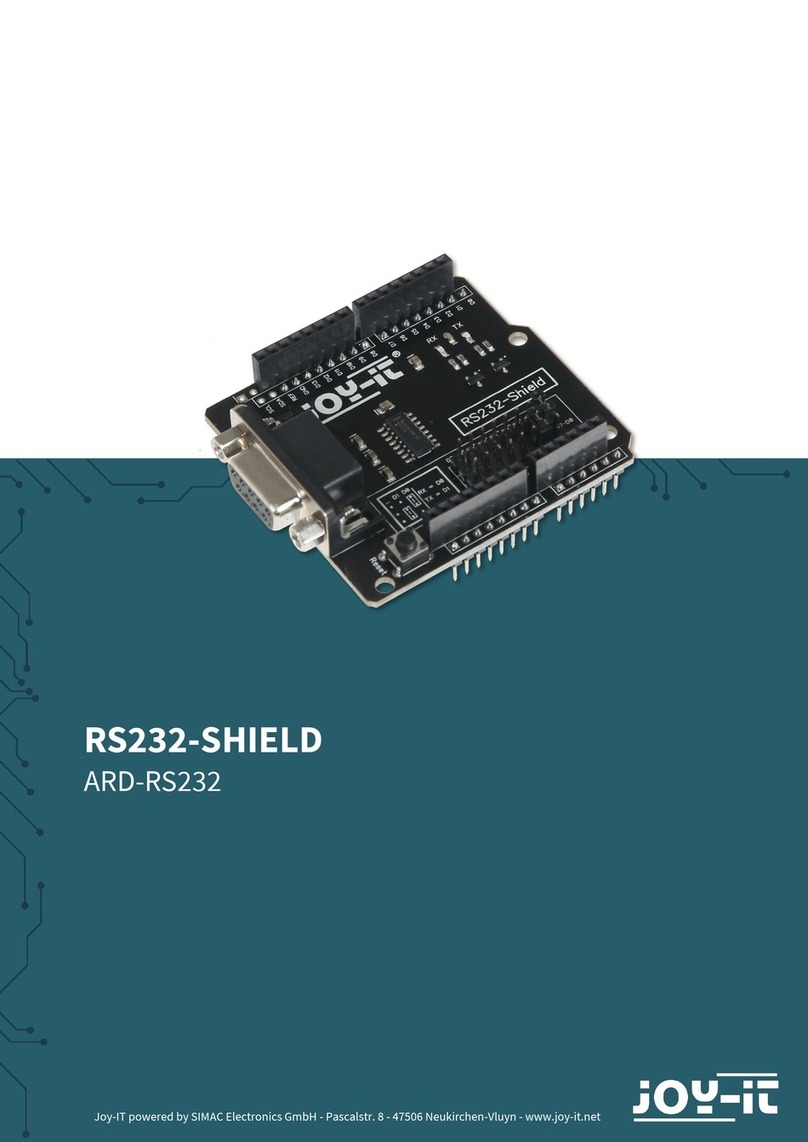
Joy-it RS232-SHIELD User manual

Joy-it

Joy-it RS232-SHIELD User manual

Joy-it COM-ZYPDS User manual

Joy-it

Joy-it COM-ZYPDS User manual

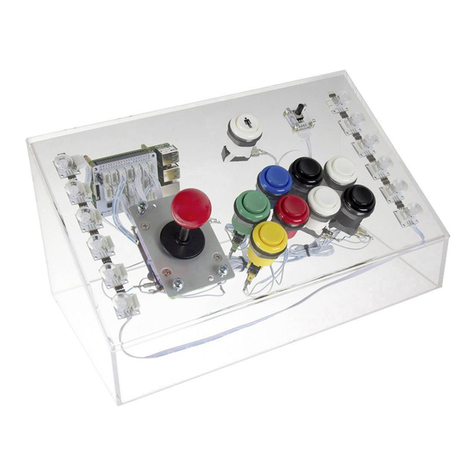
Joy-it Arcade-GameStation User manual

Joy-it

Joy-it Arcade-GameStation User manual

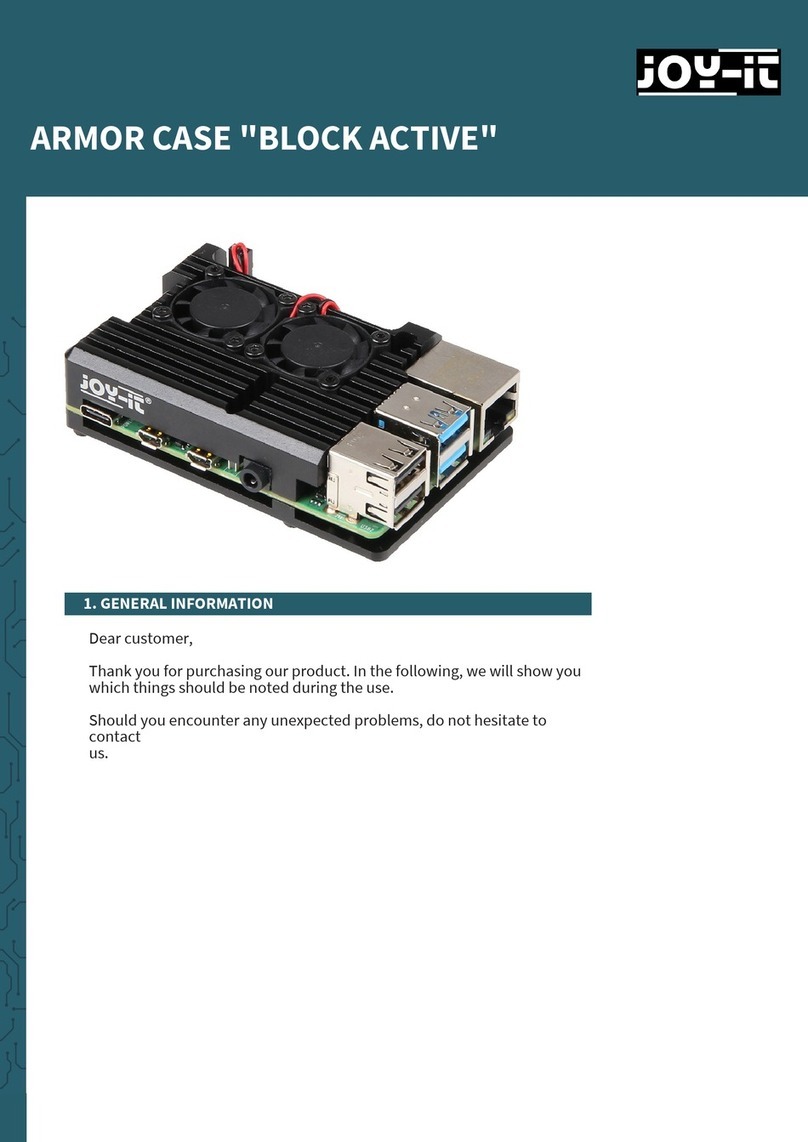
Joy-it BLOCK ACTIVE User manual

Joy-it

Joy-it BLOCK ACTIVE User manual

Joy-it MotoDriver2 User manual

Joy-it

Joy-it MotoDriver2 User manual

Joy-it COM-ZY12PDN User manual

Joy-it

Joy-it COM-ZY12PDN User manual

Joy-it RB-JoyPi-Addon User manual

Joy-it

Joy-it RB-JoyPi-Addon User manual

Joy-it COM-OLED2.42 User manual

Joy-it

Joy-it COM-OLED2.42 User manual

Joy-it RB-P-XPLR User manual

Joy-it

Joy-it RB-P-XPLR User manual

Joy-it StromPi 3 User manual

Joy-it

Joy-it StromPi 3 User manual

Joy-it StromPi 3 User manual

Joy-it

Joy-it StromPi 3 User manual

Joy-it RGB SHIELD User manual

Joy-it

Joy-it RGB SHIELD User manual

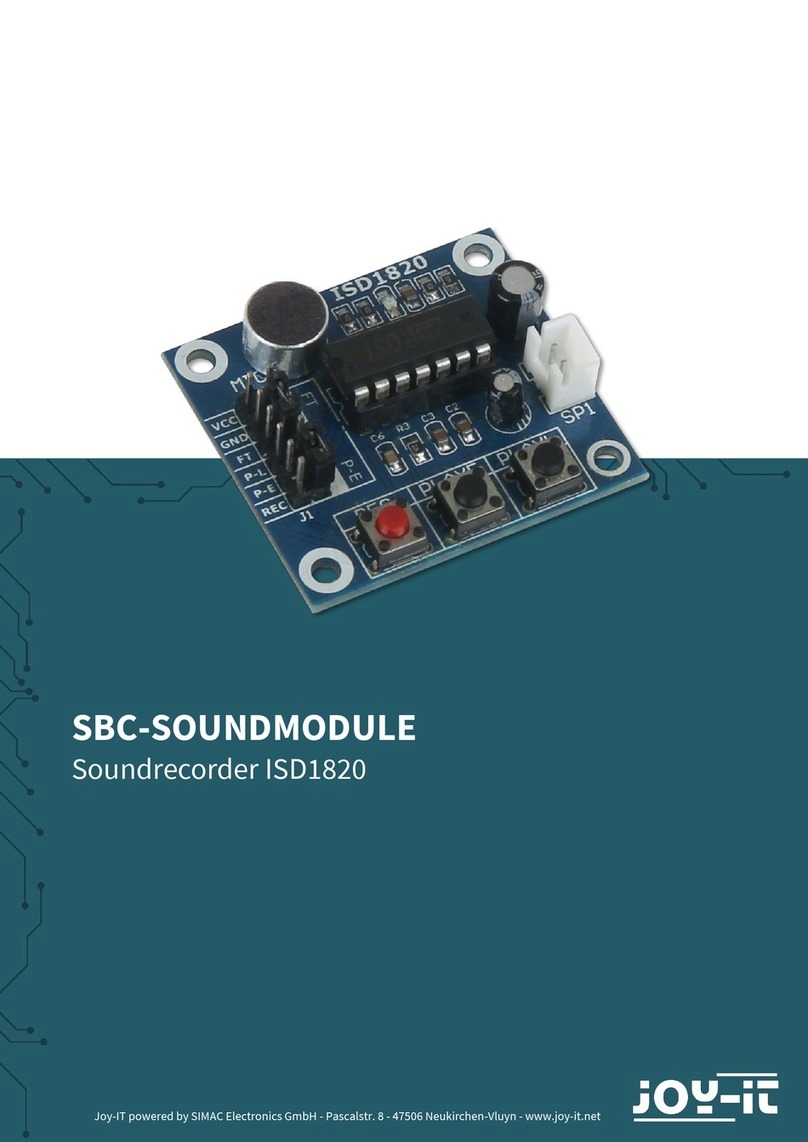
Joy-it SBC-SOUNDMODULE User manual

Joy-it

Joy-it SBC-SOUNDMODULE User manual
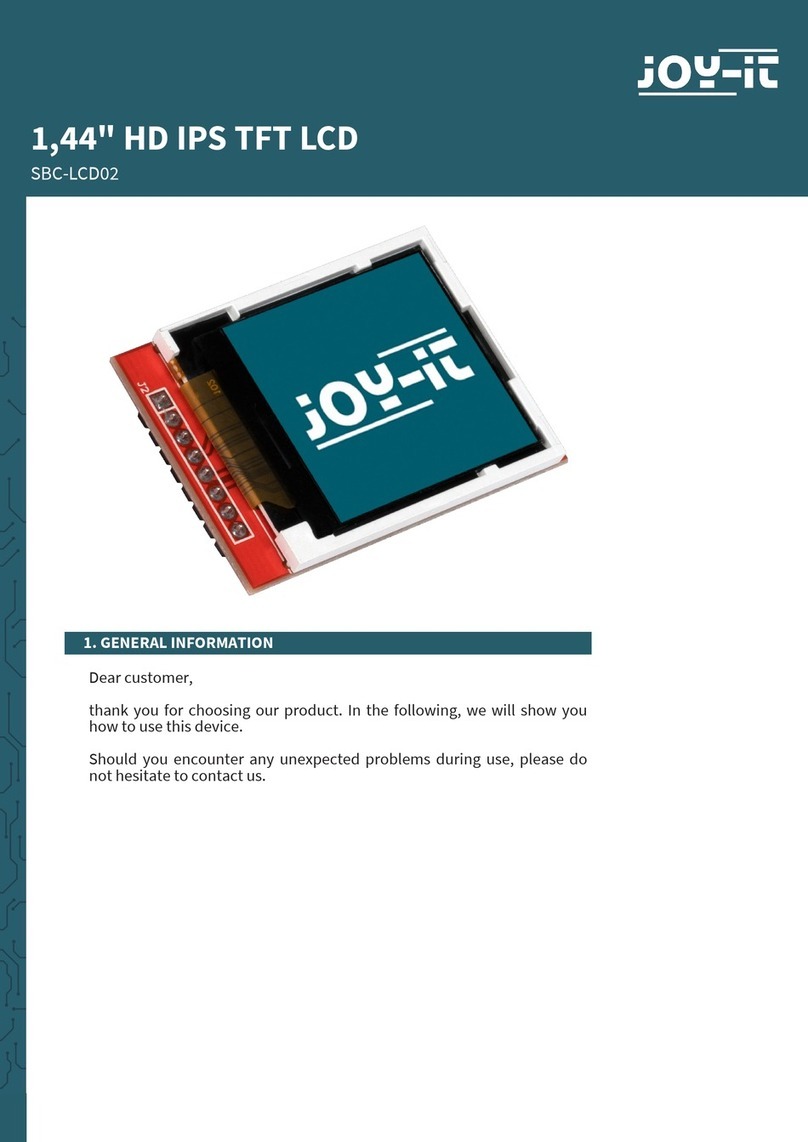
Joy-it SBC-LCD02 User manual

Joy-it

Joy-it SBC-LCD02 User manual
Joy-it RB-LEDMatrix User manual

Joy-it

Joy-it RB-LEDMatrix User manual

Popular Computer Hardware manuals by other brands

Advantech PCM-3643 Installation instruction

Advantech

Advantech PCM-3643 Installation instruction

EK Quantum Velocity2 1700 user guide

EK

EK Quantum Velocity2 1700 user guide

Reeven NAIA installation guide

Reeven

Reeven NAIA installation guide

Alphacool Eisblock ES Acetal Nvidia Geforce RTX 2080 2080Ti M02 (2070 & 2080... manual

Alphacool

Alphacool Eisblock ES Acetal Nvidia Geforce RTX 2080 2080Ti M02 (2070 & 2080... manual

CNC4PC C86ACCP user manual

CNC4PC

CNC4PC C86ACCP user manual

Atmel AT88CK201STK Getting started guide

Atmel

Atmel AT88CK201STK Getting started guide

ESD CAN-PCIe/200 Hardware manual

ESD

ESD CAN-PCIe/200 Hardware manual

Analog Devices AD7194 manual

Analog Devices

Analog Devices AD7194 manual

Radio Shack TRS-80 user guide

Radio Shack

Radio Shack TRS-80 user guide

Panasonic TY-42TM6D - Monitor Terminal Expansion Board operating instructions

Panasonic

Panasonic TY-42TM6D - Monitor Terminal Expansion Board operating instructions

Octagon 5266 Reference manual

Octagon

Octagon 5266 Reference manual

Logic Controls LC8100 User manual and installation guide

Logic Controls

Logic Controls LC8100 User manual and installation guide

Bitspower BP-VG3090TIMT instruction manual

Bitspower

Bitspower BP-VG3090TIMT instruction manual

Intellinet 150057 user manual

Intellinet

Intellinet 150057 user manual

Zephyr FALCON nano MAX10-SoM user manual

Zephyr

Zephyr FALCON nano MAX10-SoM user manual

Compaq ProLiant 8500 installation instructions

Compaq

Compaq ProLiant 8500 installation instructions

Leviton 49553-55H Instructions for use

Leviton

Leviton 49553-55H Instructions for use

EK Convection DDC user guide

EK

EK Convection DDC user guide

manuals.online logo
manuals.online logoBrands
  • About & Mission
  • Contact us
  • Privacy Policy
  • Terms and Conditions

Copyright 2025 Manuals.Online. All Rights Reserved.