12 13
HINTS AND TIPS FOR YOUR JUICE EXTRACTOR
• Do not put food into the juice extractor before turning the appliance on.
• Let the appliance run for at least 10 seconds before placing any food into the
feed chute.
• Do not let the pulp container or juice glass overfill while using the machine.
Turn the appliance off, wait for the motor to stop running and any juice to stop
flowing. Empty the juice glass and/or pulp container. Be sure they are properly
replaced before resuming operation of the extractor.
• When processing different fruits and vegetables, process the soft foods on Low
speed first; follow with the fruits and vegetables that use the High speed.
• When processing leafy vegetables, such as parsley and herbs, add the herbs
between the harder foods.
• For easy clean up, place a plastic bag inside the pulp container before using
the appliance.
• When processing small fruits, like grapes, add them in handfuls.
• Beets and pomegranates stain easily; process them last and wash all parts
before making another juice drink.
• Do not process bananas, avocados or coconut. They have no juice and will clog
the appliance.
• Be sure to remove all pits and large seeds from fruits.
• To make delicious citrus juice, peel the fruit, removing all the white pith.
Refrigerate till cold and process the fruit through the extractor for a great
drink.
• For maximum nutritional benefits drink your processed juice right away.
Tip for optimum juicing: Avoid excessive build up of pulp on the underside of the
lid.
USES FOR THE PULP
Tip: The pulp from the fruits and vegetables is high in nutritional value.
• Use it to add fiber and flavor to muffins and quick breads.
• Use it to thicken soups, casseroles and sauces.
• Use fruit pulp to add nutrition and flavor to desserts, such as, puddings and
cakes.
• Be sure to use it the same day you extract the juice.
• Pulp is also food for your garden. Use it for compost.
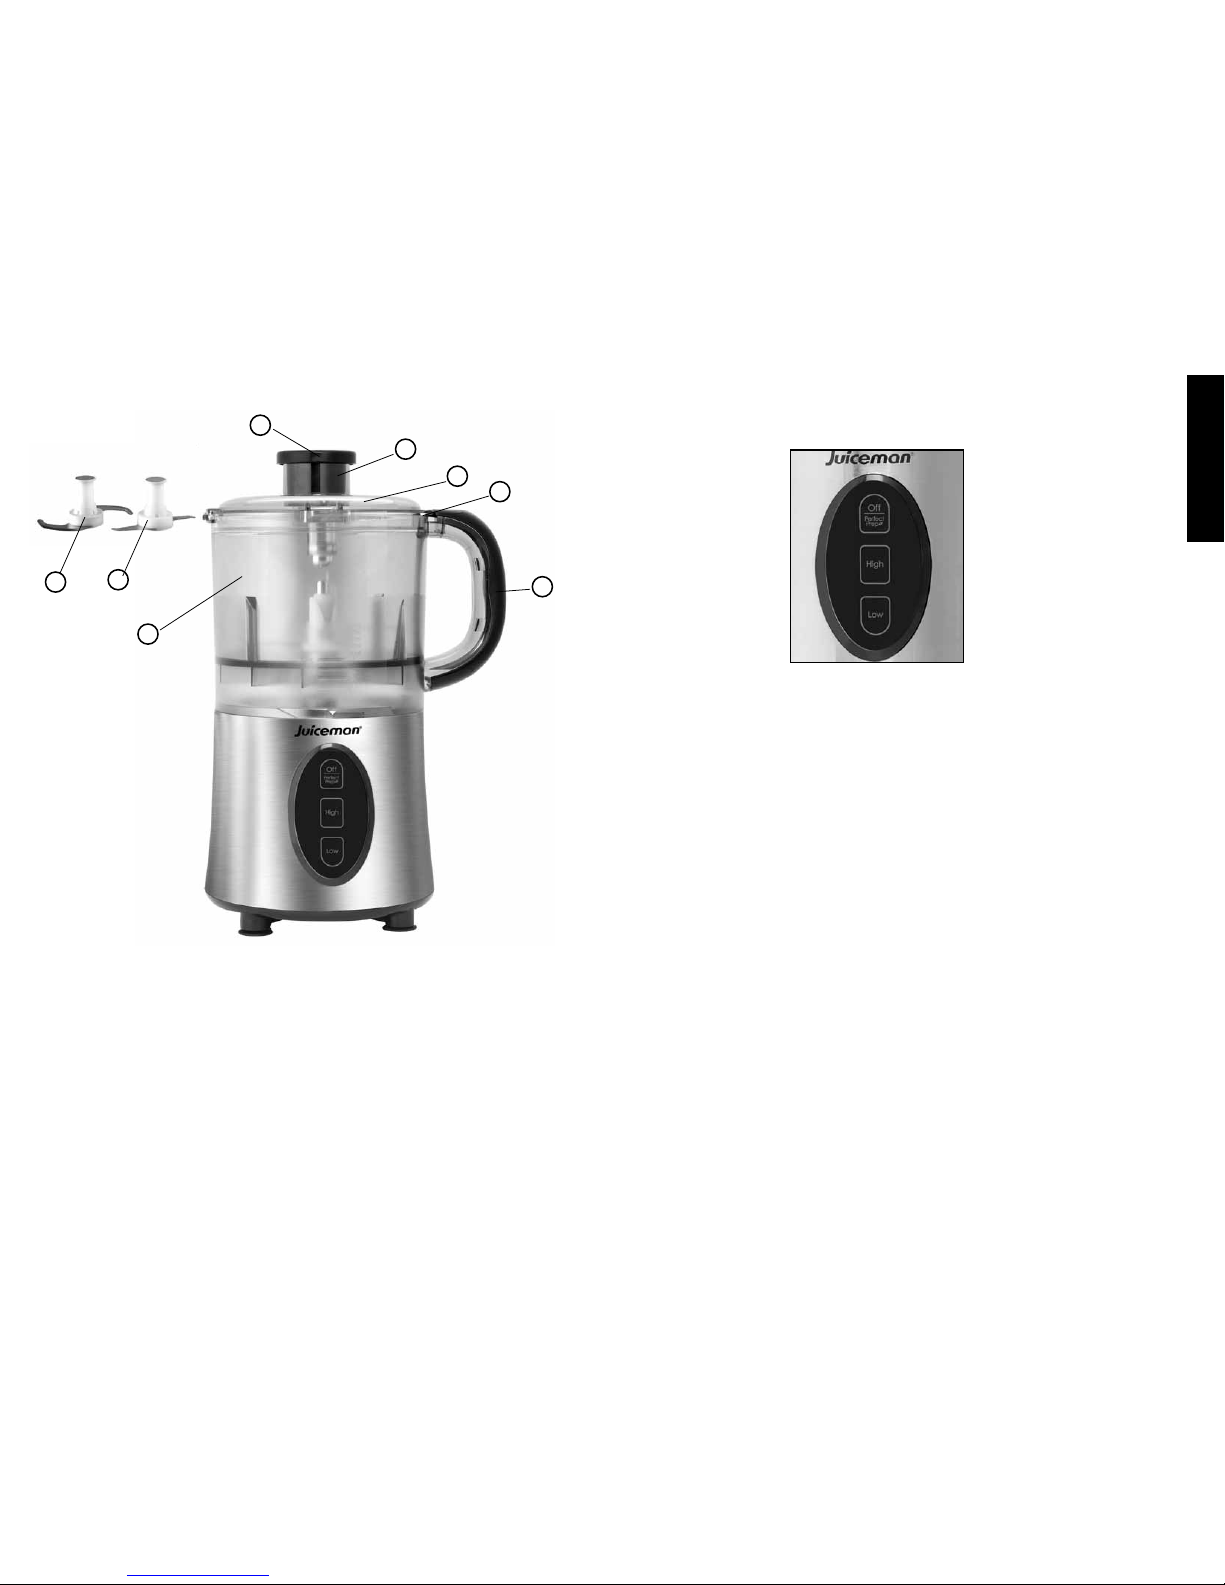
Care and Cleaning
This product contains no user serviceable parts. Refer service to qualified
service personnel.
Important: Always unplug your appliance from the outlet before cleaning.
CLEANING
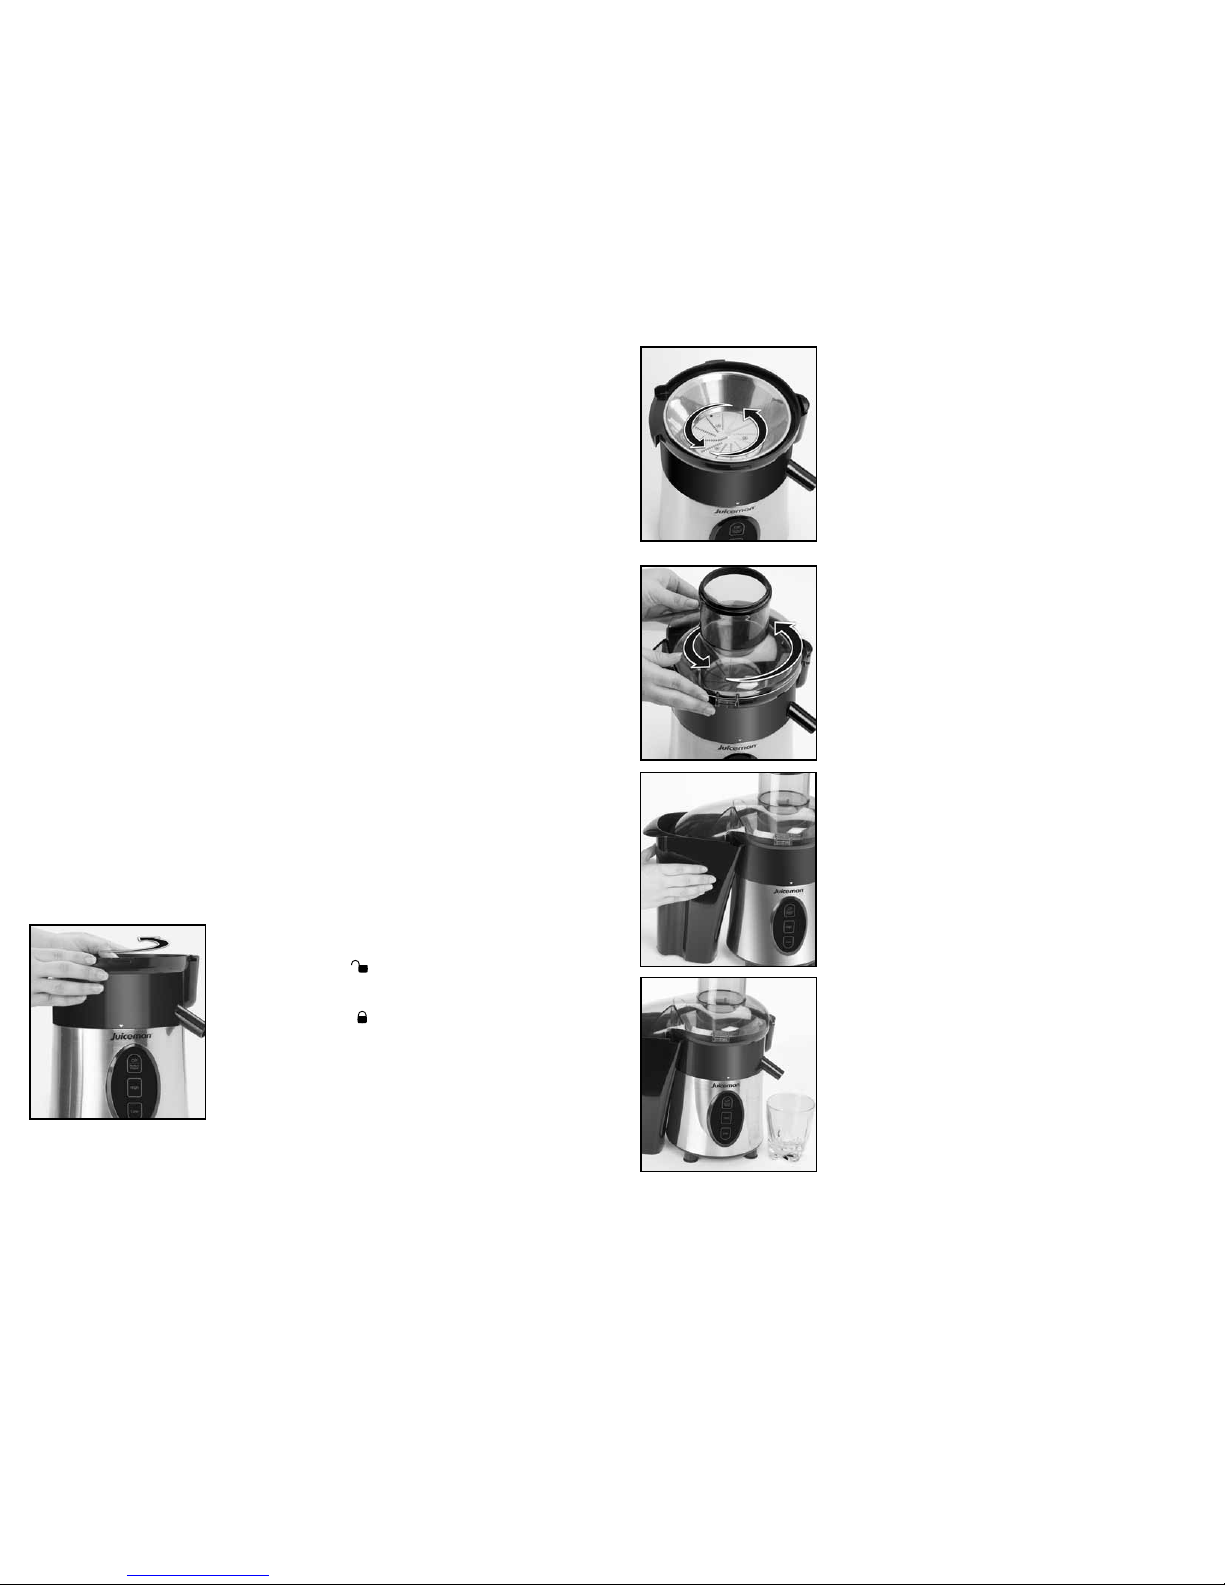
1. Unplug your Juiceman® Express Jr. and disassemble.
2. Using a sponge or damp cloth, clean the base, rubber feet and underside
of the motor base. If necessary, you may use a damp toothbrush or cloth to
clean juice from the inside of the drive shaft (on top of motor base).
Important: Do not immerse the base in water or spray with water. Clean only
by wiping with a damp sponge, cloth or paper towel.
3. All parts – except the base – are dishwasher-safe (top-rack only) or
you may wash in warm, soapy water, using any mild liquid dishwashing
detergent. Do not use any products containing ammonia or scouring
powders, as these can dull, scratch or mar the surface. Use the cleaning
brush provided to remove pulp left on any of the removable parts. Do not
use metal brushes or pads.
4. To clean the filter, use cleaning brush provided to make sure the tiny holes
in the mesh filter are not clogged. This can be accomplished by holding
filter under a running faucet while brushing the mesh screen from both the
inside and outside of the filter.
Tip: Pulp from pulp container can be used in many different ways: making
breads, muffins, cakes, soup stocks, compressed facial packs and garden
compost material.
REMOVING TOUGH STAINS
1. Due to powerful staining properties of carotenoids found in many
vegetables, particularly carrots, we suggest soaking any stained parts
overnight in one of the following solutions:
• Biodegradable soap in enough warm water to cover juice extractor
parts
• ¼ cup bleach added to a sink full of warm water
• 1 part warm water to 1 part cider vinegar
• ½ small box of baking soda in enough warm water to cover juicer parts.
Important: Never use ammonia or abrasive cleansers!
2. After soaking overnight, lightly scrub with soft bristle brush and liquid
detergent.
STORAGE
Store your appliance in a clean, dry place. Never wrap cord tightly around the
appliance. Do not put any stress on cord where it enters the motor base, as
this could cause cord to fray and break.