JUKI MO-2000 Series User manual

MO-2000 Series
SERVICE MANUAL
No.00
40267028
2-Needle, 2/3/4-Thread Overlock Sewing Machine


CONTENTS
1SPECIFICATIONS............................................................................ 1
2NAME OF EACH COMPONENT ..................................................... 2
1. Appearance ................................................................................................................. 2
2. Inside of the cover...................................................................................................... 3
3STANDARD ADJUSTMENT / DISASSEMBLY AND ASSEMBLY... 4
1. Removing the top cover............................................................................................. 4
2. Removing the cloth plate cover ................................................................................ 6
3. Removing the bottom plate ....................................................................................... 7
4. Removing the looper cover ....................................................................................... 7
5. Removing the side cover........................................................................................... 8
6. Removing the rear cover
Removing the front cover .......................................................................................... 9
7. Removing the looper cover guide............................................................................11
9. Installation of the throat plate ................................................................................. 12
10. Height of the needle bar......................................................................................... 14
11. Position of the feed dog......................................................................................... 16
12. Adjusting the stroke of the sub feed dog............................................................. 18
13. Height of the feed dog............................................................................................ 20
14. Feed dog timing...................................................................................................... 22
15. Position of the balance weights and the cams.................................................... 24
16. Projecting amount of the upper looper ................................................................ 26
17. Radius of the lower looper .................................................................................... 28
18. Adjustment of the loop lift ..................................................................................... 30
19. Timing between upper and lower looper.............................................................. 32
20. Installation of the needle guards .......................................................................... 34
21. Adjusting the looper thread take-up..................................................................... 36
22. Height and lateral position of the presser foot.................................................... 38
23. Presser foot height by the knee lifting lever........................................................ 40
24. Height of the presser foot by the micro lifter (only for the MO-2500)................ 42
25. Adjusting the oating of the disk of the thread tension controller ................... 44
26. Adjusting the tension of the thread tension controller....................................... 46

To avoid the risk of re, electric shock, injury to persons or damage to components,
especially keep the following:
• When disassembling, assembling or adjusting the sewing machine, remove the power plug.
• When assembling, be careful about the electrical cord being caught with other components,
damage to the covered parts of the cord or miswiring.
• When replacing the part(s), use the genuine part(s).
WARNING :
27. Position of the needle thread take-up thread guide............................................ 48
28. Tension of the belt.................................................................................................. 50
29. Adjusting the needle bar connection guide of the needle threader .................. 52
30. Adjusting the needle threader hook ..................................................................... 54
31. Adjusting the looper threader timing ................................................................... 56
32. Adjusting the pump unit ........................................................................................ 58
33. Position of the lower knife..................................................................................... 60
34. Engagement of the upper knife with the lower knife .......................................... 62
35. Adjusting the timing of the upper knife................................................................ 64
36. Adjusting the thread sliding segment .................................................................. 66
37. Adjusting the safety switch ................................................................................... 68
38. Position of the cloth plate...................................................................................... 70
4CIRCUIT DIAGRAM....................................................................... 72
5MAINTENANCE ............................................................................. 74
1. Lubrication................................................................................................................ 74
2. Grease application ................................................................................................... 74
3. Looper threader........................................................................................................ 74
6TROUBLES AND CORRECTIVE MEASURES ............................. 75

–1 –
No. Items Description
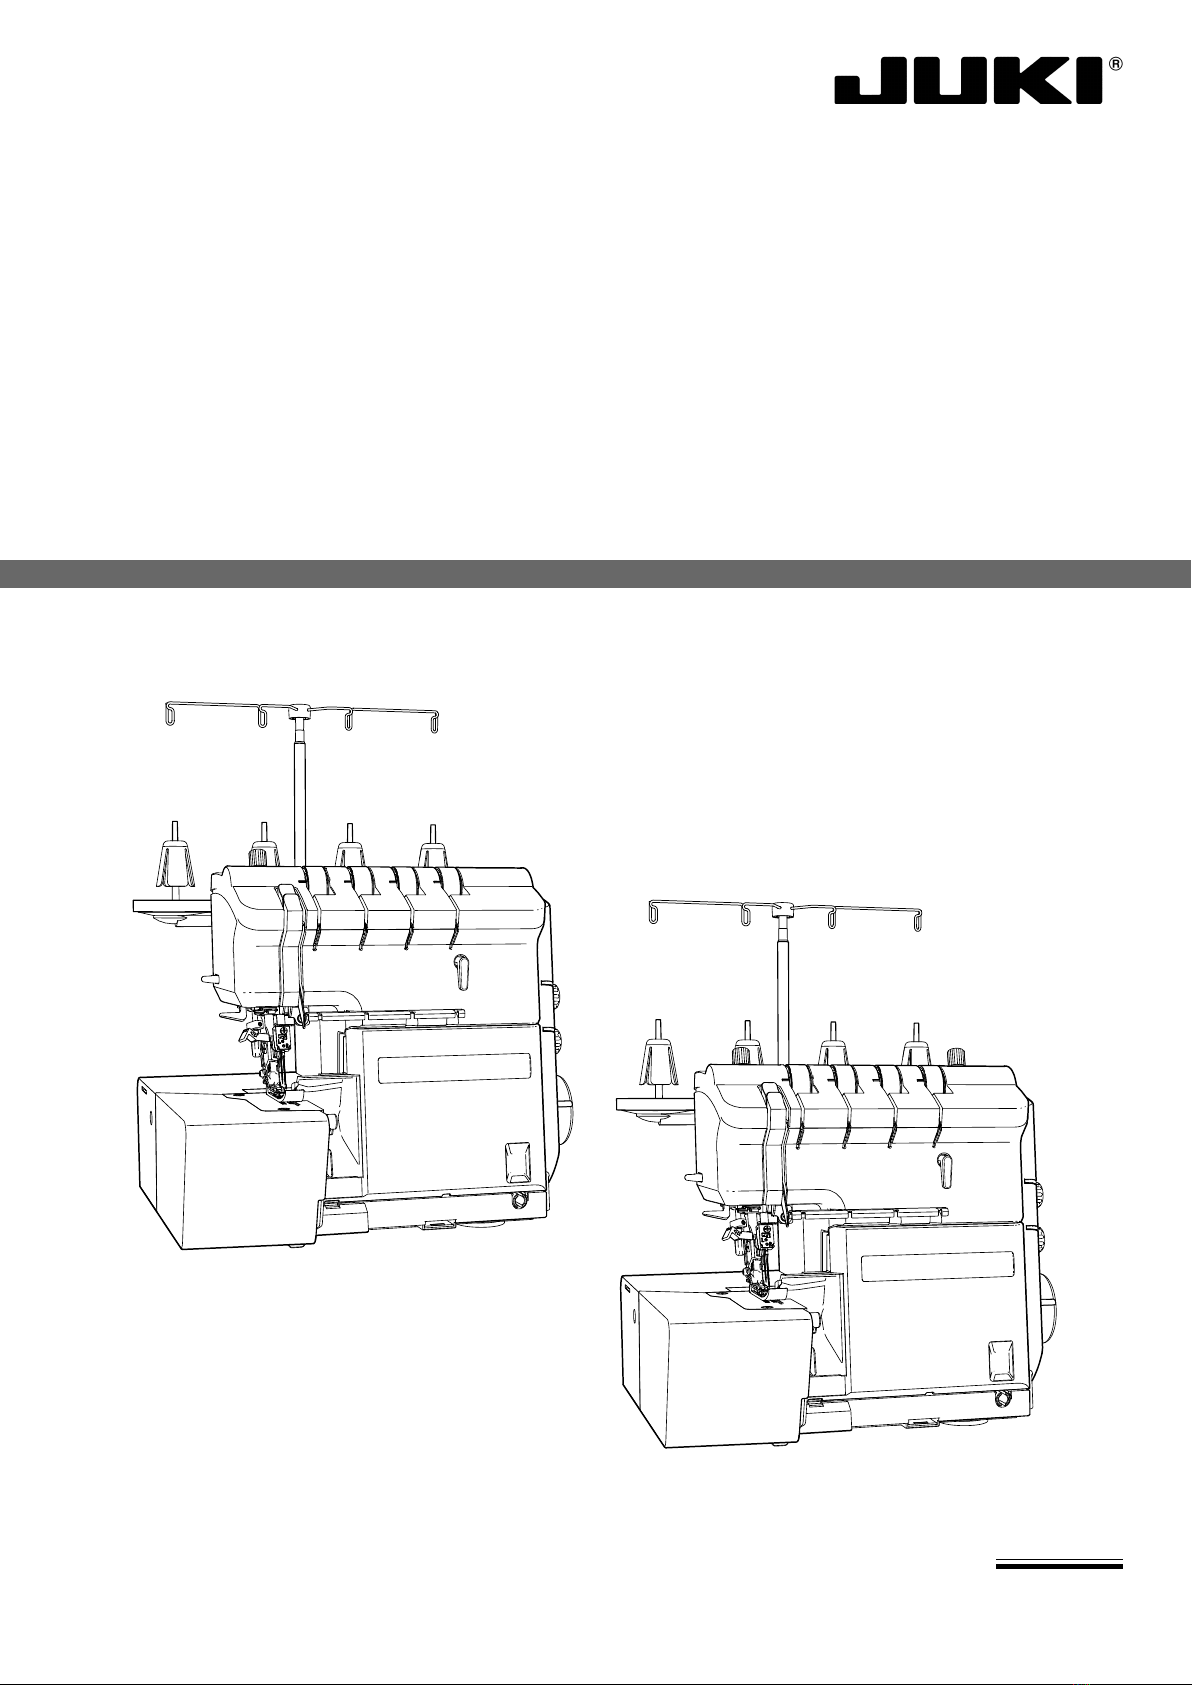
1 Model name 2-Needle, 2/3/4-Thread Overlock Sewing Machine (with
dierential feed adjusting)
2 Stitch choice 2 needles, 4 thread overlock
2 needles, 3 thread overlock
1 needle, 3 thread overlock
1 needle, 2 thread overlock
3 Sewing speed Up to 1,500 sti/min Rating 1,350±150 sti/min
4 Needle gauge Overlocking: 2.2 mm
5 Overedge width 2 needles, 4 thread: 4.5 to 7.0 mm
1 needle, 3 thread (right hand needle): 2.5 to 5.0 mm
1 needle, 3 thread (left hand needle): 4.5 to 7.0 mm
Roll hemming: 2.0 mm
Knife width 2.5 to 5.0 mm
6 Thread sliding segment The thread sliding segment is in synchronism with the lower
knife at its standard position.
The amount of travel of the thread sliding segment must be
nely adjustable with the overedge width adjustment knob.
7 Stitch length 1.0 to 4.0 mm (Standard 2.5 mm)
8Dierential feed 1:0.7 to 2
9 Needle bar stroke 29.4 mm
10 Presser foot height 5.8 mm to 6.0 mm
11 Presser foot height by the knee lifting lever 6.0 mm
12 Presser foot height by the micro lifter (*1) 2.5 mm
13 Feed dog height 1.3 mm (This side end of the sub feed dog P = 2.5 mm;
dierential feed ratio: 1:1)
14 Needle system (Japan) ORGAN needle HA×11SP # 11 (Standard) to # 14
Needle system (Overseas) SCHMETZ (130/705H 15X1H) # 80
15 Number of needles Max. 2
16 Number of threads to be used Max. 4
17 Needle threader Operated by the manual lever
18 Looper threader Automatic threading by the air pump
19 Air pump Piston pump driven by the motor
Motor: DC 12V
20 Power switch Rocker switch
21 Light LED 5V x 2
22 Motor 100V : 100 to 120W
110/120V : 100 to 120W
220 to 240V : 100 to 130W
23 Foot control No-heat method (semi-conductor control type)
24 Driving system Timing belt drive
25 Machine size 350 mm (W) × 310 mm (D) × 340 mm (H)
26 Machine weight 10 kg
1SPECIFICATIONS
* 1: Only for MO-2500 types

–2 –
Caution: Be sure to turn o the power switch
before opening the looper cover.
2NAME OF EACH COMPONENT
1. Appearance Thread guide support
Open thread guide
■ View with looper cover open
Lower looper thread tension dial
Upper looper thread tension dial
Right needle thread tension dial
Left needle thread tension dial
Thread take-up cover
Stitch length adjustment dial
Dierential feed adjustment dial
Cloth plate
Handwheel
Machine socket
Main Power/Light switch
Looper cover with built in
knife guard
Looper cover opening indent
Thread cutter
Presser foot lifter
Stitch plate
Needle clamp
Upper knife
Presser foot
Automatic needle threader
Thread guide No. 1
Magnet needle tray
Micro-lifter dial *1
Top cover
Spool holder pin
Anti - vibration cone
Foam pad
Thread stand
Upper knife changeover knob
TWA
(Tweak Width Adjustment)
Upper looper
Lower looper
Threading hole
Lower knife
Upper knife xing screw
Cutting width adjusting dial
Selection lever for overlocking
or roll hemming
Air-control pushbutton
Threading changeover
lever
Presser foot pressure
regulating knob
*1: Only for MO-2500 type
Magnet needle tray
Roll hemming thread
tension lever
Knee lifting lever hole
Front cover
Retractable support rod

–3 –
Safety switch
Looper threading
mechanism
Knife
Power PCB
Air pump motor
Motor
2. Inside of the cover
Safety switch
Front face
Rear face
*1: Only for MO-2500 type
Knee lifting mechanism
Micro lifting
mechanism *1
Needle threading mechanism

–4 –
❸
1. Removing the top cover
○Remove roll hemming thread tension lever ❶by pulling it out toward you.
○Loosen presser foot pressure regulator knob ❷and remove it.
○Turn micro lifter knob ❸to move it downward until it will go no further. Then, pull it upward until it comes
o.
(When assembling the aforementioned parts, install presser foot pressure regulator knob ❷by turning it
after you have installed the top cover. For the micro lifter knob ❸, adjust rstly so that the at portion of
the shaft faces in the same direction as the at portion of presser foot pressure regulator knob ❷. Then,
t micro lifter knob ❸over the shaft until it will go no further.)
❶
❷
❸
Flat portion of the knob
Flat portion of the shaft
When assembling
3
STANDARD ADJUSTMENT / DISASSEMBLY AND ASSEMBLY
Assembly should be carried out in the reverse order of the disassembly procedure.

–5 –
Rear face
○Remove one screw ❹to remove the thread stand.
○Remove two screws ❺to remove the thread stand base.
○Remove two screws ❻.
○While lifting up the rear side of the top cover, remove it by prying out the claws on the side face (at four
locations on the right and left) with a at-blade screwdriver or the like.
○While lifting up the rear side of the top cover further, remove the top cover from the four claws on the front
face by pushing them in the forward direction.
❹❺
❻
Claws
Claws
Claws (after the top cover is removed)
Claws

–6 –
❶
❷
Cable clip band
Safety switch
❸
Safety switch cable
❹
2. Removing the cloth plate cover
○Remove two screws ❶of the bottom plate.
○Remove one screw ❷from the rear side face of the cloth plate.
○For the cloth plate front and rear parts of which are hinged together, remove two safety switch setscrews
❸and remove the two cable clip bands.
○Remove one setscrew ❹of the cloth plate, small. Remove the cloth plate, small by turning it diagonally
upward.
Bottom face

–7 –
3. Removing the bottom plate
○Remove four screws ❶of the bottom plate.
○Remove the bottom plate and remove three screws ❷.
4. Removing the looper cover
○Remove two screws ❶of the looper cover.
Bottom face
Bottom face
❶
❶
❷

–8 –
❶
5. Removing the side cover
○Remove three screws ❶from the rear face of the sewing
machine.
○Remove the side cover by pushing it forward so that it is
disengaged from the claws located on the front side of the
sewing machine.
Claws
Claws

–9 –
❶
❶
❷
6. Removing the rear cover
Removing the front cover
○Remove one screw ❶from the rear face of the sewing machine.
○Remove setscrews ❶, one each from the upper front part and upper side part of the sewing machine.
○Remove one setscrew ❷of the automatic needle threader, and remove the threader.
❶

–10 –
❸
○ Insert a at-blade screwdriver into the
groove in the pocket portion, and turn it
by prying forward to disengage the rear
cover from the claw.
○Remove two screws ❸from the front
face of the sewing machine, and remove
the front cover and rear cover.
○Remove the CN3 and CN4 connectors
from the power PCB on the rear face of
the sewing machine. Then, remove the
cable clip bands at two locations.
Cable clip
band
CN3
CN4
Rear face
Claws

–11 –
7. Removing the looper cover guide
○Remove the setscrews ❶.
○Remove the cover with the knife changeover lever
aligned with the position of notch on the cover.
❶
❶

–12 –
Standard adjustment
❸
❷
❶
9. Installation of the throat plate
WARNING :
To protect against possible personal injury due to abrupt start of the machine, be sure to start the
following work after turning the power o and ascertaining that the motor is at rest.
Lower knife
(C)
1.4 mm
(B)
(A)
❶
Parallel
❹
Thread sliding
segment lever
ON
+ 0.6
- 0.2
Thread sliding
segment lever
OFF
* Thread sliding segment lever
(Selection lever for overlocking
or roll hemming)

–13 –
Adjustment Procedure
Results of Improper Adjustment
Checking items:
❶Throat plate
❷Setscrew
❸Feed dog
❹Thread sliding segment
* Check that all needles are laterally equidistant with respect to the
throat plate slot (A).
* Check that the distance between the needle center and the front edge
of the throat plate slot is 1.4 mm (B).
* Check to be sure that the lower knife (right end face) is positioned
between the left end and center (C) of the marker dot on throat plate
❶when the lower knife adjustment knob is set at the scale mark 1.
Or, check to be sure that the lower knife (right end face) is spaced 2.5
mm away from the right needle.
How to perform adjustment:
○ Set the thread sliding segment lever in the OFF position.
○ Loosen setscrew ❷. Carry out the adjustment by moving throat plate
❶as described below:
a) The feed dog ❸teeth are parallel to the slots in the throat plate ❶.
b) The needles are spaced equidistantly with respect to the slots in
the throat plate (A).
c) The distance between the needle center and the front edge of the
throat plate ❶slot is 1.4 mm (B).
○Retighten the setscrews ❷.
○After the completion of the adjustment, set the thread sliding segment
lever in the ON position to check the parallelism between the throat
plate and thread sliding segment ❹. If they are not in parallel to each
other, carry out adjustment referring to "27. Adjusting the thread
sliding segment".
If the feed dog comes in contact
with the throat plate, abnormal
noise or breakage can be caused.
If the thread sliding segment is
improperly positioned, stitching
failures such that the material is
caught or thread breaks can be
caused.
+ 0.6
- 0.2
+ 0.6
- 0.2

–14 –
WARNING :
To protect against possible personal injury due to abrupt start of the machine, be sure to start the
following work after turning the power o and ascertaining that the motor is at rest.
Standard adjustment
10. Height of the needle bar
❶
❷
(A) 11.16 ± 0.15 mm
Flat surface
(C)
(B)
(C)
(D)
(E)
(F)

–15 –
Adjustment Procedure
Results of Improper Adjustment
Checking items:
❶Right hand needle
❷Throat plate
* Check that the distance between the throat plate surface and the OL
right hand needle point with the needle bar at the highest point of its
stroke is 11.16 ± 0.15 mm (A) when using needle system 130/705H.
ORGAN NEEDLE HA×1SP (130/705H) #11 setting
SCHMETZ NEEDLE (130/705H 15×1H) #80 setting
How to perform adjustment:
○Remove screw (E) of the needle threader to remove needle threader
unit (F).
○Loosen the setscrew (B) of the needle bar connection (C) slightly.
(The needle bar should not slip down. If the needle bar slips o, refer
to the orientation of the needle bar connection.)
○Allow the needle bar (D) to reach its highest position.
○Move needle bar (D) up and down by hand to adjust dimension (A) is
obtained.
○Retighten the setscrew (B).
○After the completion of the adjustment, adjust the needle threader.
Refer to "20. Adjusting the needle bar connection guide of the
needle threader" and "21. Adjusting the needle threader hook".
Orientation of needle bar connection (C)
○ The needle bar connection should be placed with its at surface up.
If the height of the needle bar dif-
fers from the standard adjustment,
stitching failures such as stitch
skipping and thread fraying can be
caused.
If the orientation of the needle bar
connection is wrong, the needle
bar connection can interfere with
the needle bar bushing, disabling
rotation of the sewing machine.
( )

–16 –
Standard adjustment
❸
(A) Equidistant clearance
(E)
❷
❶
Interference should be prevented
(C)
(B)
(D)
11. Position of the feed dog
WARNING :
To protect against possible personal injury due to abrupt start of the machine, be sure to start the
following work after turning the power o and ascertaining that the motor is at rest.
1 mm
(When the feed
amount is maximized/
dierential feed ratio:
0.7/ closest point)
This manual suits for next models
1
Table of contents
Other JUKI Sewing Machine manuals

JUKI
JUKI 7000 User manual

JUKI
JUKI LU-562 User manual

JUKI
JUKI AMS-221EN Series Quick start guide

JUKI
JUKI LU-1510 Quick start guide

JUKI
JUKI MO-655N User manual

JUKI
JUKI DLN-6390 Quick start guide

JUKI
JUKI LZ-2290A-SR/IP-110D/SC-916 User manual

JUKI
JUKI LK-1910 User manual

JUKI
JUKI MF-7900-E22 User manual

JUKI
JUKI LU-1560N User manual

JUKI
JUKI SC-956A User manual

JUKI
JUKI MO-50e User manual

JUKI
JUKI LU-1510 User manual

JUKI
JUKI DDL-8100e User manual

JUKI
JUKI DDL-8000AS User manual

JUKI
JUKI DDL-8700B-7 User manual

JUKI
JUKI AP-876/IP-420 User manual

JUKI
JUKI DDL-9000C-F Series User manual

JUKI
JUKI MO-734DE User manual

JUKI
JUKI LK-1910 Quick start guide