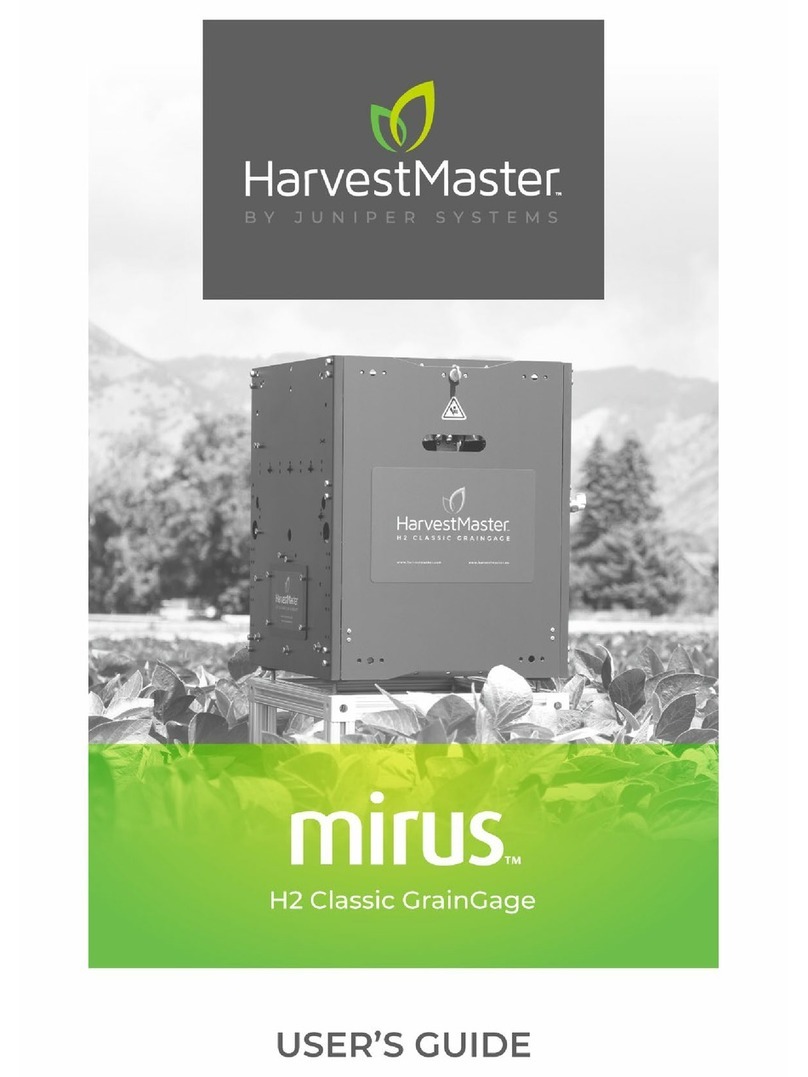
Juniper HarvestMaster GrainGage H2 NIR Upgrade User manual


H2 NIR Upgrade Installation Guide
2
H2 NIR Upgrade Installation Guide
Copyright © May 2023 HarvestMaster. All rights reserved. Information subject to change without notice.
Part Number: 31360-00
Trademarks
Mirus and the HarvestMaster logo are trademarks of Juniper Systems, Inc. H2 Classic GrainGages are
trademarks of Juniper Systems, inc. All other marks and names mentioned herein may be trademarks of
their respective companies.
Disclaimer
Information is subject to change without notice.
Cautions
CAUTION: This symbol indicates that failure to follow directions could result in damage to equipment
or loss of information.
HARVESTMASTER | 1132 W 1700 N | Logan, UT 84321
Phone: 435.753.1881
Email: sales@junipersys.com
!

H2 NIR Upgrade Installation Guide
3
Contents
1 Install NIR Upgrade for Single, Twin, and Triple ......................................5
1.1 Remove the Test Chamber ..............................................................................5
1.2 Install the New Chamber................................................................................8
1.3 Adjust the Air Lines.....................................................................................10
1.4 Install the SCiO Sensor .................................................................................12
1.5 Apply the Label.........................................................................................15
1.6 Connect to the Computer..............................................................................15
1.7 Connect to Mirus .......................................................................................16
2 Install NIR Upgrade for Classic .....................................................19
2.1 Remove the Test Chamber.............................................................................19
2.2 Install the New Chamber ..............................................................................21
2.3 Adjust the Air Lines ....................................................................................26
2.4 Install the SCiO Sensor ................................................................................27
2.5 Apply the Label ........................................................................................30
2.6 Connect to the Computer .............................................................................30
2.7 Connect to Mirus.......................................................................................30

INSTALL NIR UPGRADE
Single, Twin, and Triple

H2 NIR Upgrade Installation Guide
5Install NIR Upgrade for Single, Twin, and Triple
1 Install NIR Upgrade for Single, Twin, and Triple
1.1 Remove the Test Chamber
1. Turn off air and power. Follow all lockout/tagout procedures.
2. At the T fittings, disconnect the air lines that connect
the air valve to the test chamber.
3. Use a flathead screwdriver to remove the test
chamber slide gate limit switch sensor from the air
cylinder. Let it hang. Keep track of the screw.

H2 NIR Upgrade Installation Guide
6Install NIR Upgrade for Single, Twin, and Triple
4. Disconnect the moisture sensor.
a. Unplug the moisture cable from the moisture port
of the DSP module.
b. Remove the zip ties that secure the moisture
sensor cable to the chassis.

H2 NIR Upgrade Installation Guide
7Install NIR Upgrade for Single, Twin, and Triple
5. Reapply the zip ties to secure the load B cable. Trim
the zip tie tails.
6. Carefully remove the two button head cap screws,
holding the chamber to the load cell.
CAUTION: Avoid stripping the screws, which have
Loctite on them, by using a good Allen wrench
and cleaning out the hex-head hole with a pick.
7. Remove the test chamber assembly from the
GrainGage.
Button head
cap screws
!

H2 NIR Upgrade Installation Guide
8Install NIR Upgrade for Single, Twin, and Triple
1.2 Install the New Chamber
1. Place the new chamber in the GrainGage. Fit the
chamber lip over the fill guide.
Note: If necessary, screw in the load cell overload
protection screw four or five turns to allow the new
chamber to fit into place.
2. Apply Loctite 243 to the threads of the two button
head screws. Hand tighten the screws.
Load cell
overload
protection
screw
Button head
cap screws

H2 NIR Upgrade Installation Guide
9Install NIR Upgrade for Single, Twin, and Triple
3. Check that the new chamber is properly aligned:
■The gap between the fill guide and the chamber is
consistent and even. Check the gap when the
chamber is in the down position.
■The chamber slides freely. It does not rub or bump.
4. Tighten the button head screws securely.
CAUTION: Make sure the test chamber can slide
up and down freely without contacting the fill
guide.
Note: It is possible to install the test chamber crooked
enough that it will hit the fill guide when it raises.
Lightly tighten the test chamber screws, and then
lift the chamber to check for interference with the fill
guide. With the chamber lifted, look up through the
test chamber and center it around the fill guide. Then,
tighten the test chamber screws completely.
5. If you adjusted the load cell limit screw (in step 1), use
a 5/16 wrench and adjust the screw to have a 0.006 in.
gap.
Consistent gap
!
Load cell overload
protection screw
Inconsistent gap

H2 NIR Upgrade Installation Guide
10Install NIR Upgrade for Single, Twin, and Triple
6. Attach the limit switch sensor to the air cylinder,
aligning the band about 1 in. from the end of the air
cylinder as shown.
1.3 Adjust the Air Lines
1. From the Mac-valve side, remove the bottom gate air lines that were disconnected from the T fitting.
(See step 2 in 1.1 Remove the Test Chamber on page 5.)
2. Replace the removed air lines with the 20 in. air lines provided in the upgrade kit. Route the 20 in. air
lines through the two empty grommets on the left side of the bucket.
Note: The air lines go in the grommets on the opposite side of the GrainGage from the ones you just
removed.
Use a non-corrosive lubricant to get the 20 in. air lines through the rubber grommets.
Before
After
Correct position of the
limit switch sensor on
the air cylinder

H2 NIR Upgrade Installation Guide
11Install NIR Upgrade for Single, Twin, and Triple
3. Route the supply lines to the test chamber as shown.
4. Disconnect the two air lines in front of the SCiO Sensor
hole.
Supply lines

H2 NIR Upgrade Installation Guide
12Install NIR Upgrade for Single, Twin, and Triple
1.4 Install the SCiO Sensor
1. Position the SCiO Sensor in the new chamber. For best
results,
■Match the top of the sensor to the top of the
opening in the chamber.
■Insert the sensor at a slight angle. The top of the
sensor angled in toward the opening.
2. Tighten the four captive screws in the sensor, using a
cross pattern.
CAUTION: The screws will still tighten if
misaligned, and it’s not always obvious.
3. Check that the SCiO Sensor aligns properly with the
test chamber from the inside.
In proper alignment,
■The square portion of the sensor inserts fully
through the sheet metal.
■The sensor plastic is flush with the inside of the
sheet metal and is not recessed.
If sensor plastic is recessed or misaligned, loosen
the four screws and realign.
4. Reconnect the air lines to the left air cylinder.
!
Incorrect installationCorrect installation

H2 NIR Upgrade Installation Guide
13Install NIR Upgrade for Single, Twin, and Triple
5. Attach the 30712 H3 SCiO cable assembly to the
outside of the GrainGage, using the ¼-20x⁄ in. socket
head cap screw and nylock nut.
6. Route the H3 SCiO cable into the GrainGage.
7. Route the computer and DSP module cables under
the cable rail.
8. Attach the moisture cable to the DSP moisture port.
H3 SCiO cable
Computer cable
DSP module cable

H2 NIR Upgrade Installation Guide
14Install NIR Upgrade for Single, Twin, and Triple
9. Position the computer cable end as needed. Shown
here inside the chassis.
10. Coil and secure the computer and moisture cables to
the cable rail, using the provided zip ties.
11. Attach the SCiO cable to the SCiO Sensor.

H2 NIR Upgrade Installation Guide
15Install NIR Upgrade for Single, Twin, and Triple
12. Secure the cable as shown with zip ties. Allow enough
slack for the test chamber to cycle without stretching
the cable. A strained cable could affect the accuracy of
the test weight.
1.5 Apply the Label
1. Install the new H3 GrainGage label.
1.6 Connect to the Computer
1. Position a 30712 Serial to USB cable from the junction cable to the cab. Follow the same path as the
CAN cable or a cleaner path if available. If needed, you can use the 31518 SCiO 15 ft extension cable
here.
2. Plug the USB end of the serial to USB cable into the USB Port of the tablet. Secure the USB end so
that it can’t vibrate out.

H2 NIR Upgrade Installation Guide
16Install NIR Upgrade for Single, Twin, and Triple
1.7 Connect to Mirus
1. Download and install Mirus 4.5.0 or above.
Note: When asked to launch Mirus, do NOT launch.
2. Enable the H3 Plugin in the Plugin Manager.
3. Install the SCiO Service for the sensor.
Note: Each sensor has its own activation link. If you have not yet received your link,
a. Go to harvestmaster.com/support. Tap My Product.
b. Tap SCiO License Renewal.
4. Open Mirus and connect the H3 GrainGage plugin.
If Mirus does not successfully connect to the H3 GrainGage, complete the following steps in order.
a. Press the red button on the system controller to power off the GrainGage.
b. Close Mirus.
c. Unplug the CAN to USB cable from the computer.
d. Unplug the serial to USB cable from the computer.
e. Check that the SCiO service is running by checking the Windows Services application, as shown
below.
f. Plug the serial to USB cable into the computer.
g. Press the red button on the system controller to turn on the GrainGage.
h. Plug the serial to USB cable into the computer.
i. Open Mirus.
j. Tap the H3 icon to connect to the GrainGage.

H2 NIR Upgrade Installation Guide
17Install NIR Upgrade for Single, Twin, and Triple
5. Open Diagnostics, and tap the Sensor Info tab. Check
the following settings.
■Detected sensor type: SCiO.
■SCiO code version: If unsure if this is latest version
check with HarvestMaster repsentative.
■SCiO connected: Yes.
6. Calibrate the test weight load cell, weigh bucket load
cells, and slope and motion. (See the Mirus manual for
how to calibrate.)
7. Ensure that the air lines were connected properly.
a. Open Diagnostics.
b. Open and close each gate while watching the
GrainGage to verify that the gates open and close
as expected.
Your H3 installation is complete. You are ready to follow standard harvest procedures.

INSTALL NIR UPGRADE
Classic

H2 NIR Upgrade Installation Guide
19Install NIR Upgrade for Classic
2 Install NIR Upgrade for Classic
2.1 Remove the Test Chamber
1. Turn off air and power. Follow all lockout/tagout procedures.
2. Check the bottom back crossbar. If the crossbar has no
notch, replace with the notched version of 26242 H2M
Crossbar.
Note: The notch is positioned on the inside of the
GrainGage facing the bottom slide gate to allow more
clearance between the crossbar and an open bottom
slide gate.
3. At the T fittings, disconnect the air lines that connect
the air valve to the test chamber.
4. Shorten the air lines to 16 in.
notch
notch
Disconnect the two air
lines and shorten to 16 in.

H2 NIR Upgrade Installation Guide
20Install NIR Upgrade for Classic
5. Use a flathead screwdriver to remove the test
chamber slide gate limit switch sensor from the air
cylinder. Let it hang. Keep track of the screw.
6. Disconnect the moisture sensor.
a. Unplug the moisture cable from the moisture port
of the DSP module.
b. Remove the zip ties that secure the moisture
sensor cable to the chassis.
c. Reapply three zip ties to secure the load B cable to
the chassis. Trim the zip tie tails.
Remove the test chamber
slide gate limit switch sensor.
Table of contents
Other Juniper Farm Equipment manuals
Popular Farm Equipment manuals by other brands

Hardi
Hardi Terra Force Instruction book supplement

Maschio
Maschio GASPARDO AIRONE Use and maintenance

Econo-Wrap
Econo-Wrap EW-1800T Operator's manual

Duratech
Duratech HAYBUSTER 107 DRILL Operating Instructions and Parts Reference

IBEX
IBEX TX51 2 Wheel Rake instruction manual

GREAT PLAINS
GREAT PLAINS 1200 Predelivery Manual