34
Table of contents
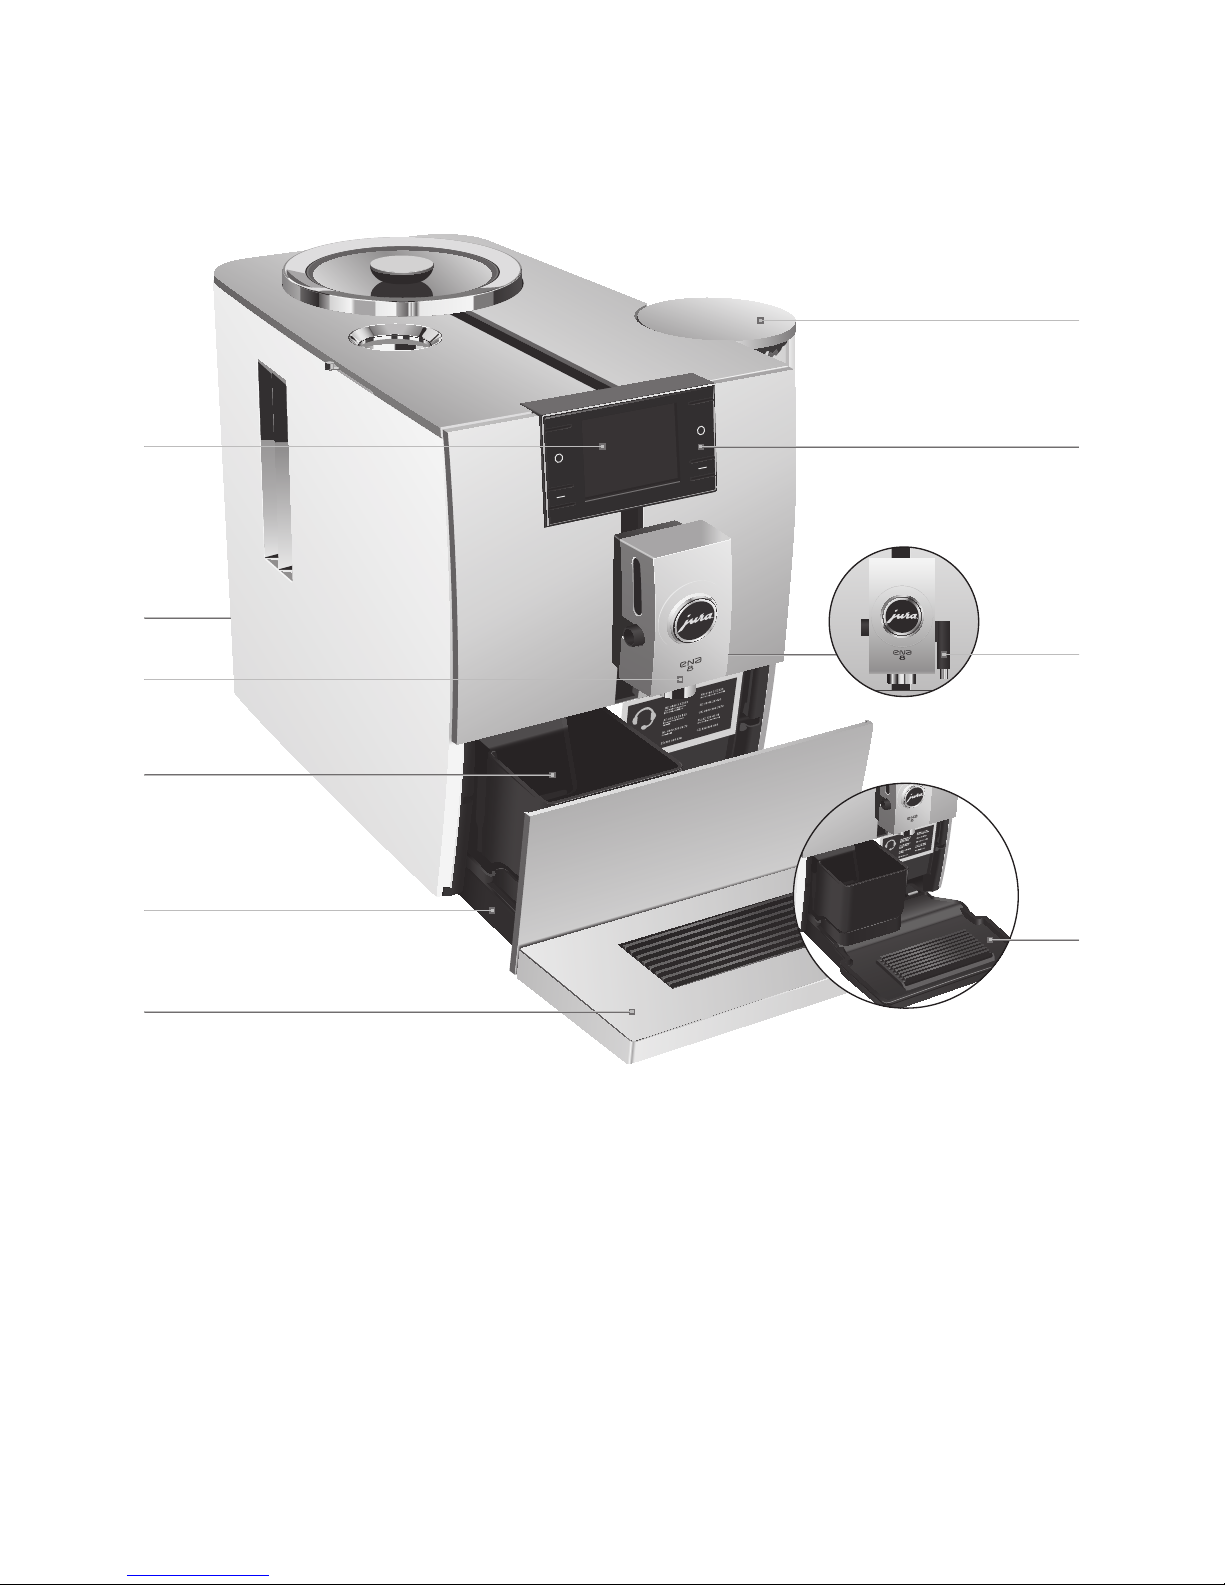
Your ENA 8
Control elements 36
Important information 38
Proper use...............................................................................................................................................................38
For your safety .......................................................................................................................................................38
1 Preparing and using for the first time 40
JURA on the Internet ............................................................................................................................................ 40
Setting up the machine....................................................................................................................................... 40
Filling the bean container ................................................................................................................................... 40
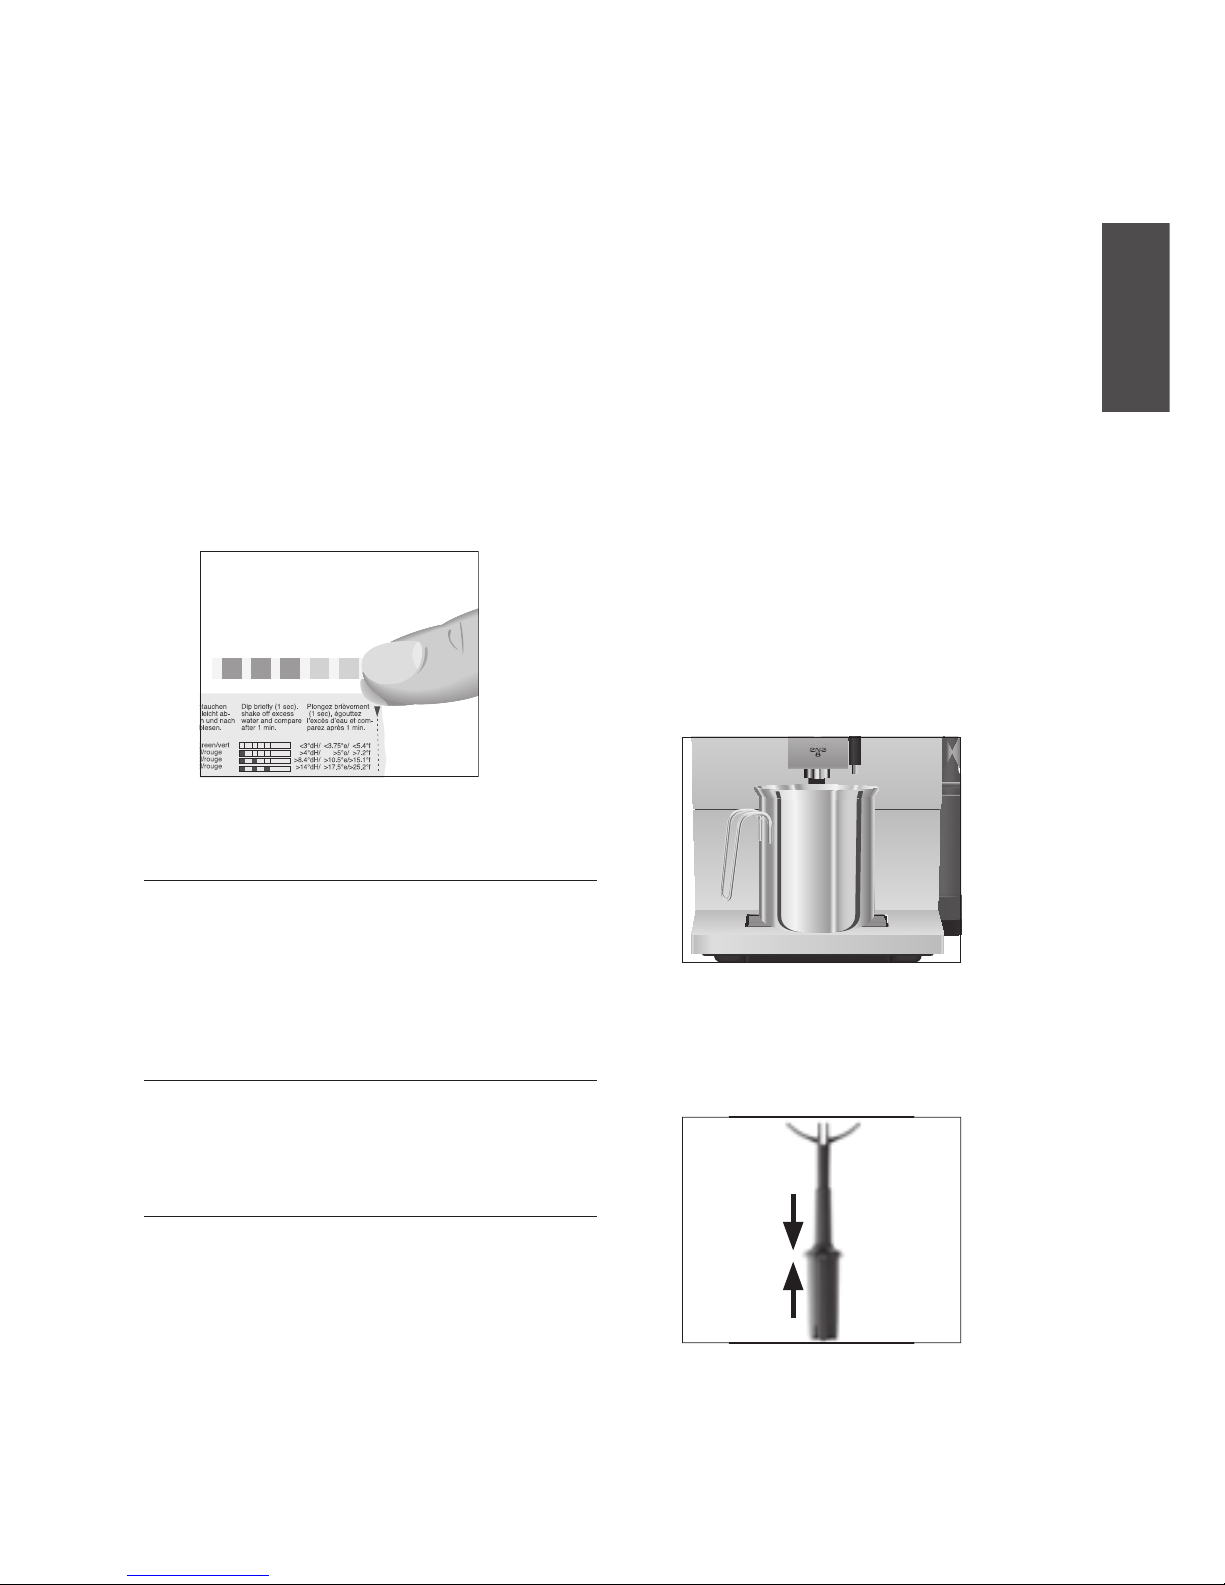
Determining the water hardness........................................................................................................................ 41
First-time use.......................................................................................................................................................... 41
Connecting milk.....................................................................................................................................................42
Connecting an accessory (via Bluetooth)..........................................................................................................42
2 Preparation 43
Espresso, coffee and other speciality coffees ...................................................................................................43
Latte macchiato, cappuccino and other speciality coffees with milk...........................................................43
Ground coffee........................................................................................................................................................ 44
Adjusting the grinder........................................................................................................................................... 45
Hot water................................................................................................................................................................ 45
3 Daily operation 45
Filling the water tank ........................................................................................................................................... 45
Switching on the machine .................................................................................................................................. 46
Daily maintenance................................................................................................................................................ 46
Regular maintenance........................................................................................................................................... 46
Switching off the machine.................................................................................................................................. 46
4 Permanent settings in programming mode 47
Adjusting the product settings .......................................................................................................................... 48
Automatic switch-off............................................................................................................................................ 48
Energy-saving mode............................................................................................................................................ 49
Restore factory settings....................................................................................................................................... 49
Unit for amount of water .................................................................................................................................... 49
Setting the water hardness................................................................................................................................. 49
Language................................................................................................................................................................ 50
5 Maintenance 50
Rinsing the machine ............................................................................................................................................ 50
Automatic milk system rinsing ........................................................................................................................... 51
Cleaning the milk system..................................................................................................................................... 51
Dismantling and rinsing the dual spout............................................................................................................52
Inserting/changing the filter ................................................................................................................................53
Cleaning the machine.......................................................................................................................................... 54
Descaling the machine ....................................................................................................................................... 54
Descaling the water tank..................................................................................................................................... 56
Cleaning the bean container .............................................................................................................................. 56