Jura IMPRESSA J5 User manual

IMPRESSA J5 – Quick Reference Guide
The ‘IMPRESSA Manual’ together with these short instruc-
tions ‘IMPRESSA J5 – Quick Reference Guide’ has been
awarded the seal of approval by the independent German
Technical Inspection Agency, TÜV SÜD, due to its easy-to-
understand style, its thoroughness and coverage of safety
aspects.

2
IMPRESSAJ5 – Quick Reference Guide
These short instructions do not replace the ‘IMPRESSA J5 Manual’.
Makesureyoureadandobservethesafetyinformationandwarnings
first in order to avoid hazards.
When the IMPRESSA is switched on, a prompt to perform a rinse
operation automatically appears.
Precondition: Your IMPRESSA is switched on at the power switch
and the On/Off button gis illuminated (standby).
glPress the On/Off button to switch the IMPRESSA on.
HEATING
PRESS RINSE, the maintenance button hlights up.
lPlace a receptacle under the coffee spout.
h l Press the maintenance button.
The machine will rinse itself, stopping automatically.
READY appears on the display. Your IMPRESSA is ready to
use.
AclassicItalianrecipe.TheCappuccinoismadeupofone-thirdeach
of Espresso, hot milk and milk foam. The finishing touch is a sprin-
kling of cocoa powder.
Precondition: The Professional Cappuccino Frother is installed.
lTake the milk pipe out of the Welcome Pack.
lTake the protective cap off the Professional Cappuccino
Frother.
lAttach the milk pipe to the nozzle.
lInsert the other end in a milk carton/bottle or connect it to
a milk container.
lPlace a cup under the Professional Cappuccino Frother.
Switching on
Cappuccino

3
IMPRESSAJ5 – Quick Reference Guide
lTurn the selection lever of the nozzle to the milk foam
position .
k l Press the steam button.
HEATING
READY appears as soon as the IMPRESSA has heated up.
k l Press the steam button.
STEAM, the milk foam is being prepared.
Theoperationstopsautomaticallyafterreachingthepre-set
amount of steam.
oThe milk foam preparation can be interrupted at any time. To
do this, press any button.
oWhile milk foam is being prepared, you can change the pre-
set amount of water by turning the rotary switch.
oYou can continue with preparing milk foam within approx.
40 seconds.
lMove the cup under the coffee spout.
a l Press the 1 Espresso button.
1ESPRESSO appears on the display. After this, the
strength is briefly displayed.
The pre-set amount of water flows into the cup.
Drink preparation stops automatically. READY appears on
the display.
To ensure that the Professional Cappuccino Frother works perfectly,
you should rinse and clean it regularly. You can find more informa-
tion under ‘Maintenance – Professional Cappuccino Frother’.

4
IMPRESSAJ5 – Quick Reference Guide
YourIMPRESSAnolongerhastobedescaledifyouareusingCLARIS
filter cartridges.
oPerformthe‘Insertfilter’operationwithoutinterruptions.This
will ensure that your IMPRESSA always produces its best.
oAfter two months, the filter will cease to work. Monitor the
elapsed time as shown on the date plate on the cartridge
holder.
Precondition: READY appears on the display.
m l Keep the rotary switch pressed until RINSE appears on
the display.
ä l Turn the rotary switch until FILTER - appears.
m l Press the rotary switch to enter the programme item.
NO - appears on the display.
ä l Turn the rotary switch until YES √ appears.
m l Press the rotary switch to confirm this setting.
OK appears briefly on the display to confirm the setting.
INSERT, the maintenance button hlights up.
lRemove the CLARIS filter cartridge and the filter cartridge
extension from the Welcome Pack.
lStick the extension on top of the filter cartridge.
lRemove the water tank and empty it.
lLift the cartridge holder and insert the filter cartridge into
the water tank, applying light pressure.
lClose the cartridge holder. It will click into place audibly.
lFill the water tank with cold, fresh mains water and
reinsert.
lPlace a receptacle (at least 500 ml) under the Professional
Cappuccino Frother.
Using and activating
filter

5
IMPRESSAJ5 – Quick Reference Guide
lTurn the selection lever of the nozzle to the steam
position k.
h l Press the maintenance button.
FILTER RINSING. Waterwillflow outatthenozzle.
oYou can interrupt the rinsing of the filter at any time by
pressing any button.
oThe water may be slightly discoloured. This is not harmful to
health, nor does it affect the taste.
Filter rinsing stops automatically after approx. 500 ml.
HEATING appears on the display, and then READY
appears. The filter is now activated.
oAfter 50 litres of water have flowed through, the filter will
cease to work. Your IMPRESSA will automatically prompt you
to change the filter.
oAfter two months, the filter will cease to work. Monitor the
elapsed time as shown on the date plate on the cartridge
holder.
oIf the CLARIS filter cartridge is not activated, you will not be
prompted to change the filter.
Precondition:FILTER /READY appearson the display, and the
maintenance button lights up.
h l Press the maintenance button.
CHANGE
lRemove the water tank and empty it.
lOpenupthecartridgeholderandremovetheoldCLARISfil-
ter cartridge and the extension piece.
lStick the extension on top of a new CLARIS filter cartridge.
lInsert the filter cartridge into the water tank with light pres-
sure.
Changing the filter

6
IMPRESSAJ5 – Quick Reference Guide lClose the cartridge holder. It will click into place audibly.
lFill the water tank with cold, fresh mains water and reinsert.
lPlace a receptacle (at least 500 ml) under the Professional
Cappuccino Frother.
lTurn the selection lever of the nozzle to the steam
position k.
h l Press the maintenance button.
FILTER RINSING. Waterwillflow outatthenozzle.
oYoucaninterruptthefilterrinsingatanytime.Todothis,press
any button.
oThe water may be slightly discoloured. This is not harmful to
health, nor does it affect the taste.
Filter rinsing stops automatically after approx. 500 ml.
HEATING appears on the display, and then READY
appears.
After 200 coffee preparations or 80 switch-on rinses, the IMPRESSA
will prompt you to clean it.
Ifthewrongcleaningagentisused,themachinecouldbe damaged
and/or traces of detergent could be left behind in the water.
lUse only original JURA care products.
oThe cleaning programme only lasts about 15 minutes.
oDo not interrupt the cleaning programme. The quality of
cleaning will be impaired if you do so.
oJURA cleaning tablets are available from your stockist.
Precondition: CLEAN /READY appears on the display, and the
maintenance button hlights up.
Clean machine
CAUTION

7
IMPRESSAJ5 – Quick Reference Guide
h l Press the maintenance button.
EMPTY TRAY
lEmpty the drip tray and coffee grounds container and put
them back into the machine.
PRESS RINSE – The maintenance button hlights up.
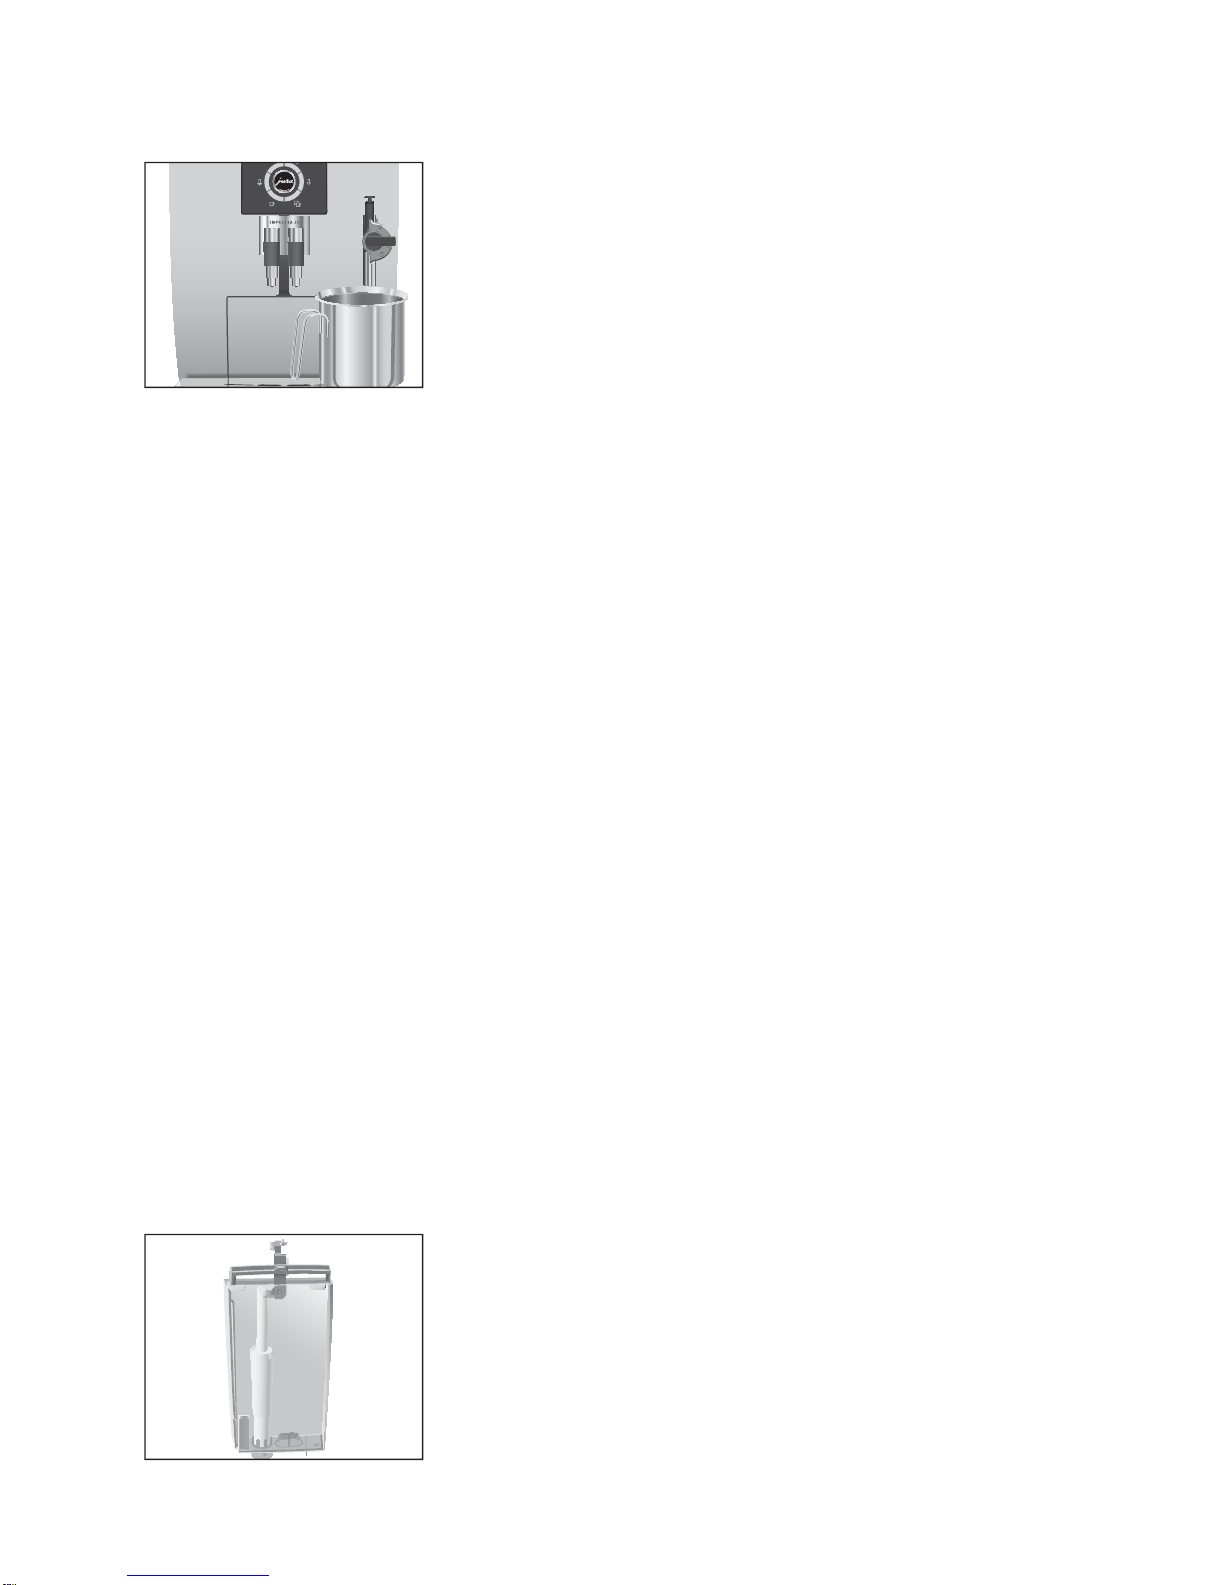
lPlace a receptacle (at least 500 ml) under the coffee spout.
h l Press the maintenance button.
CLEANING – Water flows out of the coffee spout.
The process is interrupted – ADD TABLET.
lOpen the cover of the filler funnel for pre-ground coffee.
lInsert a JURA cleaning tablet into the filler funnel.
lClose the cover of the filler funnel.
PRESS RINSE – The maintenance button hlights up.
h l Press the maintenance button.
CLEANING
Water flows out of the coffee spout several times.
The process is interrupted – EMPTY TRAY.
lEmpty the drip tray and coffee grounds container and put
them back into the machine.
The cleaning operation is now complete. The cleaning
operation is now complete.
The IMPRESSA builds up deposits of limescale over time and auto-
matically prompts you to descale it when necessary. The degree of
calcification depends on the degree of hardness of your water.
If the descaling agent comes into contact with the skin or eyes, this
can cause irritation.
lAvoid contact with the skin or eyes.
lRinsethedescalingagentoffwithcleanwater.Shouldyouget
any descaling agent in your eye, see a doctor.
If the wrong descaling agent is used, the machine could be dam-
aged and/or traces of detergent could be left behind in the water.
lUse only original JURA care products.
Descale machine
CAUTION
CAUTION

8
IMPRESSAJ5 – Quick Reference Guide
If the descaling operation is interrupted, there may be damage to
the machine.
lAllow the descaling program to run to the end.
If the descaling agent comes into contact with sensitive surfaces,
damage cannot be ruled out.
lClean up any splashes immediately.
oThe descaling programme lasts approx. 40 minutes.
oJURA descaling tablets are available from your stockist.
oIf you use a CLARIS filter cartridge and this is activated, you
will not be prompted to change the filter.
Precondition: DE-SCALE /READY appears on the display, and
the maintenance button hlights up.
h l Press the maintenance button.
EMPTY TRAY
lEmpty the drip tray and coffee grounds container and put
them back into the machine.
AGENT IN TANK
lRemove the water tank and empty it.
lCompletely dissolve the contents of one blister (3 JURA
descaling tablets) in a container that holds 500 ml of water.
This may take several minutes.
lPour the solution into the empty water tank and insert it in
the machine.
AGENT IN TANK – The maintenance button hlights
up.
lRemove the nozzle.
lPlace a receptacle (at least 500 ml) under the Connector
System©.
h l Press the maintenance button.
DE-SCALING
ThiscauseswatertoflowoutoftheConnectorSystem©.The
maintenance button blinks during the descaling operation.
The operation stops automatically – EMPTY TRAY.
lEmpty the drip tray and coffee grounds container and put
them back into the machine.
CAUTION
CAUTION

9
IMPRESSAJ5 – Quick Reference Guide
lEmpty the container under the Connector System©.
FILL WATER TANK
lRinse the water tank thoroughly and fill it with cold, fresh
mains water.
lPut the water tank back in.
PRESS RINSE – The maintenance button hlights up.
lPlace a container under the Connector System©.
h l Press the maintenance button.
This causes water to flow out of the Connector System©.
The operation stops automatically – EMPTY TRAY.
lEmpty the drip tray and coffee grounds container and put
them back into the machine.
lReplace the nozzle.
The descaling operation is now complete.
The IMPRESSA heats up and is ready for use again.
oIf the descaling operation stops unexpectedly, rinse the water
tank thoroughly.
To ensure that the Professional Cappuccino Frother works perfectly,
you should rinse it with water after every milk preparation.
oThe IMPRESSA will not prompt you to rinse the Professional
Cappuccino Frother.
lRemove the milk pipe from the milk carton/bottle or the
milk container.
lFill the receptacle with 250 ml of fresh water and immerse
the milk pipe in it.
lPlace a receptacle under the Professional Cappuccino
Frother.
lTurn the selection lever to the milk or milk foam
position.
k l Press the steam button.
HEATING
READY
Rinse Professional
Cappuccino Frother

10
IMPRESSAJ5 – Quick Reference Guide
k l Press the steam button again.
STEAM – The nozzle and pipe are rinsed.
lPress any button as soon as clean water flows into the cup.
To ensure that the Professional Cappuccino Frother works perfectly,
you should clean it daily when you have been preparing milk.
Ifthewrongcleaningagentisused,themachinecouldbe damaged
and/or traces of detergent could be left behind in the water.
lUse only original JURA care products.
oThe IMPRESSA will not prompt you to clean the Professional
Cappuccino Frother.
oThe JURA Cappuccino Cleaner is available from your stockist.
lPlace a receptacle under the Professional Cappuccino
Frother.
lPour 250 ml of fresh water into a container and add one
capful (max. 15 ml) of Cappuccino Cleaner.
lImmerse the milk pipe in the receptacle.
lTurn the selection lever to the milk or milk foam
position.
k l Press the steam button.
HEATING
READY
k l Press the steam button again.
STEAM
Ä l Turn the rotary switch until 60 SEC appears on the
display.
STEAM – The nozzle and pipe are cleaned.
lPressanybuttonas soon asthereceptaclewith the Cappuc-
cino Cleaner is empty.
Clean Professional
Cappuccino Frother
CAUTION

11
IMPRESSAJ5 – Quick Reference Guide
lRinse the receptacle thoroughly, fill it with 250 ml of fresh
water and immerse the milk pipe in it.
k l Press the steam button.
ä l Turn the rotary switch until 60 SEC appears on the
display.
STEAM – The nozzle and pipe are rinsed with fresh water.
lPress any button as soon as the receptacle with the water is
empty.
lCarefully remove the Professional Cappuccino Frother from
the Connector System©.
lDisassemble the Professional Cappuccino Frother into its
components.
lRinse all the nozzle parts thoroughly under running water.
lReassembletheProfessionalCappuccinoFrotherandattach
it to the Connector System©.
The cleaning of the Professional Cappuccino Frother is
finished.
Disassemble
Professional
Cappuccino Frother
Art. 66363/J5/en/20100806
Other manuals for IMPRESSA J5
2
This manual suits for next models
1
Table of contents
Other Jura Coffee Maker manuals

Jura
Jura IMPRESSA J5 User manual

Jura
Jura IMPRESSA XJ9 Professional User manual

Jura
Jura IMPRESSA J7 User manual

Jura
Jura IMPRESSA F55 User manual

Jura
Jura IMPRESSA X9 User manual

Jura
Jura IMPRESSA C50 User manual

Jura
Jura Z6 User manual

Jura
Jura WE8 User manual

Jura
Jura GIGA 6 User manual

Jura
Jura E6 User manual

Jura
Jura IMPRESSA J9 One Touch User manual

Jura
Jura IMPRESSA E80 User manual

Jura
Jura Impressa S guide User manual

Jura
Jura D4 User manual

Jura
Jura IMPRESSA E50 User manual

Jura
Jura 747 User manual

Jura
Jura ENA Micro 1 User manual

Jura
Jura Impressa C9 One Touch User manual

Jura
Jura S8 User manual

Jura
Jura 734 User manual