manuals.online logo
Brands
  1. Home
  2. •
  3. Brands
  4. •
  5. Justwise
  6. •
  7. Indoor Furnishing
  8. •
  9. Justwise Ashton 171 / 9682 Datasheet

Justwise Ashton 171 / 9682 Datasheet

171 / 9682
183 / 5786
158 / 4927
173 / 8735
161 / 6644
184 / 5226
157 / 4580
144 / 4799
171 / 7811
(Small
If you need help or have damaged or missing parts, call the Customer Helpline on
01992 450 333
Max mattress weight: 50kg
Tick boxes provided to check the components
Long support leg x 2
Slats
(Cannot compress by hand
alone. It must be attached
to the frame with a mattress
on top for it to compress).
x 30 ( 5ft )
x 28 (4ft6)
on 01992 450 333.
x 28 ( 4ft )
Tick boxes provided to check the components
20
Frame Support x 1
23
Metal Support Block x 4
Metal Clip x 4 Plastic Foot Adjuster x 2
Plastic Cap x2
1/4” Washer x 4
5/16” Washer x 8
F
EKG
J
(These clips are very small, please
keep them in a safe place until
required in assembly.)
on 01992 450 333.
3
Tick boxes provided to check the components
(not supplied)
4
2x
5/16” 45mm
Bolt
14x
5/16” 25mm
Bolt
26x
1/4” 15mm
Bolt
16x
M4 45mm
Wood screw
3x
1/4” 38mm
Bolt
4x
1/4” 19mm
Bolt
A B C
DH I
20mm
Aim to screw in
the wooden
screw roughly
20mm for the
edge.
Aim to screw in
the wooden
screw roughly
20mm for the
edge.
20mm
Attach 2x legs
to the underside of
the headboard using
screws as shown.
Repeat on the underside
of the footboard .
9
D
3
4
5
legs
a: Attach the frame
support to the foot-
board using bolts
and washers as shown.
23
4A
F
Assemble footboard
b: Attach the metal
support blocks to the
footboard &
headboard as shown
using m4 screws .
17
4
3
D
6
3
B
B
2
G
3
B
B
3
Footboard Headboard
Loosely attach the bolts
to the headboard
and footboard then
hook on the side rails
& . Securely tighten
the bolts .
Do not over tighten.
Attaching side rails
B3
4
1
B
B
2
Step 3
7
Step 4
C
Place bolts in to
the countersunk
side of the
support rails.
Assemble base
a: Attach the short
support legs to the
underside of the bottom
central rail using 2x
bolts .
Insert cap .
19
H
J
b: Attach the bottom
centre rail to the
headboard and foot-
board using
washers & bolts
as shown.
4
16
3
K
I
c: Attach the support rails
to the side rails
& using bolts
as shown.
18 1
2C
16
8
Insert base panels
7
Step 5
9
Step 6 IMPORTANT: The gas struts will not compress by hand alone.
The gas struts will only compress once the frame is assembled
with the weight of the mattress on top.
E
TIP: Use pliers to slightly squeeze the clip to ensure a snug
t on to each end of the gas strut.
Make sure the open end of the hinge is facing the
footboard as shown.
Attaching hinges
a: Attach the hinges
to the side rails &
using 4x bolts as
shown with the Allen key
provided.
12
b: Attach the gas struts
with the thinner
tube facing up away
from the bed base.
Secure in place with
metal clips .
C
6
E
5
10
P
C
C
C
C
5
a:
6
b:
Step 7 Identify the rails then lay them down on the oor to secure
together.
Attach belt to the
front frame rail before
xing the rails together.
Frame assembly
Connect the side rails
back frame rail ,
front rail , and centre
rail using bolts
and washers as shown.
13 11
12
14 B
F
22
12
Step 8
Connect the mattress
supports to the back
rail using bolts
as shown.
C
8
11
Turn the frame over to attach the mattress supports.
8
8
11
Step 9
Support legs assembly
10
C
G
Attach the long support
legs to the underside
of the frame using bolts
as shown.
Insert the plastic
foot adjusters .
Note: Be careful not to block or damage the support legs
with any items stored underneath the frame. Ensure there
is enough space for the legs when the frame is lowered.
10mm
10mm
Adjust the feet so they are not in
direct contact with the at base
below it. There should be a 10mm
gap. To adjust, rotate the lower
section until at desired height.
12
Step 10
13
13
5
5
CC
C
CCC
The weight of the mattress
will help lower the frame.
Mattress weight limit is 50kg.
Attach the assembled
frame to the hinges
as shown, by inserting
bolts through the
upper arm of the hinge
and into the side
rails .
5
13
5
C
Attach frame
13
4
23
H
Step 11
Insert bolt into the
frame support on the
footboard .
Lower the slat frame and
secure by hooking belt
around bolt .
23
4
22
H
H
Step 12 Contact customer service if you have any damaged slats or
are missing slats or caps on 01992 450 333.
Note: The frame may not push down until the mattress has
been placed on top. If so, attach the slats rst whilst frame is in
the upright position, place mattress on top of frame and pull
down hard using the strap provided.
Step 1
Step 3
Step 2
15
15
20
21
21
Assembly is now
complete.
Place Slats
a: Slot the bed slats
into the end and
central slat caps as
shown.
21
20
15
14
b: With the slats tted
into the slat caps, rmly
push the end caps into
the slat frame rst, then
push down the middle
slat cap into place on the
centre rail.

This manual suits for next models

8

Other Justwise Indoor Furnishing manuals
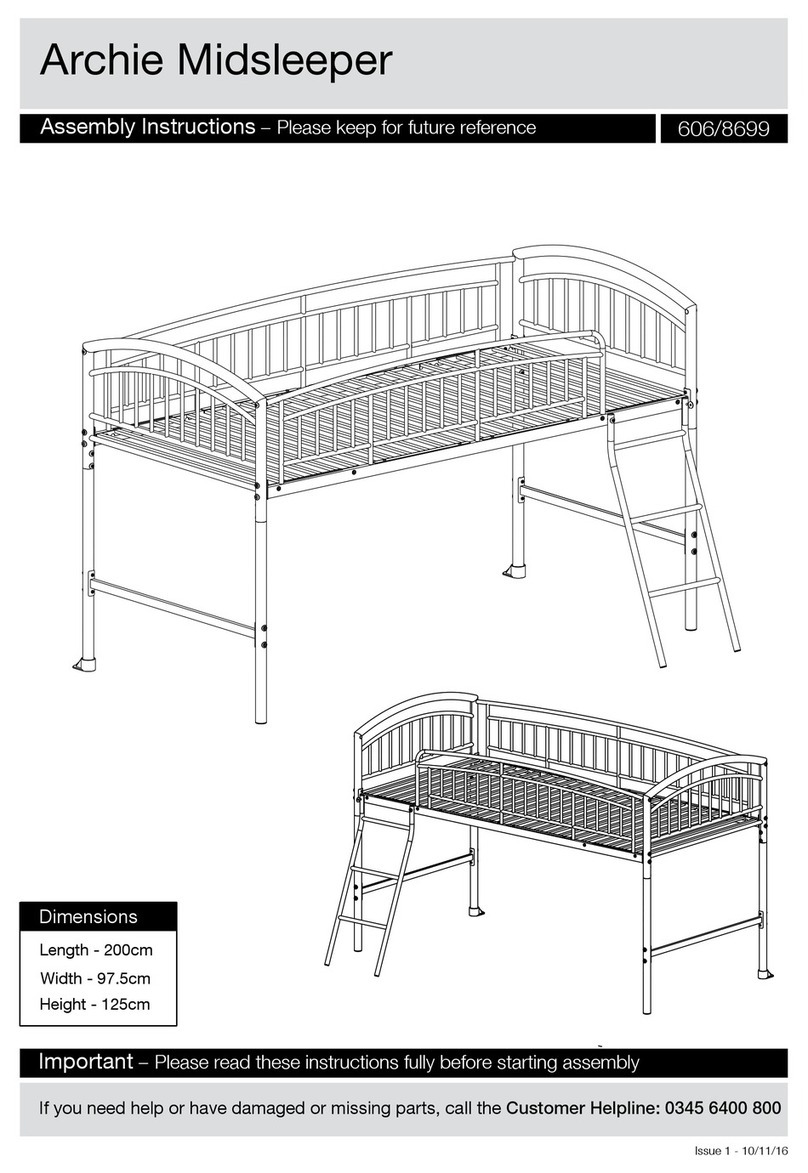
Justwise Archie 606/8699 User manual

Justwise

Justwise Archie 606/8699 User manual

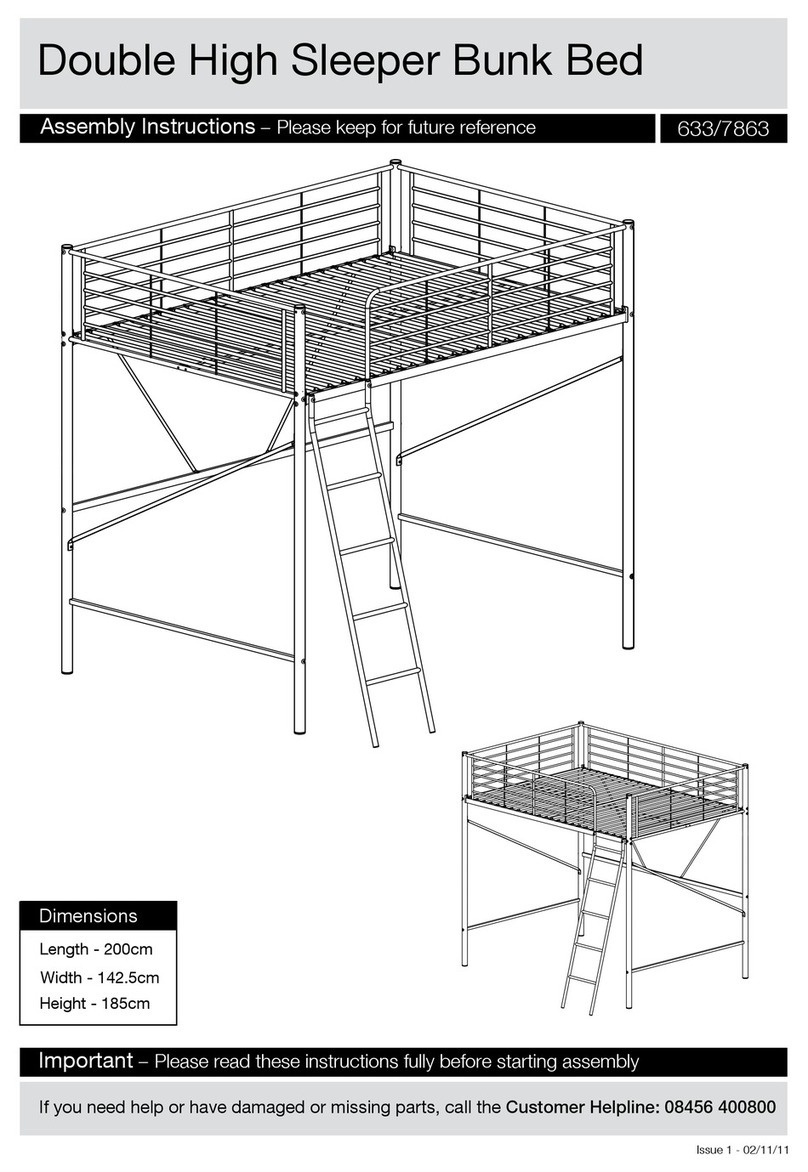
Justwise 633/7863 User manual

Justwise

Justwise 633/7863 User manual

Justwise Archie 599/7259 User manual

Justwise

Justwise Archie 599/7259 User manual

Justwise Archie 614/7802 User manual

Justwise

Justwise Archie 614/7802 User manual

Justwise Boston 833/1757 Datasheet

Justwise

Justwise Boston 833/1757 Datasheet

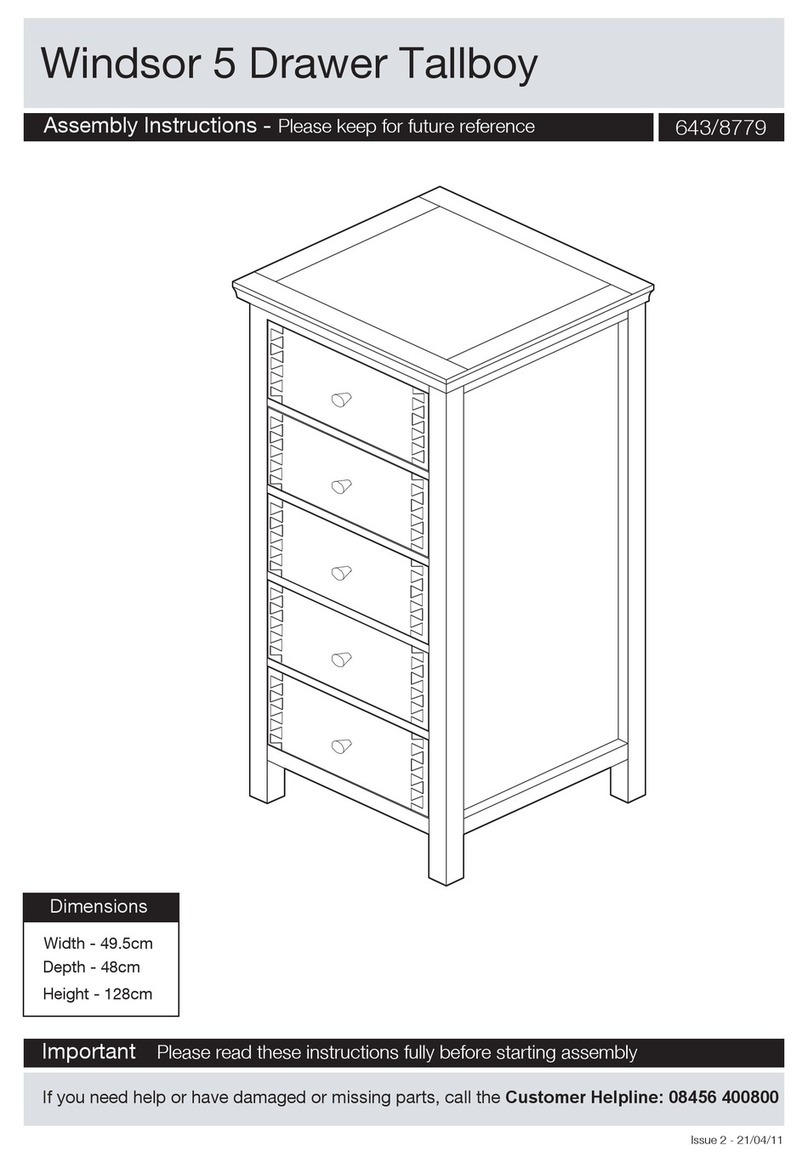
Justwise Windsor 643/8779 Datasheet

Justwise

Justwise Windsor 643/8779 Datasheet
Justwise New Boston 832 / 9460 Datasheet
Justwise

Justwise New Boston 832 / 9460 Datasheet

Justwise BSCC User manual

Justwise

Justwise BSCC User manual

Justwise Windsor 641/7745 Datasheet

Justwise

Justwise Windsor 641/7745 Datasheet

Justwise Archie 608/ 9616 Datasheet

Justwise

Justwise Archie 608/ 9616 Datasheet
Popular Indoor Furnishing manuals by other brands

Regency LWMS3015 Assembly instructions

Regency

Regency LWMS3015 Assembly instructions

Furniture of America CM7751C Assembly instructions

Furniture of America

Furniture of America CM7751C Assembly instructions

Safavieh Furniture Estella CNS5731 manual

Safavieh Furniture

Safavieh Furniture Estella CNS5731 manual

PLACES OF STYLE Ovalfuss Assembly instruction

PLACES OF STYLE

PLACES OF STYLE Ovalfuss Assembly instruction

Trasman 1138 Bo1 Assembly manual

Trasman

Trasman 1138 Bo1 Assembly manual

Costway JV10856 manual

Costway

Costway JV10856 manual

moss DESIGN Caisson Credenza Assembly instructions

moss DESIGN

moss DESIGN Caisson Credenza Assembly instructions

Aquaglide FULL DECK 15.0 owner's manual

Aquaglide

Aquaglide FULL DECK 15.0 owner's manual

AREBOS AR-HE-SW30 user manual

AREBOS

AREBOS AR-HE-SW30 user manual

Till-Hilft Fulda 87005.330 Assembly instructions

Till-Hilft

Till-Hilft Fulda 87005.330 Assembly instructions

Twoey Outside 2010 quick start guide

Twoey Outside

Twoey Outside 2010 quick start guide

Hettich Easys 200 operating instructions

Hettich

Hettich Easys 200 operating instructions

The bedboss RELAX 404 Series owner's manual

The bedboss

The bedboss RELAX 404 Series owner's manual

Oeseder Möbelindustrie Bern 991 720 Assembly instructions

Oeseder Möbelindustrie

Oeseder Möbelindustrie Bern 991 720 Assembly instructions

Costway HW68469 user manual

Costway

Costway HW68469 user manual

Next ALIX A27743 Assembly instructions

Next

Next ALIX A27743 Assembly instructions

BROSA Hans Assembly guide

BROSA

BROSA Hans Assembly guide

Prodigg MINIKA PBA015T-FUR installation manual

Prodigg

Prodigg MINIKA PBA015T-FUR installation manual

manuals.online logo
manuals.online logoBrands
  • About & Mission
  • Contact us
  • Privacy Policy
  • Terms and Conditions

Copyright 2025 Manuals.Online. All Rights Reserved.