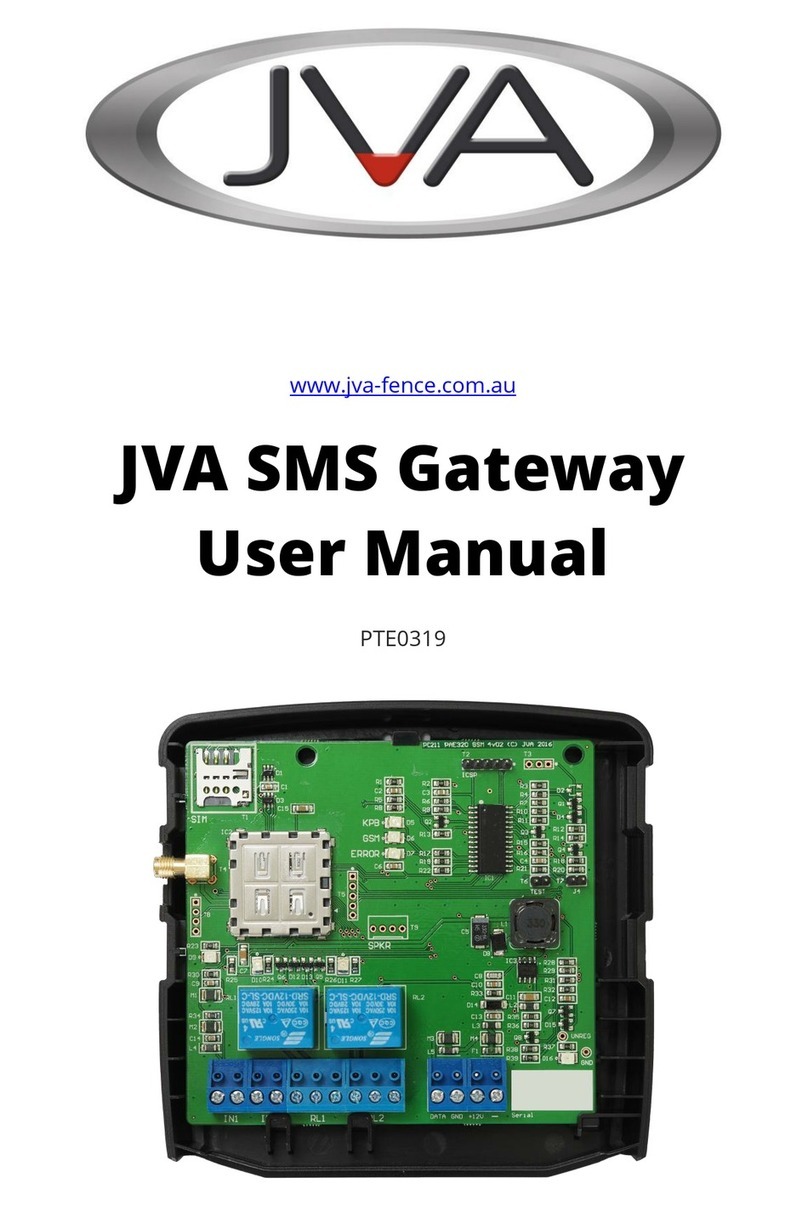
JVA PTE0320 User manual

www.jva-fence.com
JVA Cellular Gateway
Quick Start Guide
PTE0320

JVA Cellular Gateway Quick Start Guide
2

JVA Cellular Gateway Quick Start Guide
3
Introduction
The PTE0320 JVA Cellular Gateway connects a group of JVA Z Series devices to the Cloud Router
system.
This quick-start guide tells you how to program the devices, and connect and configure the PTE0320
Cellular Gateway.
Specifications
Power supply
12 V DC 200mA
Separate power supply recommended, can also be
powered by Keypad Bus
Communications
Keypad Bus
Up to 15 Z Series devices can be connected
Unit nominally uses Keypad ID 8
Inputs (2)
Dry contact or active pull-down
Responds to terminals being shorted OR connect
the right-hand terminal to 0V
Outputs (2)
30V DC 8A SPDT
SIM
Micro
Network
2G (PTE0320_2G) 850/900/1800/1900MHz
3G (PTE0320_3G) B1/2/5/6/8/19 + 2G as above
Antenna connector
Female SMA
Ensure antenna is mounted away from sources of
interference such as AC or high voltage cables.
Antenna should be mounted external to any metal
enclosures.

JVA Cellular Gateway Quick Start Guide
4
Overview
LED Indicators
KPB
Blink when the unit is communicating with Z series devices
GSM
Blinks when the unit can receive SMS
Fully lit when connected to the Cloud Router server (can also receive SMS)
ERROR
Flashes an error code if there is a problem with the SIM or Cellular network
Before you start
Ensure the Z Series devices are programmed, and have a group master (unit with ID 1). Power up all
devices and make sure they are disarmed. Refer to device manuals found at
http://www.jva-fence.com/downloads.php
Activate your SIM card and test it in a mobile phone. The gateway predominantly uses data, typically
less than 1MB per day, so a long term pre-paid plan of >500MB per year is recommended.

JVA Cellular Gateway Quick Start Guide
5
Installation
Unclip the circuit board from the case back. Mount the case back using suitable screws.
The unit is not water-proof and must be mounted indoors or in an enclosure.
Insert the SIM card. Clip the PCB into the case back.
Connect the antenna.
Remove any pluggable screw terminals before wiring to them, then plug them in as needed. Connect
inputs and outputs first, then keypad bus wiring (Data and Ground), then connect 12V DC.
This diagram shows a typical set-up.
Confirm the KPB is flashing, the ERROR light is not flashing, and the GSM light is fully lit. Clip on the
case front. If the GSM light is on, your JVA Cellular Gateway is ready to use.
Cloud Router Configuration
Important –The GSM light must be fully lit before you can add devices to the Cloud Router
system. If the light is off or flashing, it is not connected to the server. Refer to the
Troubleshooting section for more information.
Ensure you have registered an account at https://cloudrouter.pakton.net/register. The activation email
may have gone to your junk folder.
Log into your account at https://cloudrouter.pakton.net/login
Follow the instructions at http://jva-fence.com/CloudRouterGuide.php to set up your site and add
your devices.

JVA Cellular Gateway Quick Start Guide
6
SMS Function
The PTE0320 Gateway can be controlled by SMS, and contact up to 10 numbers in case of an alarm,
arm state change, or trouble. See http://jva-fence.com/sms for full instructions.
NB: This applies to PCB version 4v03 and later, or units fitted with a “Cloud Router + SMS” sticker.
Get signal information
During set-up, it may be useful to check signal strength and confirm unit details. If the GSM light is
blinking or lit, you can send an SMS to the unit of
1234 g
to receive a signal strength report.
Set APN
In some countries it may be necessary to manually set the provider APN information. This information
allows cellular devices to connect to the internet and is specific to each telecommunications company.
The unit has been pre-programmed with the APN information of most major telecommunications
providers so confirm with your local dealer if this step is necessary. You will need to contact your
telecommunications provider to determine the correct APN settings.
To change the APN, first remove the default jumper J4. Now send an SMS to the unit of the format
Apn <apn> <username> <password>
where <apn> is the access point name, <username> and <password> are the login details. Both
username and password may be blank. You will receive a confirmation SMS if the settings were
successfully stored. Remember to re-fit J4 when you are finished.
To clear custom APN settings and use the pre-programmed information, send the SMS
Apn
Factory settings
To restore a unit to factory settings, power off the device. Remove J4. Power the unit back on. After 5
seconds, the unit will have returned to factory default settings. Re-fit J4.
Warning: This will remove all memory of seen devices, reset the SMS pin, and clear the SMS report list.
It will not clear custom APN settings.

JVA Cellular Gateway Quick Start Guide
7
Troubleshooting
Fault
Likely Cause
Remedy
No lights are on
Power is not connected
Power wires are reversed
Check power connections
Check voltage at power
connections with a multimeter
KPB light not flashing
Keypad bus is not connected
Check the keypad bus DATA and
GND connections
GSM light off or
flashing
System is still initialising. If problems are detected, the ERROR light
will give more information. If the GSM light is flashing it means the
unit is not yet connected to Cloud Router but can receive SMS
commands.
ERROR light flashing
1 Flash: Problem with the SIM.
SIM card faulty, not inserted, or
PIN locked
Confirm SIM is activated by
inserting into a mobile phone and
sending and receiving texts
2 Flashes: Cellular network
problem
SIM not activated, banned, or
out of credit
Poor signal strength
Check SIM plan and credit
Check antenna connection
Move antenna mounting place
3 Flashes: Cellular internet
problem
Plan does not support data, or
out of credit
Check SIM plan and credit
4 Flashes: Unable to connect to
internet
Plan does not support data, or
out of credit
APN information incorrect
Check SIM plan and credit
Contact local dealer for APN
information
5 Flashes: Hardware fault
Contact local dealer
Unit does not control
energisers
Keypad ID clash
Disconnect the other keypad or
change its ID
Energiser malfunction
Confirm a JVA keypad can control
the energiser using the same
connections
Group configured incorrectly
If there is more than one
energiser, ensure one is
configured as master (device ID 1)
and the others have unique device
IDs of 2 or more
If the unit is still not working correctly, contact your nearest JVA distributor for technical support.

JVA Cellular Gateway Quick Start Guide
8
JVA Distributors
If you have any questions or need further assistance, please email us at sales@jva-fence.com.au or
call
Region
Number
Australia
07 3103 0582
South Africa
0861 782 349
World Wide
+61 7 3103 0582
For more information on our complete range of electric fencing products please see the JVA website
at www.jva-fence.com
© JVA Group 2018
The JVA logo is a trademark of JVA Technologies
ST095 1v08
Table of contents
Other JVA Gateway manuals