3
ENGLISH
How to read this manual........................ 3
Control panel ......................... 4
Parts identification................................. 4
Getting started....................... 5
Basic operations.................................. 5
Setting the clock .................................... 5
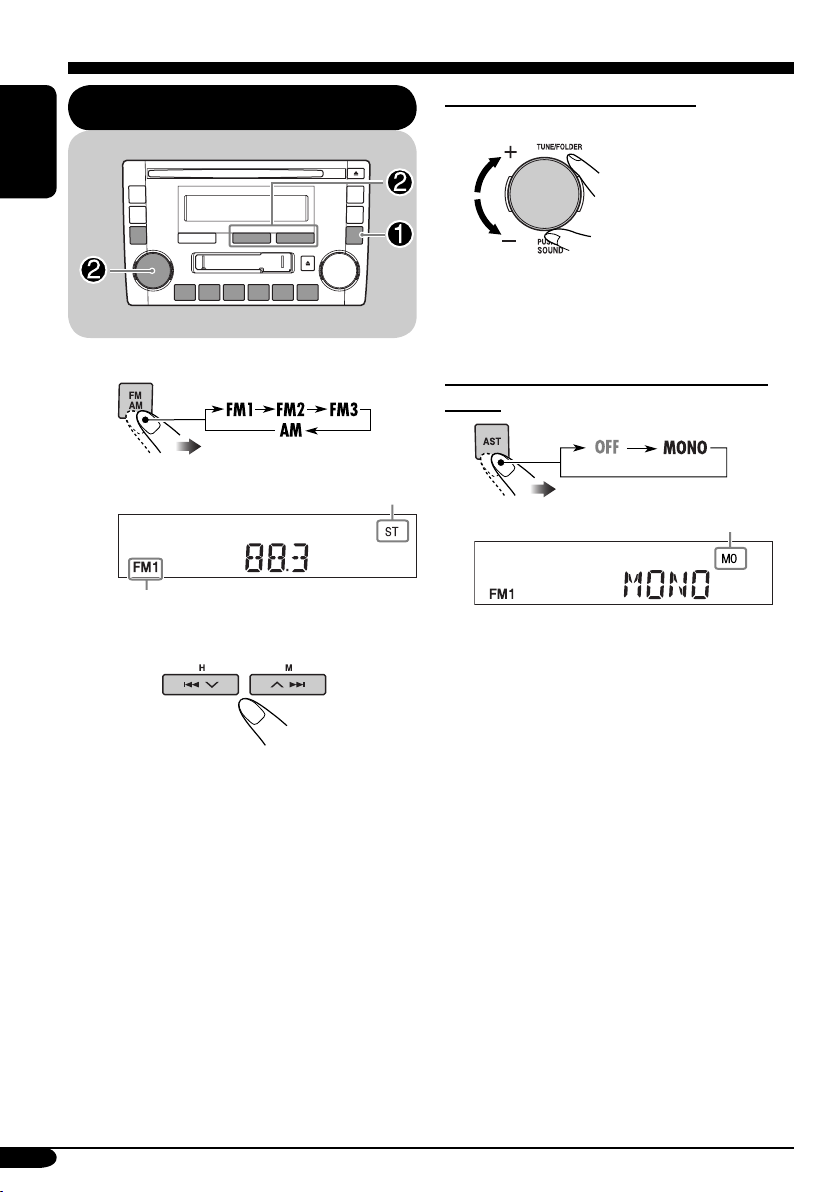
Radio operations ................... 6
Listening to the radio........................... 6
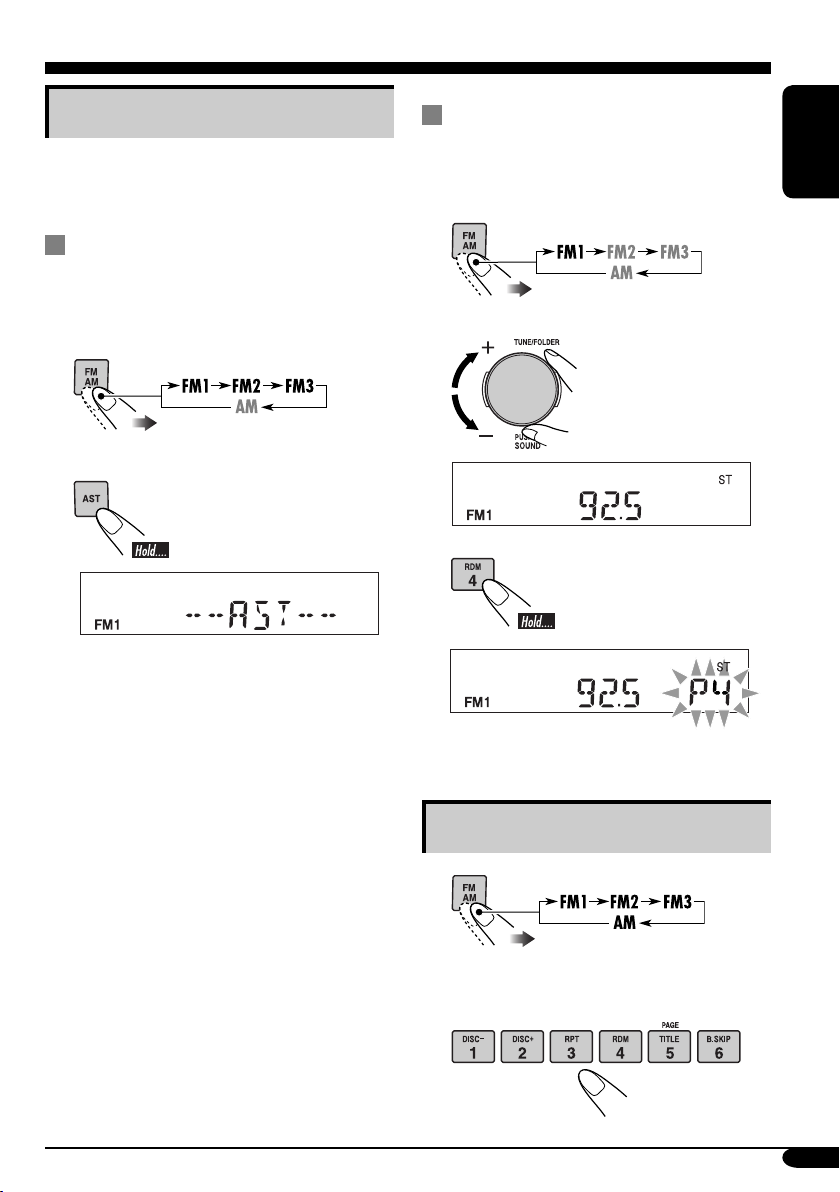
Storing stations in memory.................... 7
Listening to a preset station ................... 7
Disc operations ...................... 8
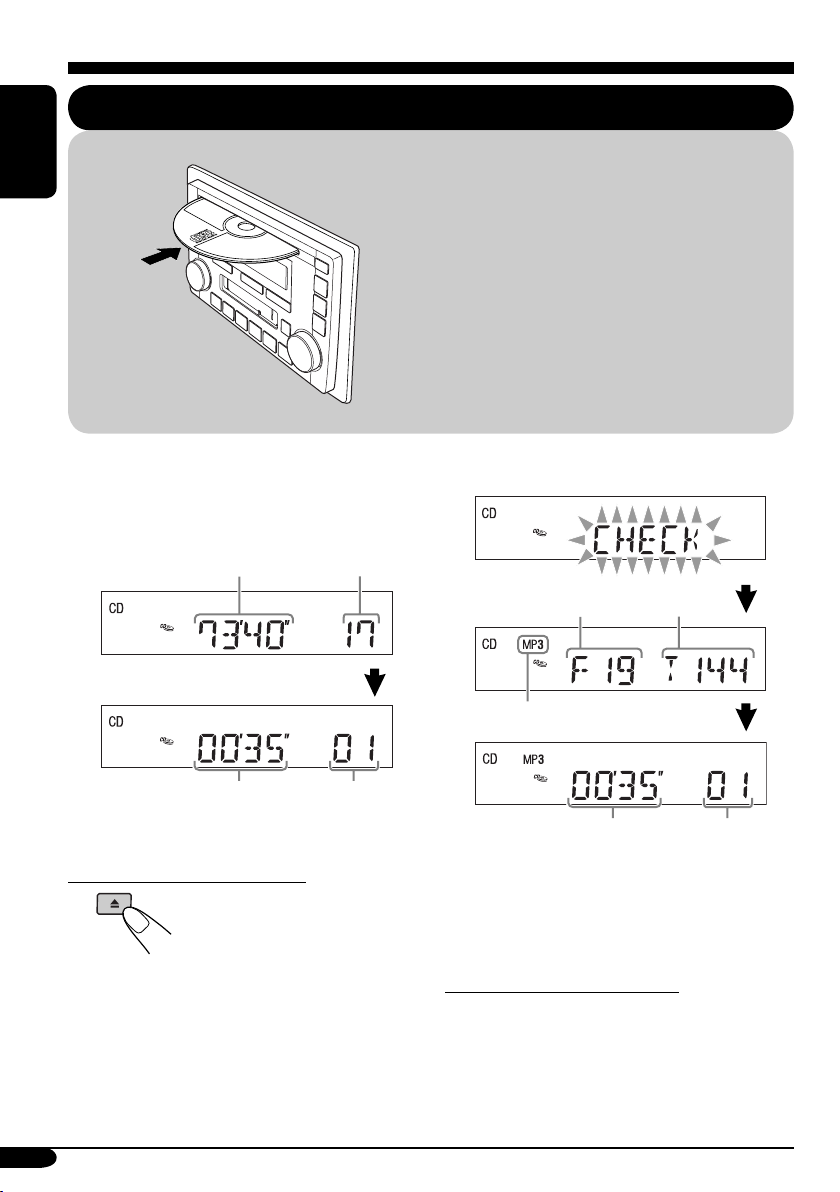
Playing a disc in the unit ..................... 8
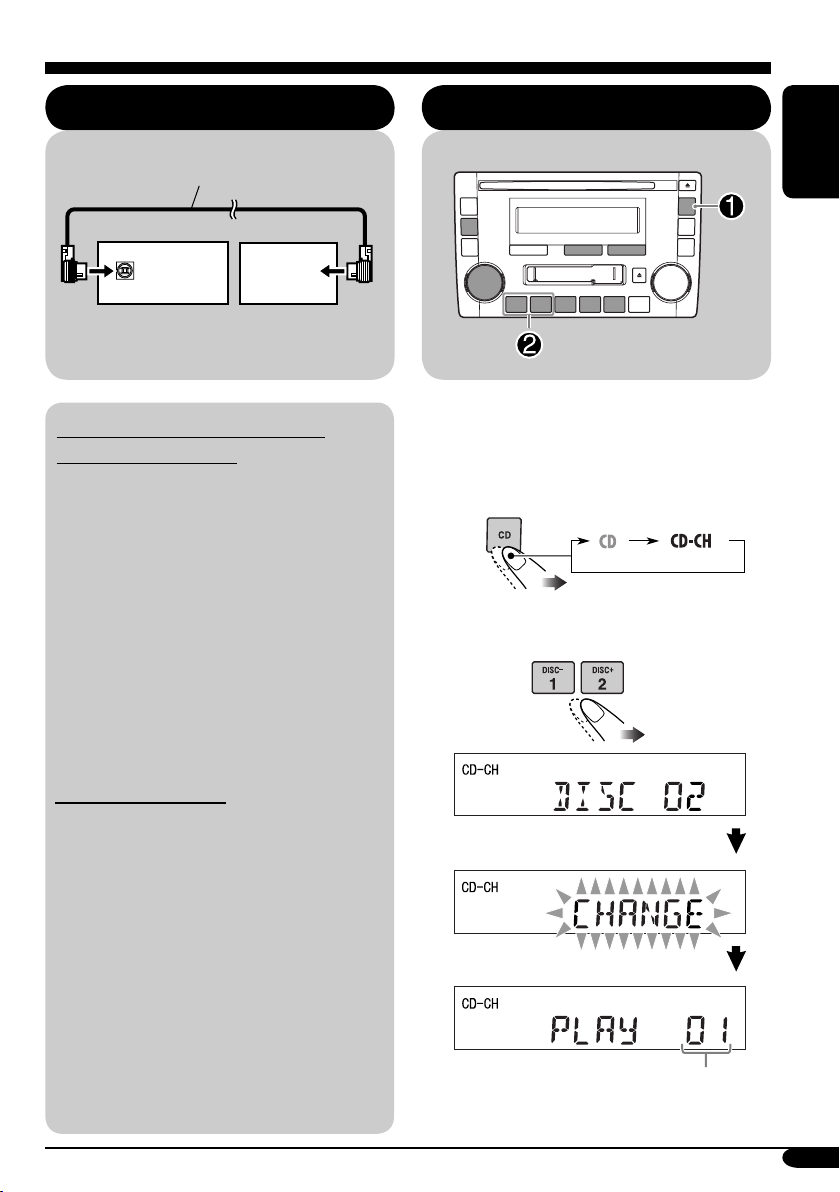
Connecting the CD changer .................. 9
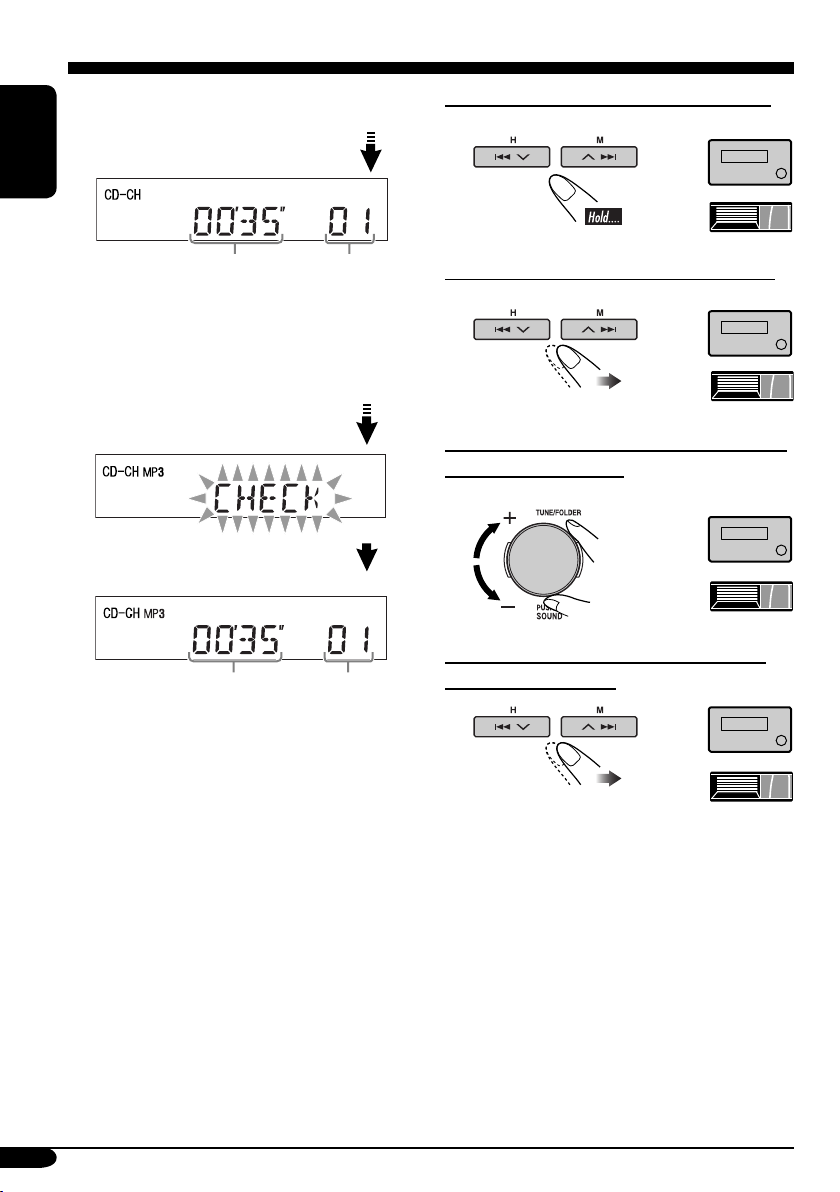
Playing discs in the CD changer ........... 9
Changing the display information ......... 11
Selecting the playback modes................ 12
Tape operations ..................... 13
Playing a tape..................................... 13
Finding the beginning of a tune............. 13
Other convenient tape functions ............ 13
Sound adjustments ................ 14
Adjusting the sound............................. 14
iPod operations
........................ 15
Selecting a track from the menu ............ 15
Selecting the playback modes................ 16
Changing the display information ......... 16
Maintenance .......................... 17
Handling discs ....................................... 17
Handling cassettes ................................. 17
More about this unit............... 18
Troubleshooting ..................... 21
Specifications ......................... 23
Contents
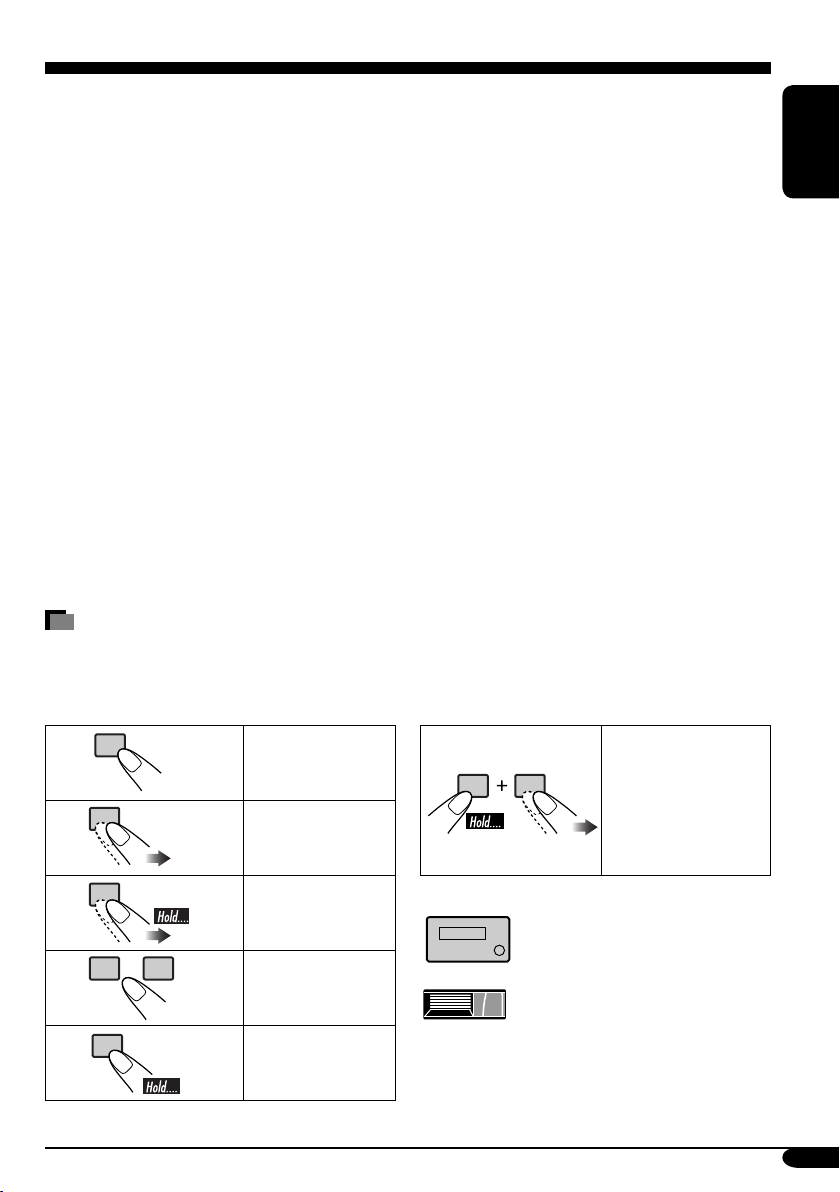
How to read this manual
The following methods are used to make the explanations simple and easy-to-understand:
• Some related tips and notes are explained in “More about this unit” (see pages 18 – 20).
• Button operations are mainly explained with the illustrations as follows:
Press briefly. Press the right
button repeatedly
while holding the
left button.
Press repeatedly.
Press and hold
repeatedly.
Press either one.
Press and hold
until your desired
response begins.
The following marks are used to indicate...
: Built-in CD player operations.
: External CD changer operations.
Book_KW-TC801[UN].indb 3Book_KW-TC801[UN].indb 3 07.8.21 10:43:11 AM07.8.21 10:43:11 AM