manuals.online logo
Brands
  1. Home
  2. •
  3. Brands
  4. •
  5. JVC
  6. •
  7. Speakers System
  8. •
  9. JVC TH-D258B User manual

JVC TH-D258B User manual

Other JVC Speakers System manuals

JVC MX-KB4 User manual

JVC

JVC MX-KB4 User manual

JVC MX-J300 User manual

JVC

JVC MX-J300 User manual

JVC NXCDR7 - Executive Microsystem User manual

JVC

JVC NXCDR7 - Executive Microsystem User manual

JVC CA-MXJ75R User manual

JVC

JVC CA-MXJ75R User manual

JVC CA-MXGT91R User manual

JVC

JVC CA-MXGT91R User manual

JVC MX-KB30 User manual

JVC

JVC MX-KB30 User manual

JVC 0205NYMCREBET User manual

JVC

JVC 0205NYMCREBET User manual

JVC CA-D702T User manual

JVC

JVC CA-D702T User manual

JVC MX-GT700 User manual

JVC

JVC MX-GT700 User manual

JVC CA-V888T User manual

JVC

JVC CA-V888T User manual

JVC Model MX-KC4C User manual

JVC

JVC Model MX-KC4C User manual

JVC EX-D5 User manual

JVC

JVC EX-D5 User manual

JVC Compact Component System NX-PS2 User manual

JVC

JVC Compact Component System NX-PS2 User manual

JVC MX-KC50 User manual

JVC

JVC MX-KC50 User manual

JVC TH-E631B User manual

JVC

JVC TH-E631B User manual

JVC DLA FS-X3 User manual

JVC

JVC DLA FS-X3 User manual

JVC TH-D337H User manual

JVC

JVC TH-D337H User manual

JVC CA-MXK10R User manual

JVC

JVC CA-MXK10R User manual

JVC FS-X1AC User manual

JVC

JVC FS-X1AC User manual

JVC CA-FS400 User manual

JVC

JVC CA-FS400 User manual

JVC SP-MXJ500 User manual

JVC

JVC SP-MXJ500 User manual

JVC MX-KA5JW User manual

JVC

JVC MX-KA5JW User manual

JVC CA-D752TR User manual

JVC

JVC CA-D752TR User manual

JVC RC-BZ5RD Quick start guide

JVC

JVC RC-BZ5RD Quick start guide

Popular Speakers System manuals by other brands

Monster MT-SB21 user manual

Monster

Monster MT-SB21 user manual

Monacor ESP-76AB/ WS manual

Monacor

Monacor ESP-76AB/ WS manual

Samsung HW-J430 user manual

Samsung

Samsung HW-J430 user manual

WILSON AUDIO WATT owner's manual

WILSON AUDIO

WILSON AUDIO WATT owner's manual

Hisense AX3125H user manual

Hisense

Hisense AX3125H user manual

EisSound KBSound iSelect user manual

EisSound

EisSound KBSound iSelect user manual

Boston Acoustics VRi793 manual

Boston Acoustics

Boston Acoustics VRi793 manual

Sven SPS-707bL Operation manual

Sven

Sven SPS-707bL Operation manual

Monacor DSM-26LAN instruction manual

Monacor

Monacor DSM-26LAN instruction manual

Samsung HW-C450 user manual

Samsung

Samsung HW-C450 user manual

TaoTronics evatronic ET-SK011 user guide

TaoTronics

TaoTronics evatronic ET-SK011 user guide

Pyle PBMSPG190 user manual

Pyle

Pyle PBMSPG190 user manual

Sven SPS-607 Operation manual

Sven

Sven SPS-607 Operation manual

iSP Technologies LT2 series owner's manual

iSP Technologies

iSP Technologies LT2 series owner's manual

Samsung Crystal Surround Air Track HW-F550 user manual

Samsung

Samsung Crystal Surround Air Track HW-F550 user manual

Bose Acoustimass 6 Series II owner's guide

Bose

Bose Acoustimass 6 Series II owner's guide

LG NB4532B owner's manual

LG

LG NB4532B owner's manual

5Core Pro Series Operation manual

5Core

5Core Pro Series Operation manual

manuals.online logo
manuals.online logoBrands
  • About & Mission
  • Contact us
  • Privacy Policy
  • Terms and Conditions

Copyright 2025 Manuals.Online. All Rights Reserved.

Connecting Your Soundbar to the TV
•
Install the battery correctly in the battery compartment. Normally the
battery’s positive polarity (+) will face up.
Soundbar Sockets Overview
•
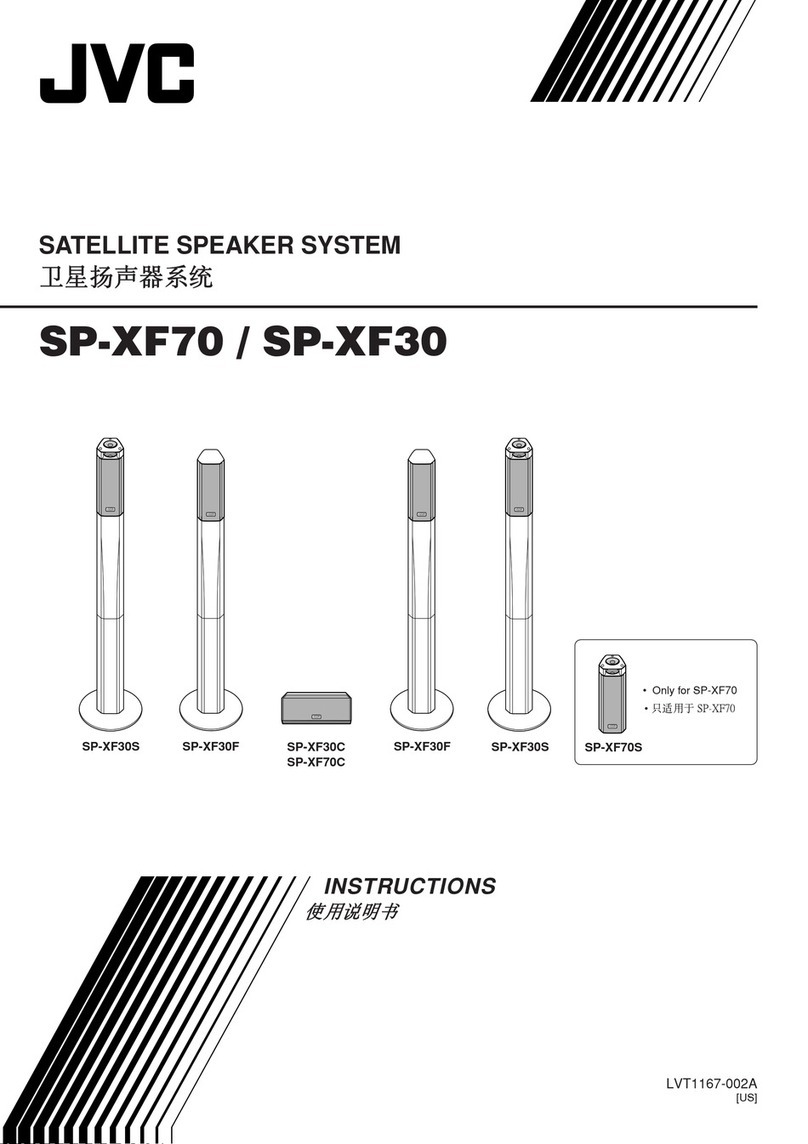
Quick Start Guide
2.1 Ch Compact soundbar with
wireless subwoofer
TH-D258B
Thank you for purchasing your new product.
We recommend that you spend some time reading this Quick Start
Guide in order that you fully understand how to connect your
Soundbar to your TV.
Use your Soundbar instruction manual and TV instruction manual to
choose the best way to connect your Soundbar and TV together.
Unpacking
•
Remove all packaging from the unit. Retain the packaging. If you
dispose of it please do so according to any local regulations.
First-time Use of Remote Control
The unit has a pre-installed
lithium CR2032 battery. Remove
the protective tab to activate the
remote control battery.
Battery Replacement for the Remote Control
1. Gently push the tab of the battery
tray in and slide it free from the
remote control.
2. Replace with a new CR2025 battery.
3. Slide the tray back into the remote
control. There will be a click once it is
back in place.
Connecting to the TV
Method 1: Optical / Coaxial Connection
Use an optical cable (not included) or coaxial cable (included) to connect the soundbar’s OPTICAL / COAXIAL socket to the OPTICAL OUT /
COAXIAL OUT socket of the external device. The simplest option is to connect your soundbar directly to your TV. If you connect the soundbar
to another external device (e.g. Blu-Ray player), you will hear the sound from that device through the soundbar.
After the connection is completed,
1. Press on the unit or on the remote control to switch the unit on.
2. Press SOURCE on the unit or on the remote control repeatedly to select OPTICAL or COAXIAL mode.
The unit may not be able to decode all digital audio formats from the input source. In this case, the unit will mute. This is NOT a defect. Ensure that the audio setting of
the input source (e.g. TV, game console, DVD player, etc.) is set to PCM (Refer to the user manual of the input source device for its audio setting details) with Optical/
Coaxial input.
This section involves various methods of connecting the product to other external components. Ensure all audio connections of the unit are connected before
connecting to the mains power socket.
AC~
AC~
Optical cable (not included)
TV
Rear View of the Soundbar
Coaxial cable (included)
Method 2: HDMI Hub Connection
Using Your Soundbar as a hub
The ARC (Audio Return Channel) function allows sound to travel
to and from your ARC-compliant TV to your soundbar through a
single HDMI connection. To enjoy the ARC function, please ensure
that your TV is both HDMI-CEC and ARC compliant and set up
accordingly. When correctly set up, the CEC feature allows you to
adjust the volume output (VOL+/VOL– and MUTE) of the soundbar
witht the TV remote control. When you switch your TV on/o with
your remote control, you soundbar will also be switched on/o.
Be patient that it might take a few seconds for your TV to tell your
Soundbar to switch on or o.
Use this method to connect all your devices into your TV.
1. Connect an HDMI cable (not included) from your soundbar’s
HDMI OUT (ARC) socket to the HDMI (ARC) socket on your ARC-
compliant TV.
2. After connection, press button on the unit or on the remote
control to switch the unit on.
3. Press SOURCE on the unit or on the remote control repeatedly to
select ARC to play audio from your input device.
• Ensure to use an HDMI cables that can support the ARC function.
• HDMI-CEC will be called dierent names by dierent manufacturers – please
refer to your owner’s manual for details on setting up HDMI-CEC and ARC.
• While using an HDMI cable for ARC function, CEC (Consumer Electronics
Control) provides interoperability between the unit and various devices (e.g.
TV). However, this unit is not guaranteed to fully operate with all HDMI-CEC
enabled devices. This is NOT a defect.
1. COAXIAL Socket
2. AC~ Power Socket
Connect a power cord.
3. OPTICAL Socket
2 31 4 5 67 7
4. HDMI ARC Socket
5. SERVICE ONLY Socket
The USB socket is for service only.
6. AUDIO IN Socket
Main Unit
Remote Control
(battery included)
Subwoofer
Mains Cable × 2
Coaxial Cable
3.5 mm to 3.5 mm
Stereo Audio Cable
Wall Mount Bracket × 2
Screw × 4
(for installing the wall
mount brackets)
Dowel × 4
Instruction Manual
Quick Start Guide
Blu-ray Player / DVD
Player / Recorder
Set-top Box
Satellite
Receiver
Game
Console
Video
Camera
Install the battery correctly in the battery compartment. Normally the battery’s
positive polarity (+) will face up.
Operating Your Remote Control
•
TV
AC~
HDMI cable (not included)
Rear View of the Soundbar
Blu-ray Player / DVD
Player / Recorder
Set-top Box Satellite
Receiver
Game
Console
Video
Camera
TH-D258B_QSG_Final180514V1.indd 1 16/5/2018 1:43 PM
•Connecting an External Audio Device
•Connecting to the Mains Supply
Soundbar
Unwind the mains cable to its full length. Connect the end of the
cable to the AC~ socket at the rear of the unit and then connect the
mains plug to the mains socket. Make sure the mains plug is fully
inserted into the mains socket.
Subwoofer
Unwind the mains cable to its full length. Connect the end of the
cable to the AC~ socket at the rear of the subwoofer and then
connect the mains plug to the mains socket. Make sure the mains
plug is fully inserted into the mains socket.
• The mains cable are designed for this JVC soundbar only. DO NOT use the mains cable for other purposes. Connecting the unit to any other power source may
damage the unit.
• Ensure all audio connections of the unit are connected before connecting to the mains power socket.
• Make sure the mains plug is rmly inserted into the mains socket.
• To switch the unit o completely, remove the mains plug from the mains socket.
• Please turn the unit o completely to save energy when not in use.
•Connecting the Subwoofer
Your subwoofer will automatically pair to your soundbar when the soundbar is switched on.
1. Plug the soundbar and the subwoofer into the mains sockets.
2. Press on the unit or on the remote control to switch the unit to ON mode. The subwoofer and soundbar will automatically pair within
30 seconds.
Well done, your new soundbar is now ready to use. You will nd that there are many exciting features available. To get to know all
these features, please take some time to read the instruction manual provided with your soundbar.
AC~
To the mains
socket
Rear View of the Soundbar
AC~
To the mains
socket
Rear View of the Subwoofer
For general information about this appliance and
handy hints and tips, please visit:
www.TeamKnowhow.com/discover or call
UK: 0344 561 1234
Ireland: 1 890 818 575
Method 3: AUX Connection
Use a 3.5 mm to RCA stereo audio cable (not included) or a 3.5 mm to 3.5 mm stereo audio cable (included) to connect the soundbar’s
AUDIO IN socket to the AUDIO OUT/HEADPHONES sockets of the external device.
After the connection is completed,
1. Press on the unit or remote control to switch on the unit.
2. Press SOURCE repeatedly to select AUDIO IN mode.
• Ensure the colours on the cable plugs match with the colours on the input and output sockets.
• DO NOT connect the soundbar and TV by using the AUDIO IN socket.
AC~
Blu-ray Player / DVD
Player / Recorder
Set-top Box
Satellite
Receiver
Game
Console
Video
Camera
MP3 Player or
Mobile Device
Rear View of the Soundbar
3.5 mm to 3.5 mm Stereo
Audio Cable (not included)
OR
3.5 mm to RCA
Stereo Audio Cable
(not included)
(QSG-TH-D258B-180514V1)
TH-D258B_QSG_Final180514V1.indd 2 16/5/2018 1:43 PM