Caution — button!
Disconnect the mains plug to shut the power off completely
(the STANDBY lamp goes off). When installing the apparatus,
ensure that the plug is easily accessi le. The utton in any
position does not disconnect the mains line.
• When the system is on stand y, the STANDBY lamp lights
red.
• When the system is turned on, the STANDBY lamp goes off.
The power can e remote controlled.
ATTENTION—Touche !
Déconnectez la fiche secteur pour mettre l’appareil
complètement hors tension (le témoin STANDBY l s’éteint).
Lors de l’installation de l’appareil, assurez-vous que la fiche
soit facilement accessi le. La touche dans n’importe quelle
position ne déconnecte pas l’appareil du secteur.
• Quand l’appareil est en mode d’attente, le témoin STANDBY
est allumé en rouge.
• Quand l’appareil est sous tension, le témoin STANDBY s’éteint.
L’alimentation peut être commandée à distance.
CAUTION
To reduce the risk of electrical shocks, fire, etc.:
1. Do not remove screws, covers or ca inet.
2. Do not expose this appliance to rain or moisture.
ATTENTION
Afin d’éviter tout risque d’électrocution, d’incendie, etc.:
1. Ne pas enlever les vis ni les panneaux et ne pas ouvrir le
coffret de l’appareil.
2. Ne pas exposer l’appareil à la pluie ni à l’humidité.
Prepare the Remote Control
When you use the remote control
for the first time, pull out the
insulation sheet.
Insulation sheet
To Replace the Battery in the Remote Control
Insert the attery into the
remote control y matching the
polarity (+ and –) correctly.
Lithium coin battery
(product number: CR2025)
1
2 4
Connections
Do not connect the AC power cord until all other connections ha e been made.
Basic and Common Operations
Supplied Accessories
After unpacking, check to e sure that you have all the
following items. The num er in parentheses indicates the
quantity of each piece supplied.
• Remote control (x 1)
• Lithium coin attery CR2025 (x 1) (The attery has een
installed when shipped from the factory.)
• AM loop antenna (x 1)
• FM antenna (x 1)
• Connection ca le for iPod (x 1)
• Stand for iPod (x 1)
If anything is missing, consult your dealer immediately
To a wall outlet
Plug the AC power cord only after
all connections are complete
AM loop antenna
(supplied)
Turn it until the est
reception is o tained.
To assemble the AM loop antenna
To connect the AM loop antenna
To connect the speaker cords
Make sure the oth speakers are connected
correctly and firmly.
• Before connecting the speaker cords, twist and
pull the insulation coat off and remove.
When connecting the speaker cords, match the
polarity of the speaker terminals: lack cord with
white stripe to (+) and lack cord to (–).
NOTES
• DO NOT connect more than one
speaker to each terminal.
• DO NOT allow the conductor of the
speaker cords to e in touch with
the metallic parts of the System.
NOTES
• Make sure the antenna conductors do not touch any other terminals, connecting
cords and power cord. Also, keep the antennas away from metallic parts of the
System, connecting cords, and the AC power cord. This could cause poor reception.
• If the cords are covered with vinyl, remove the vinyl to expose the tip of the cord y
twisting the vinyl.
Basic Disc/USB Mass Storage Class De ice Operations
To
Press
On the
System
On the
remote
Play back the disc • Current track num er and elapsed playing time appear on the
main display.
For MP3/WMA files: Before current track num er and elapsed
playing time appear, the tag information is scrolled if it is
recorded.
• During play ack, press again to pause.
Play back the USB
mass storage
class device
Stop playback
• While play ack is stopped, total track num er and total playing
time (for MP3/WMA files, group num er and track num er)
appear on the main display.
Select a track
Press to select the next tracks.
Press to go ack to the eginning of the current or previous tracks.
Select a group
(MP3/WMA only)
—Press to select the next groups while play ack is stopped.
—Press to select the previous groups while play ack is stopped.
Forward search/
Reverse search
—Press once or twice to fast-forward the track during play ack.
To stop searching, press 6.
—Press once or twice to fast-reverse the track during play ack.
To stop searching, press 6.
NOTES
• If no disc is inserted, “NO DISC” appears on the main display.
• If no USB mass storage class device is connected, “NO USB” appears on the main display.
• If MP3/WMA files are not recorded in the USB mass storage class device, “NO FILE” appears on the main display.
Outdoor FM antenna
(not supplied)
For better FM reception
FM antenna (supplied)
Extend it so that you can o tain the
est reception.
Getting Started Playing Back a Disc/USB Mass Storage Class De ice
Disconnect the supplied FM antenna, and connect to an outdoor
FM antenna using a 75 Ω wire with coaxial type connector.
NOTES
• Store the attery in a place where children cannot reach. If a child accidentally swallows the
attery, consult a doctor immediately.
• Do not recharge, short, disassem le or heat the attery or dispose of it in a fire. Doing any of
these things may cause the attery to give off heat, crack, or start a fire.
• Do not leave the attery with other metallic materials. Doing this may cause the attery to
give off heat, crack, or start a fire.
• When throwing away or saving the attery, wrap it in tape and insulate; otherwise, the
attery may start to give off heat, crack, or start a fire.
• Do not poke the attery with tweezers or similar tools. Doing this may cause the attery to
give off heat, crack, or start a fire.
• Dispose of attery in the proper manner, according to federal, state, and local regulations.
• The atteries ( attery pack or atteries installed ) shall not e exposed to excessive heat
source such as sunshine, fire or the like.
For USA-California Only
This product contains a CR Coin Cell Lithium Battery which contains Perchlorate Material
– special handling may apply.
See www.dtsc.ca.gov/hazardouswaste/perchlorate
CAUTION:
Danger of explosion if attery is incorrectly replaced.
Replace only with the same or equivalent type.
Notes on the power cord
• When you are away on travel or otherwise for an extended
period of time, remove the plug from the wall outlet. A
small amount of power (2.5 W) is always consumed while
the power cord is connected to the wall outlet.
• When unplugging the System from the wall outlet, always
pull the plug, not the power cord.
• Do not handle the power cord with wet hands.
• Disconnect the power cord efore cleaning the System or
moving the System.
• Do not alter, twist or pull the power cord, or put anything
heavy on it, which may cause fire, electric shock, or other
accidents.
• If the cord is damaged, consult a dealer and have the power
cord replaced with a new one.
A oid moisture, water, dust, and high temperatures
• Do not place the System in moist or dusty places.
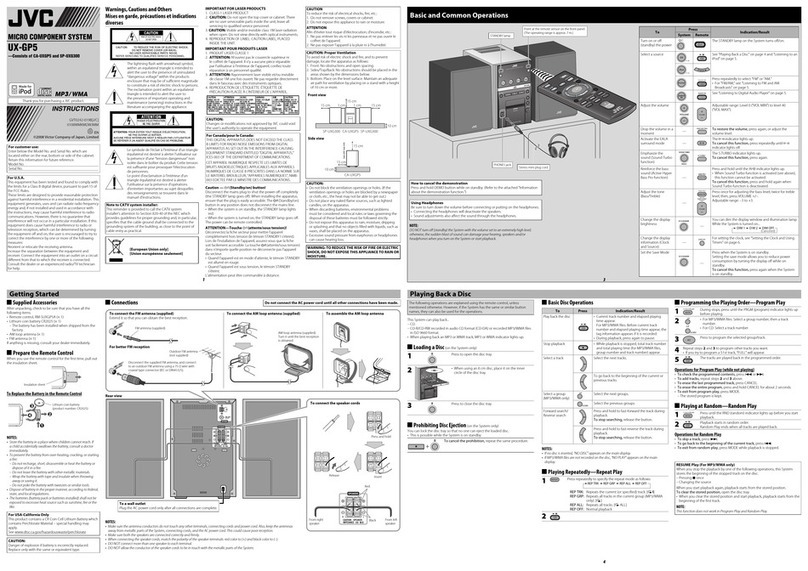
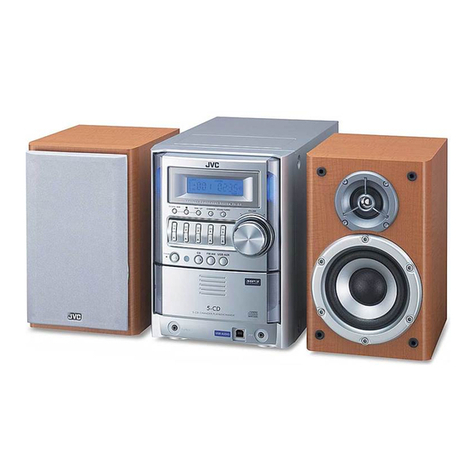
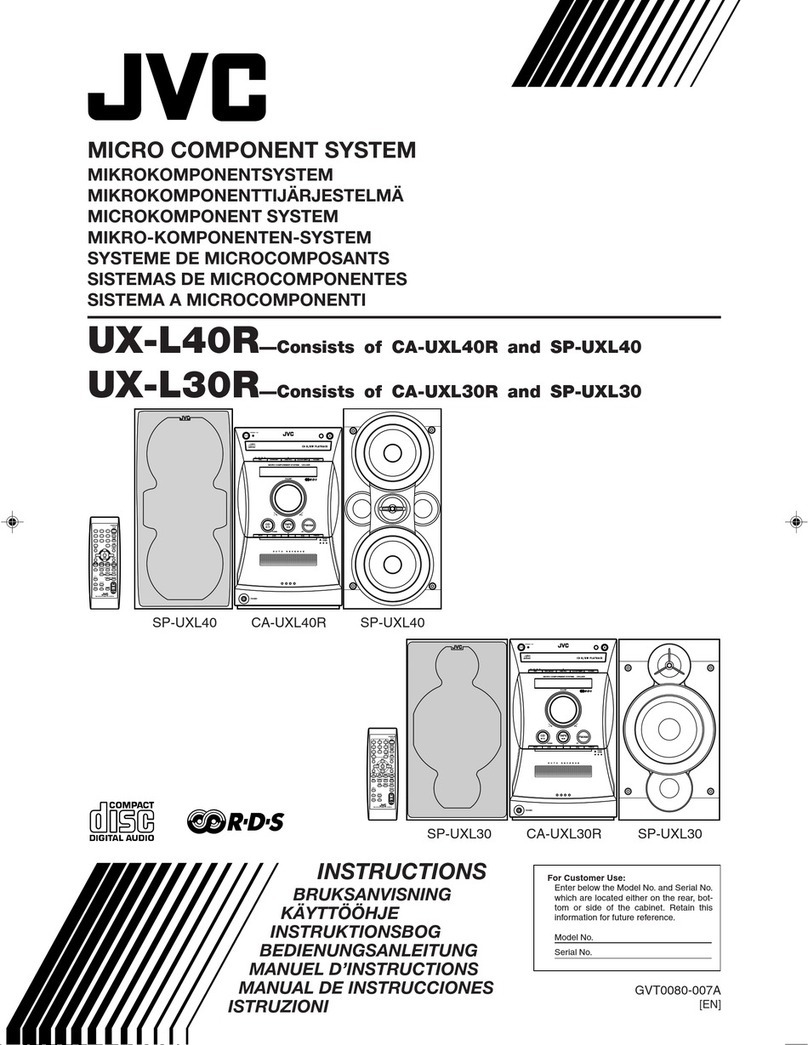
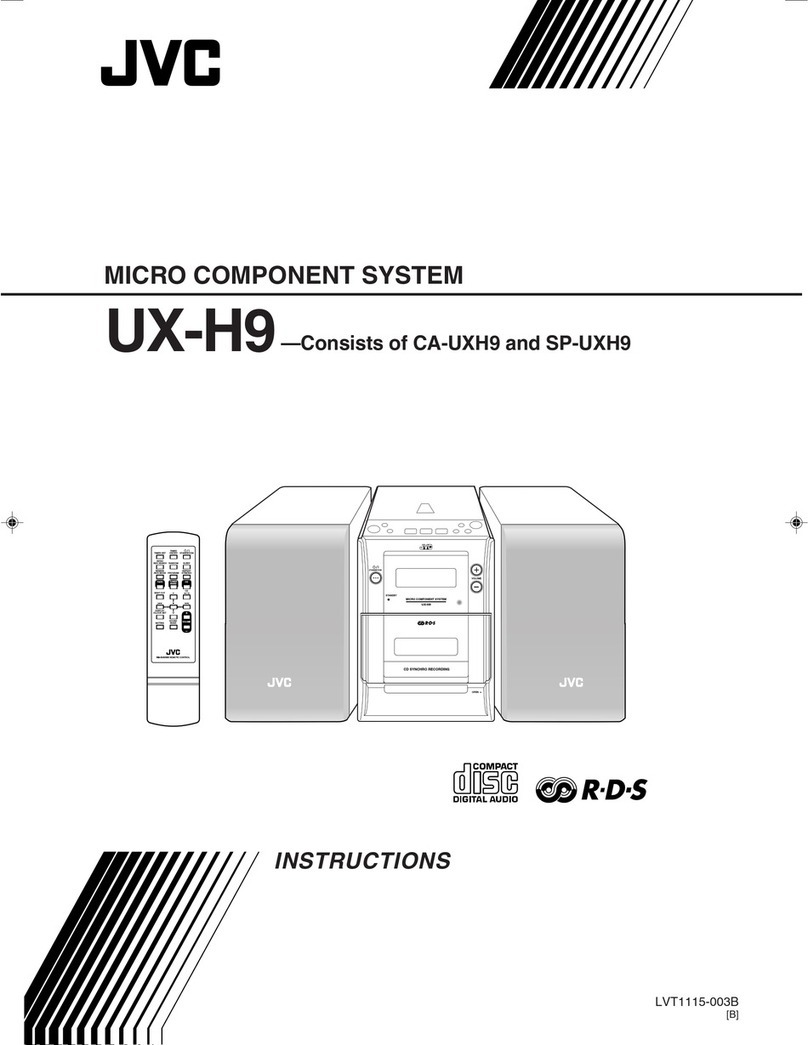
MICRO COMPONENT SYSTEM
UX-EP100
—Consists of CA-UXEP100 and SP-UXEP100
INSTRUCTIONS
GNT0076-001A[J/C]
0107ZZCMDWJEM
©2007 Victor Company of Japan, Limited
[European Union only]
[Union européenne seulement]
This System can play ack...
– CD.
– CD-R/CD-RW recorded in audio CD format (CD-DA) or recorded MP3/
WMA files in ISO 9660 format.
– USB mass storage class device which contains MP3/WMA files.
• When playing ack an MP3 or WMA track, MP3 or WMA indicator lights
on the display.
Loading a Disc
1On the System only
Press to open the disc tray.
2• When using an 8 cm (3-3/16 inches)
disc, place it on the inner circle of the
disc tray.
3Press to close the disc tray.
Connecting a USB Mass Storage Class De ice
You can connect a USB mass storage class device such as a USB flash
memory device, MP3 player, multimedia card reader, etc. to the System.
NOTES
• When connecting with a USB ca le, use the ca le whose length is less
than 1 m (3.3 ft).
• USB mass storage class device is charged through the USB MEMORY
terminal when the System is turned on and the source is “USB.”
• You cannot connect a computer to the USB MEMORY terminal of the
System.
• Do not disconnect the USB mass storage class device when the System is
turned on. It may cause malfunction of oth this System and the device.
Turning off the System Automatically
—AUTO STANDBY function
Press and hold until the A.STBY indicator lights on the display.
• The A.STBY indicator starts flashing after play ack stops.
If no operation is done for a out 3 minutes, the System
turns off.
To cancel this function, press and hold again.
Prohibiting Disc Ejection
You can lock the disc tray so that no one can eject the loaded disc.
• This is possi le while the System is on stand y and the disc tray is closed.
On the System only
To cancel the prohibition, repeat the
same procedure.
Press and hold
3
Play mode indicators (See page 4 )
QPL indicator
(See page 6 )
Main Display
A STBY (Auto Standby) indicator (See page 4 )
AHB indicator (See the left table )
Using Headphones
Be sure to turn down the volume before connecting or putting on
the headphones
• Connecting the headphones will deactivate the speakers.
• Sound adjustments also affect the sound through the headphones.
• Do not put the headphone cord on “touch sensor panel.”
Operating on the Remote Control
To Press
Turn on or off
(standby) the power
The STANDBY lamp on the System turns
off/on.
Select a source*2
See “Listening to iPod” on page 6
See “Playing Back a Disc/USB Mass Storage
Class Device” on page 4
Press repeatedly to select “FM,” “AM,” or “LINE.”
• For “FM/AM,” see “Listening to FM and AM
Broadcasts” on page 5
• For “LINE,” see “Listening to Digital Audio
Player” on page 6
Adjust the volume You can adjust the volume level from level 0
(“VOL MIN”) to level 31 (“VOL MAX”).
Drop the volume in a
moment
To restore the volume, press again, or adjust
the volume level.
Reinforce the bass
sound (Active Hyper
Bass Pro function)
Press and hold until the AHB indicator lights
on the display.
To cancel this function, press and hold again.
Adjust the tone (Bass/
Treble)
• Once: for the ass level
• Twice: for the tre le level
Then, press VOLUME + to increase the level or
press VOLUME – to decrease it.
• You can adjust the ass and/or tre le level
from –3 to +3.
Changing the display
brightness
Press when the System is turned on.
To cancel this function, press again.
Display Information
To Press
Set the Save mode
Press and hold for more than 2 seconds when
the System is on stand y.
• Setting the Save mode allows you to reduce
power consumption y turning the display
off while on stand y.
To cancel this function, press and hold for
more than 2 seconds again.
Changing the display
information (Clock
and Source)
Press riefly.
For setting the clock, see “Setting the Clock
and Daily Timer” on page 5.
Turn off the System by
using the sleep timer
Press repeatedly to specify the time (in
minutes) as follows (SLEEP indicator lights on
the display):
• To check the remaining time to turn off after
setting the sleep timer, press once.
*1 You can operate the source selecting uttons on the System y simply touching,
ecause these uttons are “touch sensor panel.”
*2 The corresponding source indicator lights on the display (not applica le for “LINE”).
NOTE
DO NOT turn off (stand y) the System with the volume set to an extremely high level;
otherwise, the sudden last of sound can damage your hearing, speakers and/or
headphones when you turn on the System or start play ack.
RESUME indicator (See page 4 )
Source indicators (See the left table )
Timer mode indicators (See page 5 )
STANDBY lamp
SLEEP indicator (See the left table )
File type indicators (See page 4 )
Programming the Playing Order—
Program Play (not Applicable for MP3/
WMA Discs)
1Press repeatedly until the PRGM
(program) indicator lights on the
display efore play ack.
2or Select a track num er to program.
3Press to program the selected
track.
4Repeat steps 2 and 3 to program other tracks you want
• If you try to program a 33rd track, “FULL” will appear on
the main display.
5
or
The tracks are played ack in the
programmed order.
To Operate on the Program Play Mode
To Press
Check the
programmed
contents or Press while play ack is stopped.
Add tracks Repeat steps 2 and 3 a ove while play ack
is stopped.
Erase the last
track
Press while play ack is stopped.
• The track and program
num ers of the new last track
appear on the main display.
Erase the entire
program Press while play ack is stopped.
Exit from
program play
Press twice while play ack is
stopped.
• The stored program is erased.
Playing at Random—Random Play
1Press repeatedly until the RND
(random) indicator lights on the
display efore you start play ack.
2
or
Play ack starts in random order.
Random Play ends when all
tracks are played ack.
To Operate on the Random Play Mode
To Press
Skip a track • 4 does not work.
Exit from
random play
Press once while play ack is
stopped.
PHONES jack
Point at the remote sensor on the front panel
(The operating range is approx 7 m (23 ft) )
Canceled
iPod is a trademark of Apple Inc., registered in the U.S. and other countries.
USB cable (not supplied)
Front view
Operating on the System
To Press
Turn on or off
(standby) the power The STANDBY lamp on the System turns off/on.
Select a source*1, 2
See “Playing Back a Disc/USB Mass Storage Class
Device” on page 4
See “Listening to iPod” on page 6
Press repeatedly to select “FM,” “AM,” or “LINE.”
• For “FM” and “AM,” see “Listening to FM and AM
Broadcasts” on page 5
• For “LINE,” see “Listening to Digital Audio Player” on
page 6
Adjust the volume You can adjust the volume level from level 0
(“VOL MIN”) to level 31 (“VOL MAX”).
Stereo mini plug cord
FM reception
indicators
(See page 5 )
Source indicators (See the left table )
Playing Repeatedly—Repeat Play
1Press repeatedly efore you start play ack to specify the repeat mode
as follows:
REP 1 Repeats the current (or specified) track.
REP GRP Repeats all tracks in the current group (MP3/
WMA only).
ALL REP ALL Repeats all tracks.
REP OFF Normal play ack
2
or
RESUME Play
When you stop the play ack y one of the following operations, this System stores the
eginning of the stopped track on the disc or stores the stopped position of the file on
the USB mass storage class device.
– Pressing 7 once (The RESUME indicator lights on the display.)
– Changing the source
– Turning off the System
When you start play ack again, play ack starts from the stored position.
To clear the stored position, press 7 while play ack is stopped.
• Opening the disc tray or disconnecting the USB mass storage class device also clears
the stored position.
NOTE
This function does not work in program play and random play (see the right ta les).
NOTICE
• Do not put o jects such as the
headphone cord on “touch sensor panel.”
• Do not put a fluorescent light near the
System; otherwise, “touch sensor panel”
may not work correctly.
For customer use
Enter below the Model No and Serial No which are
located either on the rear, bottom or side of the cabinet
Retain this information for future reference
Model No
Serial No
Warnings, Cautions and Others
Mises en garde, précautions et
indications di erses
The lightning flash with arrowhead symbol,
within an equilateral triangle is intended to
alert the user to the presence of uninsulated
“dangerous voltage” within the products
enclosure that may be of sufficient magnitude
to constitute a risk of electric shock to persons
The exclamation point within an equilateral
triangle is intended to alert the user to
the presence of important operating and
maintenance (servicing) instructions in the
literature accompanying the appliance
WARNING: TO REDUCE THE RISK OF FIRE OR ELECTRIC
SHOCK, DO NOT EXPOSE THIS APPLIANCE TO RAIN OR
MOISTURE.
Note to CATV system installer:
This reminder is provided to call the CATV system
installer’s attention to Section 820-40 of the NEC which
provides guidelines for proper grounding and, in particular,
specifies that the ca le ground shall e connected to the
grounding system of the uilding, as close to the point of
ca le entry as practical.
For U.S.A.
This equipment has een tested and found to comply with
the limits for a Class B digital device, pursuant to part 15 of
the FCC Rules.
These limits are designed to provide reasona le protection
against harmful interference in a residential installation. This
equipment generates, uses and can radiate radio frequency
energy and, if not installed and used in accordance with
the instructions, may cause harmful interference to radio
communications. However, there is no guarantee that
interference will not occur in a particular installation. If this
equipment does cause harmful interference to radio or
television reception, which can e determined y turning
the equipment off and on, the user is encouraged to try to
correct the interference y one or more of the following
measures:
Reorient or relocate the receiving antenna.
Increase the separation etween the equipment and
receiver. Connect the equipment into an outlet on a circuit
different from that to which the receiver is connected.
Consult the dealer or an experienced radio/TV technician
for help.
For Canada/pour le Canada
THIS DIGITAL APPARATUS DOES NOT EXCEED THE CLASS
B LIMITS FOR RADIO NOISE EMISSIONS FROM DIGITAL
APPARATUS AS SET OUT IN THE INTERFERENCE-CAUSING
EQUIPMENT STANDARD ENTITLED “DIGITAL APPARATUS,”
ICES-003 OF THE DEPARTMENT OF COMMUNICATIONS.
CET APPAREIL NUMERIQUE RESPECTE LES LIMITES
DE BRUITS RADIOELECTRIQUES APPLICABLES AUX
APPAREILS NUMIRIQUES DE CLASSE B PRESCRITES DANS
LA NORME SUR LE MATERIEL BROUILLEUR; “APPAREILS
NUMERIQUES”, NMB-003 EDICTEE PAR LE MINISTRE DES
COMMUNICATIONS.
CAUTION
Changes or modifications not approved y JVC could void
the user’s authority to operate the equipment.
Le symbole de l’éclair à l’intérieur d’un triangle
équilatéral est destiné à alerter l’utilisateur sur
la présence d’une “tension dangereuse” non
isolée dans le boîtier du produit Cette tension
est suffisante pour provoquer l’électrocution
de personnes
Le point d’exclamation à l’intérieur d’un triangle
équilatéral est destiné à alerter l’utilisateur sur la
présence d’opérations d’entretien importantes
au sujet desquelles des renseignements se
trouvent dans le manuel d’instructions
Precautions
• If water gets inside the System, turn off the power and
remove the plug from the wall outlet, then consult your
dealer. Using the System in this state may cause a fire or
electrical shock.
• Do not expose the System to direct sunlight or place it near
a heating device.
Notes on installation
• Select a place which is level, dry and neither too hot nor too
cold etween 5˚C (41˚F) and 35˚C (95˚F).
• Do not install the System in a place su ject to vi rations.
• Do not put heavy o jects on the System.
To pre ent malfunction or damage of the System
• Do not insert any metallic o jects, such as wires, hairpins,
coins, etc. into the System.
• Do not lock the vents.
There are no user-ser iceable parts inside.
If anything goes wrong, unplug the power cord
and consult your dealer.
IMPORTANT FOR LASER PRODUCTS
1. CLASS 1 LASER PRODUCT
2. CAUTION: Do not open the top cover. There are no user
servicea le parts inside the unit; leave all servicing to
qualified service personnel.
3. CAUTION:
(For U.S.A.) Visi le and/or invisi le class II laser radiation
when open. Do not stare into eam.
(For Canada) Visi le and/or invisi le class 1M laser radiation
when open. Do not view directly with optical instruments.
4. REPRODUCTION OF LABEL: CAUTION LABEL, PLACED
INSIDE THE UNIT.
IMPORTANT POUR PRODUITS LASER
1. PRODUIT LASER CLASSE 1
2. ATTENTION: N’ouvrez pas le couvercle supérieur. Il n’y
a aucune pièce répara le par l’utilisateur à l’intérieur de
l’appareil; confiez toute réparation à un personnel qualifié.
3. ATTENTION:
(Pour les Etats-Unis) Radiation laser de classe II visi les et/ou
invisi le si l’appareil est ouvert. Ne regardez pas le rayon.
(Pour le Canada) Rayonnement laser visi le et/ou invisi le
de classe 1M une fois ouvert. Ne pas regarder directement
avec des instruments optiques.
4. REPRODUCTION DE L’ÉTIQUETTE: ÉTIQUETTE DE
PRÉCAUTION PLACÉE À L’INTERIEUR DE L’APPAREIL.
Thank you for purchasing a JVC product.
CAUTION:
Excessive sound pressure from earphones or headphones
can cause hearing loss.
ATTENTION:
Une pression acoustique excessive des écouteurs ou du
casque d’écoute peut entraîner une perte auditive.
