Page Seven:
USING THE RADIO AND MP3 UNIT TOGETHER
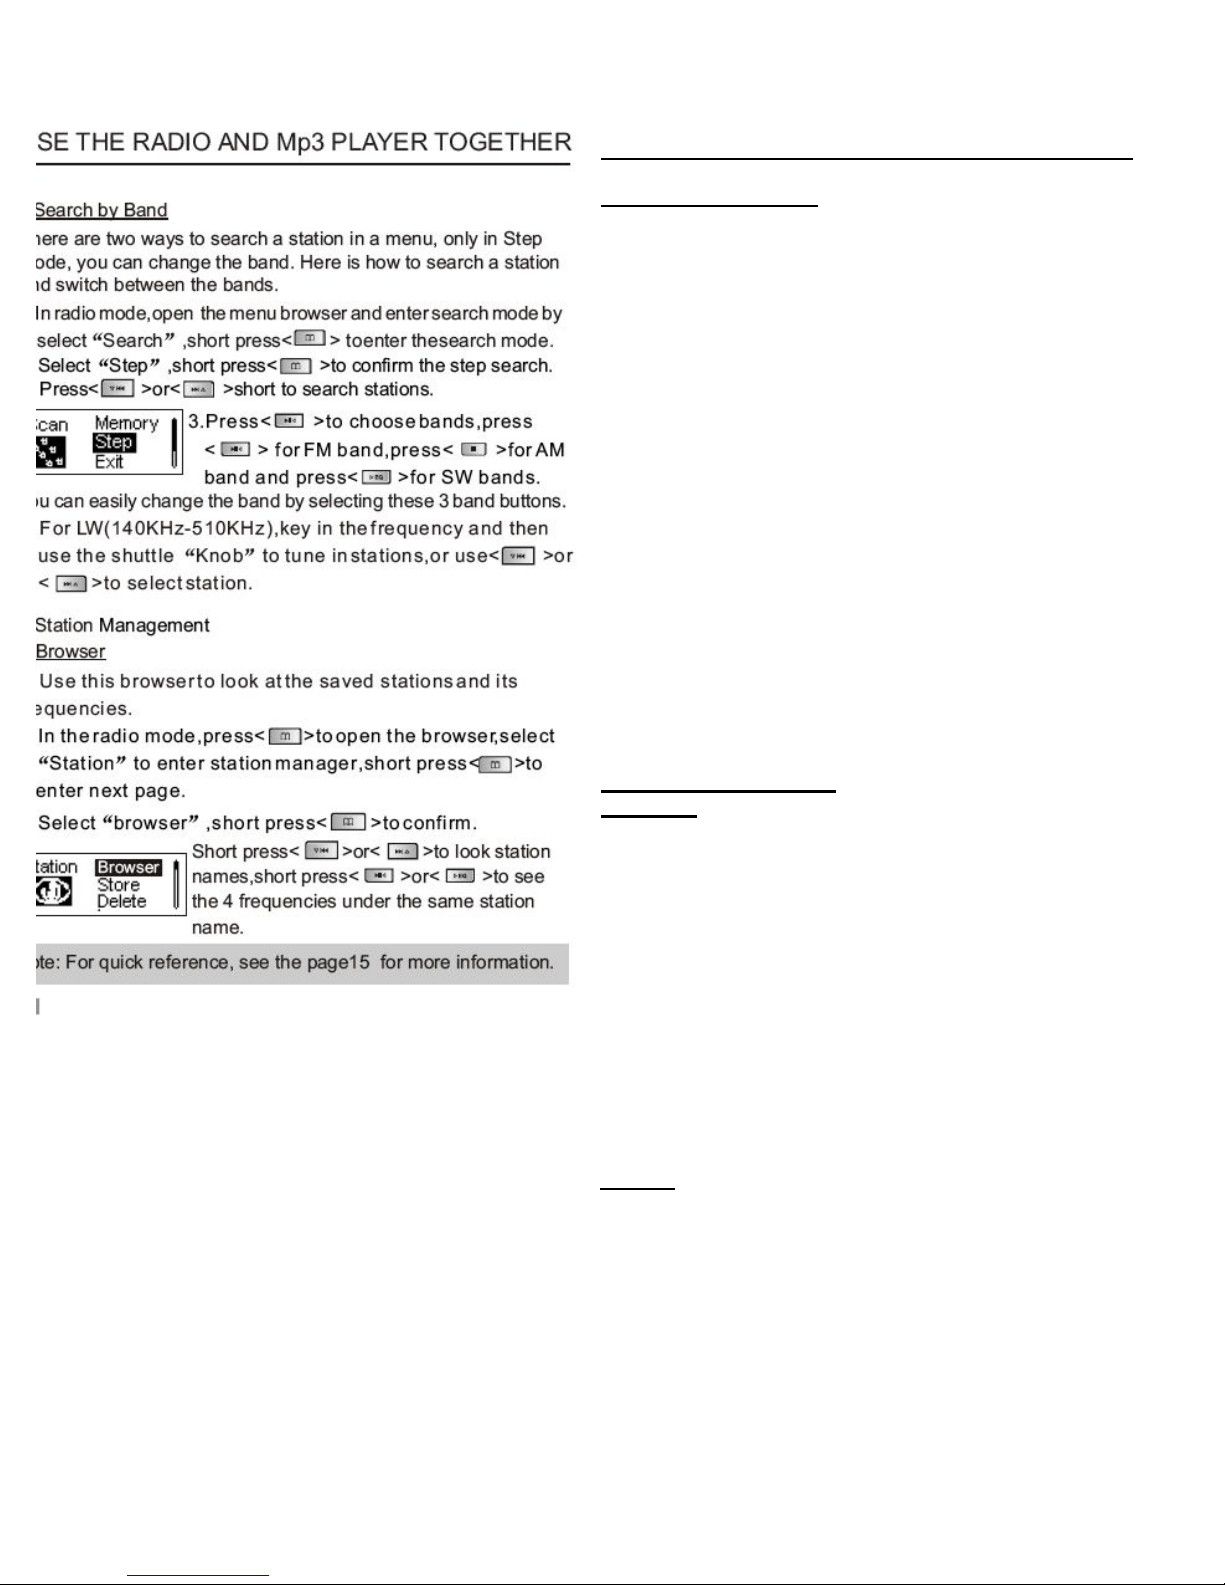
Searching by Band
There are two ways to search for a station in the
Menu. You can only change the band while
searching in "Step" mode. Here is how to do it:
1. In "Radio" mode, access the Menu and press
<button 17> to enter "Search" mode.
2. Select "Step", and press <button 17> to confirm.
Press <button 13a> or <button 13b> to search for
stations.
3. Press <button 16> to choose bands. Press
<button 16> for FM, <button 15> for AM, or
<button 14> for SW bands. You can easily change
the band by selecting one of these three buttons.
4. For LW (140KHz - 510KHz), use the Numeric
Keypad to type in the frequency, and then use the
Tuning Knob to tune specific stations. Alternately,
you may use <button 13a> or <button 13b> to
select stations.
Station Management
Browser
Use the Browser to view saved stations and their
frequencies.
1. In "Radio" mode, press <button 17> to open the
Browser. Select "Station" to enter Station
Manager, then press <button 17> to enter the next
page.
2. Select "Browser," then press <button 17> to
confirm. Press <button 13a> or <button 13b> to
view station names, or press <button 16> or
<button 14> to see the four frequencies under the
same station name.
NOTE: See the quick reference guide on Page 15
for more information.