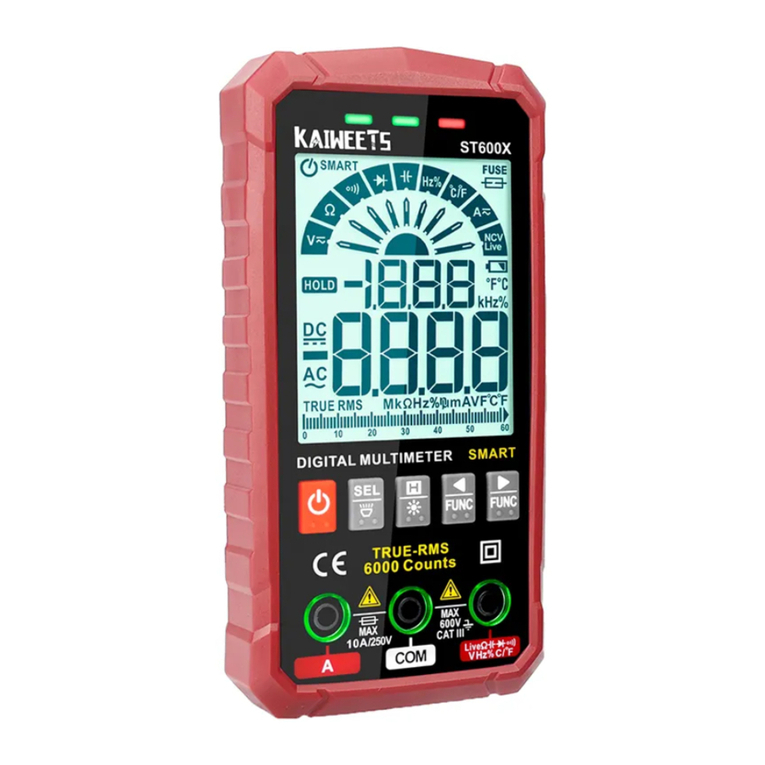
Kaiweets KM201 User manual

Safety
Instructions
The
design
and
manufacture
of
instruments
strictly
comply
with
the
requirements
of
IEC61010-1
CAT.I
600V
over-voltage
safety
standards
and
pollution
level
2.
Warning
/N
In
order
to
avoid
possible
electric
shock
or
personal
injury
and
other
safety
accidents,
please
abide
by
the
following
Specifications:
@
Read
this
manual
before
using
the
instrument,
and
pay
special
attention
to
safety
warning
information.
@
Check
whether
the
instrument
case
is
damaged.
®
Comply
with
local
and
national
safety
code.
Safety
Operating
Procedures
®
Remove
probe
before
opening
the
outer
cabinet
or
battery
cover.
@
Put
your
fingers
behind
the
finger
protector
of
the
probe.
®
Connect
the
neutral
line
or
the
ground
line
first,
then
connect
the
live
wire.
@
Disconnect
the
live
wire
first,
then
disconnect
the
neutral
line
and
ground
1

@
Replace
the
battery
when
it
shows
low
battery
indicator.
Cautions
@
Don't
use
the
instrument
around
explosive
gas,
steam
or
in
wet
environment.
®
The
instrument
is
used
with
specified
category,
voltage
or
current
rating
®
Be
careful
if
the
measurement
exceeds
60V
DC. 30V AC
true
RMS
or
42V
peak.
ing
the
known
voltage
to
check
whether
the
meter
work
is
normal,
if
it
is
not
normal
or
damaged,
do
not
use.
Product
Description
Safety
Symbol
Meaning
A\
|
unsafe
voitage
A
[
warmning
[E
|
ousle
insuiated
DC
(Direct
Current)
|
@np
|
AC
or
DC AC
(Alternating
Current)
Earth
ground
Fuse
€€
|
complies
with
EU
directives
~
=+
¥
|
Low
Battery
Do
not
dispose
of
this
product
as
unsorted
municipal
waste.
2

ATy
|
Stable
for
testing
circuits
directly
connected
to
power
points
(sockets
and
similrites)
of
low
voltage
power
installations.
AT
|
Sutable
for
measuring
cirLits
connected
to
the
distribution
part
of
low
voltage
power
supply
devices
in
buildings.
ATy
|
Sutable
for
measuring
circuits
connected
to
the
power
supply
of
low
voltage
power
installations
in
buildings.

Multimeter
Features
a.
NCV
probe
b.
Flashlight
c.
Display
d.
Function
buttons.
e.
Function
indication
description
1.
Com
(black
test
lead)
g.
Input
(red
test
lead)

Function buttons
(&)
|
Long
press
the
button
to
power
on/off.
FUNC:
Short press
the
button
to
switch
function.
Backlight:
Long
press
the
button
to
tun
on/off
the
backlight.
Data
hold:
Short press
the
button
to
tum
on/off
the
data hold
function.
Flashlight:
Long
press
to
tum
on/off
the flashlight.
Sleep
Mode
‘The
Meter
automatically
enters
sleep
mode
if
there
is
no
operation
in
15
minutes
to
save
battery
energy.
Press
the
“
(@),
then
press
the
“(
(@
J'
at
the
same
time
to
tum
on
the
meter.
Auto-off
function
wil
be
canceled.

Measurement
operation
Auto
Mode
/i
Don't
use
it
to
test
voltage
over
600V,
the
meter
may
be
damaged.
Always
test
known
voltage
with
the
meter
before
using
to
confirm
the
instrument
function
is
intact.
1)
Long
press
the
“(&
"
to
power
on,
and
the
display
shows
“AUTO”,
it
defaults
AUTO
mode.
Or
Short
press
“(@A)”
to
select
AUTO
mode.
2)
Connect
the
test
leads
o
the
source
or
load
to
be
measured.
3)
The
meter
automatically
recognizes
voltage,
resistance,
and
continuiy.
4)
Read
the
measurement
result
from
the
display.
Note:
If
the
resistance
value
of
the
measured
resistor
or
circut
is
less
than
5000,
the
buzzer
will
beep
and
the
green
backlight
will
be
lt.
NCV
measurement,
1)
Short press
the
(@)
button
to
switch
to
NCV
function.The meter
will
display
“NCV”.
2)
Then
NCV
probe
gradually
approaches
the
detected
point.
3)
When
the
meter senses
weak
AC
signals,
the
green
backlight
lits
and
meter beeps
slowly.The
display
shows
4)
When
the
meter senses
strong
AC
signals,
the red
backlight
lits
and
meter
beeps
fast.
The
display
shows
“~

LIVE
measurement
1)
Short press
the
“@&)"
button
to
switch
to
LIVE
function.The
meter
will
display
“Live”.
2)
Connect
the
red
tst
lead
to
the
test
point
3)
When
the
meter senses
weak
AC
signals,
the
green
backlight
lits
and
meter
beeps
slowly.
The
display
shows
“~
4)
When
the
meter senses
strong
AC
signals,
the red
backlight
lits
and
meter
beeps
fast.
The
display
shows
“~
Phase
Measurement
1)
Short press
the
@
button
to
switch
to
Phase
function.
The
meter
will
display
“Phase”.
®
The
display
flashes
To
show
the
“PA”
symbol
(“A”
flashes),
place
the
NCV
sense probe
against
the
first
phase
wire.
@
The
display
flashes
to
show
the
“PAB”
symbol
(“A”
is
fixed,
“B”
Is
flashing),
place
the
NCV
sense probe
against
the
second
phase
wire.
@
The
display
flashes
the
“PABC”
symbol
(“A”and
“B”
fixed,
“C”
flashing),
place
the
NCV
sense
probe
against
the
third
phase
wire.
2)
The
test
is
finished
and
the
measurement
result
is
shown
on
the
display:
“P
———
L
symbol
s
on
the
display
indicates
phase
sequence
left
rotation;
R
symbol
is
on
the
display
indicates
phase
sequence
right
rotation
-
Note:
®
Keep
the
sensing
probe
close
to
the
wire.

@
Shielded
wires/cables,
thickness,
type
of
insulation,
or
complete
insulators
have
an
effect
on
the
detection
@
Ploase
complete
the
test
on
the
three
lines
within
1
minute,
otherwise,
a
detection
timeout
error
will
occur,
prompted
by
the
PABC
symbol
and
the
P
letter
flashing.
When
the
timeout
error
occurs,
please
return
to
phase
sequence
detection
to
re-test.
®
When
the
three~phase
lines
are
very
close,
as
far
as
possible
separate
the
lines
to
detect,
otherwise
it
is
easy
to
misjudge.
General
Specifications
Display
Measurements.
2000
counts,
True
—
AMS
Safety
/
Compliances
CAT
11
600V
Maximum
Voltage
600V
Range
Auto
Battery
41,5V
AMA
Batteries
Operating:
0C~40'C,
<80%
RH,
<10C
non
condensing
Storage:
~10~60°C,
<70%
RH,
batteries
removed
Over-range
indication
“OL”
is
displayed.
Input
polarity
indication
" is
displayed
automatically.
8
Temperature
&
Humidity

Accuracy
Specifications
Reference
condition:
environment temperature
18°C
to
28°C,
relative
humidity
not
above
80%.
Accuracy:
+
(%
reading
+
‘word).
AC/DC
Voltage
Range
Resolution
Accuracy
2.0007 0.001V
20,00V
0,01V
y
DC
Voltage
[
200.0V
0.1V
=(05%+3)
500V
W
Input
impedance:
TOMI;
Maximum
messurement
voltage:
600V
2.000V 0,001V
2000
SOV
+(1.0%+3)
AC
Voltage
500V
W
nput
impedance:
TOMC;
Maximum
messurement
voltage:
G00V;
Frequency
range:
40Hz
~
TKHE

Resistance
Renge
Resolution
Accuracy
20000
0
20.00k00
0.01kQ
+(1.0%+3)
Resistance
200.0k0
0.1k0
2.000M0 0.001N)
20.00M0)
0.01Ma
=(15%+3)
Overload
protection:
250V
Continuity
Function
o1))
Resistance
<500,
the
buzzer
sounds
and
the
backlight
lits
green.
10

Maintenance
Clean
AIf
there's
dust
on
the
terminal
or
the
terminal
is
wet,
it
may
cause
measurement
error.
Please
clean
the
instrument
‘according
to
the
steps
below:
®
Switch
off
the
power
supply.
®
Wipe
the
outer
cabinet
with
a
dam
cloth
and
mild
detergent.
Wipe
contacts
in
each
input
terminal
with
a
clean
cotton
swab
soaked
in
aicohol.
AN
WARNING
Always
keep
the
inside
of
the
instrument
clean
and
dry
to
avoid
electric
shock
or
instrument
damage.
Remove
and
Replace
the
Battery
1)
Tum
off
the
power
to
the
meter.
2)
Remove
the
battery
cover
by
unscrewing
the
screw
that
holds
the
battery
cover
with
a
screwdriver.
3)
Remove
the
old
battery
and
replace
it
with
a
new
one
of
the
same
size,
please
pay
attention
to
the
battery
polarity,
there
are
positive
and
negative
polarity
marks
for
each
battery
in
the
battery
box.
4)
Put
the
battery
cover
back
to
its
original
position
and
use
the
screws
to
fix
the
battery
cover
and
lock
it
tightly.
WARNING
@
In
order
to
avoid
wrong
reading
which
may
lead
to
electric
shock
or
personal
injury,
please
replace
the
battery
1

immediately
when
the
battery
power
is
low.
@
Do
not
discharge
the
battery
by
short-circuiting
It
or
reversing
its
polarity.
@
To
ensure
the
safe
operation
and
maintenance
of
this
meter,
remove
the
batteries
when
not
in
use
for
a
long
period
of
ime
to
prevent
damage
to
the
product
from
battery
leakage.
12
Table of contents
Other Kaiweets Multimeter manuals

Kaiweets
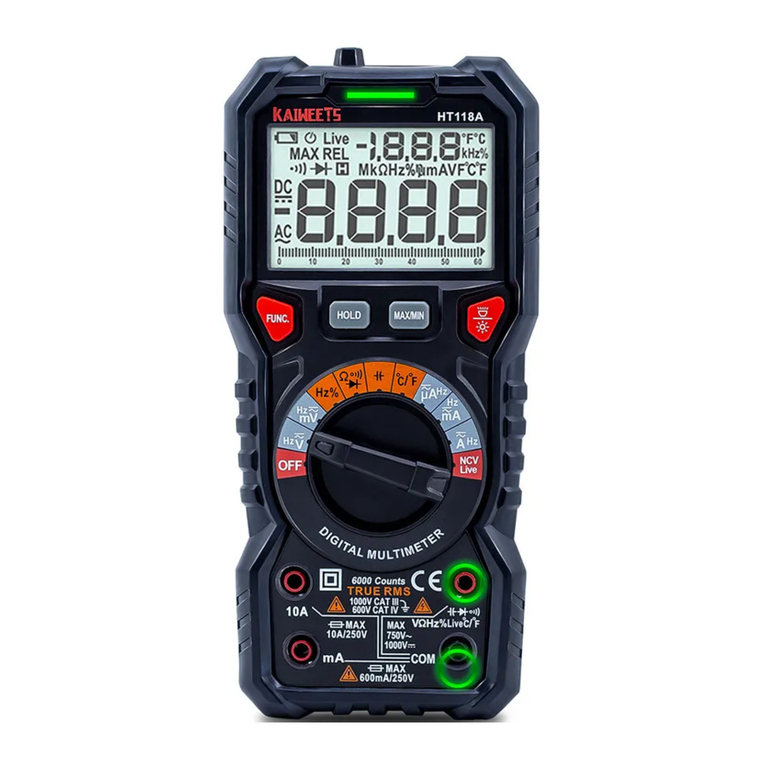
Kaiweets HT118A User manual
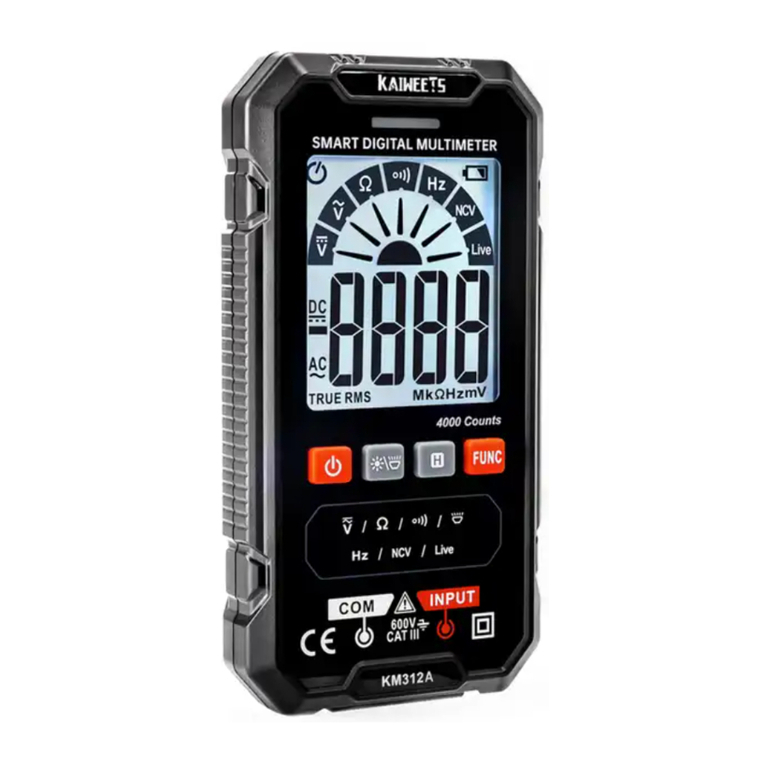
Kaiweets
Kaiweets KM602 User manual

Kaiweets
Kaiweets True RMS 10000 Counts User manual

Kaiweets
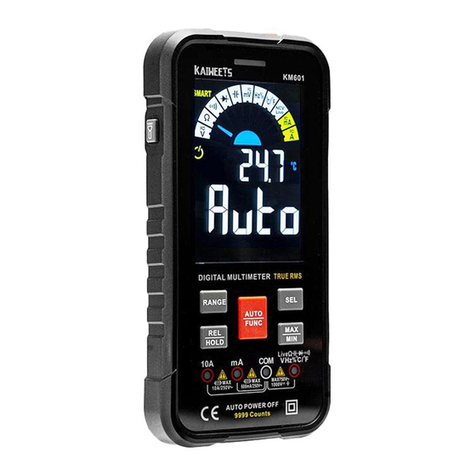
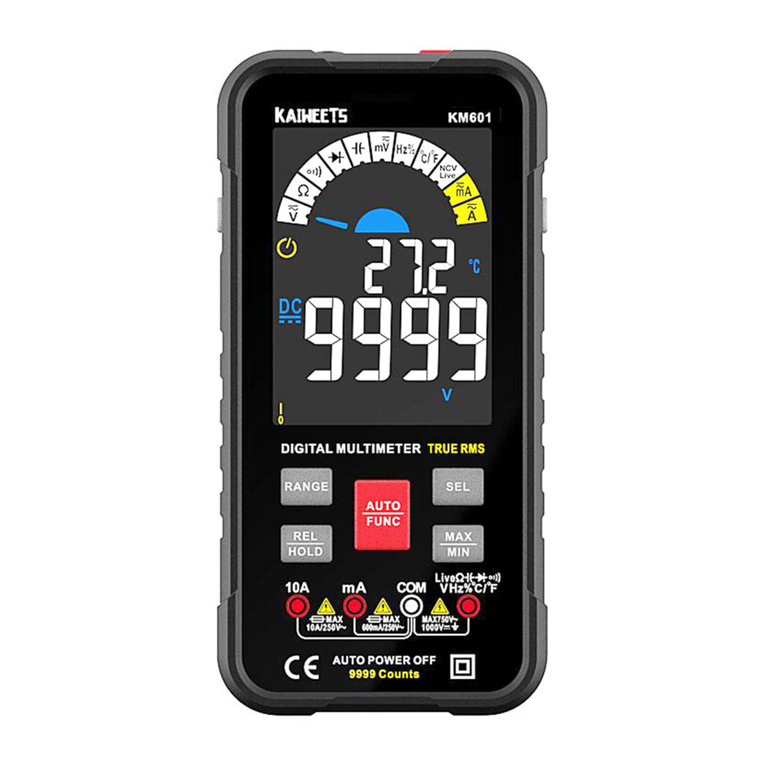
Kaiweets KM601 User manual

Kaiweets
Kaiweets HT118A User manual

Kaiweets
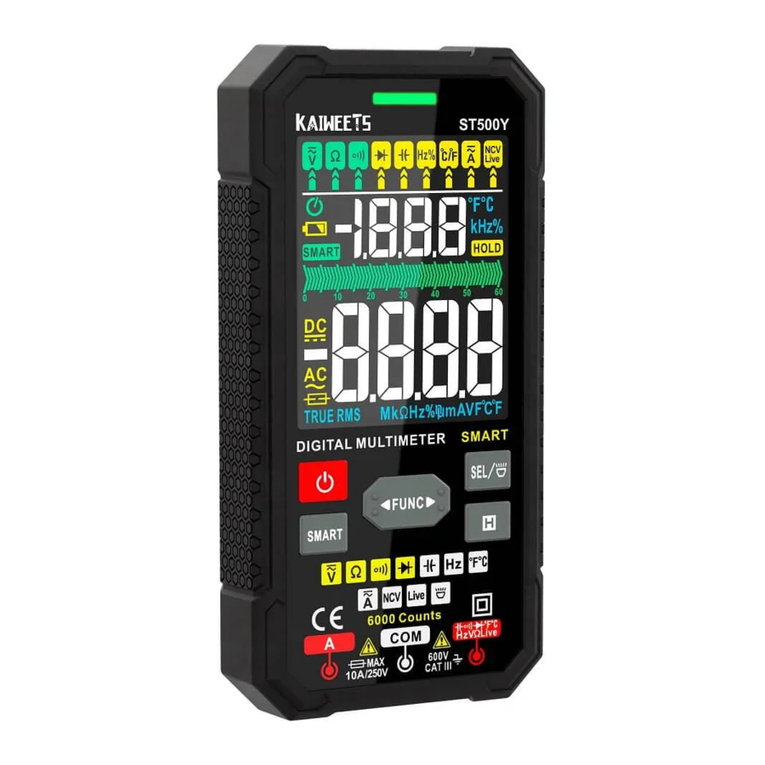
Kaiweets ST500Y User manual

Kaiweets
Kaiweets KM601s User manual

Kaiweets
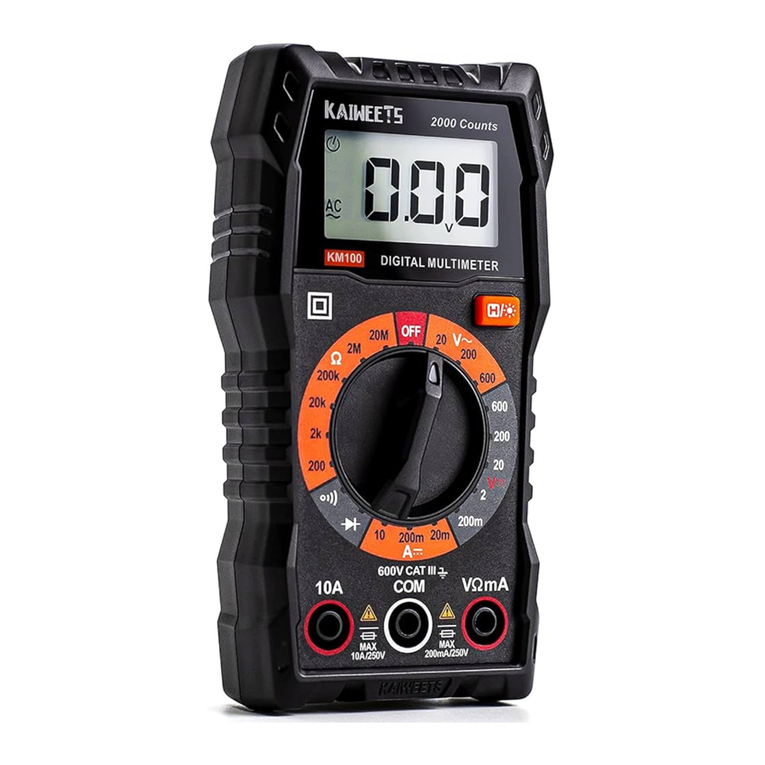
Kaiweets KM100 User manual
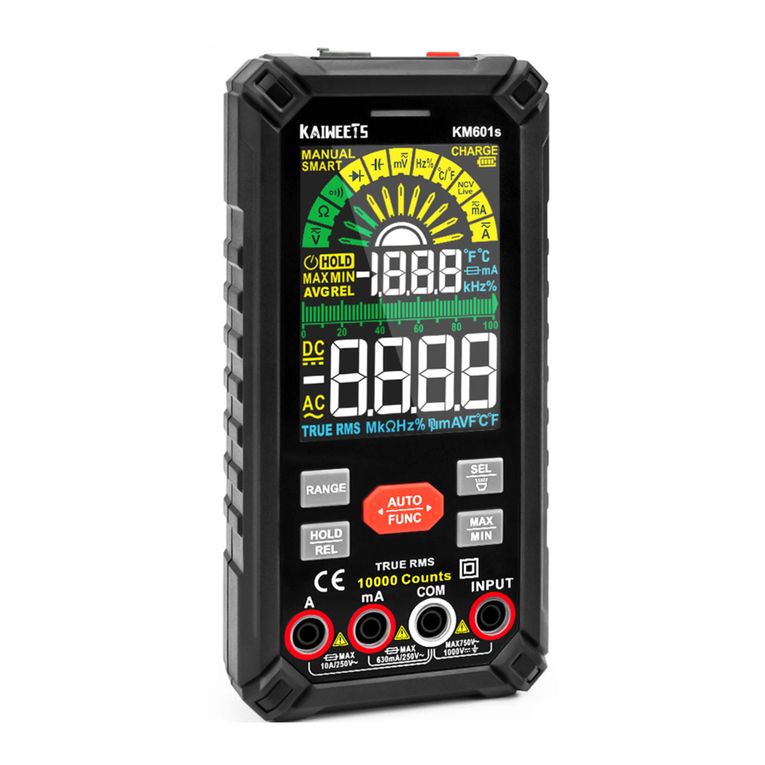
Kaiweets
Kaiweets ST600X User manual
Kaiweets
Kaiweets KM312AB User manual