5
Avant-propos
Merci pour votre confiance envers
notre société. Avec cet achat, vous
avez porté votre choix sur un produit
suisse de qualité (Made in Switzerland).
Les présentes instructions de service
et les remarques importantes qui s‘y
rattachent sont dénommées ci-après in-
structions et l‘appareil de découpe à fil
incandescent est dénommé l‘appareil.
Avant de commencer n‘importe quels
travaux sur ou avec d‘appareil, nous
vous recommandons de lire intégrale-
ment les présentes instructions avec
attention. Ne mettez pas l‘appareil en
exploitation tant que des incertitudes
persistent. En mettant l‘appareil en ser-
vice, vous confirmez avoir lu et compris
l‘intégralité de ces instructions.
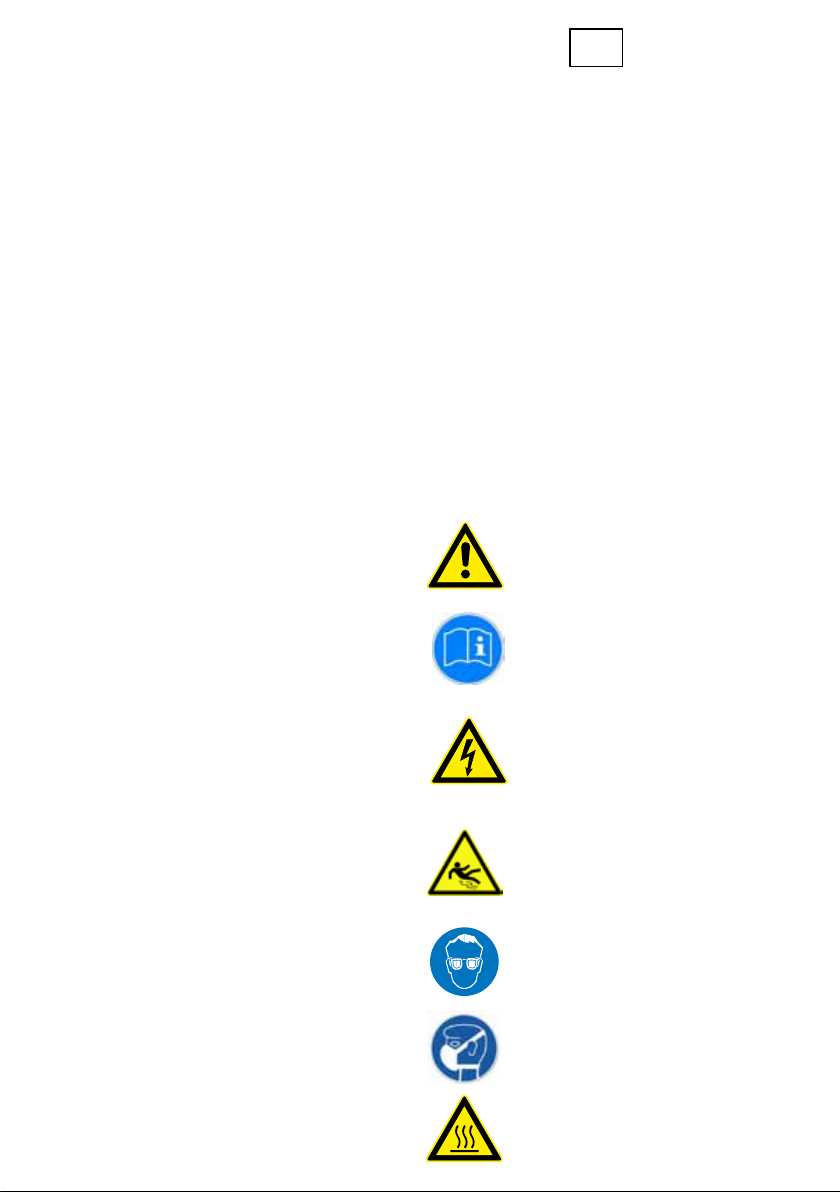
1. Remarques importantes
concernant la sécurité
Les remarques concernant la sécurité
doivent être suivies.
Lisez ces instructions et la fiche de
sécurité du produit à découper avant de
commencer à travailler.
Les modifications du dispositif
électrique sont l’affaire exclusive de
techniciens dûment autorisés.
Sécurisez l’appareil de manière à ce
qu’il ne se déplace pas de lui-même.
Assurez-vous lorsque vous travaillez sur
l’échafaudage.
Le port de lunettes protectrices est
obligatoire.
Le port d’un masque de protection est
obligatoire.
Protégez-vous des brûlures dues au fil
incandescent.
Premessa
Grazie per la fiducia accordata alla
nostra azienda. Con l’acquisto avete
scelto un prodotto svizzero di qualità
(Made in Swiss). Il manuale operativo
presente con relative informazioni sulla
sicurezza viene di seguito indicato come
“istruzioni”, il dispositivo da taglio a filo
incandescente viene indicato come“dis-
positivo”. Prima di iniziare qualsiasi tipo
di operazione sul dispositivo o metterlo
in funzione, si raccomanda di leggere
attentamente le istruzioni presenti
con attenzione e completamente. Non
mettere in funzione il dispositivo nel
caso di dubbi. Con la messa in funzione
del dispositivo l’utente conferma di aver
letto e compreso le istruzioni.
1. Avvertenze di sicurezza
Attenersi alle avvertenze di sicurezza.
Prima di iniziare il lavoro leggete queste
istruzioni e la scheda di sicurezza del
prodotto da trinciare.
Modifiche all’impianto elettrico devono
essere effettuate solo da personale
esperto.
Assicurare il dispositivo contro
movimenti indipendenti prima dell‘uso.
Proteggersi personalmente soprattutto
in caso di operazioni sull’incastellatura.
E’obbligatorio indossare occhiali
protettivi.
Indossare un respiratore.
Proteggersi dalle ustioni causate dal filo
incandescente.
Preface
Thank you for the trust you have shown
in our company. With this purchase, you
have selected a Swiss quality product
(Made in Switzerland). This operating
manual with the corresponding safety
instructions is called a„manual“ and
the filament cutter is referred to as the
„machine“. Before you begin with any
work or start work with the machine,
we recommend that you read the fol-
lowing manual through to the end. Do
not commission the machine as long
as there are still non-clarified points. By
commissioning the machine, you con-
firm that you have read and understood
the manual.
1. Safety information
The safety instructions are to be
followed.
Before beginning work, please read this
manual and the safety data sheet on the
product to be cut.
Changes to the electrical equipment
may only be performed by a profes-
sional electrician.
The machine should be secured from
motion before use. Make sure that you
are secure yourself if you are working on
the scaffold.
Wearing safety goggles is required.
Wearing breathing protection equip-
ment is required.
Protect yourself from burns from the hot
filament.
I EF