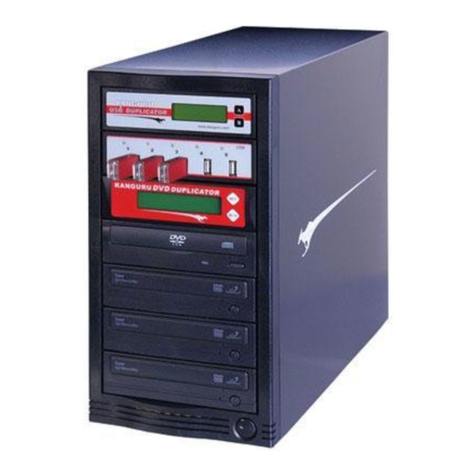
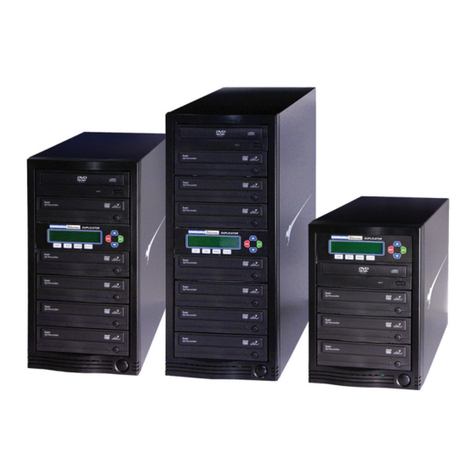
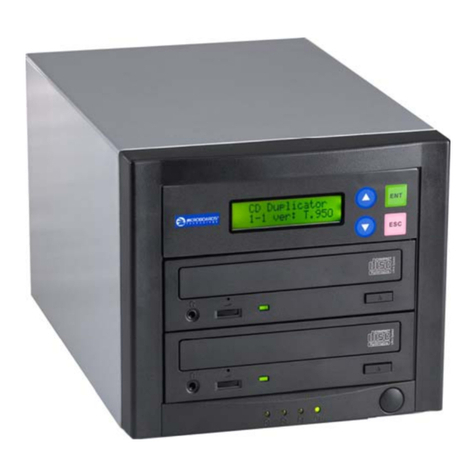
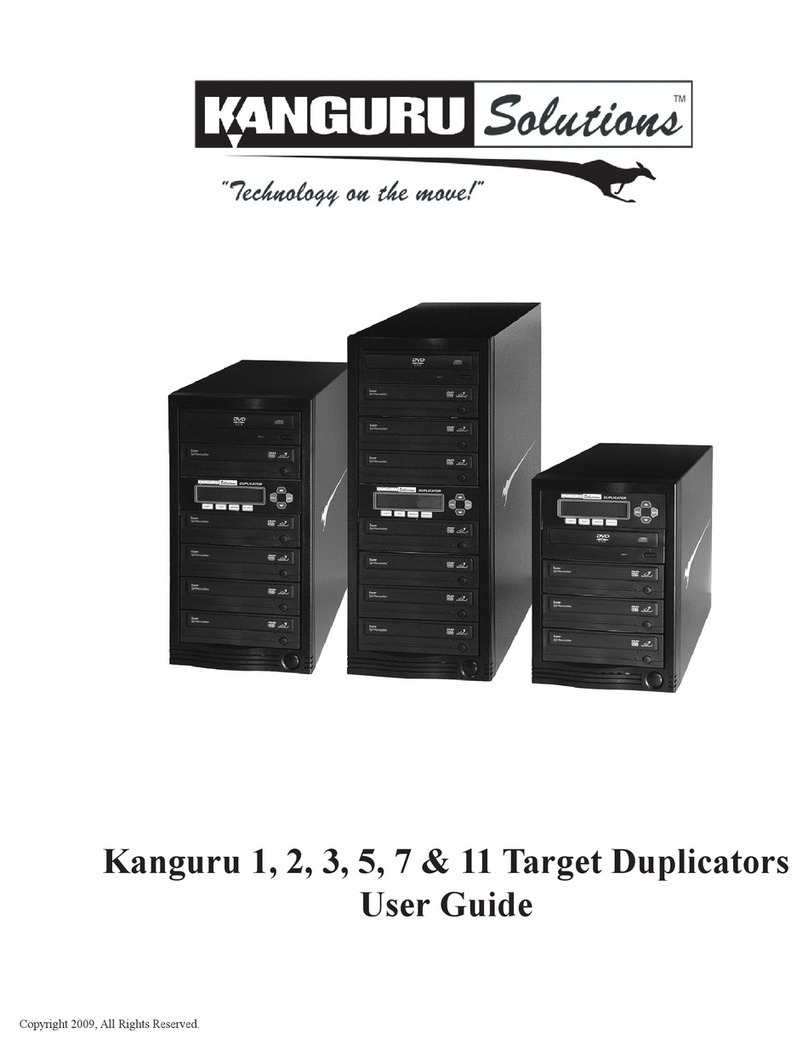
Kanguru CD Duplicator User manual

USER’S MANUAL
FCC COMPLIANCE STATEMENTS
This equipment has been tested and found to comply with the limits for a Class B digital device, pursuant to Part 15 of the
FCC Rules. These limits are designed to provide reasonable protection against harmful interference in a residential installation.
This equipment generates, uses and can radiate radio frequency energy and, if not installed and used in accordance with the
instructions, there is no guarantee that interference will not occur in a particular installation. If this equipment does cause
harmful interference to equipment off and on, the user is encouraged to try to correct the interference by one or more of the
following measures:
Reorient or relocate the receiving antenna.
Increase the Distance between the equipment and receiver.
Connect the equipment into an outlet on a circuit different from that to which the receiver is connected.
Consult the dealer or an experienced radio/TV technician for help.
TRADEMARKS
MS-DOS, Windows, Windows 98/2000/ME/XP are trademarks of Microsoft Corporation.
Macintosh and Mac are trademarks of Apple Computer
*All of the third-party brands and names are the property of their respective owners.

Introduction
Thank you for purchasing your KanguruCD Duplicator from Kanguru Solutions. We are
proud of the quality and reliability of our CD-Duplication products and hope that this
product meets or exceeds your expectations.
Your KanguruCD Duplicator is designed for ease of use! It is ready to begin burning
CD’s straight out of the box! Simply plug it in and follow these instructions and you will
be duplicating CDs within a matter of minutes. Enjoy!
Note - The KanguruCD Duplicator is available in two models; a stand-alone unit, and a
unit that has a USB2.0 connection. The USB2.0 model has two modes; stand-alone and
USB. The USB mode connects the duplicator’s CDRW drive to you computer, which
then can be used to master CDs for duplication. The stand-alone mode is used to
duplicate CDs without being attached to a computer.
Operation Guide: Stand-Alone Mode
1. Turn on the duplicator and wait until the Ready LED turns green.
2. Open the doors of the CD-Rom and CDRW drives.
3. Insert blank media (either CD-R or CDRW) into the CD-RW Drive (bottom
drive) and then insert a Master CD into the CD-ROM Drive (top drive). Close
trays.
4. Close both Doors.
5. Press the “RUN” button.
6. If there is an error, the LED (small lights on the drives) of the CD-ROM and CD-
RW will stop flashing and both CD’s will be ejected automatically at the same
time. Should this occur, please retry with a new blank CD-R or CD-RW disc in
the bottom tray. (The CD-RW Drive) If there is still an error, try another Master
CD with new blank media to determine if there is an incompatibility issue with
the Master material.
7. When duplication is complete, there the duplicator will beep and only the CD-RW
Drive will be ejected. A new copy can be started by repeating the process
beginning at step 1.

KANGURU CD DUPLICATOR FUNCTIONS
Control Panel of Hi-Copy (located on the front)
FUNCTION OF LEDs
A. During stand-alone copying mode:
READY LED will turn on while the CD is being ready
COPY LED will turn on while the CD is being copied.
ERROR LED will turn on when there is an error in copying.
B. During USB mode:
READY + COPY + ERROR
Note : All LEDs will turn on while in EXTERNAL writer mode
FUNCTION OF BUTTONS
MODE: Pressing MODE + SPEED together will erase a CD-RW. *
• Note: For both these functions you must hold the MODE button down and then press
the second button (RUN or SPEED). Release the second button (RUN or SPEED)
and then release the MODE button.
SPEED: Pressing the SPEED button will change the burn speed 16x. This may be helpful if
your media can’t handle the higher writing speeds.
RUN: Pressing the RUN button will start normal CD to CD copy. The default speed is the
MAXIMUM writing speed of the CDRW.

Operation Guide: USB Mode
Note: If you are connecting your duplicator to a computer using Win98, Mac OS9.2,
or Mac OSX you will need to install drivers to access the drive. Please refer to the
driver installation section for further instructions. All other operating systems
including Win2000, ME, and XP use the “USB Mass Storage Driver” that’s already
built in the OS.
1. Install the USB Storage Driver (if necessary) as described in next section.
2. Power on your PC or Mac, and connect one end of USB cable to USB port of PC
or Mac.
3. Turn on the Kanguru CD Duplicator, and wait for the ready LED to turn green.
4. Press and hold RUN for 5 seconds, and all three LEDs on the front panel will
light up signaling the unit has switched to USB mode.
5. Connect the other end of the USB cable to back panel of the duplicator.
6. Your computer will identify the external IDE drive. A Removal Icon is also
generated to allow you to remove the drive (for PC users). This icon is displayed
in the lower right corner on the PC screen. You can now use the included burning
software to write a master CD.
7. To properly disconnect the duplicator from your computer, click the Remove Icon
(PC) or drag drive to Trash (Mac) to safely remove the drive.
Note: Improper removal/insertion of the Kanguru CD Duplicator may cause your
computer to freeze. Please make sure that the three LEDs on the panel are on (USB
operating mode) before you make the connection. Also use the Removal Icon (PC) or
drag the drive icon to the Trash Bin (Mac) to disconnect the drive.
Driver Installation:
The Kanguru Duplicator ONLY requires drivers for Windows 98 and Macs. On any of
the other operating systems (Win 2000/ME/XP) the drivers are built in, so you don’t have
to install anything. Simply plug the drive into an available USB port to gain access the
drive. It will automatically appear as a Compact Disc under “My Computer”.
For Windows 98 users:
1.) Insert Kanguru Drivers CD into you computer.
2.) Switch the duplicator to the USB Mode.
3.) Plug in the supplied USB cable into the back of the duplicator and then into your
PC.
4.) A Found New Hardware wizard will appear. Click Next to install the drivers.
5.) Select “Search for the best driver for your device” and click Next
6.) Select “Specify a Location” and click Browse.
7.) You want to select the Windows (98 only) folder from the Duplicators without
LCD screen folder located in the drivers CD and click OK.
3.) Click Next to install these drivers, then Finish to complete the installation.
4.) You may have to restart your computer to complete the installation.
5.) After the installation has finished you will find an additional CD in My
Computer. Use the provided burning software to burn CDs with the drive.
For Mac users:
1. Double click the Kanguru Duplicator.sit file found in the appropriate Mac OS
folder.
OS 9: Kanguru CD & DVD Duplicators\Duplicators without LCD
screen\Drivers\MacOS9
OSX: Kanguru CD & DVD Duplicators\Duplicators without LCD
screen\Drivers\MacOSX
Helpful Hints
1.) Check to make sure that your media supports 16x burn rates. If you are getting
“bad burns” check to make sure that the media supports the desired speed of
duplication. If not, you have two choices, run a Speed Test to find an appropriate
speed setting, or buy 16x media.
2.) If you experience an error in duplication, (after checking the media type), it is
advisable to run the Speed Test. If this does not help, there is a good chance that
the error is either in the media type or the information being copied.
3.) Not all types of CD formats are supported by this CD-Duplicator due to a variety
of factors. If you experience problems with a specific disc or CD format, try
duplicating a simple audio CD or data CD. If this works, there is a good chance
that there is an incompatibility issue between the duplicator and media you are
attempting to copy.

Warranty
This product carries a 90-day warranty on the case, controller and all internal
components excluding the drives. All drives contained within (CD-ROM and CD-RW)
carry a 1-year warranty. Kanguru Solutions is not responsible for any damages incurred
in the shipping process. Any claims for loss or damage must be made to carrier directly.
Claims for shipping errors should be reported to Kanguru Solutions within three (3)
working days of receipt of merchandise.
Tech Support
If you experience any problems using your KanguruCD Duplicator or have any technical
questions regarding any of our products, please call our tech support department. Our tech
support is free and available Monday thru Friday, 9am to 5pm EST.
Call 1-508-663-0105 or
Visit our website at www.kanguru.com
Table of contents
Other Kanguru Disc Duplicator manuals

Kanguru
Kanguru DVD Autoloader 200 User manual

Kanguru
Kanguru U2D2-7 User manual

Kanguru
Kanguru DVD Duplicator User manual

Kanguru
Kanguru kclone-5hd-twr User manual

Kanguru
Kanguru 1.1 User manual

Kanguru
Kanguru KCLONE-5HD-SATA User manual

Kanguru
Kanguru KCLONE-1HD-MBC User manual

Kanguru
Kanguru U2-DVDDUPE-S User manual

Kanguru
Kanguru Autoloader 100 User manual

Kanguru
Kanguru DC-DVDDUPE-S15 User manual