manuals.online logo
Brands
  1. Home
  2. •
  3. Brands
  4. •
  5. Karibu
  6. •
  7. Garden House
  8. •
  9. Karibu 49536 Instruction Manual

Karibu 49536 Instruction Manual

Service-Hotline:+49 421 38693 33
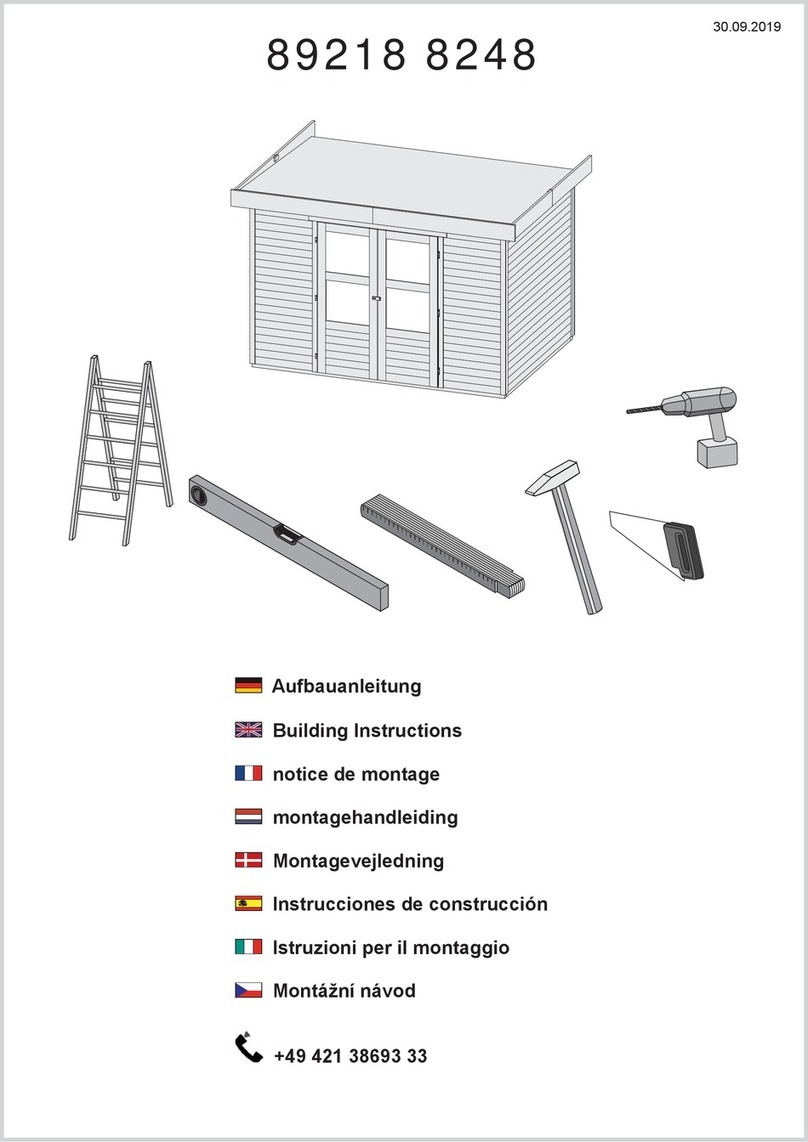
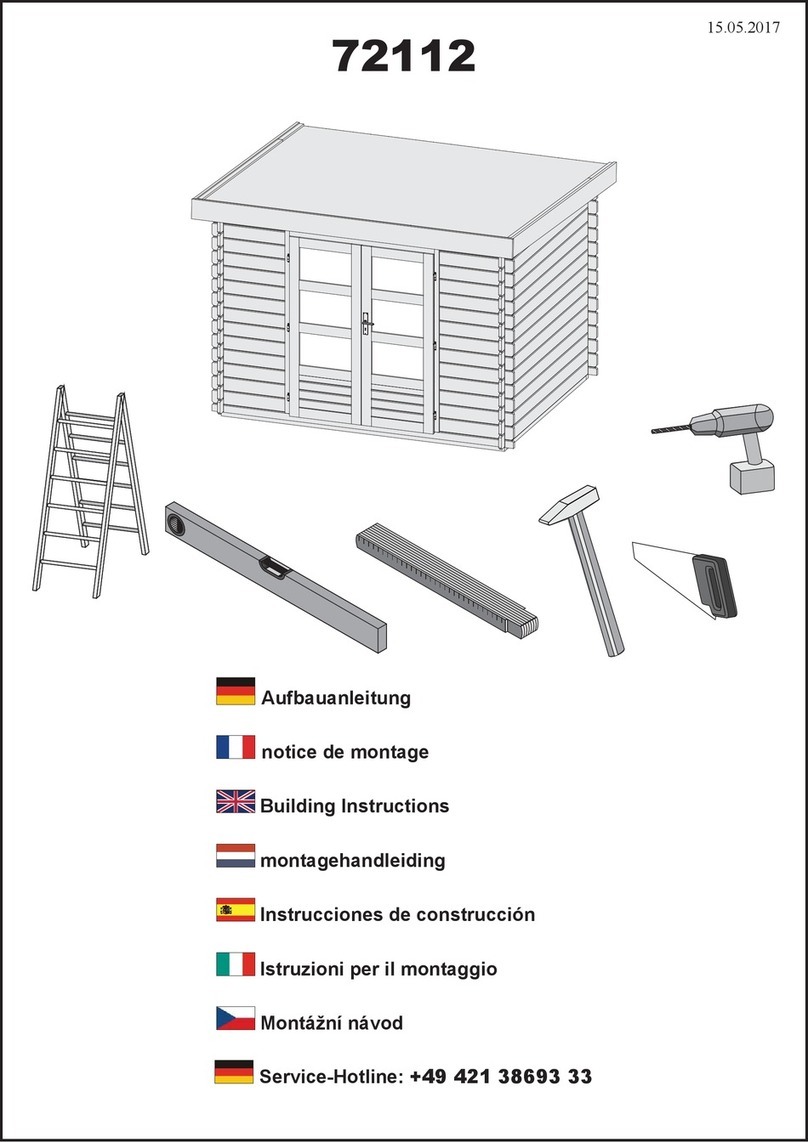
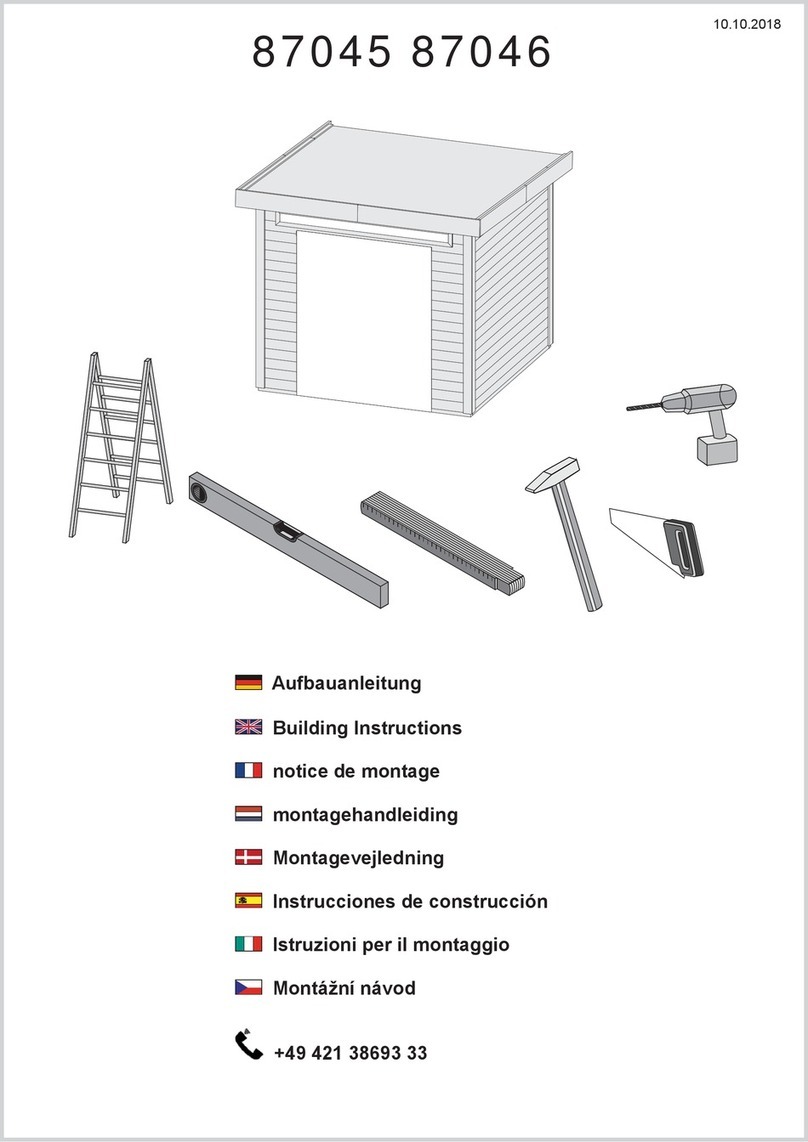
Aufbauanleitung
notice de montage
Building Instructions
montagehandleiding
Instrucciones de construcción
Istruzioni per il montaggio
Montážní návod
02.01.2015
49536
86201-2009
Vergleichen Sie
zuerst die Material-
liste mit Ihrem Pa-
ketinhalt! Bitte
haben Sie Ver-
ständnis, dass
Beanstandungen
nur im nicht aufge-
bauten Zustand
bearbeitet werden
können!
Vergelijk eerst de
lijst van materialen
met de inhoud van
uw pakket!
Reclamaties
kunnen alleen in
behandeling
worden genomen
zolang de
onderdelen nog
niet zijn
gemonteerd!
Veuillez tout
d’abord comparer
la liste du matériel
avec le contenu de
votre colis ! Nous
regrettons de vous
faire savoir qu’il
ne peut être donné
suite qu’aux ré-
clamations rela-
tives aux objets
non construits !
En primer lugar,
compare la lista de
material con el
contenido del
paquete. Rogamos
entienda que las
reclamaciones
sólo pueden ser
tramitadas antes
de montar el obje-
to.
Firstly compare
the material list
with the contents
of your package!
Please appreciate
that complaints
can be processed
only in the non-
assembled state!
Confrontare la di-
stinta dei materiali
con il contenuto del
pacchetto! Le re-
clamazioni potran-
no essere accettate
solamente se i pro-
dotti non sono
ancora stati monta-
ti!
Position
Pos.
Elément
Pos.
Pos.
Pos.
Länge
Lengte
Long.
Largo
Length
Lungh.
Breite
Breedte
Larg.
Ancho
Width
Largh.
Höhe
Hoogte
Haut.
Alto
Height
Altezza
Bezeichnung
Benaming
Description
Denominación
Description
Descrizione
Anzahl
Aantal
Nbre de
pièces
Ctdad
Number
Quantità
Art.Nr.
Art.nr.
Article
n°
N° Art.
Art.No.
N°.
S1 Unterleger
Oderlegger
Solive
Nivelador
Joist
Supporti
1825 40 60 1 39750
S2 943 40 60 2 39733
S3
Befestigungsleisten
Bevestigingslatten
Lattes de fixation
Listón de fijación
Fastening ledges
Listelli di fissaggio
1170 28 58 2 39735
S4
Seite
Zijkant
Côté
Lado
Side
Parete laterale
1170 946 28
vormontiert
Voorgemonteerd
Prémonté
Premontado
pre-mounted
Premontato
2 39745
S5
Front links
Font links
Façade gauche
Parte delantera izquierda
Front left
Parte frontale sinistra
1170 553 28
vormontiert
Voorgemonteerd
Prémonté
Premontado
pre-mounted
Premontato
1 39747
Front rechts
Font rechts
Façade droite
Parte delantera derecha
Front right
Parte frontale destro
1170 553 28
vormontiert
Voorgemonteerd
Prémonté
Premontado
pre-mounted
Premontato
1 39920
S6
Front oben
Frontlat bovenzijde
Devant, haut
Parte delantera arriba
Top front
Parte frontale superiore
1951 28 105 1 39749
S7
Frontverstärkung
Frontversteviging
Renforcement devant
Refuerzo de la parte delantera
Front reinforcement
Rinforzo della parte frontale
1896 40 90 2 39918
S8
Türanschlag
Deuraanslag
Embrasure de porte
Tope de la puerta
Door stop
Battuta della porta
1040 28 58 2 39736
S9
Balken
Balk
Poutre
Viga
Beam
Travetti
878 40 90 4 39913
S10
Auflage
Steunplankje
Appui
Base
Supporting surface
Appoggio
290 40 90 2 39915
S11
Tür
Deur
Porte
Puerta
Door
Porta
1043 890 28
vormontiert
Voorgemonteerd
Prémonté
Premontado
pre-mounted
Premontato
1 39766
S12
Aufdopplung
Opvullat
Doublage
Duplicación
Cross-grain superposition sections
Sdoppiamento
1170 28 58
2 39735
S13 2170 40 90 3 39909
S23
Stütze
Staander
Support
Poste
Stanchion
Supporti
1155 40 90
2 39906
S14 781 40 90 2 39905
S15 2177 40 90 2 39919
S16 235 40 90 1 37463
S24
Geländer
Leuning
Balustrade
Barandilla
Railing
Ringhiera 1537 40 90
1 39908
S17
Treppe Wange links
Trapwang links
Escalier, limon gauche
Zanca escalera izquierda
Stairs left face
Lato sinistro scaletta
1417 26 140 1 39880
S18
Treppe Wange rechts
Trapwang rechts
Escalier, limon droit
Zanca escalera derecha
Stairs right face
Lato destro scaletta
1417 26 140 1 39881
S19 2007 26 140 4 49501
S20
Deck
Vloerdeel platform
Couverture
Cubierta
Deck
Ponte
820 26 140 4 49502
S19
Treppe Stufen
Traptreden
Escalier, marches
Peldaños
Stair steps
Gradini
420 26 140 4 39882
S21 355 26 140 2 49534
S22
Deckel mit Loch
Deksel met gat
Couvercle avec ouverture
Tapa con agujero
Cover with hole
Coperchio con foro 285 18 45 2 44871
Beschlagbeutel
Bslagzak
Sachet de ferrure
Bolsa de guarnición
Bag of fixtures
Sacchetto per ferramenta
Maße
Ametingen
Dimensions
Dimensiones
Dimensions
Dimensioni
Bezeichnung
Benaming
Description
Denominación
Description
Descrizione
Anzahl
Aantal
Nbre de
pièces
Ctdad
Number
Quantità
Nr.
Art.nr.
Article
n°
N° Art.
Art.No.
N°.
T-Bänder
Deurscharnieren
Charnières
Paumelles
Door hinge plates
Profilo a T
2 3716
Überfalle
Kistoverval
Fermeture à moraillon
Pestillo
Closing clasp
Serratura
1 3724
40 20
Winkel
Hoekijzer
Angle
Ángulo
Bracket
Angolo
4 21208
Riegel
Grendel
Verrou
Pestillo
Bolt
Cerniera
2 3709
4 35 40 3687
4 70 60 3689
4 50
Schrauben
Schroeven
Vis
Tornillos
Screws
Viti 90 3688
4 35 15 39398
4 50
Niro Schrauben (Edelstahl)
Niro-schroeven (roestvrij staal)
Vis inox (acier inoxydable)
Tornillos Niro (acero fino)
Stainless steel screws
Viti inossidabili (acciaio)
80 39399
Was mit was verbunden
Wat wordt waarmee verbonden?
Que raccorder avec quoi ?
Qué va unido a qué?
What is joined with what?
Cosa collegare a cosa?
Anzahl
Aantal
Nbre de
pièces
Ctdad
Number
Quantità
Verbindungsmittel
Verbindungsmittel
Verbindingsmidlen
moyen de fixation
Medios de unión
Connecting device
Dispositivo di collegamento
Summe
Totaal
Total
Suma
Sum
Somma
Unterleger untereinander
Onderleggers met elkaar
Solives superposées
Niveladores entre sí
Base sections interchangeable
Supporti tra loro
-
-
Wände mit Unterleger
Wanden met onderleggers
Murs avec solive
Paredes con niveladores
Walls with backing
Pareti con il supporto
pro Wand
per wand
par mur
por pared
per wall
per pareti
2 4 x 50 8
Befestigungsleisten an Pool
Bevestigingslatten aan zwembad
Lattes de renforcement sur piscine
Listones de fijación en la piscina
Fastening ledges on pool
Listelli di fissaggio sulla piscina
pro Leiste
per lat
par latte
por el listón
per strip
per listallo
4 4 x 50 8
Wände an Befestigungsleisten
Wanden aan bevestigingslatten
Murs sur lattes de renforcement
Paredes en los listones de fijación
Walls on fastening ledges
Pareti sui listelli di fissaggio
pro Leiste
per lat
par latte
por el listón
per strip
per listallo
4 4 x 50 8
Wände untereinander
Wanden onderling
Murs superposés
Paredes entre sí
Walls interchangeable
Pareti tra loro
pro Front
Per frontlat
par façade
por parte delantera
per front
per ogni parte frontale
4 4 x 50 8
Front oben an Wände
Frontlat boven aan wanden
Haut, devant sur murs
Parte delantera arriba en las paredes
Top front on walls
Parte frontale superiore con le pareti
insgesamt
in Totaal
total
total
total
totale
8 4 x 50 8
Türanschlagleiste an Front
Deuraanslaglat op frontlat
Battement sur devant
Listón de tope de la puerta en la parte delantera
Door stop strip on front
Listelli di battuta della porta sulla parte frontale
pro Leiste
per lat
par latte
por el listón
per strip
per listallo
4 4 x 50 4
Türband an Front
Kruisheng op deuraanslaglat
Penture sur devant
Pernio en la parte delantera
Hinge plate on front
Cerniere della porta sulla parte frontale
pro Band
Per kruisheng
par entretoise
por fleje
per hinge plate
Per ogni cerniera
3 4 x 50 6
Türband an Tür
Kruisheng op deur
Penture sur porte
Pernio en la puerta
Hinge plate on door
Cerniere della porta sulla porta
pro Band
Per kruisheng
par entretoise
por fleje
per hinge plate
Per ogni cerniera
4 4 x 50 8
Überfalle
Kistovervallen
Moraillon
Pestillo
Closing clasp
Serratura
insgesamt
in Totaal
total
total
total
totale
8 4 x 35 8
Frontverstärkung an Front oben
Frontversteviging op frontlat bovenzijde
Renforcement de façade, façade haut
Refuerzo de la parte delantera arriba
Front reinforcement at top front
Rinforzo della parte frontale sulla parte frontale
superiore
insgesamt
in Totaal
total
total
total
totale
8 4 x 50 8
Frontverstärkung untereinander
Frontverstevigingen onderling
Renforcement de façade, superposé
Refuerzos de la parte delantera entre sí
Front reinforcement interchangeable
Rinforzi della parte frontale tra loro
insgesamt
in Totaal
total
total
total
totale
8 4 x 70 8
Winkel
Hoekijzer
Angle
Ángulo
Bracket
Angolo
pro Winkel
Per hoekijzer
par angle
por ángulo
per bracket
Per ogni angolo
8 4 x 35 8
Balken an Frontverstärkung
Balk aan frontversteviging
Poutre avec renforcement de façade
Viga con el refuerzo de la parte delantera
Beam at front reinforcement
Travetti sul rinforzo della parte frontale
pro Auflage
Per steunplankje
par appui
por base
per supporting surface
Per ogni appoggio
1 4 x 70 4
Auflage an Balken
Steunplankje aan balk
Support sur poutre
pro Auflage
Per steunplankje
par appui 6 4 x 70 12
Base a la viga
Supporting surface at beam
Appoggio sui travetti
por base
per supporting surface
Per ogni appoggio
Aufdopplung an Wand
Opvullat aan wand
Doublage avec mur
Duplicado a la pared
Cross-grain superposition section at wall
Sdoppiamento sulle pareti
pro Leiste
per lat
par latte
por el listón
per strip
per listallo
5 4 x 50 5
Riegel an Leiste/ Wand
Grendels aan lat/wand
Verrou avec latte / mur
Pestillo con el listón/pared
Bolt on strip/wall
Chiavistello sul listallo/ parete
pro Riegel
per Grendel
par Verrou
por Pestillo
per Bolt
per Cerniera
6
4 x 35 Niro Schrauben
4 x 35 Niro-schroeven
4 x 35 Vis inox
4 x 35 Tornillos Niro
4 x 35 Stainless steel screws
4 x 35 Viti inossidabili
12
Geländer an Leiter
Leuning aan ladder
Balustrade avec échelle
Baranda con la escalera
Railing on ladder
Ringhiera sulla scala
4 4 x 50 8
Geländer an Stützen
Leuning aan staanders
Balustrade avec supports
Baranda con el poste
Railing on supporting element
Ringhiera sui supporti
pro Verbindung
Per verbinding
par raccordement
por unión
per joint
per ogni collegamento
2 4 x 70 22
Leiterstufen an Leiterwange
Traptreden aan trapwang
Echelons avec limon d’échelle
Peldaños con la zanca de la escalera
Ladder steps on ladder face
Gradini della scaletta alle parti laterali della
scaletta
pro Verbindung
Per verbinding
par raccordement
por unión
per joint
per ogni collegamento
2
4 x 50 Niro Schrauben
4 x 50 Niro-schroeven
4 x 50 Vis inox
4 x 50 Tornillos Niro
4 x 50 Stainless steel screws
4 x 50 Viti inossidabili
16
Deck an Balken und Wänden
Vloerdelen platform op balken en wanden
Couverture avec poutres et murs
Cubierta con las vigas y paredes
Deck on beam and walls
Coperchio ai travetti e alle pareti
pro Verbindung
Per verbinding
par raccordement
por unión
per joint
per ogni collegamento
2
4 x 50 Niro Schrauben
4 x 50 Niro-schroeven
4 x 50 Vis inox
4 x 50 Tornillos Niro
4 x 50 Stainless steel screws
4 x 50 Viti inossidabili
60
Balken an Pool
Balken aan zwembad
Poutre sur bassin
Vigas con la piscina
Beam at pool
Travetti alla piscina
pro Balken
Per balk
par poutre
por viga
per beam
Per ogni travetto
1
Winkel
Hoekijzer
Angle
Ángulo
Bracket
Angolo
4
Stützen an Wand/Aufdopplung
Staanders aan wand/opvullat
Supports avec mur / doublage
Poste con la pared/duplicado
Supporting element at wall/cross-grain superposi-
tion section
Supporti alla parete/sdoppiamento
pro Stütze
Per staander
par support
por poste
per stanchion
Per ogni supporto
5 4 x 70 15
Abb.:
1-1 Legen Sie die
Unterleger vor der
Poolwand mit dem
Skimmer aus. Der
vordere Unterleger
ist Zwischen den
beiden anderen.
Die Befestigungs-
leisten auf die
Unterleger stellen
und am Pool an-
schrauben.
Leg de
onderleggers uit
vóór de
zwembadwand met
de skimmer. De
voorste
onderlegger
bevindt zich tussen
de beide anderen.
Plaats de
bevestigingslatten
op de onderleggers
en schroef deze
aan het zwembad
vast.
Placez les solives
devant le mur de la
piscine avec le
skimmer. La solive
avant est entre les
deux autres.
Poser les lattes de
fixation sur les
solives et visser
sur le bassin.
Coloque los
niveladores delante
de la pared de la
piscina con el
skimmer. El
nivelador anterior
se encuentra entre
los otros dos.
Colocar los listones
de fijación en el
nivelador y
atornillarlos a la
piscina.
Lay the base sec-
tions in front of the
pool wall with the
skimmer. The front
base section is
between the other
two. Place the
fastening ledges on
the base sections
and screw down to
the pool.
Disporre i supporti
vicino alla parete
della piscina con lo
skimmer. Il suppor-
to anteriore va
posto in mezzo agli
altri due.
Disporre i listelli di
fissaggio sui sup-
porti ed avvitarli
alla piscina.
1-2 Die Seiten und
Fronten aufstellen
und verschrauben
Plaats de zijkanten
en frontdelen en
schroef deze vast.
Placer les côtés et
les façades et
visser.
Colocar los lados y
partes delanteras y
atornillarlos.
Set up the sides
and fronts and
attach with the
screws.
Disporre le parti
laterali e frontali ed
avvitarle.
1-3 Die Front oben auf
beide Fronten
stecken und damit
verschrauben.
Sollte diese Bohle
nicht an die Seiten
anstoßen, müssen
Sie die Fronten
weiter zusammen-
schieben.
Plaats de frontlat
aan de bovenzijde
op de beide
frontdelen en
schroef deze
hieraan vast.
Wanneer deze
plank de zijkanten
niet raakt, moet u
de frontdelen
dichter naar elkaar
toe schuiven.
Poser la façade du
haut sur les deux
façades et visser.
Si cette planche ne
touche pas les
côtés, continuez de
déplacer les faça-
des.
Encajar la parte
delantera arriba en
ambas partes
frontales. Si este
tablón no está en
contacto con las
paredes, seguir
empujando las
partes delanteras.
Insert the front at
the top on both
front sections and
join with the
screws. If this
plank does not
reach to the sides,
you must push the
fronts closer to-
gether.
Disporre la parte
frontale superiore
sulle altre due parti
frontali ed avvitarla.
Se quest’asse non
combacia con le
parti laterali si deve
avvicinare tra loro
le parti frontali.
1-4 –
1-5 Die Frontverstär-
kungen zusam-
menschrauben und
dann die Front
damit versteifen.
Oberkante Front-
verstärkung= O-
berkante Front
Schroef de
frontverstevigingen
aan elkaar vast en
verstevig
vervolgens de
voorzijde ermee.
Bovenzijde front-
versteviging =
bovenzijde front-
deel.
Visser ensemble
les renforcements
de façades qui
consolident ainsi le
devant. Rebord
supérieur de ren-
forcement de fa-
çade = rebord
supérieur de fa-
çade
Atornillar entre sí
los refuerzos de la
parte delantera y
después fijarlos a
la misma. Borde
superior del
refuerzo de la parte
delantera = borde
superior de la parte
delantera
Screw the front
reinforcements
together, bracing
the front. The up-
per edge of the
front reinforcement
must be flush with
the upper edge of
the front.
Congiungere tra
loro i rinforzi della
parte frontale e con
essi rinforzare la
parte frontale.
Spigolo superiore
del rinforzo = Spi-
golo superiore
della parte frontale
1-6 Die Türanschläge
rechts und links
von innen an den
Türausschnitt so
anschrauben, dass
Sie 15mm in den
Türausschnitt hin-
einragen.
Schroef de
deuraanslagen aan
de rechter- en
linkerzijde aan de
binnenkant vast,
zodanig dat ze
15mm in de
deuruitsparing
uitsteken.
Visser de l’intérieur
les embrasures de
porte à droite et à
gauche à
l’ouverture de porte
de manière à ce
que 15 mm restent
à l’intérieur de
l’ouverture de
porte.
Atornillar los topes
de la puerta a la
derecha y la
izquierda por
dentro al recorte de
la puerta de tal
forma que entre 15
mm en el recorte
de la puerta.
Screw the door
stops at the right
and left to the door
recess from inside
so that they project
15mm into the door
recess.
Avvitare
dall’interno gli stipiti
della porta destro e
sinistro sul vano
della porta, in mo-
do tale che spor-
gano per 15 mm
nel vano della
porta.
2-1 Die Balken auf die
untere Frontver-
stärkung auflegen
und an der Pool-
wand mit Hilfe der
Winkel anschrau-
ben.
Plaats de balken
op de onderste
frontversteviging
en schroef deze
met behulp van de
hoekijzers aan de
zwembadwand
vast.
Poser les poutres
sur le renforcement
de façade inférieur
et visser au mur du
bassin à l’aide
d’angles.
Colocar las vigas
en el refuerzo
inferior de la parte
delantera y
atornillarlo en la
pared de la piscina
con ayuda del
ángulo.
Lay the beams
onto the lower front
reinforcement and,
using the bracket,
screw down to the
pool wall.
Disporre i travetti
sul rinforzo inferio-
re della parte fron-
tale ed avvitarli alla
piscina utilizzando
l’angolo di rinforzo.
2-2 Die Auflagen an
den Balken an-
schrauben. Bingen
Sie die Tür unter
Verwendung der T-
Bänder an.
Montage der Über-
falle:
Schrauben Sie von
außen die Hälfte
mit dem Bügel
waagerecht an die
rechte Tür. Klap-
pen Sie die Hälfte
mit dem Langloch
zusammen und
stecken Sie sie
über die bereits
montierte Hälfte.
Zeichen Sie sich
mit einem dünnen
Bleistiftstrich die
Lage der linken
Überfallenhälfte auf
die Tür (bei Einflü-
geltür linke Front),
klappen Sie die
Überfalle wieder
Schroef de
steunplankjes aan
de balken vast.
Breng de deur met
behulp van de
kruishengen aan.
Montage van de
kistovervallen:
Schroef aan de
buitenzijde de helft
met de beugel
horizontaal op de
rechterdeur. Klap
de helft met het
slobgat in en plaats
dit over de reeds
gemonteerde helft.
Teken met een dun
potloodstreepje de
positie van de
linkerhelft van de
kistoverval af op de
deur (bij een enkel
deurblad het
linkerfrontdeel),
klap de
kistovervallen weer
o
p
en en schroef de
Visser les appuis
aux poutres. Instal-
lez la porte à l’aide
charnières.
Montage de la
fermeture à morail-
lon :
Vissez la moitié
avec l’étrier hori-
zontalement à la
porte, de
l’extérieur. Repliez
la moitié avec le
trou en longueur et
mettez-la au-
dessus de la moitié
déjà montée. Mar-
quez d’un trait fin la
position de la moi-
tié gauche de la
fermeture à morail-
lon (partie frontale
gauche pour porte
à une aile), dépliez
de nouveau la
fermeture à morail-
lon et vissez la
moitié gauche.
Atornillar las bases
a las vigas.
Coloque la puerta
utilizando los flejes
en T. Montaje del
pestillo. Atornille
por fuera la mitad
con el estribo
horizontalmente a
la puerta derecha.
Cierre la mitad con
el agujero
longitudinal e
introdúzcala a
través de la mitad
ya montada.
Marque la posición
de la mitad del
pestillo izquierda
con un lápiz fino en
la puerta (en caso
de puerta de ala,
delantero
izquierdo), abra
nuevamente el
pestillo y atornille
la mitad izquierda.
Screw the support-
ing surfaces onto
the beams. Bring
up the door, using
the door hinge
plates. Installing
the closing clasp:
Attach the half with
the bracket hori-
zontally from the
outside to the right
door with the
screws. Fold the
half with the elon-
gated hole together
and place over the
half which is al-
ready installed.
With a narrow
pencil stroke, mark
the position of the
left closing clasp
half on the door
(for a single-leaf
door, fold open the
closing clasp again
and attach the left
half with the
Avvitare le superfici
di appoggio sui
travetti. Fissare la
porta con le cernie-
re a T.
Montaggio della
serratura:
Avvitare
dall’esterno la metà
con il gancio oriz-
zontale sulla porta
destra. Ribaltare la
metà con il foro
orizzontale e inse-
rirla sulla metà già
montata. Segnare
con un sottile tratto
di matita la posi-
zione della metà
sinistra della serra-
tura sulla porta (per
porte ad una anta,
sulla parte sinistra
della parete fronta-
le), ribaltare di
nuovo la serratura
ed avvitare la metà
sinistra.
auf, und schrauben
Sie die linke Hälfte
an.
linkerhelft vast. screws).
2-3 Montage des
Geländers. Die
Stütze in Poolnähe
muss erst mit den
Aufdoppelungen
unterfüttert werden.
Montage van de
leuning. Achter de
staander die zich
het dichtst bij het
zwembad bevindt
moeten eerst de
opvullatten worden
aangebracht.
Montage de la
balustrade. L’appui
proche du bassin
doit tout d’abord
être assemblé aux
doublages.
Montaje de la
barandilla. El poste
cerca de la piscina
se ha de rellenar
inferiormente con
los duplicados.
Installation of the
railing: The stan-
chions near the
pool must first be
lined with the
cross-grain super-
position sections.
Montaggio della
ringhiera. Per pri-
ma cosa rivestire il
supporto vicino alla
piscina con gli
sdoppiamenti.
3 Montage der
Holzleiter:
Die Holzleiter wird
nur mit Riegeln am
der Terrasse be-
festigt. Dadurch ist
Sie jederzeit ent-
fernbar, um den
Zugang zum Pool
einzuschränken
und damit die Si-
cherheit Ihres
Pools zu erhöhen.
Montage van de
houten ladder:
De houten ladder
wordt uitsluitend
met grendels aan
het platform
bevestigd.
Daardoor kan deze
te allen tijde
worden verwijderd
om de toegang tot
het zwembad te
beperken en
daarmee de
veiligheid van uw
zwembad te
vergroten.
Montage de
l’échelle de bois :
L’échelle de bois
n’est fixée à la
terrasse qu’avec le
verrou. Elle peut
donc être ôtée à
n’importe quel
moment afin de
limiter l’accès à la
piscine et en aug-
menter la sécurité.
Montaje de la
escalera de
madera. La
escalera de
madera solamente
se fija a la terraza
con pestillos. De
esta forma puede
retirarse en
cualquier momento
para limitar el
acceso a la piscina
y, con ello
aumentar la
seguridad de ésta.
Installing the
wooden ladder:
The wooden ladder
is attached using
only bolts to the
terrace. It can
therefore be re-
moved at any time
in order to restrict
access to the pool
and thus enhance
the safety of your
pool.
Montaggio della
scaletta in legno:
La scaletta in legno
va fissata alla
terrazza solamente
con le cerniere.
Così sarà rimovibi-
le in qualsiasi mo-
mento, per limitare
l’accesso alla pi-
scina e per aumen-
tare la sicurezza
nella piscina.
5-1 –
5-2 Das Deck aufbrin-
gen und fest-
schrauben. Im
Bereich der Stüt-
zen müssen Sie
die Bretter anpas-
sen. Der Deckel
mit Loch wird auf
die Auflagen nur
aufgelegt. er dient
dazu, den Skimmer
jederzeit säubern
zu können.
Breng de vloerde-
len voor het plat-
form aan en
schroef deze vast.
Rond de staanders
moet de lengte van
de planken worden
aangepast. Het
deksel met gat
wordt los op de
steunplankjes
gelegd. Het is
bedoeld om de
skimmer te allen
tijde te kunnen
schoonmaken.
Installer la couver-
ture et visser. Ajus-
tez les planches au
niveau des appuis.
La couvercale avec
couverture est
simplement posée
sur les appuis afin
de pouvoir avoir
accès au skimmer
à n’importe quel
moment.
Colocar la cubierta
y atornillarla. En la
zona de los postes,
adaptar las tablas.
La tapa con
agujero sólo se
coloca sobre la
base. Sirve para
poder limpiar el
skimmer en todo
momento.
Bring up the deck
and fasten with the
screws. In the area
of the stanchions, it
is necessary to
adapt the boards.
The cover with hole
is only placed onto
the supporting
surfaces and en-
ables cleaning of
the skimmer at any
time.
Posare ed avvitare
il tetto. Vicino ai
supporti si dovrà
far combaciare le
assi. La coperchio
con foro posata sui
supporti. Così sarà
possibile pulire lo
skimmer in qual-
siasi momento.
5-2 –
5-3 Die Treppe erhält
noch ein Geländer. De trap krijgt nog
een leuning. L’escalier est équi-
pé d’une balus-
trade.
La escalera se
dota de una
barandilla
For the stairs there
is a railing. Anche la scaletta è
dotata di una rin-
ghiera.
S3
S3
S2
S2
S
Abb. 1-1
S6
Abb. 1-3
Abb. 1-2
S5
S4
S4
S5
Abb.1-4
S7
S7
Abb. 1-5
15mm
Abb. 1-6
S8
S8
86200-86201-2009 24.02.2009
Abb. 2-2
S10
S10
S11
Abb. 2-3 2xS12
Abb. 2-1
S9
S9
S9 S9
S16
S15
S15
S14
S14
S13
S13
S13
86200-86201-2009 24.02.2009
S18
S17
S18
S18
S18
S17
Abb.3-2
Abb.3-3
Abb.3-1
Abb.3-5
Abb.3-6
Abb.3-4
86200-86201-2009 24.02.2009
90°
285mm
S21
S21
S22
S22
81mm 193mm
Abb.4-1
Abb.4-2
3687
86200-86201-2009 24.02.2009
Abb. 5-1
S23
S24
S23
S19
S20
S20
S21
Abb. 5-2
Abb. 5-3
86200-86201-2009 24.02.2009

Other Karibu Garden House manuals

Karibu TALKAU 6 User manual

Karibu

Karibu TALKAU 6 User manual

Karibu 58979 Instruction Manual

Karibu

Karibu 58979 Instruction Manual

Karibu MUHLENTRUP 1 User manual

Karibu

Karibu MUHLENTRUP 1 User manual

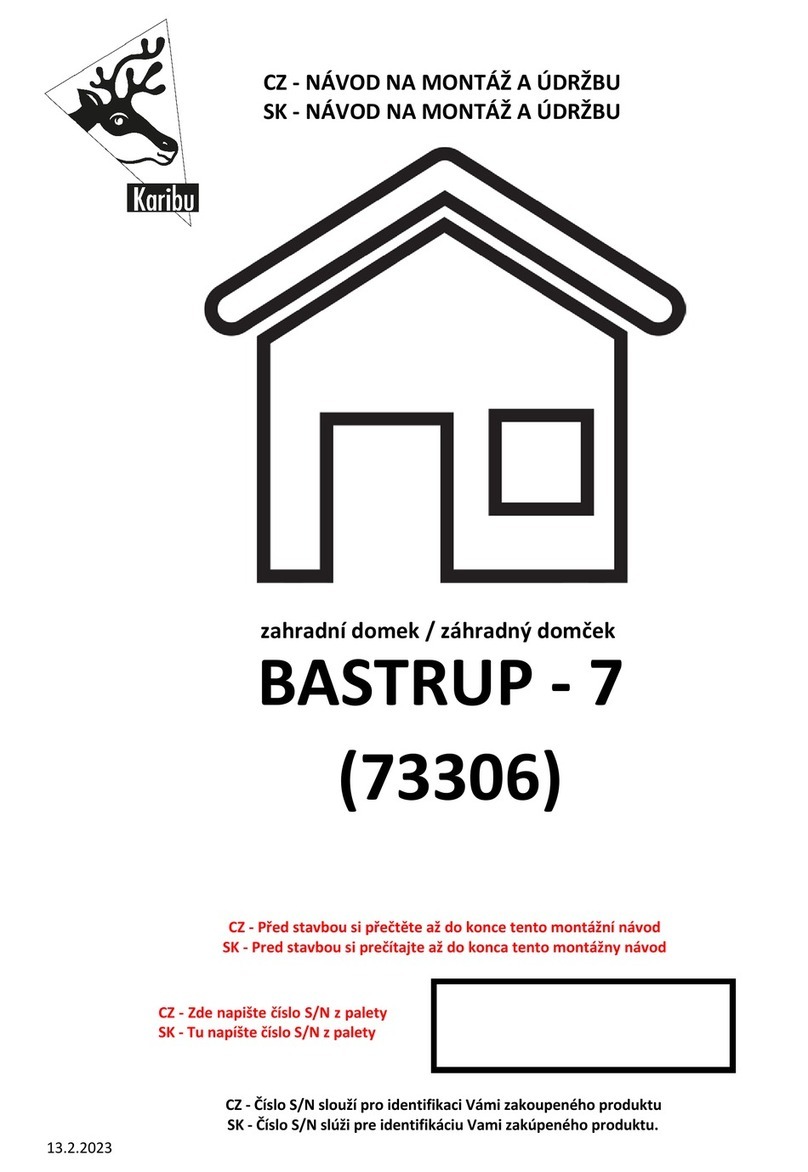
Karibu BASTRUP-7 73306 Instruction Manual

Karibu

Karibu BASTRUP-7 73306 Instruction Manual

Karibu AMBERG 4 SET User manual

Karibu

Karibu AMBERG 4 SET User manual

Karibu 87045 Instruction Manual

Karibu

Karibu 87045 Instruction Manual

Karibu BAYREUTH 6 User manual

Karibu

Karibu BAYREUTH 6 User manual

Karibu 39051 Instruction Manual

Karibu

Karibu 39051 Instruction Manual

Karibu 67812 Instruction Manual

Karibu

Karibu 67812 Instruction Manual

Karibu ASKOLA 3 User manual

Karibu

Karibu ASKOLA 3 User manual

Karibu Askola 4 Instruction Manual

Karibu

Karibu Askola 4 Instruction Manual

Karibu ASKOLA 2 + User manual

Karibu

Karibu ASKOLA 2 + User manual

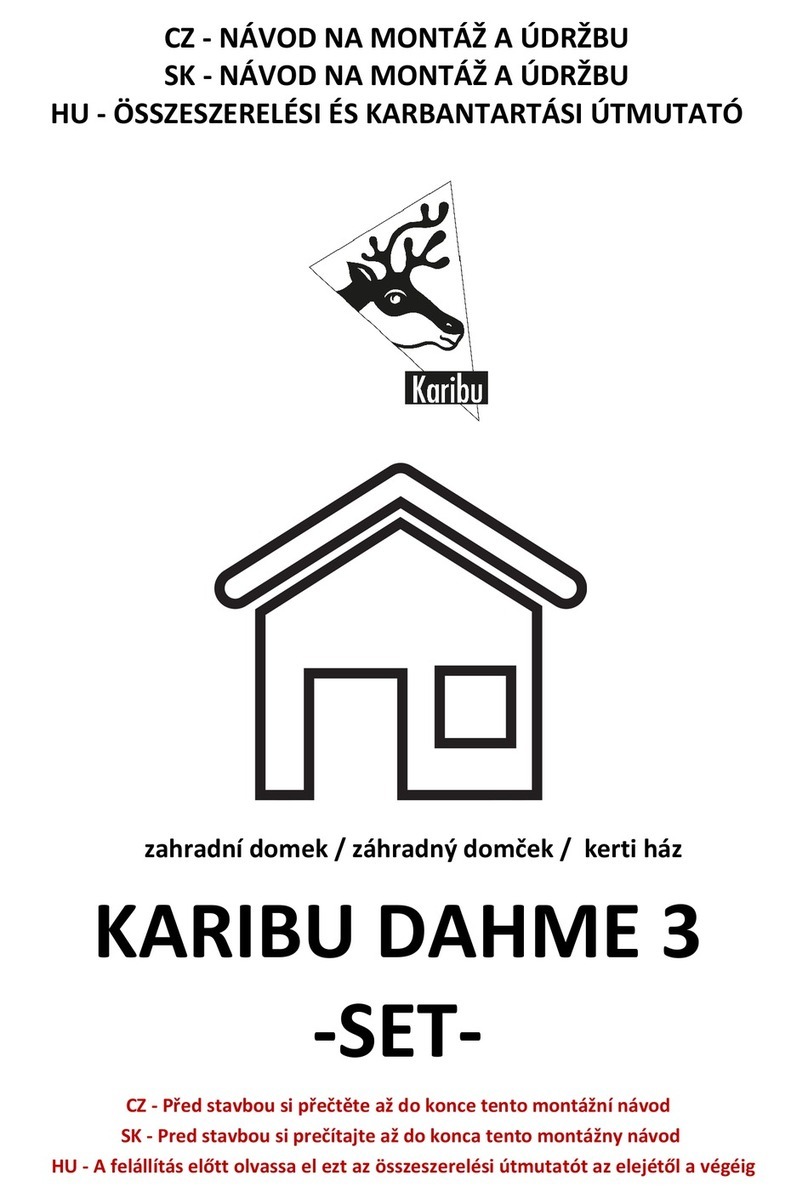
Karibu DAHME 3 User manual

Karibu

Karibu DAHME 3 User manual

Karibu 93114 Instruction Manual

Karibu

Karibu 93114 Instruction Manual

Karibu MERSEBURG 4 User manual

Karibu

Karibu MERSEBURG 4 User manual

Karibu SEEFELD 5 User manual

Karibu

Karibu SEEFELD 5 User manual

Karibu Askola 4 Instruction Manual

Karibu

Karibu Askola 4 Instruction Manual

Karibu TALKAU 3 Instruction Manual

Karibu

Karibu TALKAU 3 Instruction Manual

Karibu SEEFELD 6 Instruction Manual

Karibu

Karibu SEEFELD 6 Instruction Manual

Karibu ASKOLA 3 + User manual

Karibu

Karibu ASKOLA 3 + User manual

Karibu Lagosee 1 Instruction Manual

Karibu

Karibu Lagosee 1 Instruction Manual

Karibu RADUR 0 Instruction Manual

Karibu

Karibu RADUR 0 Instruction Manual

Karibu 7500 Instruction Manual

Karibu

Karibu 7500 Instruction Manual
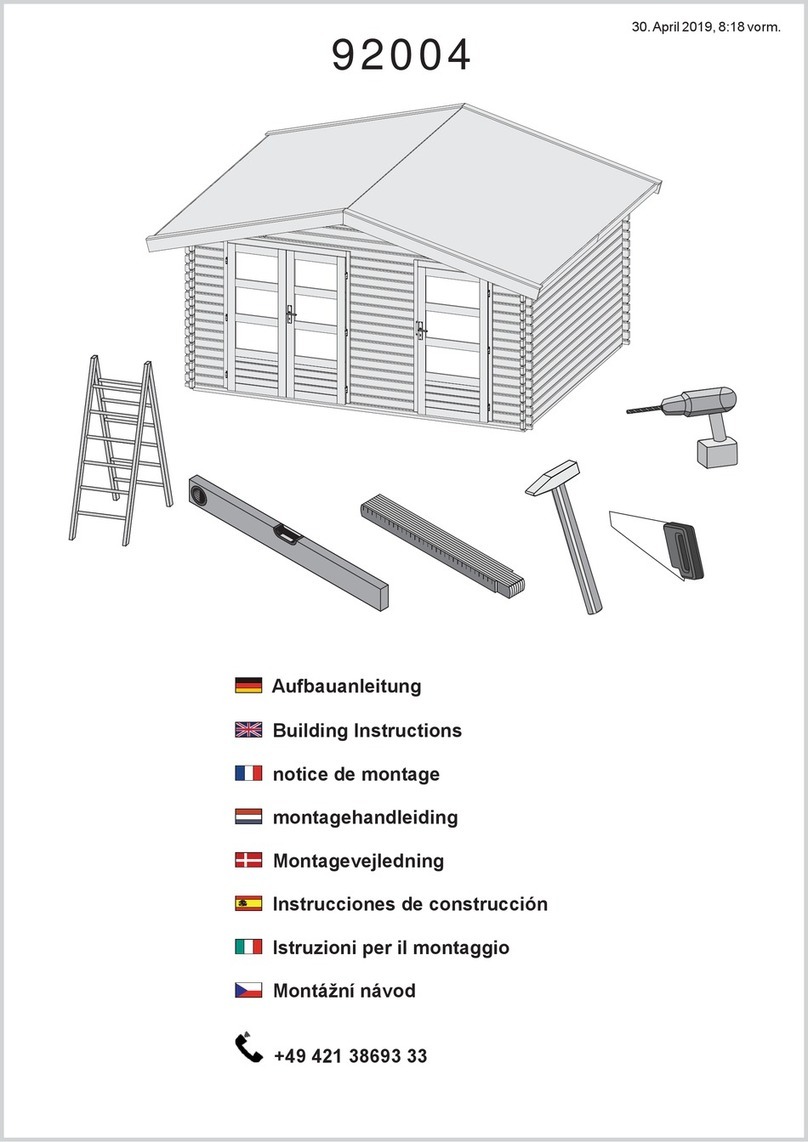
Karibu 16449 Instruction Manual

Karibu

Karibu 16449 Instruction Manual

Popular Garden House manuals by other brands

Palmako Ines installation manual

Palmako

Palmako Ines installation manual

Shire Jailhouse Assembly

Shire

Shire Jailhouse Assembly

Mr. GARDENER England 1 installation manual

Mr. GARDENER

Mr. GARDENER England 1 installation manual

Palmako HEDWIG 13,8 m2 installation manual

Palmako

Palmako HEDWIG 13,8 m2 installation manual

Palmako Tina installation manual

Palmako

Palmako Tina installation manual

GB Wood 01OVLPA0806SDFW-V1 Assembly instructions

GB Wood

GB Wood 01OVLPA0806SDFW-V1 Assembly instructions

Hanover HANAPEXSHD-GW owner's manual

Hanover

Hanover HANAPEXSHD-GW owner's manual

Mercia Garden Products 03DTSHPN0407DSHSA-V1 General instructions

Mercia Garden Products

Mercia Garden Products 03DTSHPN0407DSHSA-V1 General instructions

Mercia Garden Products 03TGCORSE0408-V1 General instructions

Mercia Garden Products

Mercia Garden Products 03TGCORSE0408-V1 General instructions

Lemeks Palmako NOVA PAV-6040-1KI-1 Assembly, installation and maintenance manual

Lemeks

Lemeks Palmako NOVA PAV-6040-1KI-1 Assembly, installation and maintenance manual
Reynolds Building Systems Pinewood Assembly Book

Reynolds Building Systems

Reynolds Building Systems Pinewood Assembly Book

Reynolds Building Systems Best Barns Springfield Assembly Book

Reynolds Building Systems

Reynolds Building Systems Best Barns Springfield Assembly Book

Solid Larvik manual

Solid

Solid Larvik manual

Palmako FRG28-5038-3FSC installation manual

Palmako

Palmako FRG28-5038-3FSC installation manual

Backyard Products Heartland MANSFIELD GABLE manual

Backyard Products

Backyard Products Heartland MANSFIELD GABLE manual

Palmako FRC19-2620FSC installation manual

Palmako

Palmako FRC19-2620FSC installation manual

telluria ELEGANTO 3330 Assembly instructions

telluria

telluria ELEGANTO 3330 Assembly instructions

Blooma MOKAU manual

Blooma

Blooma MOKAU manual

manuals.online logo
manuals.online logoBrands
  • About & Mission
  • Contact us
  • Privacy Policy
  • Terms and Conditions

Copyright 2025 Manuals.Online. All Rights Reserved.