To ensure maximum safety, learn make preight check automatically before
each start.
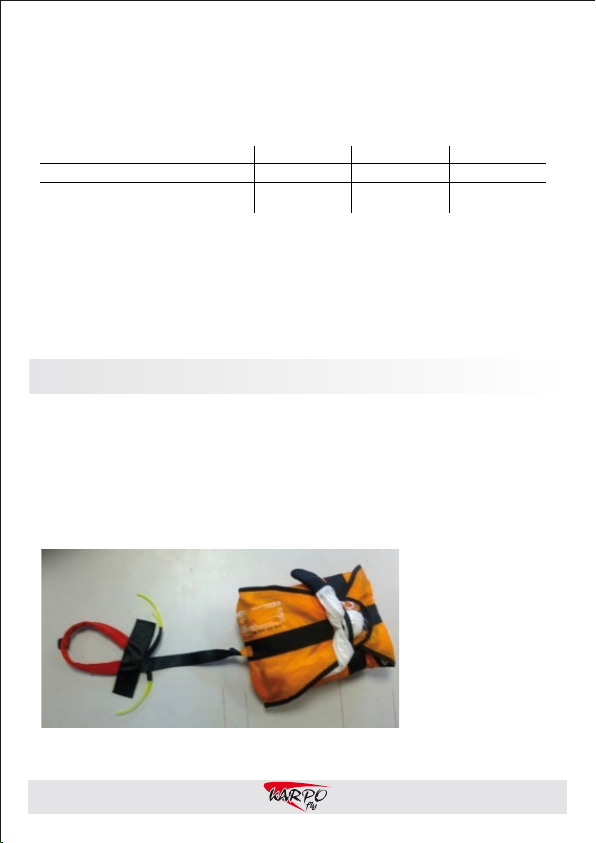
Preight check
1. Any major supporting part, such as straps or carbines, are damaged.
2. The rescue container is properly closed
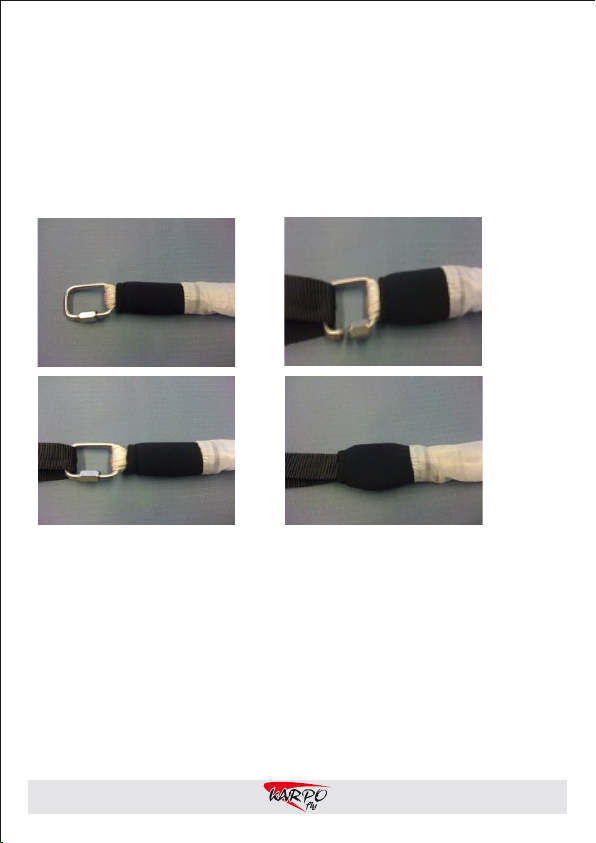
3. Pay special attention to the buckles, especially if you are ying during
the winter in the snow or in sandy conditions. Check all the buckles
to see if they work properly. Check by turning on and pulling to the sides.
4. Your glider is connected to the harness properly, check if the safety lock
on the carabiners is secured
5. You have the speed on connected properly
6. You have all pockets closed
7. Once again check the leg buckles if they are fastened correctly
BEFORE EACH FLIGHT, MAKE SURE THAT
page 7 www.karpoy.com
Flying with FANTOM
The footrests have been adjusted to the ideal distance from production
to ensure easy t into the harness after the start.
Foot straps
Chest strap is designated to adjust the distance between carabiners.
This inuence the paraglider stability. By increasing the distance between
the carabiners you increase the feedback from the glider and the steering
the harness with seat is much easier. If you reduce the distance between
the carabiners, the harness will be more stable in the turbulence.
The FANTOM series harnesses have a large pocket to easily pack everything
you need. The backpack is recommended to rolled up in a roll and put it in your
pocket. Camelbag in the harness FANTOM EXTRALIGHT 3 is a special pocket for
inserting a camelbag or for a plastic bottle. Draw the hose through the corner
of the pocket where the material is skipped. Then pull the hose out of the
pocket and pull through the rubber eyelet.
Chest strap
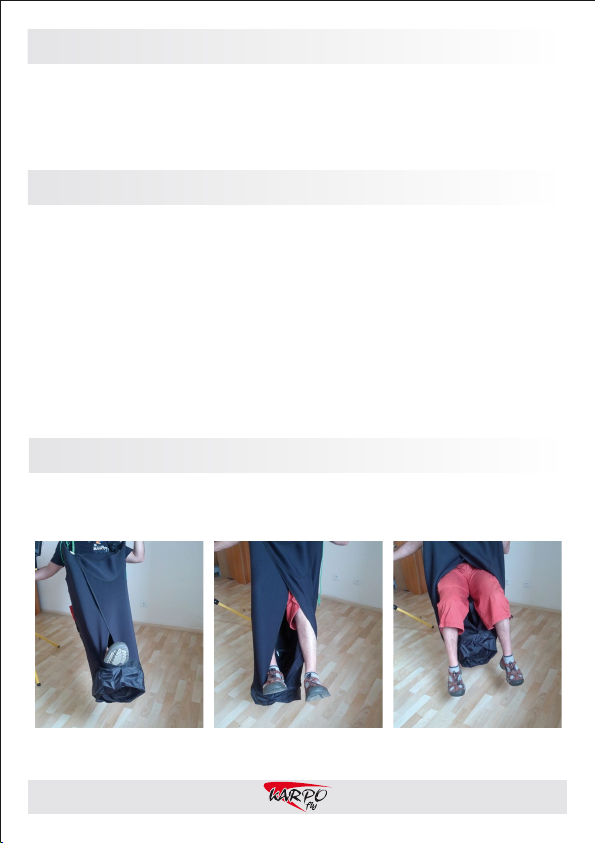
How to pack a backpack and a camelbag into the harness