- 9
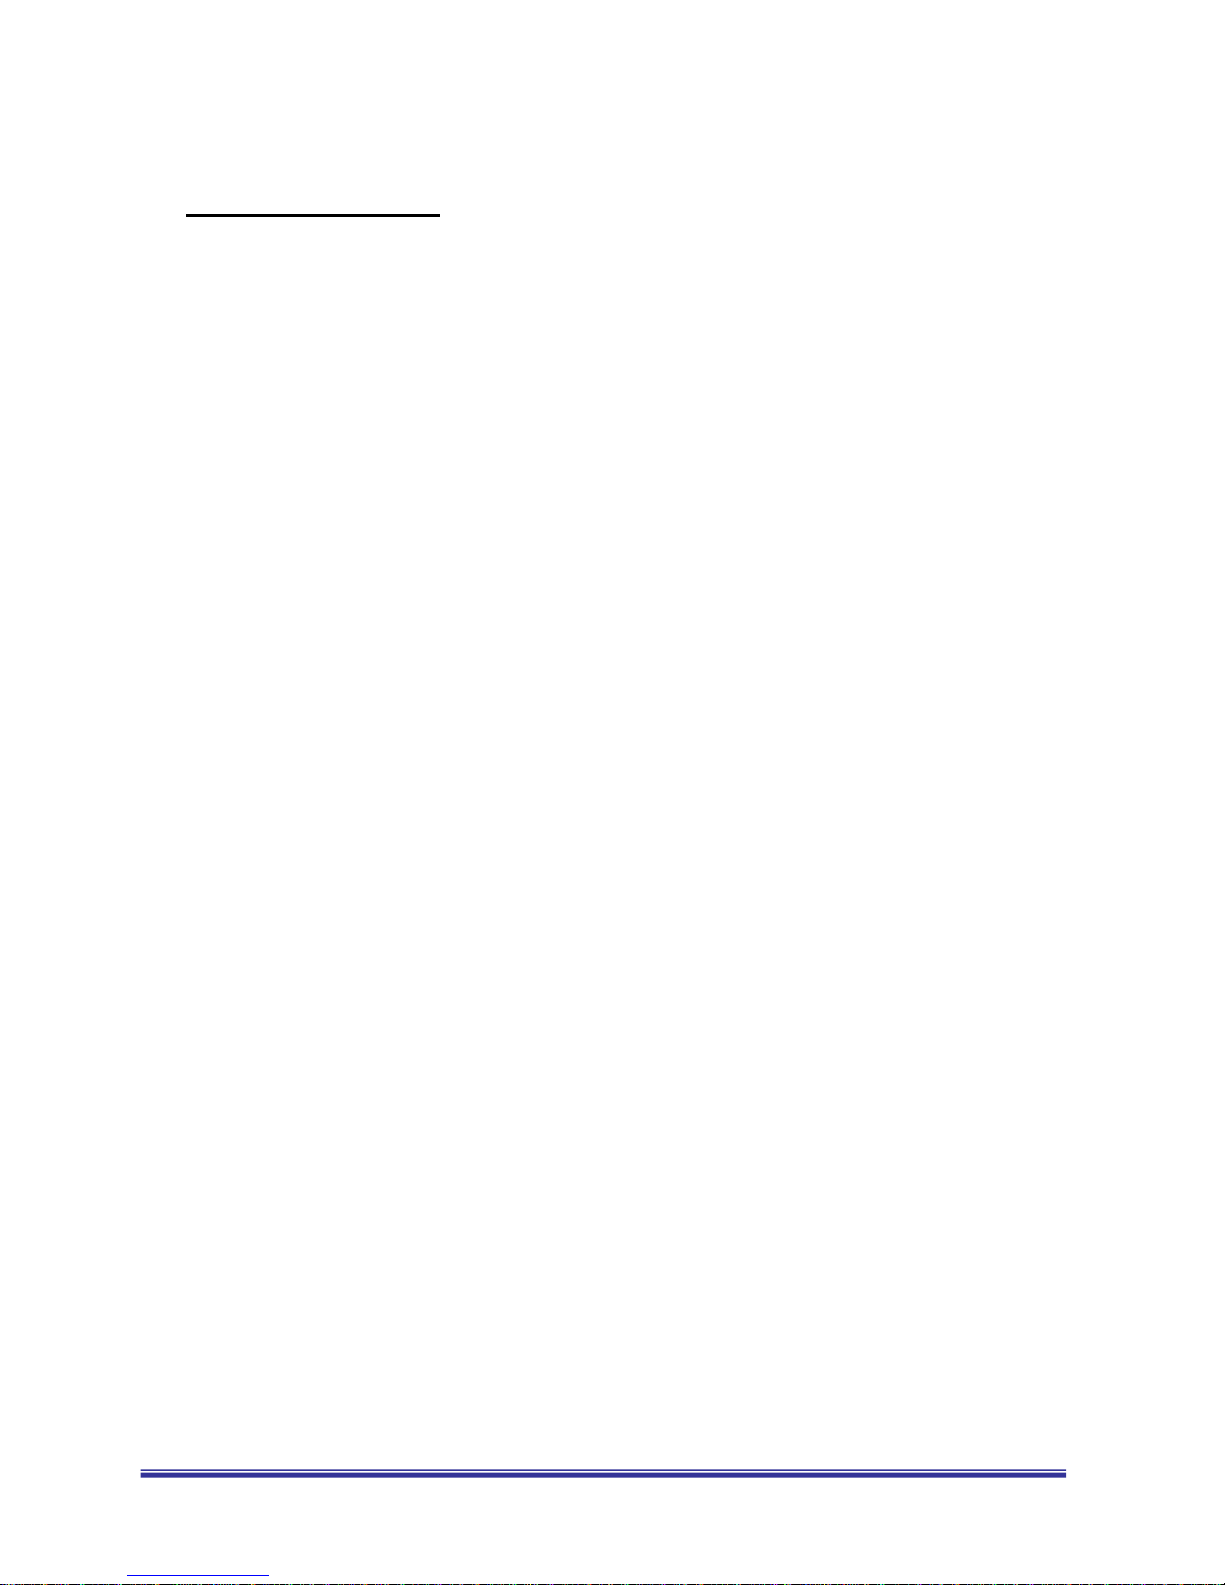
2. Phone Layout
The following illustration shows the main elements of your phone.
2.1 LCD
The main LCD is TFT color LCD and has 260K colors. The sub LCD is CSTN LCD and has 65K
colors. You can be enjoy the more clear LCD color with your G902 phone
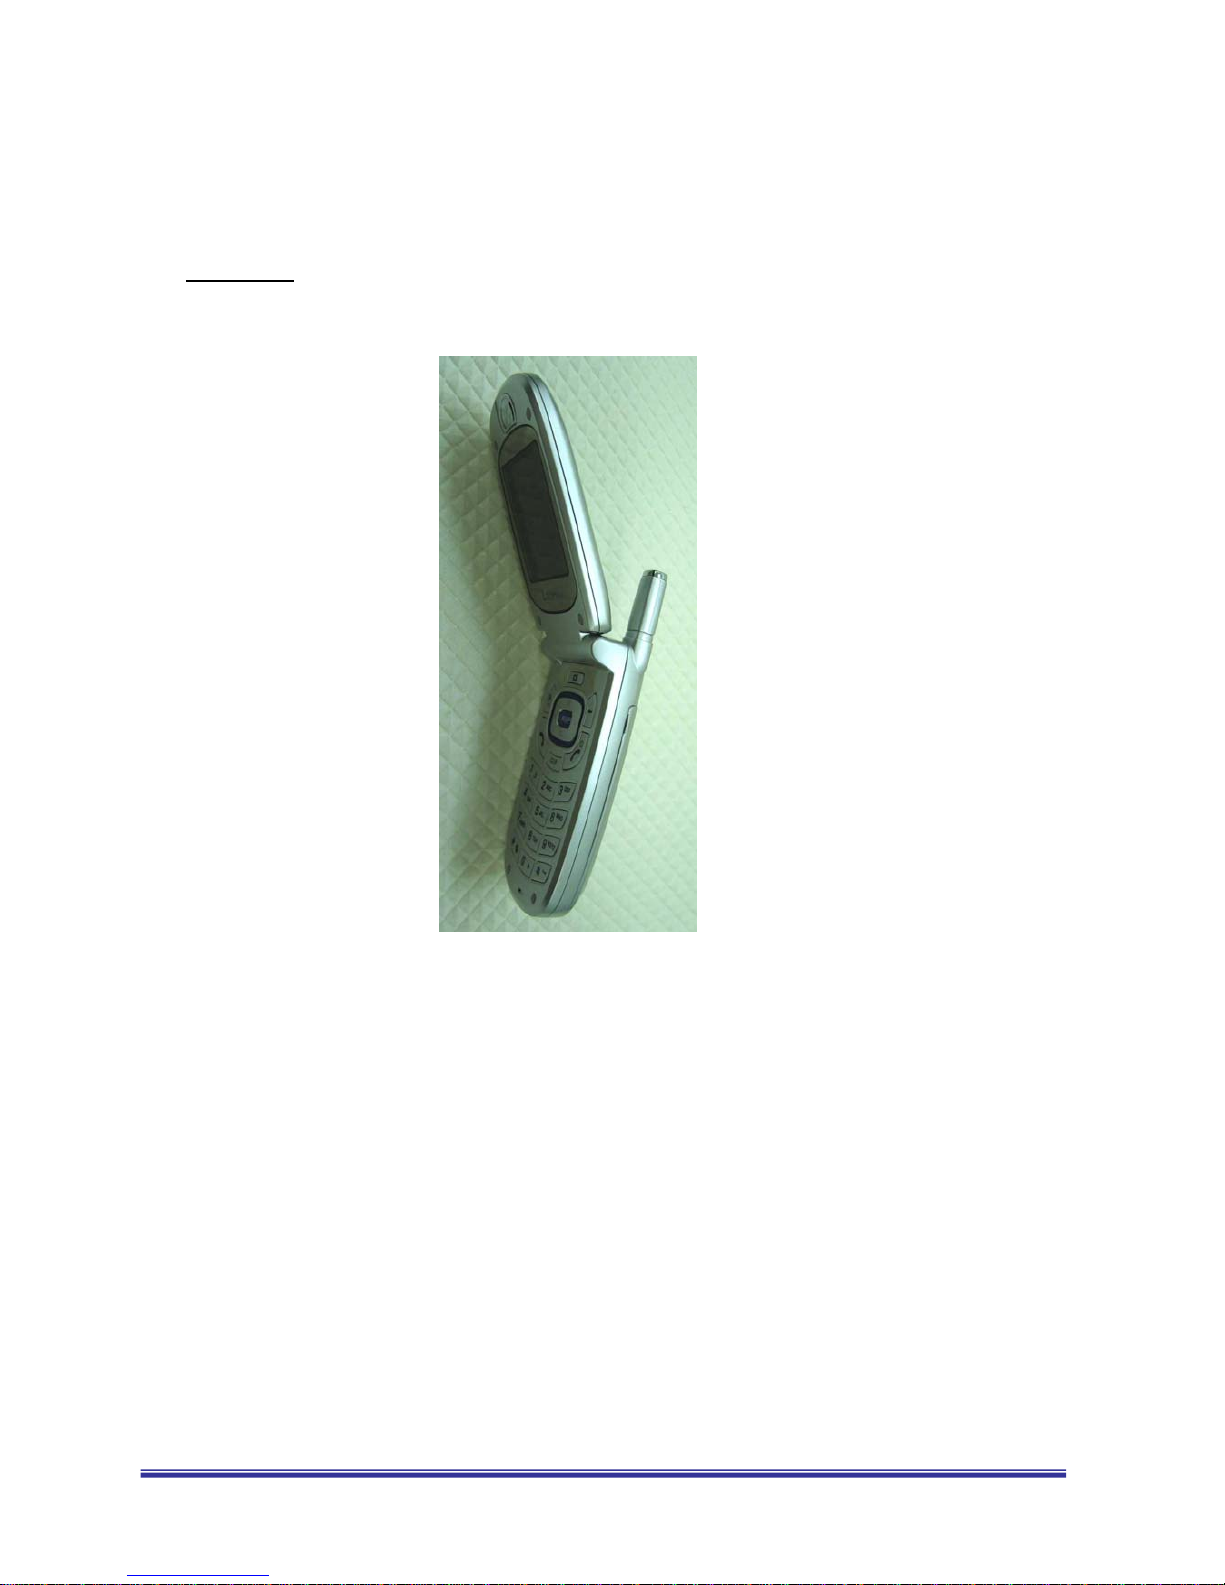
2.2 Camera
You can take a photo with G902’s embedded digital camera. G902 has VGA level camera module,
you can enjoy highly qualify digital photo with your G902 phone.
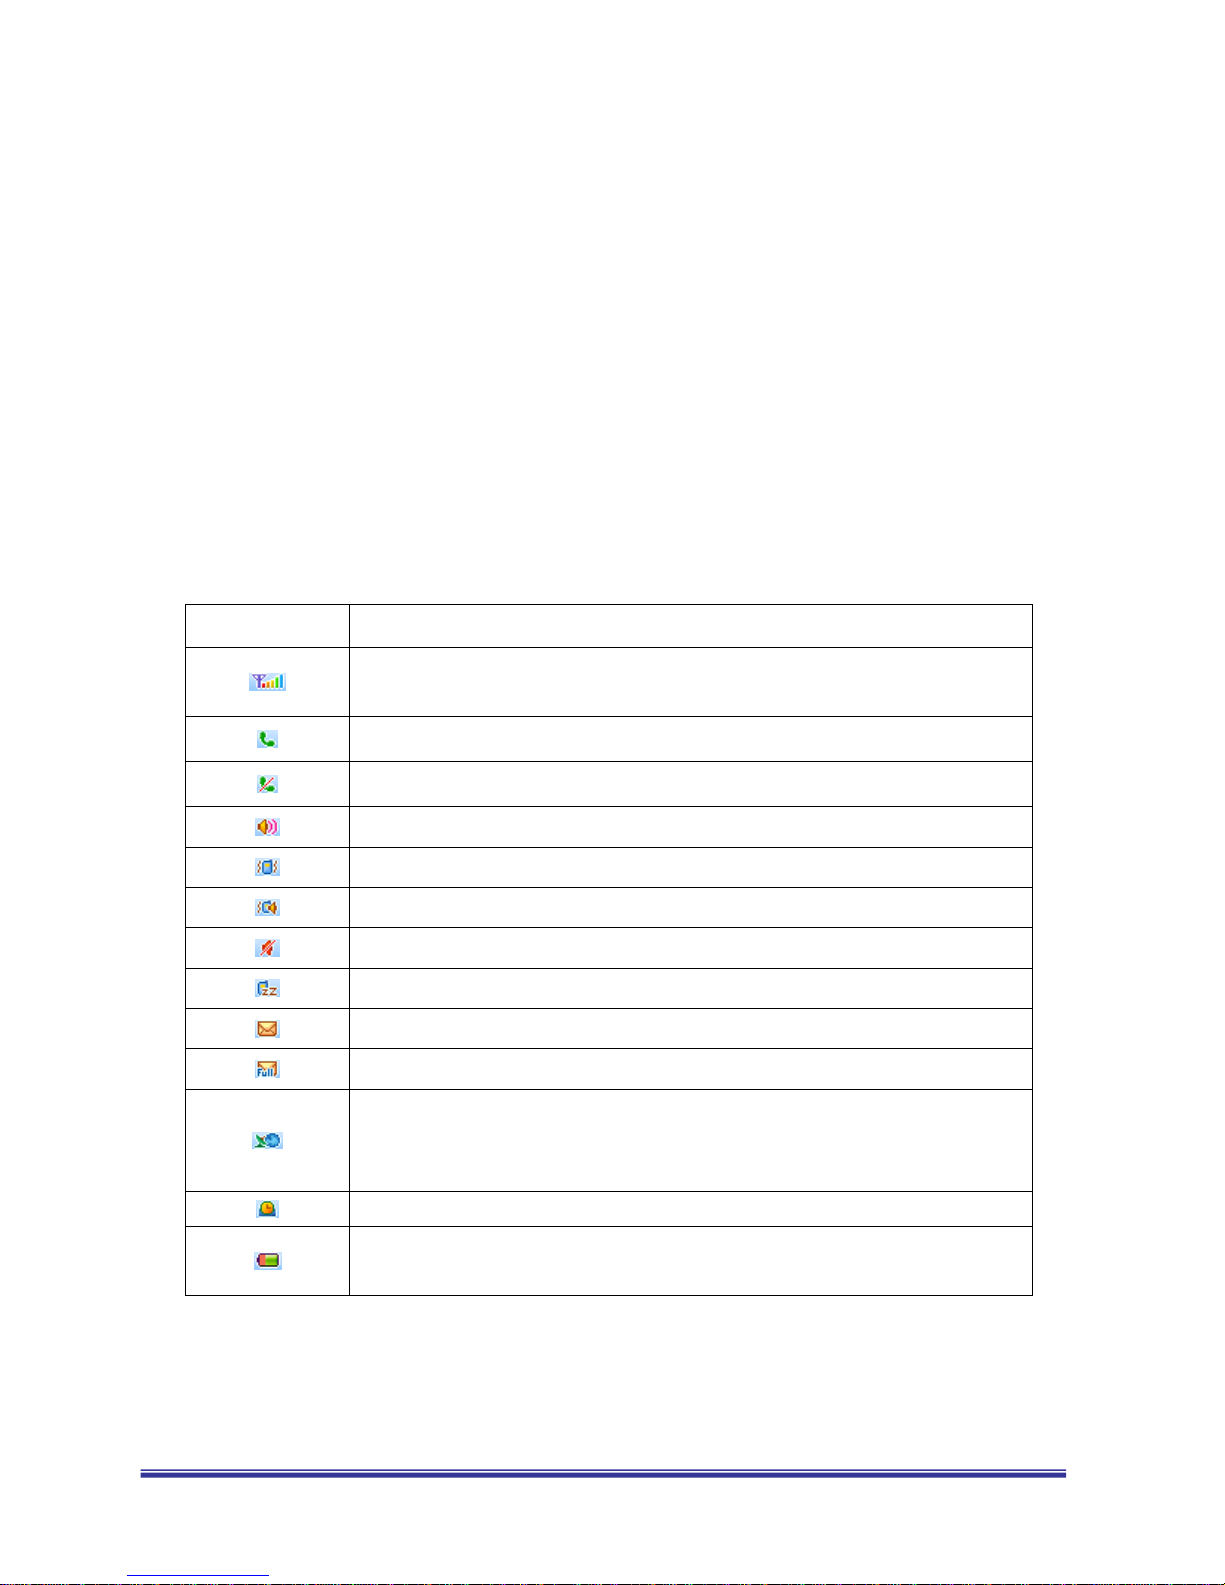
2.3 Icons Descriptions
< Icons in the Main display screen >
Icon Description
Shows the received signal strength and current signal strength is indicated by
the number of bars displayed on the screen.
Appears when a call is in progress.
Appears when a call is not in progress.
Appears when alert mode is selected as ring
Appears when alert mode is selected as vibrator
Appears when alert mode is selected as vibrate & Ring or Vibrate then Ring
Appears when alert mode is selected as silent
Appears when you select the manners mode
Appears when text message has been received
Appears when text message in box is full
Appears when the phone is out of your home network area and phone has
registered to the network other than its home service (i.e. when travelling in
other countries with GSM service)
Appears when the alarm clock is set.
Shows the current battery charge level. The green area shows charge level of
battery.