SI-BM05
Ultrasound/High Frequency
2 Functions
- High Frequency
- Ultrasound
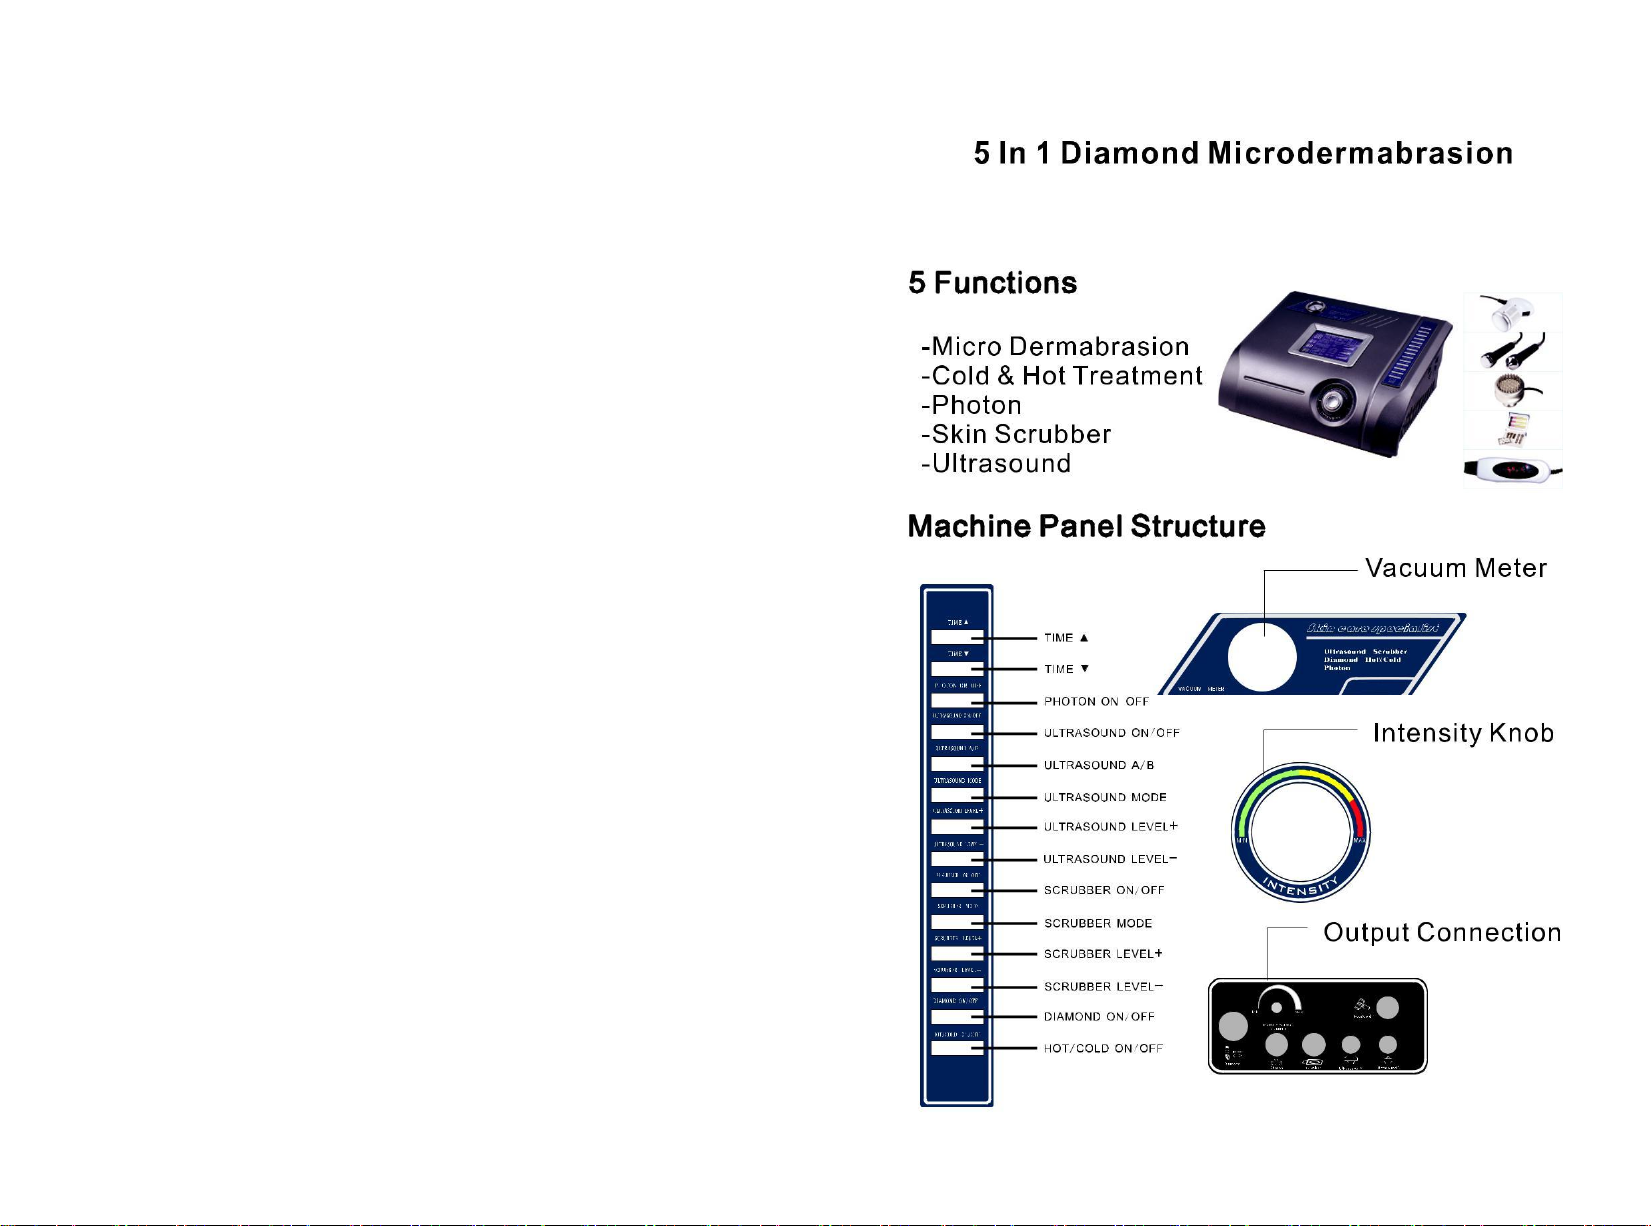
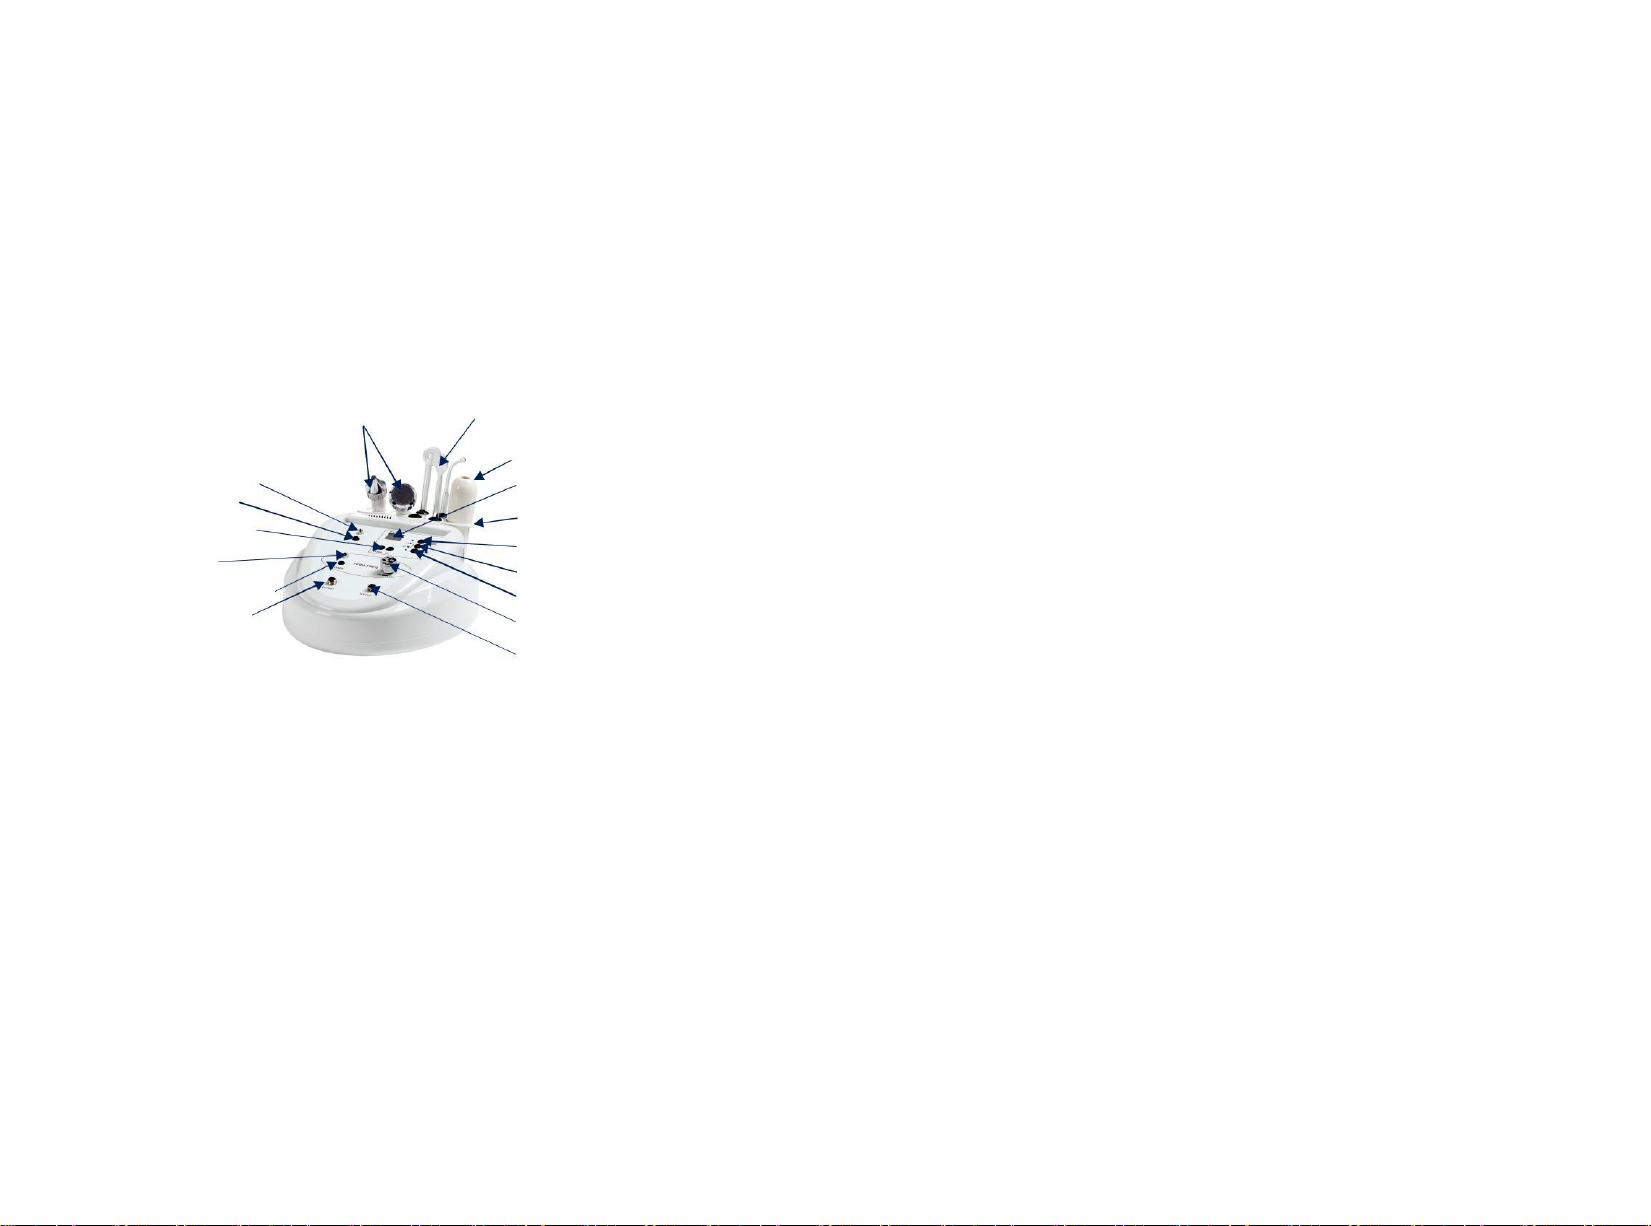
Machine Structure
High Frequency Glass Tubes
Ultrasound Indicator Light
Operating Instructions for High Frequency Function
1. Connect the High Frequency handle's wire to the machine (it only fits
one way) making sure to fasten it into place the securing ring.
2. Simply insert the desired glass electrode (metal end first) into the
hole at the end of the handle.
3. Using the power switch, turn the machine to the “on” position and the
glass electrode should light up.
4. To control the intensity of the electrode, use the knob located at the
center of the face place labeled “Min/Max”. Turning this knob allows
the user to adjust the current to match the desired need.
5. When the machine is not in use, make sure the power switch is in the
“Off” position.
Operating Instruction for Ultrasonic function
I. Preparation
(1). Before start the ultrasonic, cleanse the area to be worked.
After cleansed, apply suitable lotion and gel to the skin.
(2). Press Power On/Off for Ultrasonic to start the function.
(3). Output intensity display on Intensity window, Press Intensity “up” and
“down” button to set output intensity, output intensity classify into 9
levels, from minimum 0 to maximum 1.8 Watts/cm. Each level is 0.2
Watts/cm. For Facial work, low to mid intensity is recommended. For
Body work, mid to maximum intensity
is recommended.
II. Face Treatment
(1). Connect Face Electrode (big one) into Face Electrode output.
(2). Press Intensity “up” and “down” button to set output
intensity to your need.
(3). Press Pulse/Continuing mode to select Pulse or Continuing
wave, Pulse/Continuing wave indicator will light on.
(4). Apply the Electrode working on the face.
III. Eye Treatment
(1). Connect Eye Electrode (small one) into Electrode output.
(Should take out the Face Electrode first)
(2). Press Intensity “up” and “down” button to set output
intensity to your need.
(3). Press Pulse/Continuing mode to select Pulse or Continuing
wave, Pulse/Continuing wave indicator will light on.
(4). Apply the Electrode working around the Eye area.
*** Important:
1. Clean skin with clear water.
2. Never stop the electrode on the skin in one spot.
3. Always keeps the electrode moving across the skin.
4. Never point the electrode towards chest area.
5. Do not immerse the handle or the machine into water.
6. Store in a dry cool place.
Safety Warning
1. When proceed deep cleaning or Galvanic,
accompanies with suitable emulsion or gel.
2. Do not modify the equipment.
3. Do not immerse the handle or the machine into water.
4. When adjust the intensity, slightly increase from low to max.
5. After usage, clean the accessories and store in a cool and dry
place. The machine should be grounding.
Specifications:
Voltage:
110V/60Hz □
Power: 22W
14 15