2.3 Rinse the electrode with distilled water and with a small amount of the next calibration solution.
2.4 Dip the electrode into the 12.88 mS/cm buffer solutions Stir the tester gently and make sure the electrode is
completely submerged into the solution. The value of the calibration solution should appear.
2.5 Press ENTER to confirm. The displayed value should begin flashing. Consult step 1.6 if the displayed value does
not match the value of the calibration solution. Wait for the measured value to stabilize.
2.6 Press ENTER to confirm again to start the calibration. Wait for the reading to stabilize until the display shows ‘END’
and completes the calibration process.
Three points Calibration
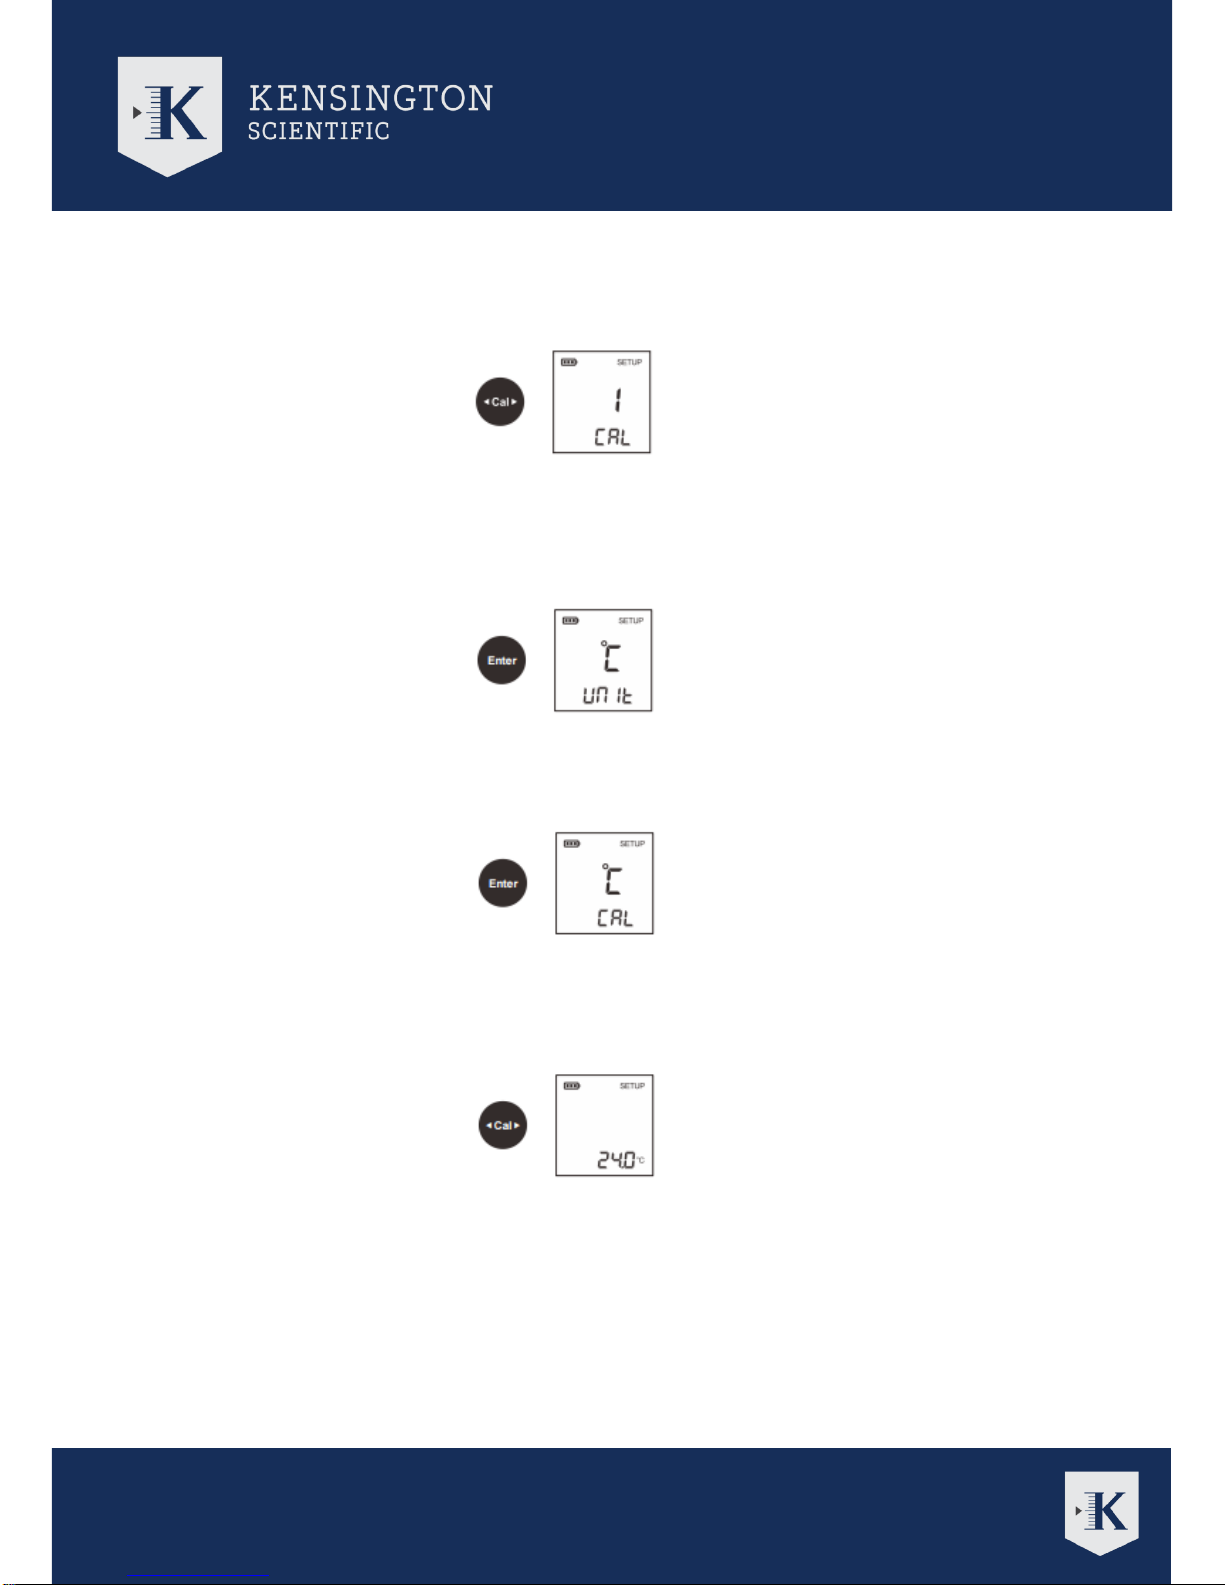
3.1 Make sure to select three points calibration in the settings
3.2 Do steps 1.2 to 1.5 and then steps 2.3 to 2.6
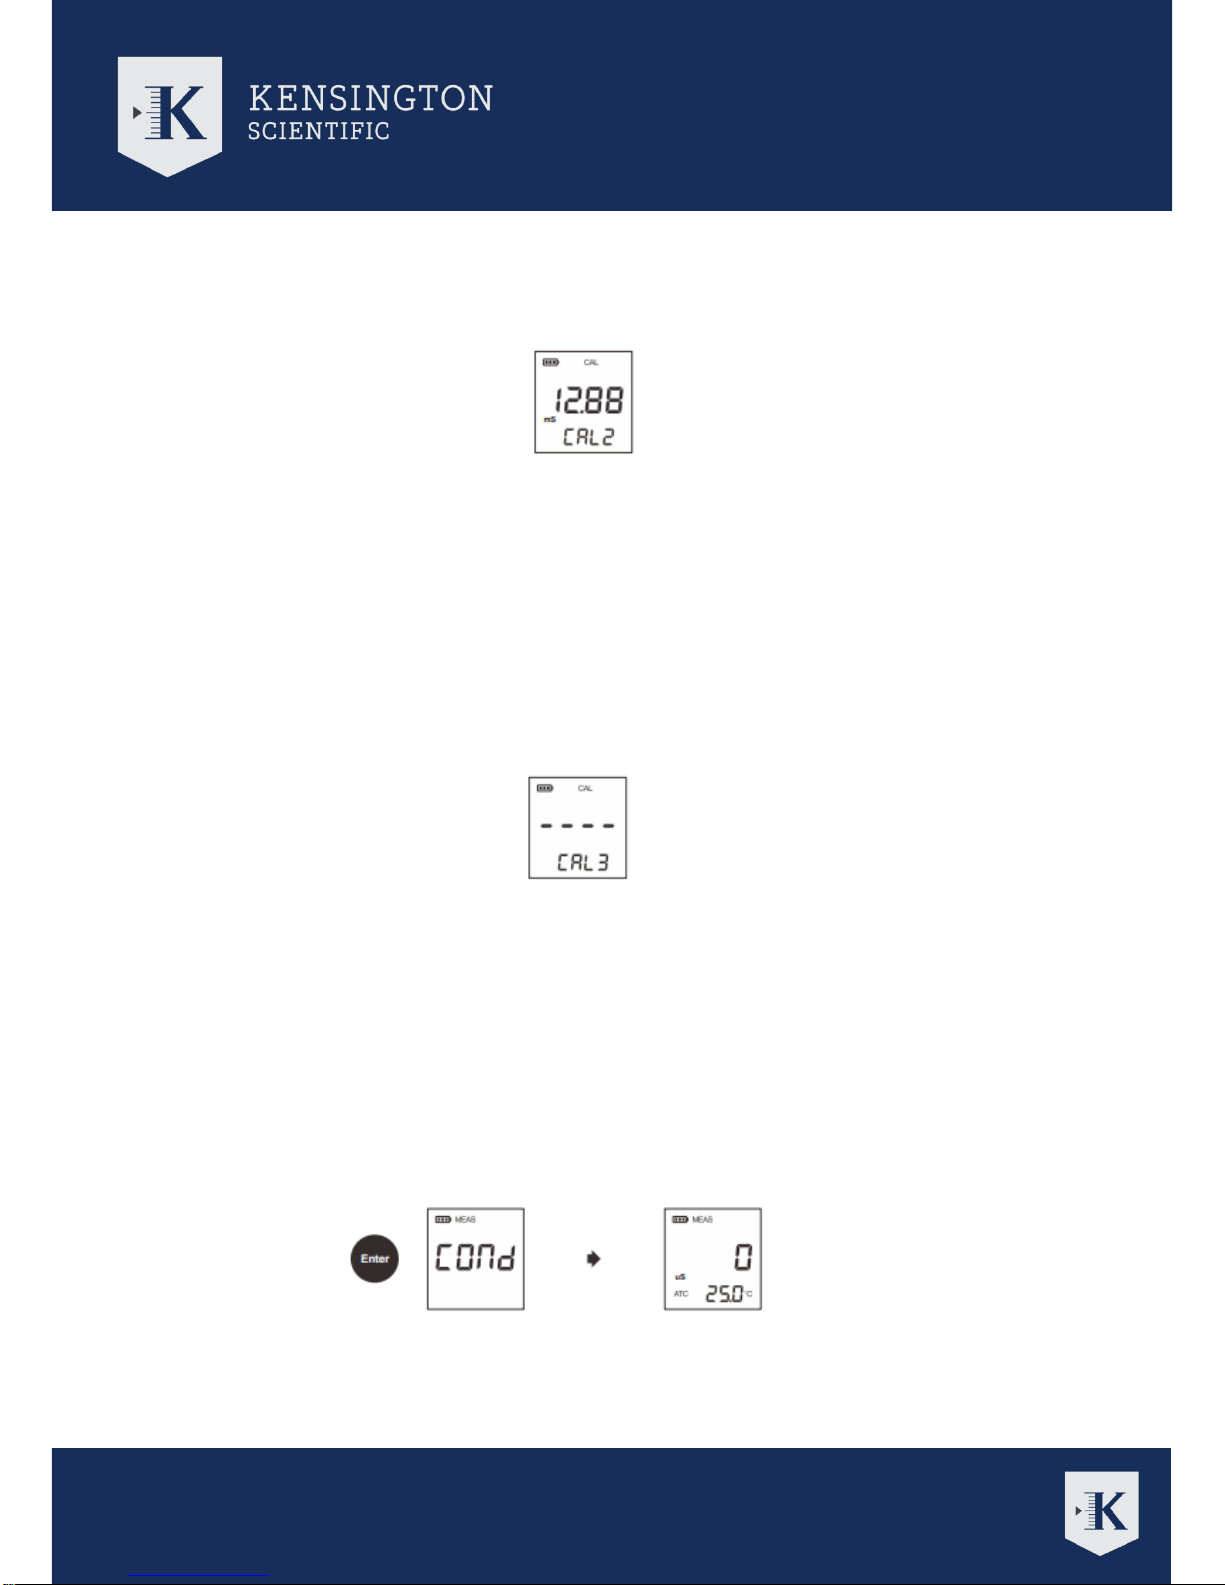
3.3 When the second calibration point is completed, the display will show ‘CAL3” as the tester prompts you
to continue with the third point of calibration.
3.4 Rinse the electrode with distilled water and small amount of the buffer solution.
3.5 For the third point of calibration 111.8 mS/cm should be used.
3.6 Press ENTER to confirm. The value displayed should be similar to the value of the used buffer solution.
3.7 Follow step 1.6 to modify the value as needed.
3.8 PRESS ENTER to confirm. Wait for the measurement to stabilized until the display shows ‘END’
and completes the calibration process.
SWITCHING BETWEEN MEASUREMENT MODES
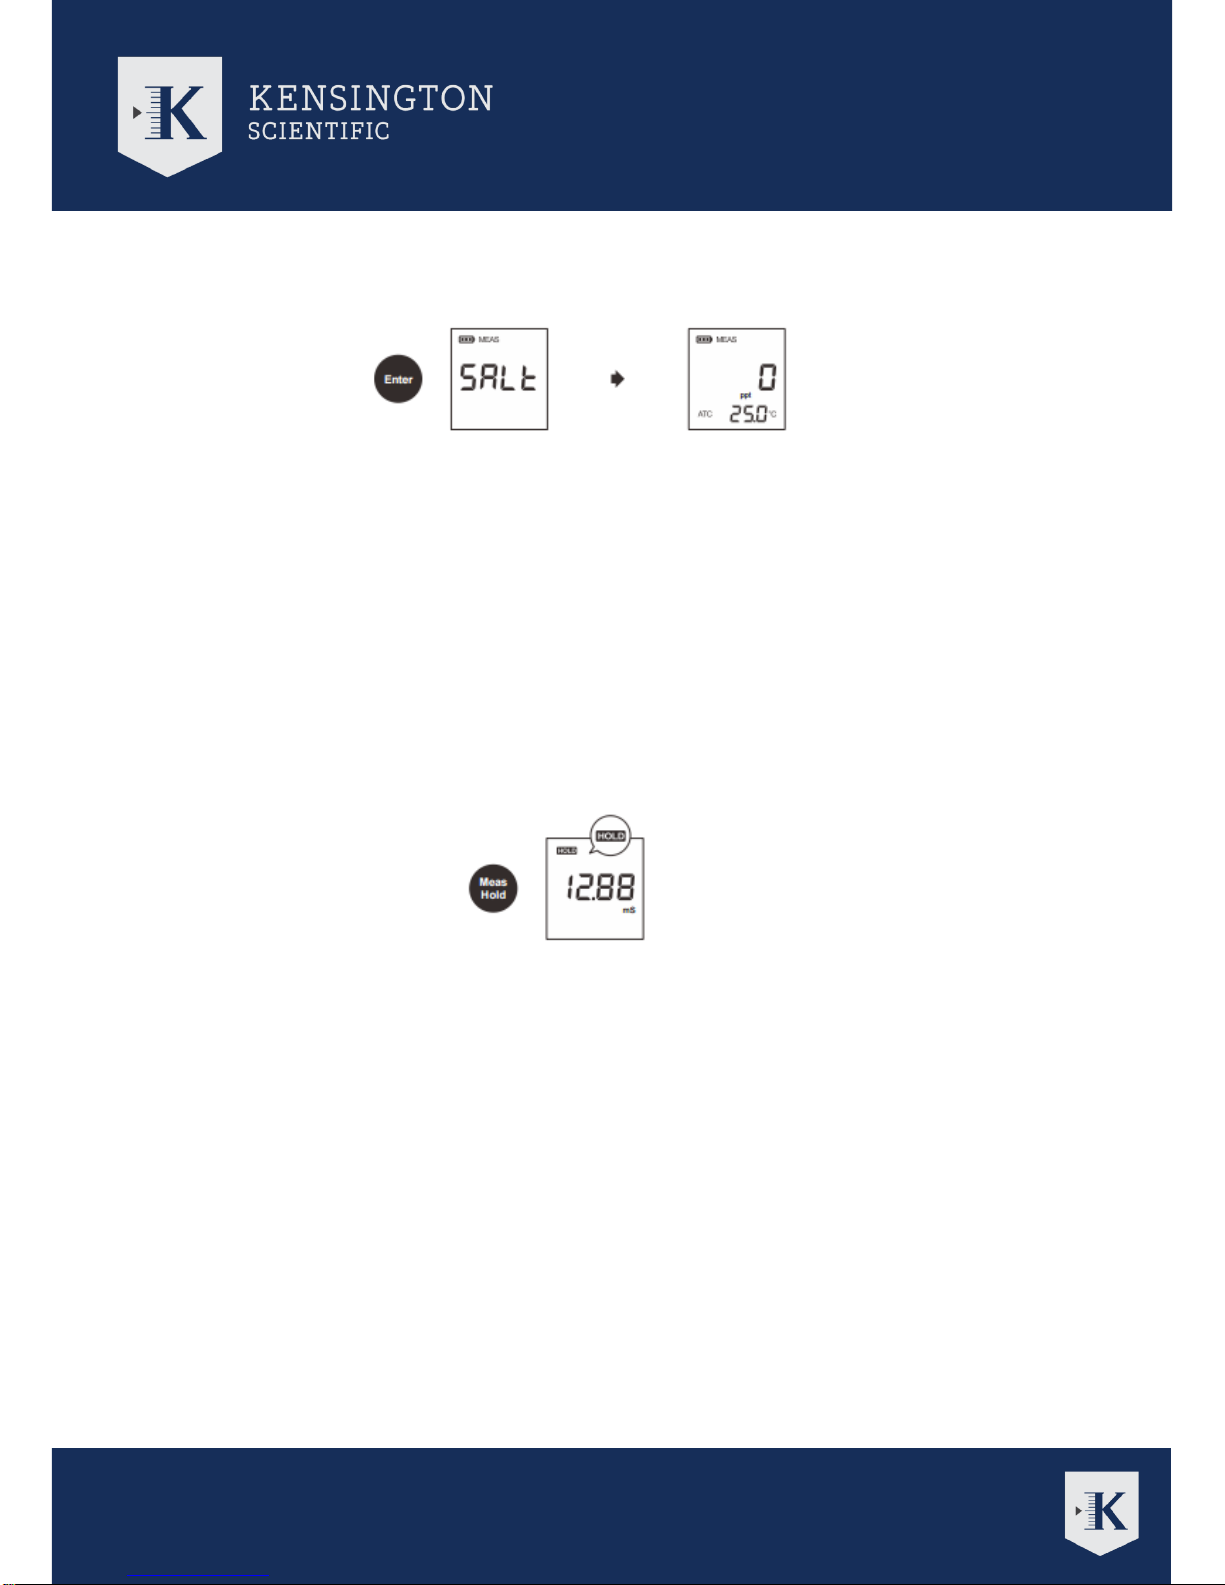
1. Press MEAS to initiate measurement mode. The default measure is for salinity. To change to another
measurement mode, press ENTER to switch to conductivity mode.