Page 3Item 59656 For technical questions, please call 1-888-866-5797.
Installation
Read the ENTIRE IMPORTANT SAFETY INFORMATION section at the
beginning of this document including all text under subheadings therein
before set up or use of this product.
If you do not have experience doing this
type of electrical work, the job should be
done by an automotive service technician.
NOTICE: Placement of the light must
comply with FMVSS/CMVSS 108 Federal
Lighting regulations for Trailers.
WARNING! TO PREVENT SERIOUS
INJURY: Make certain that the vehicle’s
ignition is OFF, then disconnect the
power supply (battery) before doing any
maintenance or installation.
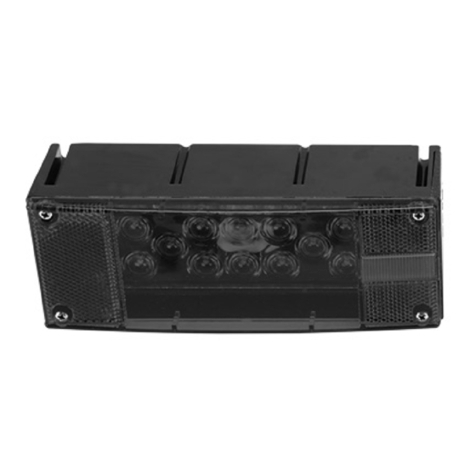
1. Place the Light on the mounting
location at the rear of the vehicle.
Use the Light as a template to
mark the two mounting holes
and center hole for the wires.
Note: The planned mounting area must
provide a flush fit to the bottom of the Light.
2. Ensure that the installation
area has no hidden electrical or
stereo lines before drilling.
3. Drill one 1/4″ hole for the wires and two
1/8″ holes for the mounting screws.
4. Place the light and feed the wires
through the center hole.
5. Use a pin connector or in-line splice
connector (both sold separately) to
connect the light to your vehicle.
6. When using an in-line splice connector,
it is not necessary to strip the wires.
a. Insert the wire from your vehicle
into one channel of the in-line splice
connector.
b. Insert the wire extending from the
Light into the second channel of the
in-line splice connector.
c. Fold down the tab on the in-line
splice connector to make the
connection.
7. Connect the white wire NEGATIVE (-)
to ground and:
a. The black wire connects to the tail
lamp circuit.
b. The red wire connects to the stop/
turn circuit.
8. Once the wires are properly connected,
reconnect the power supply (battery)
and turn on ignition to test the Light
before mounting it in place.
9. Turn off ignition.
10. Use two #8 x 1" Fillet Head Self Drilling
Screws (sold separately) to attach the
Light to the vehicle/trailer surface.
11. Make certain the Light is well seated
and the ground wire makes proper
contact with a metal surface.


