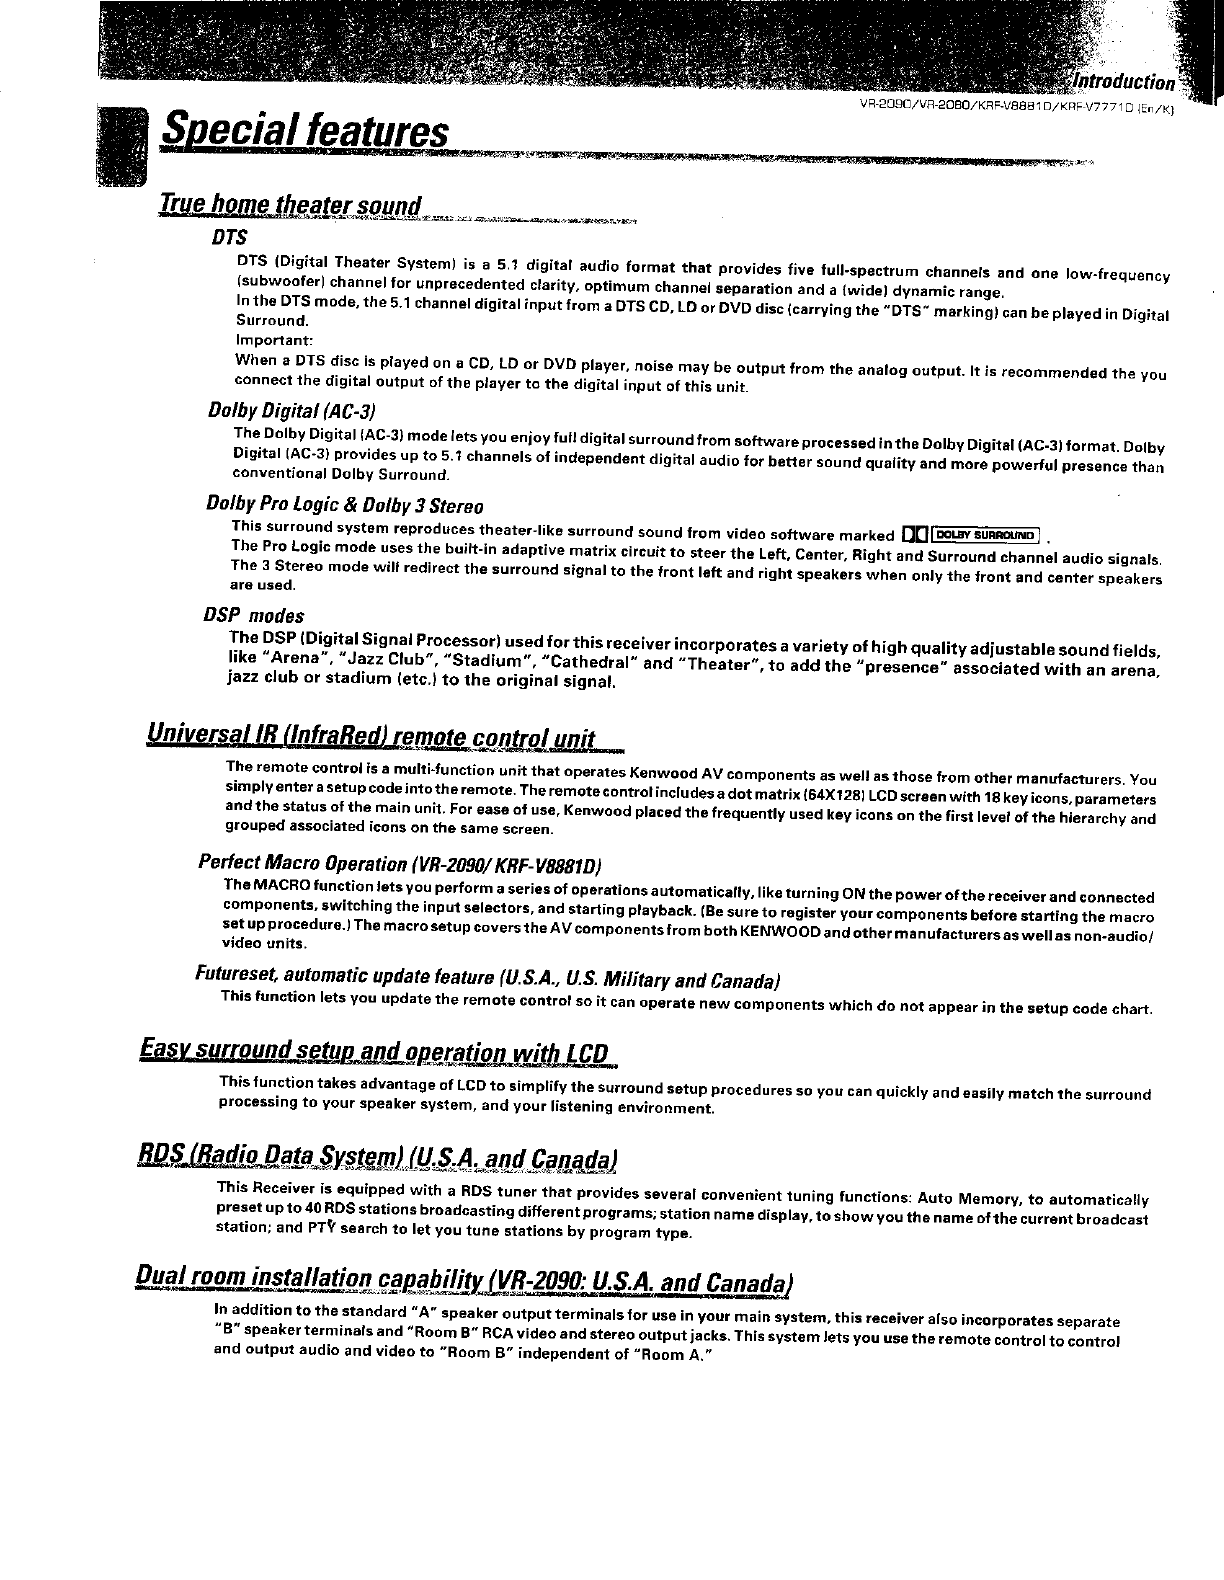
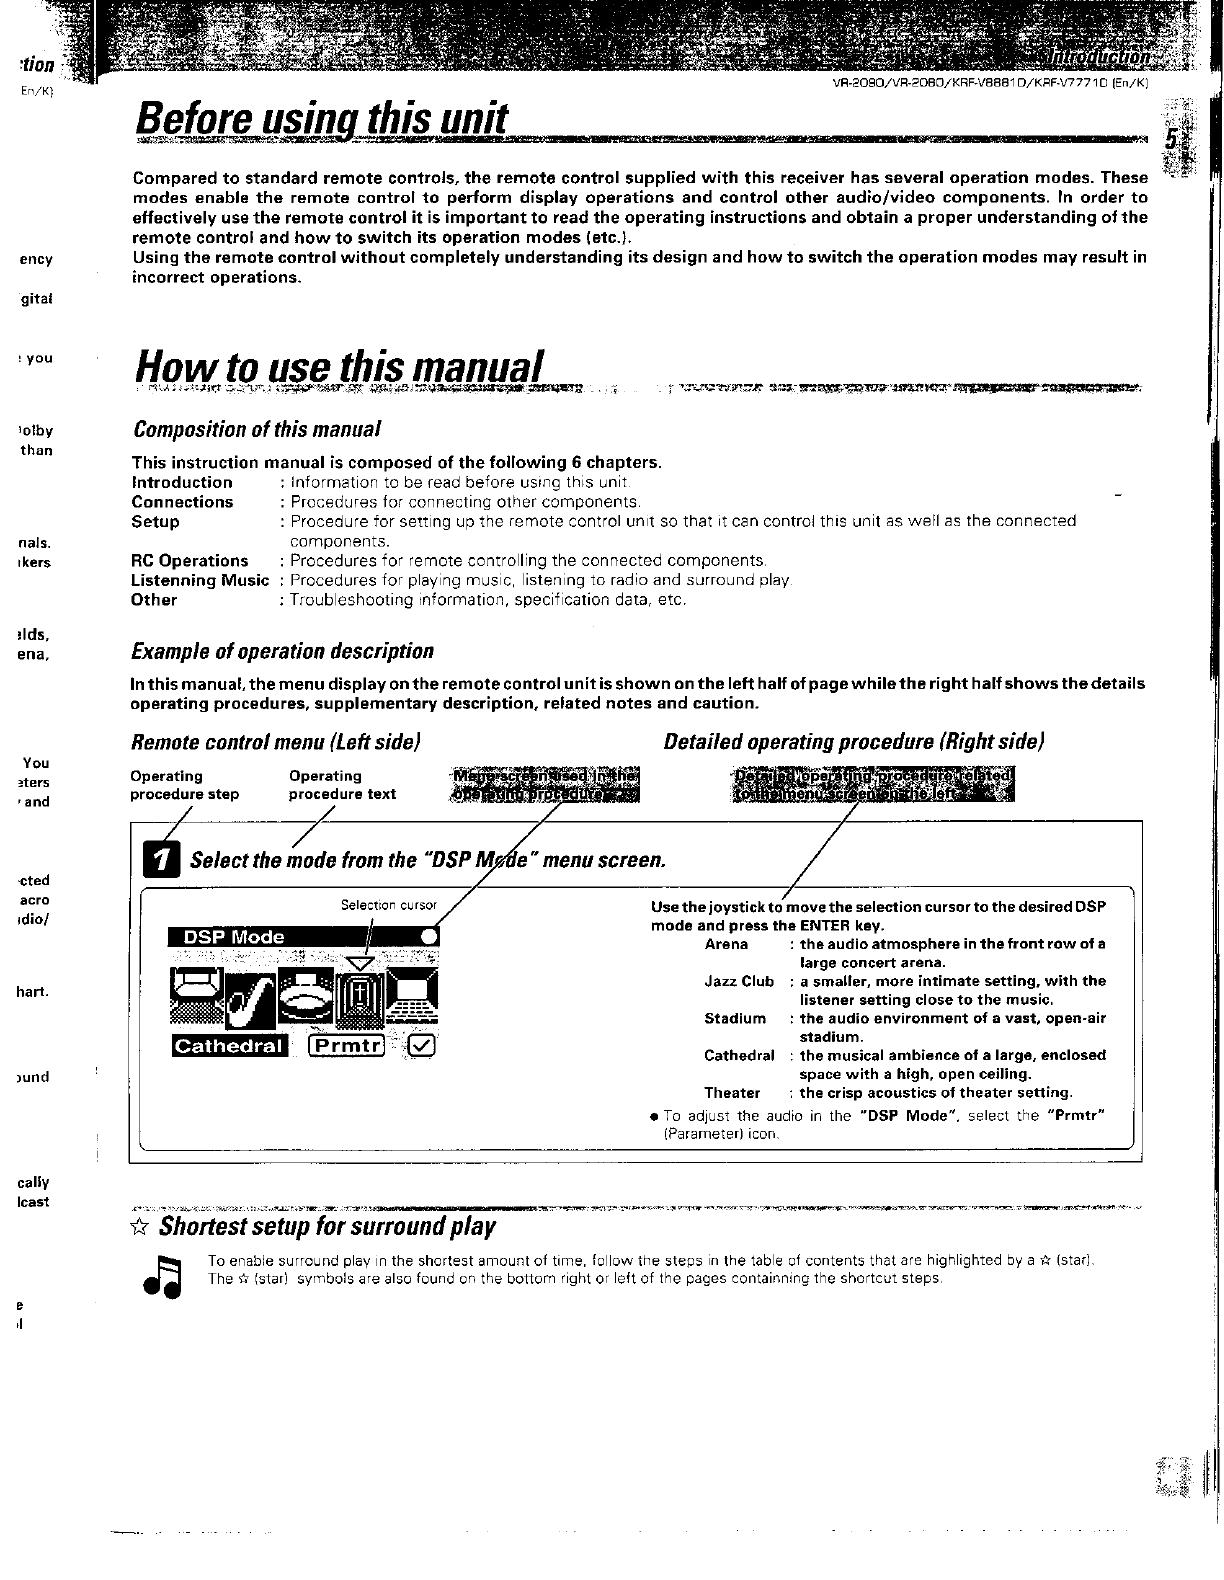
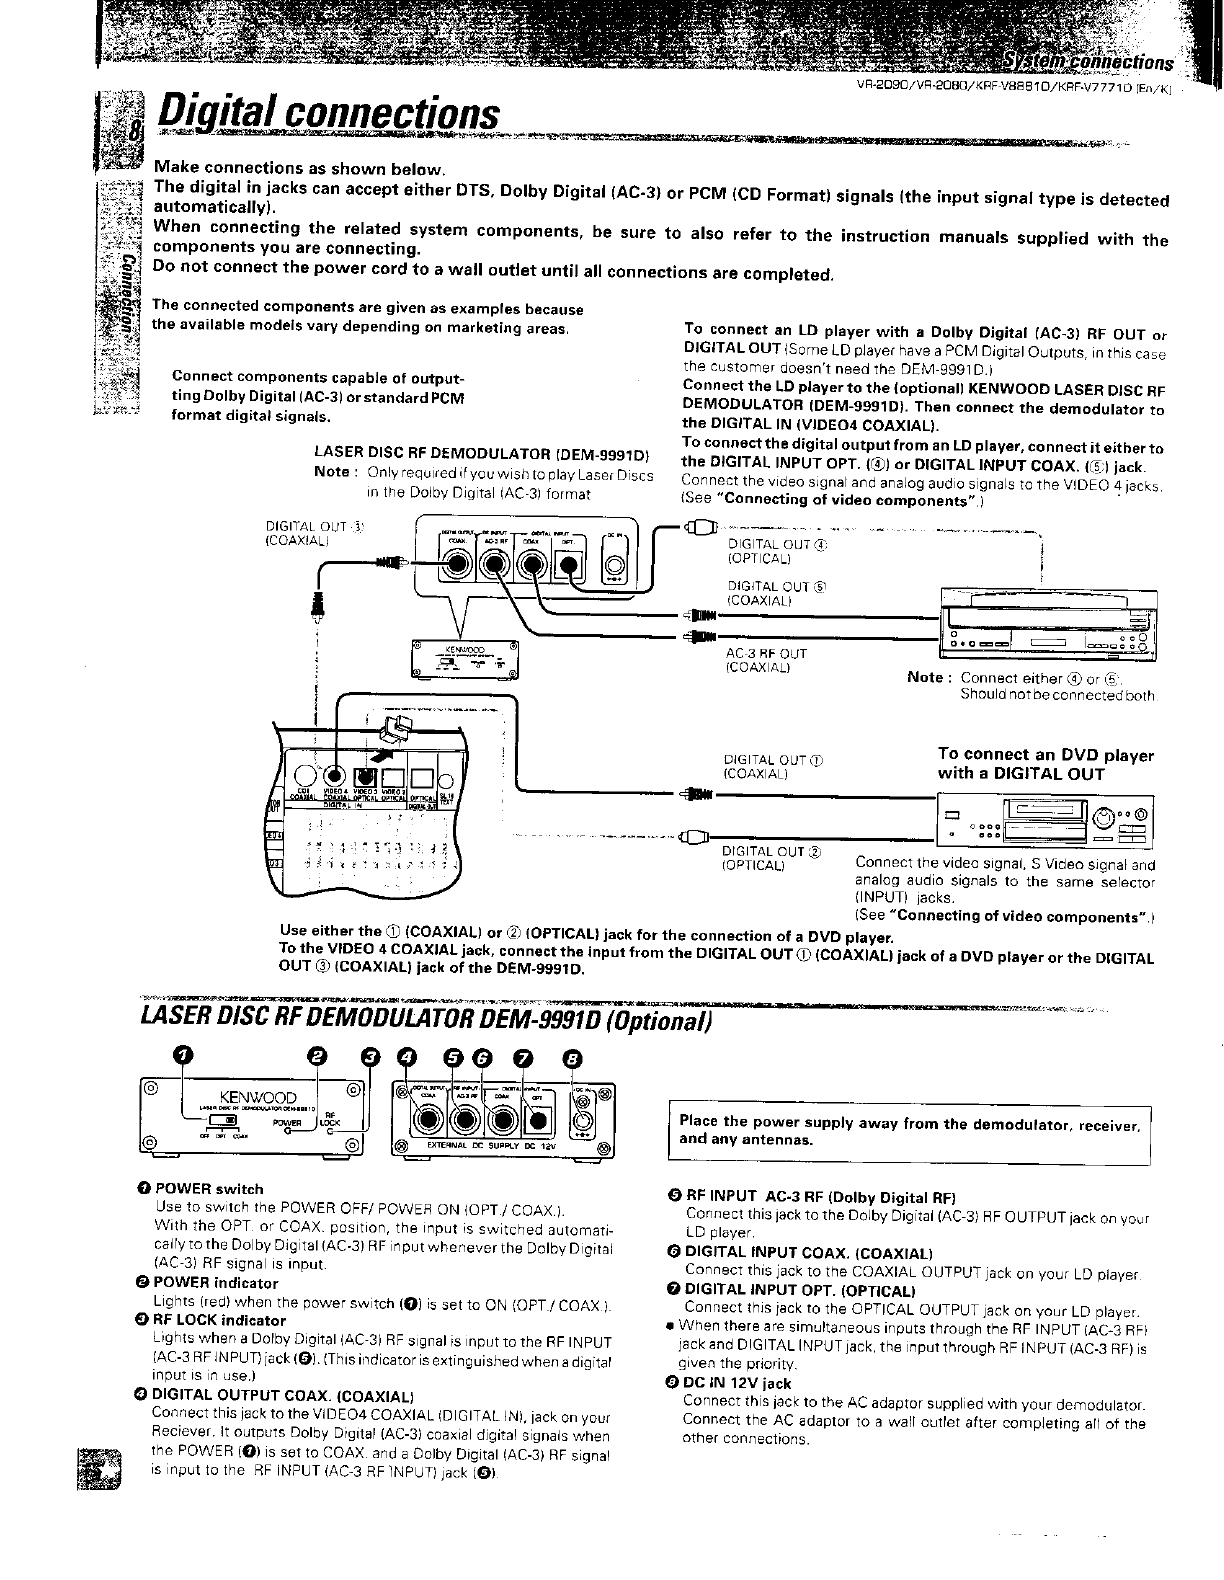
Kenwood VR-2090 User manual
Other Kenwood Receiver manuals

Kenwood
Kenwood VR-257 User manual

Kenwood
Kenwood R-2000 User manual

Kenwood
Kenwood KR-X1000 User manual

Kenwood
Kenwood KVT-715DVD User manual

Kenwood
Kenwood KMM-BT204 User manual

Kenwood
Kenwood R-5000 User manual

Kenwood
Kenwood SMB 2700 User manual

Kenwood
Kenwood KDC-5005 User manual

Kenwood
Kenwood R-300 User manual

Kenwood
Kenwood KNA-TM320 User manual

Kenwood
Kenwood KMM-361SD User manual

Kenwood
Kenwood CKDC-395 User manual

Kenwood
Kenwood KR-V8030 User manual

Kenwood
Kenwood Sovereign VR-5700 User manual

Kenwood
Kenwood KRF-V7771D User manual

Kenwood
Kenwood KDC-U7053BT User manual

Kenwood
Kenwood KR-V7060 User manual

Kenwood
Kenwood DPX-M3300BT User manual

Kenwood
Kenwood KVT-819DVD User manual

Kenwood
Kenwood VR-4090 Setup guide