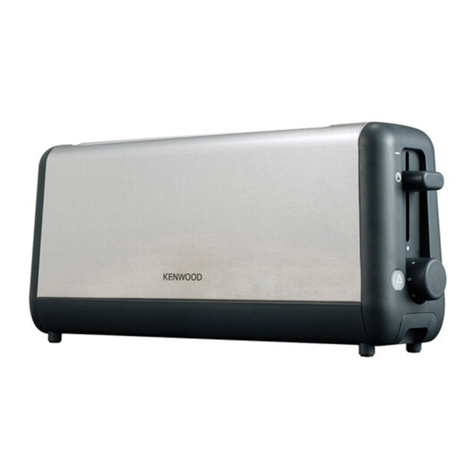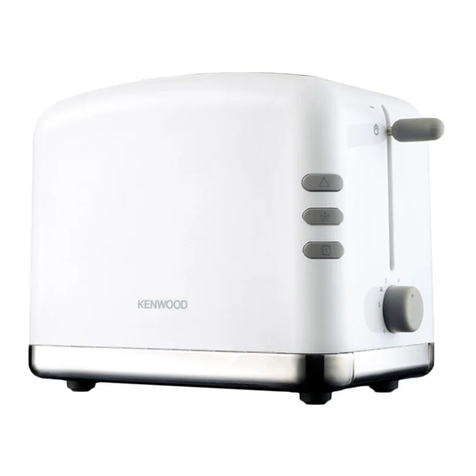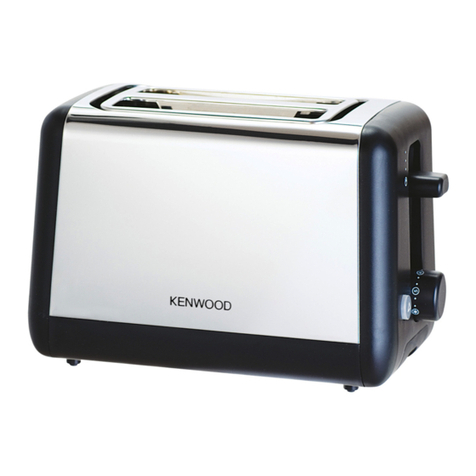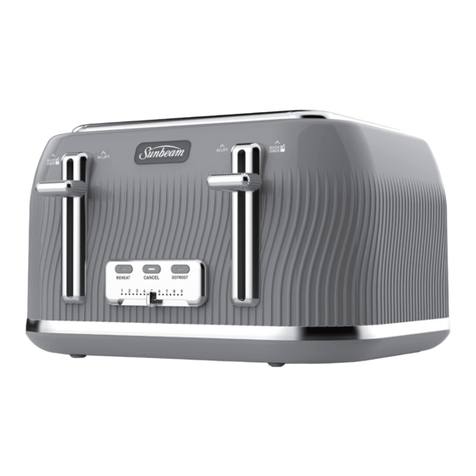
to use your toaster
1 Plug the toaster into the power
supply.
2 Turn the browning control until the
desired setting aligns with the line up
mark on the body of the toaster. Use
a lower setting for light toasting and
for thin or dry bread.
3 Insert the bread, muffins, bagels etc.
4 Lower the lever 2until it locks. (The
lever will not stay down unless the
toaster is plugged in). The ‘cancel’
button will illuminate.
lTo stop toasting during the cycle,
press the ‘cancel’ button, the toast
will pop up and the ‘cancel’ button
light will go off.
5 Your toast will pop up
automatically, to raise it higher, lift
the lever.
Defrost position
lTo defrost frozen bread, select the
defrost position on the browning
control.
Reheat
lTo warm toast that has popped up
but gone cold, lower the toast then
press the ‘reheat’ button. The‘reheat’
button will illuminate.
Bagel (A)
lTo toast bagels the cut face should
be facing the front of the toaster.
Select the desired browning setting
and lower the carriage lever.
Press the ‘Bagel’ button and it will
illuminate.
lNote: when toasting using the bagel
button, the front element will toast
with a higher heat than the element
at the back of the toaster. This will
result in only one side of the
item being toasted.
hints on using your
toaster
lSelect a lower setting for light
browning or for dry bread.
lWhen toasting a single slice of
bread, you may notice a variation
in toast colour from one side to the
other - this is normal.
lDry/stale bread toasts more quickly
than fresh bread and thinly sliced
bread toasts more quickly than
thickly sliced bread. Therefore the
browning control should be set at a
lower setting than usual.
lFor best results ensure that
the bread slices are of an even
thickness, freshness and size.
lIn order to achieve uniform browning
we recommend you wait a minimum
of 30 seconds between each
toasting so that the control can
automatically reset. Alternatively
select a lower setting when
additional toasting is carried out.
care and cleaning
1 Before cleaning, unplug your toaster
and let it cool down.
2 Wipe the outside of the toaster with
a damp cloth, then dry. Do not use
abrasives.
crumb tray
lSlide out the crumb tray 3. Clean,
then replace. Do this regularly:
crumbs can smoke or even burn.
lDo not dishwash the crumb
tray.
glass panel
lRemove the glass panel for cleaning
by opening forward 4 and lift off 5.
Wipe with a damp cloth and dry.
lReplace the panel by aligning the
slots 6on the side of the panel with
the hinge pins 7and close. Note:
the toaster will not operate if
the glass panel is not fitted
and locked correctly.
lDo not dishwash or immerse the
glass panel in water.
heating tubes
lDo not touch or wipe the heating
tubes as this will damage them.
lAny loose crumbs found under the
heating tube should be cleared by
remove the glass panel and gently
shaking the toaster to allow them to
drop into the crumb tray.
5


