Kettler neo EBCIM17 Installation instructions

Assembly, Operation & Maintenence Instructions Page 1
Assembly, Operation & Maintenance Instructions
September 2020
IMPORTANT
PLEASE KEEP THIS BOOKLET FOR FUTURE REFERENCE.
THIS IS IMPORTANT INFORMATION REGARDING THE
USE AND CARE OF YOUR BARBECUE
EBCIM17 NEO Built-In Module for
NEO Bevarage Cooler NBC208SS
NEO Outdoor Kitchen - For outdoor use only

Assembly, Operation & Maintenence Instructions Page 2
Assembly and Maintenance
Instructions for NEO Beverage
Cooler Built-In Module
To be used in conjunction with NEO Outdoor Barbecues
It is important that you retain these instructions, proof of purchase as well as other important documents about this
product for future reference. Due to continual product development, Kettler reserves the right to alter specications
or appearances without notice. Dispose of packaging responsibly – recycle where facilities are available.
Section Page
General Safety Instructions 3
Appliance Details 3
Cleaning And Storage 3
Maintenance 3
Assembly Instructions 4 - 7
Contents

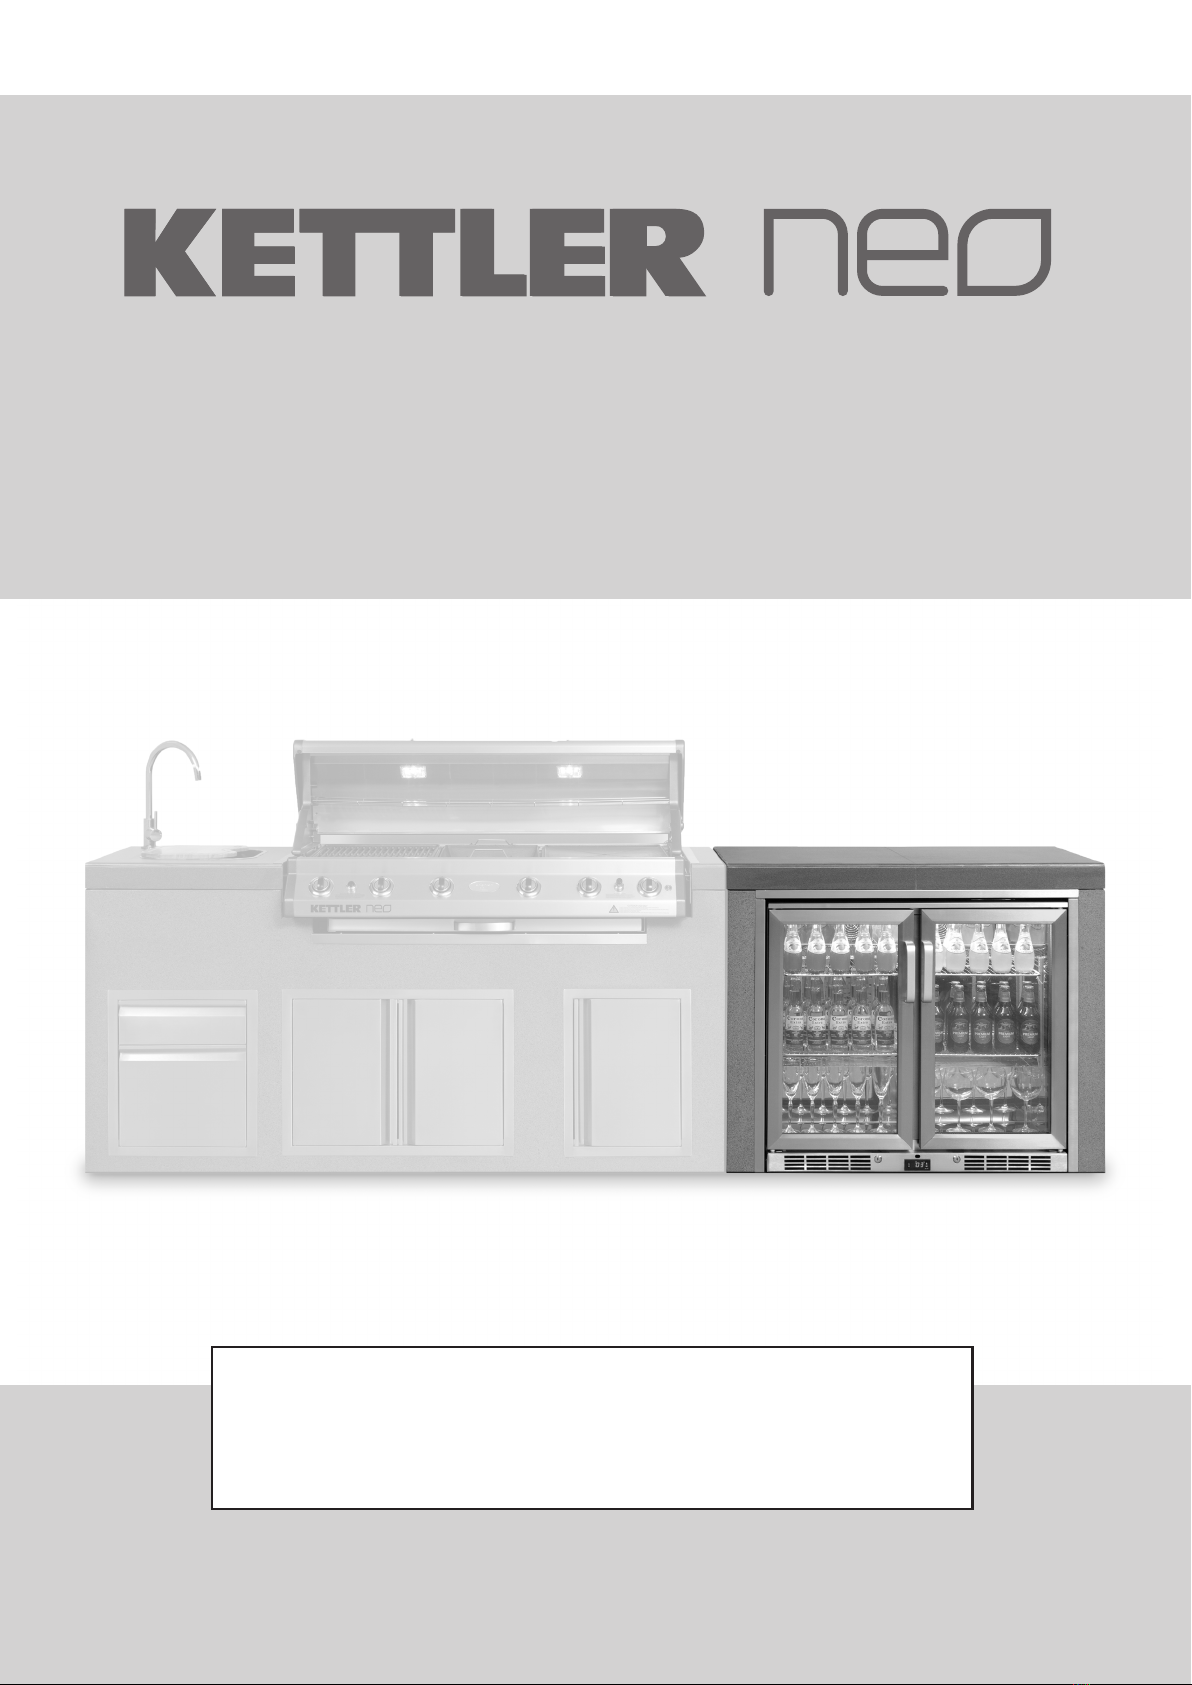
Assembly, Operation & Maintenence Instructions Page 3
Important Safety Instructions
Important
Read the assembly instruction section and safety precautions of this booklet carefully before removing
the contents of this carton. If you are unsure about anything regarding your built-in module or beverage
cooler, please contact your Service Centre before operating the appliance.
1. This beverage cooler module is for semi-covered areas, protected from rain and sunlight only. Follow the
assembly and operational instructions of your particular beverage cooler in all ways.
2. Do not use this appliance for any purpose other than what it is intended for.
3. For your safety and enjoyment, read all operating instructions before assembling this module.
4. We recommend that you regularly maintain your module and keep them in good condition. This can be
achieved by following the cleaning and maintenance suggestions in this booklet.
5. Do not use or store this appliance in areas of high salt content (a marine environment) or an area with caustic
fumes or liquids (such as a domestic pool), as these chemicals can cause the appliance materials to deteriorate
(and void the warranty). Take care that the module is positioned in such a way that the beverage cooler is
always protected from the elements.
6. The module should be placed on a solid surface hardstanding when in use.
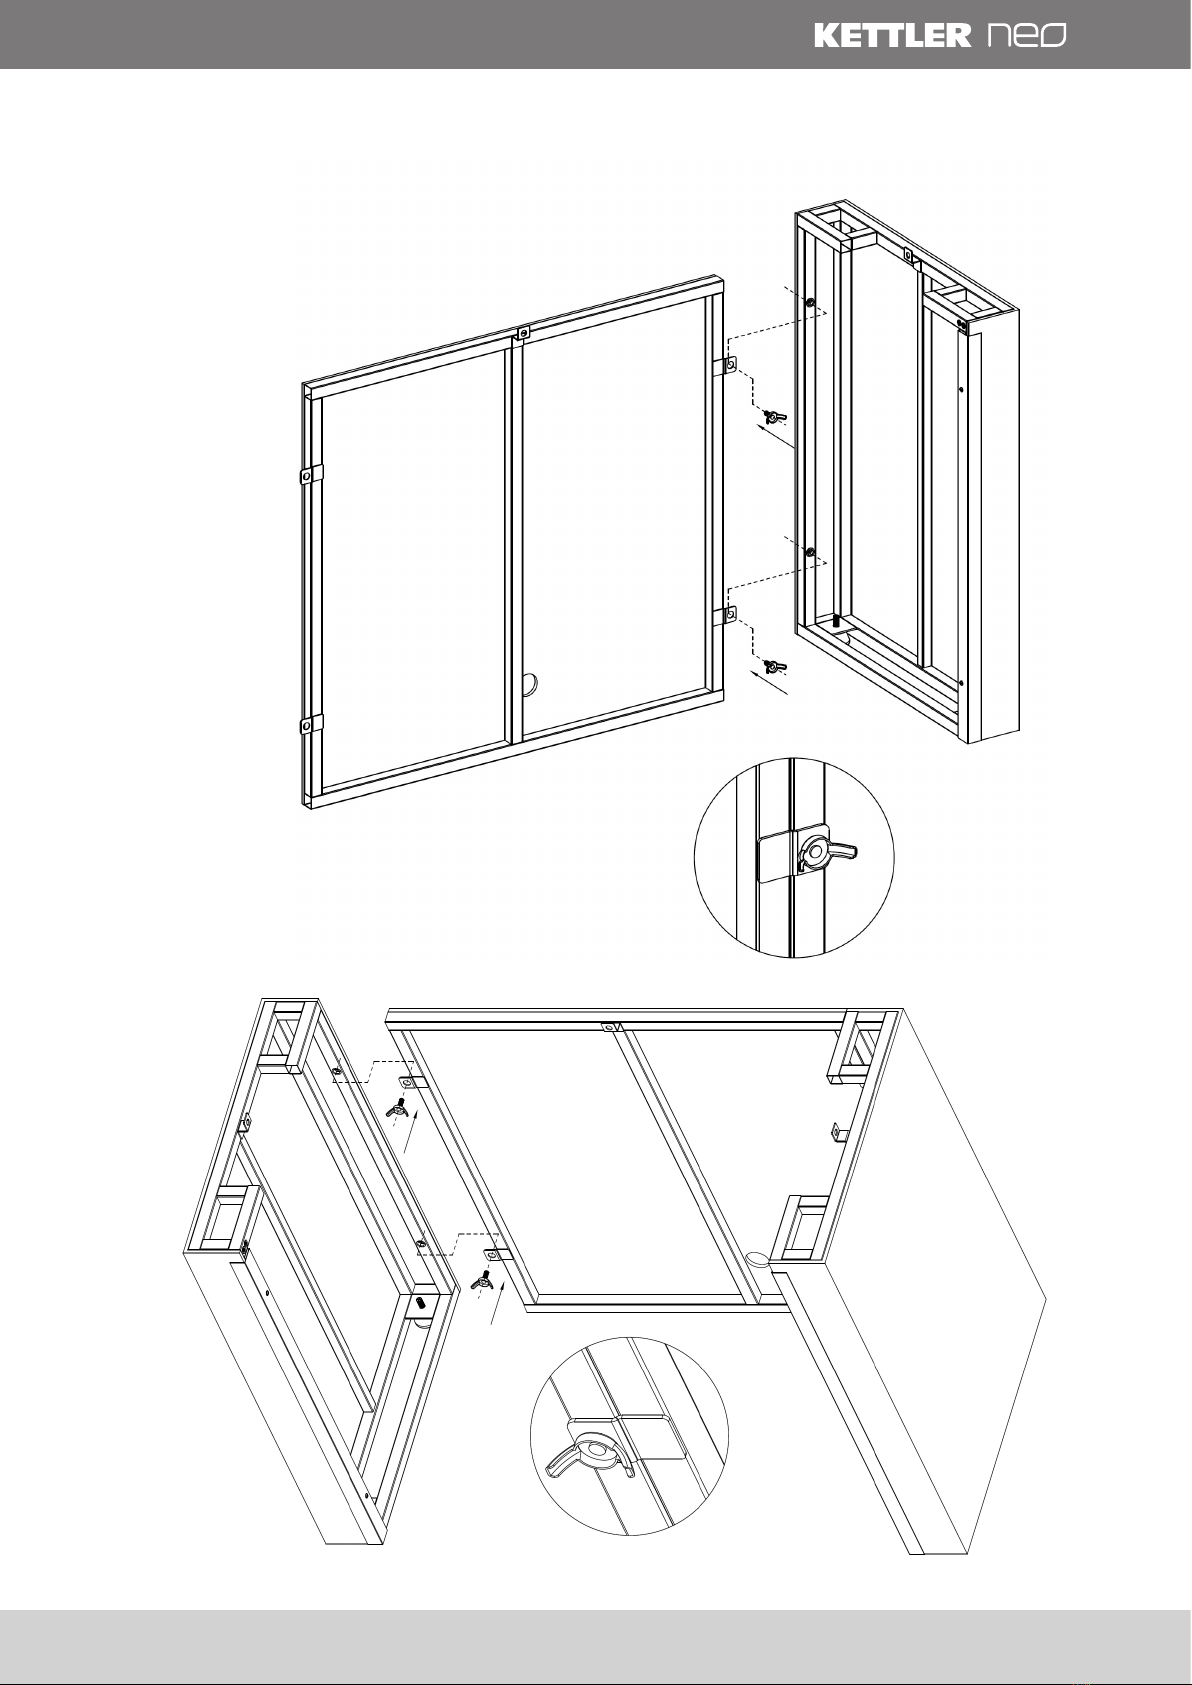
7. When tting the beverage cooler into the module, try to keep the beverage cooler centralised within the
module
Appliance Details
Length (mm) Width (mm) Height (mm)
Beverage Cooler Module 1140 598 950
NOTE: Take care not to block the venting of the beverage cooler at the front of the appliance. Use only with front
vented
Cleaning
For information on cleaning your beverage cooler, consult the beverage cooler manual.
Surfaces can be cleaned using a mild household detergent or cleaner and a clean cloth (do not use scourers
or harsh detergents). It is advisable to test cleaners on a small section of the appliance rst. NEVER use paint
thinners or similar solvents for cleaning and NEVER pour cold water over hot surfaces. Dry the surface afterwards.
Do NOT use high pressure cleaners or steam cleaners, as this can damage the module surface causing it to break
down and lift away.
Maintenance
It is recommended that, at least once a year, the following maintenance be conducted on the beverage cooler
module.
1. Check all fasteners for tightness and re tighten where necessary to ensure rigidity of the structure.
2. Check for insect infestation and clean out any cobwebs.

Assembly, Operation & Maintenence Instructions Page 4
Assembly Instructions
Remove all components from the cartons and carefully check against Parts List. Make sure you thoroughly
inspect parts before assembly. Some assembly will require the use of a Phillips Drive screwdriver. Kettler
recommends that the assembly be done by 2 (or more) people due to the size and weights of the components.
NOTE: The module should be assembled on a clean, at surface (best protected by cardboard or an old sheet). As
the module is extremely heavy (in excess of 90kg) this should be done as close to its nal destination as possible.
Part Name Size (LxWxH) mm Quantity
1 Top Panel 1140x598x80 1
2 Left Panel 112x595x883.5 1
3 Right Panel 112x595x883.5 1
4 Rear Panel 965x83x883.5 1
5 Front Support 970x38x25 1
6 M4 Screws M4 - 12mm 4
7 M8 Screws M8 - 20mm 7

Assembly, Operation & Maintenence Instructions Page 5
Step 1
Place rear panel (04) on the ground and right panel (03) up against
it so that the screw brackets match up with the screw holes.
Fix in place using 2 buttery screws (7).
Note orientation of power cable hole.
Step 2
Repeat step 1 using the left panel (02).

Assembly, Operation & Maintenence Instructions Page 6
Step 3
Place the front support (05) at the front top of the module
between the left and right panels, so the overhang matches
up with the side strips and the screw holes match up.
Use 4 M4 screws (06) to x it in place.
Step 4
Carefully lift the top panel
(1) and place it centrally
over the rest of the module.
Align the 3 sets of brackets
in the sides & rear of the
top panel with those in the
module, and x in place
with 3 buttery screws (7).

Assembly, Operation & Maintenence Instructions Page 7
Step 5
The module is now nished.
Carefully move it close to the nal position, and then pass the beverage cooler power cord through the hole at
the rear of the module.
While supporting the power cord, move the module to its nal position.
Carefully position the beverage cooler centrally inside the module and follow start-up instructions for the
beverage cooler.

For Your Safety
www.kettler.co.uk
• This product may only be used for its intended purpose at residential properties.
• Check all components regularly for correct function, damage and loose connections especially at
the start of the season and at 1-2 month intervals dependent on use.
• Damaged components may endanger your safety or shorten the life of the product. Replace all
damaged parts immediately. Use only spare parts manufactured by Kettler. Should you wish to
purchase spare parts, they can be ordered directly from: www.kettler.co.uk/shop
• Kettler will not be responsible for damaged caused by improper use.
Attention
• Whilst assembling this product keep out of the reach of children. (Choking hazard – contains
small parts)
• Ensure that your working area is free of possible sources of danger, for example don’t leave
any tools lying around.
• Always dispose of packaging material in such a way that it may not cause any danger. There is
always a risk of suocation if children play with plastic bags!
• We reserve the right to make changes for technical reasons.
Warranty For Home Use
KETTLER barbecues are covered
by a 3 YEAR WARRANTY.
The warranty applies to domestic use only
and does not cover accidental damage.
No warranty claims can be accepted
without a valid proof of purchase.
Table of contents
Popular Control Unit manuals by other brands

CALEFFI
CALEFFI ThermoSetter 1164 Series Installation, commissioning and servicing instructions

SOMAS
SOMAS VSS Service and Operating Instructions

Moog
Moog D670 Series Mounting and Installation Notes

Eaton
Eaton Vickers RF Series Overhaul manual

Moog
Moog D061-7 series Mounting and Installation Notes

Burkert
Burkert 6027 operating instructions