Keysight Technologies M9188A User guide

Keysight M9188A
PXI D/A Converter 16-Bit,
0-30 V, 0-20 mA
Startup
Guide


M9188A Startup Guide I

II M9188A Startup Guide
Notices
© Keysight Technologies 2014
No part of this manual may be reproduced in
any form or by any means (including elec-
tronic storage and retrieval or translation
into a foreign language) without prior agree-
ment and written consent from Keysight
Technologies as governed by United States
and international copyright laws.
Manual Part Number
M9188-90001
Edition
Edition 1, August 2014
Keysight Technologies
1400 Fountaingrove Parkway
Santa Rosa, CA 95403
Sales and Technical Support
To contact Keysight for sales and technical
support, refer to the "support" links on the
following Keysight web resources:
•www.keysight.com/find/M9188A
(product-specific information and
support, software and documentation
updates)
•www.keysight.com/find/assist
(worldwide contact information for
repair and service)
Information on preventing damage to your
Keysight equipment can be found at
www.keysight.com/find/tips.
Technology Licenses
The hardware and/or software described in
this document are furnished under a license
and may be used or copied only in accor-
dance with the terms of such license.
Warranty
The material contained in this docu-
ment is provided “as is,” and is sub-
ject to being changed, without notice,
in future editions. Further, to the max-
imum extent permitted by applicable
law, Keysight disclaims all warran-
ties, either express or implied, with
regard to this manual and any infor-
mation contained herein, including
but not limited to the implied warran-
ties of merchantability and fitness for
a particular purpose. Keysight shall
not be liable for errors or for inciden-
tal or consequential damages in con-
nection with the furnishing, use, or
performance of this document or of
any information contained herein.
Should Keysight and the user have a
separate written agreement with
warranty terms covering the material
in this document that conflict with
these terms, the warranty terms in the
separate agreement shall control.
Restricted Rights Legend
If software is for use in the performance of a
U.S. Government prime contract or subcon-
tract, Software is delivered and licensed as
“Commercial computer software” as
defined in DFAR 252.227-7014 (June 1995),
or as a “commercial item” as defined in FAR
2.101(a) or as “Restricted computer soft-
ware” as defined in FAR 52.227-19 (June
1987) or any equivalent agency regulation or
contract clause. Use, duplication or disclo-
sure of Software is subject to Keysight
Technologies’ standard commercial license
terms, and non-DOD Departments and
Agencies of the U.S. Government will
receive no greater than Restricted Rights as
defined in FAR 52.227-19(c)(1-2) (June
1987). U.S. Government users will receive
no greater than Limited Rights as defined in
FAR 52.227-14 (June 1987) or DFAR
252.227-7015 (b)(2) (November 1995), as
applicable in any technical data.
Safety Notices
CAUTION
A CAUTION notice denotes a haz-
ard. It calls attention to an operat-
ing procedure, practice, or the like
that, if not correctly performed or
adhered to, could result in damage
to the product or loss of important
data. Do not proceed beyond a
CAUTION notice until the indicated
conditions are fully understood and
met.
WARNING
A WARNING notice denotes a
hazard. It calls attention to an
operating procedure, practice, or
the like that, if not correctly per-
formed or adhered to, could result
in personal injury or death. Do not
proceed beyond a WARNING
notice until the indicated condi-
tions are fully understood and
met.
The following safety precautions should be
observed before using this product and any
associated instrumentation.
This product is intended for use by qualified
personnel who recognize shock hazards and
are familiar with the safety precautions
required to avoid possible injury. Read and
follow all installation, operation, and main-
tenance information carefully before using
the product. Refer to the user documenta-
tion for complete product specifications.

M9188A Startup Guide III
WARNING
If this product is not used as spec-
ified, the protection provided by
the equipment could be impaired.
This product must be used in a
normal condition (in which all
means for protection are intact)
only.
The types of product users are:
• Responsible body is the individual or
group responsible for the use and main-
tenance of equipment, for ensuring that
the equipment is operated within its
specifications and operating limits, and
for ensuring that operators are ade-
quately trained.
• Operators use the product for its
intended function. They must be trained
in electrical safety procedures and
proper use of the instrument. They must
be protected from electric shock and
contact with hazardous live circuits.
• Maintenance personnel perform rou-
tine procedures on the product to keep
it operating properly (for example, set-
ting the line voltage or replacing con-
sumable materials). Maintenance
procedures are described in the user
documentation. The procedures explic-
itly state if the operator may perform
them. Otherwise, they should be per-
formed only by service personnel.
• Service personnel are trained to work
on live circuits, perform safe installa-
tions, and repair products. Only properly
trained service personnel may perform
installation and service procedures.
Exercise extreme caution when a shock
hazard is present. Lethal voltage may be
present on cable connector jacks or test fix-
tures. The American National Standards
Institute (ANSI) states that a shock hazard
exists when voltage levels greater than 30 V
RMS, 42.4 V peak, or 60 VDC are present.
A good safety practice is to expect that haz-
ardous voltage is present in any unknown
circuit before measuring.
Operators of this product must be protected
from electric shock at all times. The respon-
sible body must ensure that operators are
prevented access and/or insulated from
every connection point. In some cases, con-
nections must be exposed to potential
human contact. Product operators in these
circumstances must be trained to protect
themselves from the risk of electric shock.
Before operating an instrument, ensure that
the line cord is connected to a prop-
erly-grounded power receptacle. Inspect the
connecting cables, test leads, and jumpers
for possible wear, cracks, or breaks before
each use.
When installing equipment where access to
the main power cord is restricted, such as
rack mounting, a separate main input power
disconnect device must be provided in
closed proximity to the equipment and
within easy reach of the operator.
For maximum safety, do not touch the prod-
uct, test cables, or any other instruments
while power is applied to the circuit under
test. ALWAYS remove power from the entire
test system and discharge any capacitors
before: connecting or disconnecting cables
or jumpers, installing or removing switching
cards, or making internal changes, such as
installing or removing jumpers.
Do not touch any object that could provide a
current path to the common side of the cir-
cuit under test or power line (earth) ground.
Always make measurements with dry hands
while standing on a dry, insulated surface
capable of withstanding the voltage being
measured.
The instrument and accessories must be
used in accordance with its specifications
and operating instructions, or the safety of
the equipment may be impaired.
CAUTION
• Do not exceed the maximum signal
levels of the instruments and
accessories, as defined in the
specifications and operating
information, and as shown on the
instrument or test fixture panels, or
switching card.
• Chassis connections must only be
used as shield connections for
measuring circuits, NOT as safety
earth ground connections.
• If you are using a test fixture, keep
the lid closed while power is
applied to the device under test.
Safe operation requires the use of a
lid interlock.
• Instrumentation and accessories
shall not be connected to humans.
To maintain protection from electric shock
and fire, replacement components in mains
circuits - including the power transformer,
test leads, and input jacks - must be pur-
chased from Keysight. Standard fuses with
applicable national safety approvals may be
used if the rating and type are the same.
Other components that are not
safety-related may be purchased from other
suppliers as long as they are equivalent to
the original component (note that selected
parts should be purchased only through
Keysight to maintain accuracy and function-
ality of the product). If you are unsure about
the applicability of a replacement compo-
nent, call an Keysight office for information.
WARNING
No operator serviceable parts
inside. Refer servicing to qualified
personnel. To prevent electrical
shock do not remove covers.
IV M9188A Startup Guide
Front and Rear Panels Symbols
The CE marking is the legal
required labeling for several EU
Directives of the European Union.
The CE marking shows that the product
complies with all relevant European Legal
Directives.
The RCM mark is a Compliance
Mark according to the ACMA
Labelling Requirement.
The KC mark shows that the product
complies with the relevant Korean
Compulsory Certification.
This symbol indicates
product compliance with
the Canadian Interfer-
ence-Causing Equipment Standard
(ICES-001). It also identifies the product is
an Industrial Scientific and Medical Group 1
Class A product (CISPR 11, Clause 4).
This symbol indicates the time
period during which no hazard-
ous or toxic substance elements
are expected to leak or deterio-
rate during normal use. Forty years is the
expected useful life of the product.
Cleaning Precautions
WARNING
To prevent electrical shock, dis-
connect the Keysight Technolo-
gies instrument from mains before
cleaning. Use a dry cloth or one
slightly dampened with water to
clean the external case parts. Do
not attempt to clean internally. To
clean the connectors, use alcohol
in a well-ventilated area. Allow
all residual alcohol moisture to
evaporate, and the fumes to dissi-
pate prior to energizing the instru-
ment.
M9188A Startup Guide V
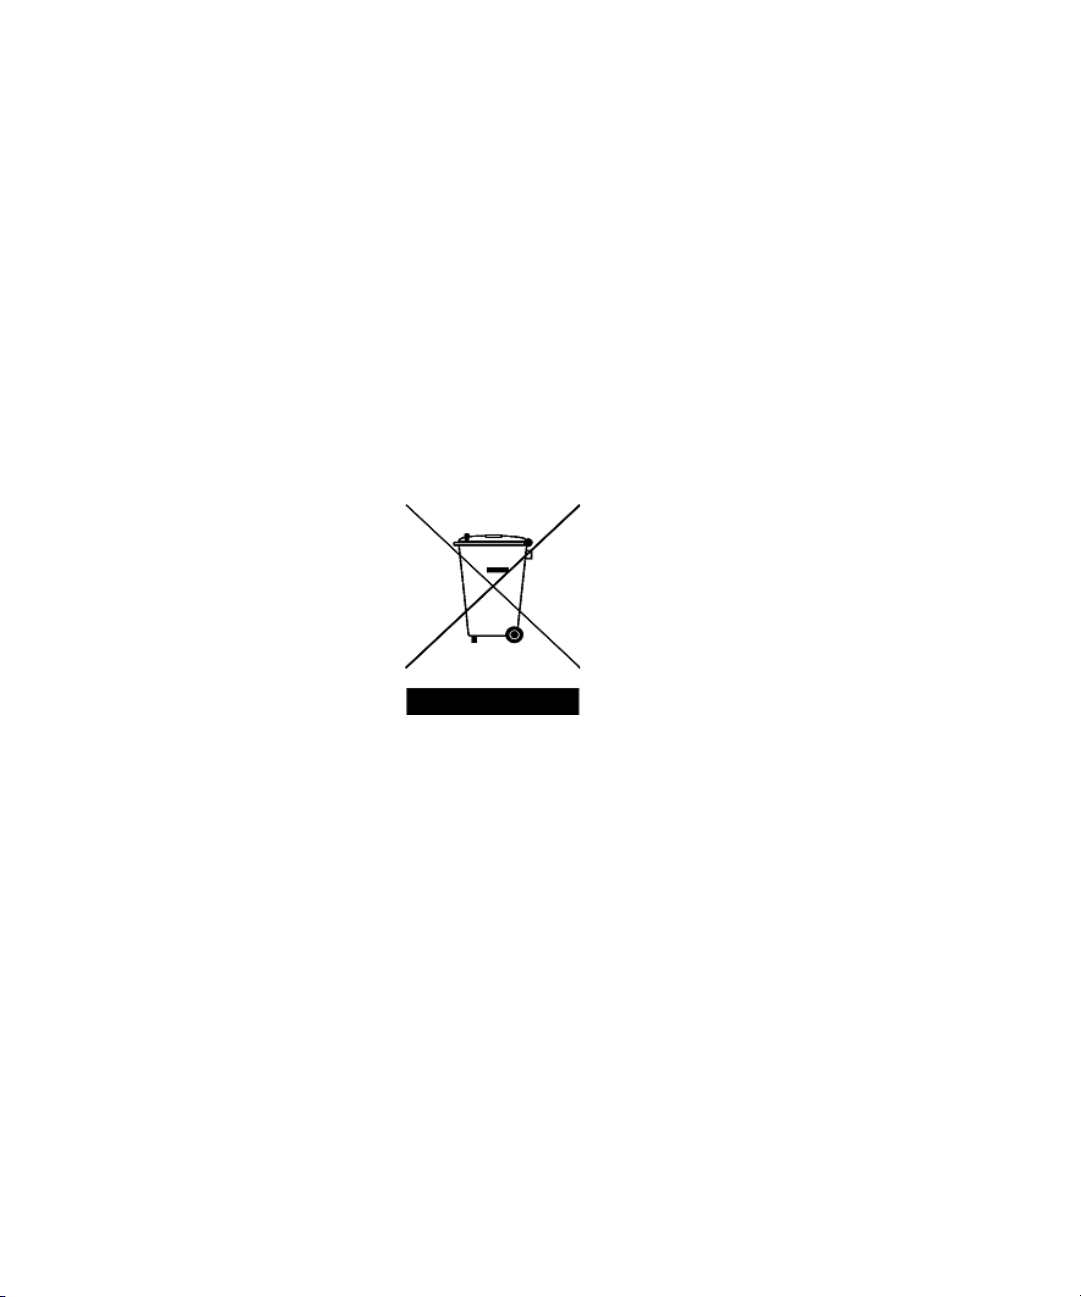
End of Life: Waste Electrical and Electronic Equipment (WEEE) Directive
2002/96/EC
This instrument complies with the WEEE Directive (2002/96/EC) marking
requirement. This affixed product label indicates that you must not discard
this electrical or electronic product in domestic household waste.
Product Category:
With reference to the equipment types in the WEEE directive Annex 1, this
instrument is classified as a “Monitoring and Control Instrument” product.
The affixed product label is as shown below.
Do not dispose in domestic household waste.
To return this unwanted instrument, contact your nearest Keysight Service
Center, or visit
www.keysight.com/environment/product
for more information.

VI M9188A Startup Guide
THIS PAGE HAS BEEN INTENTIONALLY LEFT BLANK.

M9188A Startup Guide VII
Contents
Introduction 1
Related documentation 1
Step 1: Unpack and Inspect the Module 2
ESD precaution 2
Inspect the module for damage 3
Return the module for service 4
Step 2: Verify the Shipment Contents 5
Step 3: Install the Software 6
System requirements 6
Power up the controller 8
Install the softwares 8
Step 4: Install the Module 10
M9188A front panel 14
M9188A system connections 17
Step 5: Verify the Operation of the M9188A Module 18
Conduct performance verification (optional) 20
Specifications 23

VIII M9188A Startup Guide
THIS PAGE HAS BEEN INTENTIONALLY LEFT BLANK.

Keysight M9188A PXI D/A Converter 16-Bit, 0-30 V, 0-20 mA
Introduction
M9188A Startup Guide 1
Introduction
The scope of this Startup Guide is to detail the processes of
receiving and setting up the Keysight M9188A PXI D/A
Converter 16- Bit, 0- 30 V, 0- 20 mA, installing the required
software(s), and verifying the basic module operation.
If you have any questions after reviewing this information,
please contact your local Keysight Technologies
representative or contact us through our website at
http://www.keysight.com/find/M9188A.
Related documentation
A softcopy of this Startup Guide, and the documentation
listed below, can be found on the CD- ROM that is shipped
with this product. You can also download them for free
through our webite at www.keysight.com/find/M9188A.
Check the manual revision on the second page of each
manual.
• Keysight M9188A PXI D/A Converter 16- Bit, 0- 30 V,
0- 20 mA Startup Guide. This manual. Printed copy for
outdoor use, included with shipment.
• Keysight M9188A PXI D/A Converter 16- Bit, 0- 30 V,
0- 20 mA Programming Guide. For IVI- COM console
applications.
• Keysight M9188A PXI D/A Converter 16- Bit, 0- 30 V,
0- 20 mA Soft Front Panel Software and Help.
Embedded in the Soft Front Panel software.
• Keysight M9188A PXI D/A Converter 16- Bit, 0- 30 V,
0- 20 mA Data Sheet.

2M9188A Startup Guide
Keysight M9188A PXI D/A Converter 16-Bit, 0-30 V, 0-20 mA
Step 1: Unpack and Inspect the Module
Step 1: Unpack and Inspect the Module
ESD precaution
Electrostatic discharge (ESD) can damage or destroy
electronic components. All work on electronic assemblies
should be performed at a static- safe work station. The
following figure shows an example of a static- safe work
station using two types of ESD protection.
Figure 1 Static-safe work station example
CAUTION
The M9188A is shipped in materials which prevent damage from static.
The module should only be removed from the packaging in an
anti-static area after ensuring that correct anti-static precautions are
taken. Store all modules in anti-static envelopes when not in use.

Keysight M9188A PXI D/A Converter 16-Bit, 0-30 V, 0-20 mA
Step 1: Unpack and Inspect the Module
M9188A Startup Guide 3
Purchase acceptable ESD accessories from your local
supplier.
•Conductive table- mat and wrist- strap combination.
•Conductive floor- mat and heel- strap combination.
Both types, when used together, provide a significant level of
ESD protection. Of the two, only the table- mat and
wrist- strap combination provides adequate ESD protection
when used alone. To ensure user safety, the static- safe
accessories must provide at least 1 Ωof isolation from
ground.
Inspect the module for damage
After unpacking the M9188A, carefully inspect the unit for
any shipping damage. Report any damage to the shipping
agent immediately, as such damage is not covered by the
warranty. The warranty also does not cover:
•Damage from contamination
•Normal wear and tear of mechanical components
•Manuals or fuses
(Warranty information can be found at the beginning of this
manual.)
WARNING
These techniques for a static-safe work station should not be used
when working on circuitry with a voltage potential greater than
500 V.
CAUTION
To avoid damage when handling a module, do not touch exposed
connector pins.
NOTE
Information on preventing damage to your Keysight equipment can be
found at www.keysight.com/find/tips.

4M9188A Startup Guide
Keysight M9188A PXI D/A Converter 16-Bit, 0-30 V, 0-20 mA
Step 1: Unpack and Inspect the Module
Return the module for service
Should it become necessary to return the M9188A for repair
or service, follow the steps below:
1Review the warranty information shipped with your
product.
2Contact Keysight to obtain a Return Material
Authorization (RMA) and return address. If you need
assistance finding Keysight’s contact information, go to
www.keysight.com/find/assist (worldwide contact
information for repair and service) or refer to the Support
information on the product web page at
www.keysight.com/find/M9188A.
3Write the following information on a tag and attach it to
the malfunctioning equipment.
•Name and address of owner. A P.O. box is not
acceptable as a return address.
•Product model number (for example, M9188A).
•Product serial number (for example, MYXXXXXXXX).
The serial number label is located on the side panel of
the module. The serial number can also be read from
the Soft Front Panel interface, but only after the
software is installed.
•Description of failure or service required.
4Carefully pack the module in its original ESD bag and
packing carton. If the original carton is not available, use
bubble wrap or packing peanuts and place the instrument
in a sealed container and mark the container “FRAGILE”.
5On the shipping label, write “ATTENTION REPAIR
DEPARTMENT” and the RMA number.
NOTE
If any correspondence is required, refer to the product by its serial number
and model number.

Keysight M9188A PXI D/A Converter 16-Bit, 0-30 V, 0-20 mA
Step 2: Verify the Shipment Contents
M9188A Startup Guide 5
Step 2: Verify the Shipment Contents
The following items are included in the M9188A shipment:
•M9188A PXI D/A Converter 16- Bit, 0- 30 V, 0- 20 mA
Software and Product Information CD- ROM (P/N:
M9188- 10001) - contains software, drivers, and all
product documentation in PDF format.
•Printed copy of this document, M9188A PXI D/A Converter
16- Bit, 0- 30 V, 0- 20 mA Startup Guide (P/N: M9188- 90001)
•Calibration certificate
NOTE
Every PXI module is shipped with a Software and Product Information
CD-ROM. The M9188A-CD1 option provides the M9188A Software and
Product Information CD-ROM (M9188-10001).
All files contained in the CD-ROM are available for free download at
www.keysight.com/find/M9188A.

6M9188A Startup Guide
Keysight M9188A PXI D/A Converter 16-Bit, 0-30 V, 0-20 mA
Step 3: Install the Software
Step 3: Install the Software
System requirements
The following table lists the minimum system requirements
for Keysight IO Libraries Suite. In general, any x86 or x64
(except Itanium) architecture should work but there may be
a significant decrease in performance.
Table 1 Minimum system requirements
Operating systems Windows ® XP SP3 or later
(32-bit) Home or
Professional
Windows Vista®SP1 and
SP2 or later (32-bit and
64-bit) Home Basic, Home
Premium, Business,
Ultimate, or Enterprise
Windows ® 7 (32-bit and
64-bit) Starter, Home Basic,
Home Premium,
Professional, Ultimate, or
Enterprise
Processor speed 600 MHz or higher required
800 MHz recommended
1 GHz 32-bit (x86) or
1 GHz 64-bit (x64),
Itanium 64 is not supported
1 GHz 32-bit (x86) or
1 GHz 64-bit (x64),
Itanium 64 is not supported
Available memory 256 MB minimum (1 GB or
more recommended)
1 GB minimum 1 GB minimum
Available disk space[1] 1.5 GB available hard disk
space, includes:
•1 GB for Microsoft®.NET
Framework 3.5 SP1[2]
•100 MB for Keysight IO
Libraries Suite
1.5 GB available hard disk
space, includes:
•1 GB for Microsoft®.NET
Framework 3.5 SP1[2]
•100 MB for Keysight IO
Libraries Suite
1.5 GB available hard disk
space, includes:
•1 GB for Microsoft®.NET
Framework 3.5 SP1[2]
•100 MB for Keysight IO
Libraries Suite
Video Super VGA (800 ×600) 256
colors or more
Support for DirectX 9
graphics with 128 MB
graphics memory
recommended (Super VGA
graphics is supported)
Support for DirectX 9
graphics with 128 MB
graphics memory
recommended (Super VGA
graphics is supported)
Browser Microsoft®Internet
Explorer 6.0 or greater
Microsoft®Internet
Explorer 7 or greater
Microsoft®Internet
Explorer 7 or greater
Chassis A cPCI, PXI-1, or PXIh chassis peripheral slot. The Keysight M9018A chassis is
recommended.

Keysight M9188A PXI D/A Converter 16-Bit, 0-30 V, 0-20 mA
Step 3: Install the Software
M9188A Startup Guide 7
Interface controller A PXI or PXIe remote or embedded controller.
Remote controller A Keysight M9045A ExpressCard interface (for portable laptops) or Keysight M9047A PCIe
interface (for desktop PCs) or equivalent PXI or PXIe remote controllers running one of the
above operating systems.
Embedded controller A Keysight M9021A System Interface Card, or equivalent embedded controller running one
of the above operating systems.
Note: The embedded controller must be compatible with the Keysight M9018A chassis.
[1] Because of the installation procedures, less memory may be required for the operation than is required for the installation.
[2] .NET Framework Runtime Components are installed by default with Windows Vista and Windows 7. Therefore, you may not
need this amount of available disk space.
Table 1 Minimum system requirements

8M9188A Startup Guide
Keysight M9188A PXI D/A Converter 16-Bit, 0-30 V, 0-20 mA
Step 3: Install the Software
Power up the controller
If you are using a remote controller, power up the host
computer.
If you are using an embedded controller, complete the
following steps:
1Install the embedded controller module into a compatible
chassis.
Recommended: Keysight M9018A 18 slot PXIe Chassis
2Connect your I/O peripherals (mouse, keyboard, and
monitor).
3Power up the chassis.
Install the softwares
The M9188A softwares are located on the bundled CD
(M9188- 10001). The same softwares are also available for
free download at the Keysight website:
www.keysight.com/find/M9188A.
This installation includes the following:
•Keysight IO Library Suite (IOLS), which includes the
Keysight Connection Expert.
•Soft Front Panel (SFP), device drivers (IVI- C and
IVI- COM, and LabVIEW G), and related user
documentation for the M9188A.
1From the CD browser, launch the installer.
2Follow the installer prompts to install all software and
documentation for the M9188A PXI D/A Converter 16- Bit,
0- 30 V, 0- 20 mA.
NOTE
Each PXI module has its own device driver (IVI-C and IVI-COM, and
LabVIEW G) and soft front panel (SFP) software.

Keysight M9188A PXI D/A Converter 16-Bit, 0-30 V, 0-20 mA
Step 3: Install the Software
M9188A Startup Guide 9
Figure 2 InstallShield Wizard for Keysight M9188A
3After installation is complete, power down the chassis
(and the host PC if using the remote controller).

10 M9188A Startup Guide
Keysight M9188A PXI D/A Converter 16-Bit, 0-30 V, 0-20 mA
Step 4: Install the Module
Step 4: Install the Module
1Ensure that the chassis power switch is at the Off
(Standby) position before you unplug the PXI chassis.
2If the chassis has multiple fan speed settings, ensure that
the fans are set to automatic. Do not set the fan speed to
low or turn it off.
3Position the chassis so that there is ample space between
the chassis fan intake and exhaust vents. Blockage by
walls or obstructions affects the air flow needed for
cooling. (Refer to the chassis documentation for more
information about cooling).
4If you are using an embedded controller, proceed to
step 5. If you using a remote controller, skip to step 6.
CAUTION
•The PXI hardware does not support “hot-swapping” capabilities
(changing modules while power is applied to the chassis).
•Before installing the M9188A into the chassis, ensure that the
chassis is powered off and unplugged to prevent damage to the
module.
NOTE
The M9188A module can be used in a chassis with a cPCI, PXI-1, or PXIh
chassis peripheral slot.
The module can be installed in any standard PXI slot marked with a peripheral
slot compatibility image (a circle containing the slot number).
The module can also be installed in any hybrid PXI slot marked with a peripheral
slot compatibility image (the letter “H” and a solid circle containing the slot
number).
Table of contents
Other Keysight Technologies Media Converter manuals

Keysight Technologies
Keysight Technologies M9403B Manual

Keysight Technologies
Keysight Technologies 34951A User manual

Keysight Technologies
Keysight Technologies U3020AY03 User manual

Keysight Technologies
Keysight Technologies DDR5 User manual

Keysight Technologies
Keysight Technologies M9362A-D01 PXIe User guide

Keysight Technologies
Keysight Technologies N7004A User manual

Keysight Technologies
Keysight Technologies N7005A User manual

Keysight Technologies
Keysight Technologies E5053A User manual

Keysight Technologies
Keysight Technologies 11667C Service manual

Keysight Technologies
Keysight Technologies M9403A Manual


