PowerTool connection for previously paired iOS devices 3
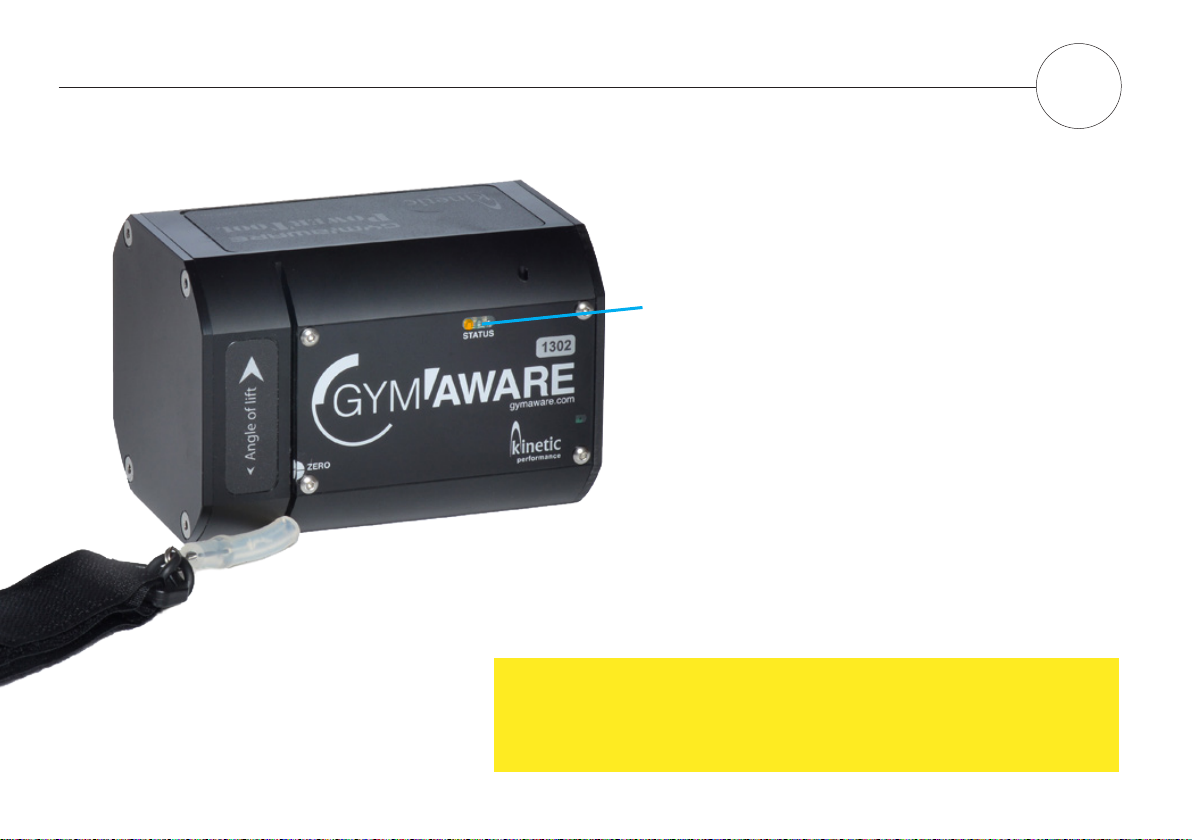
Connecting the PowerTool
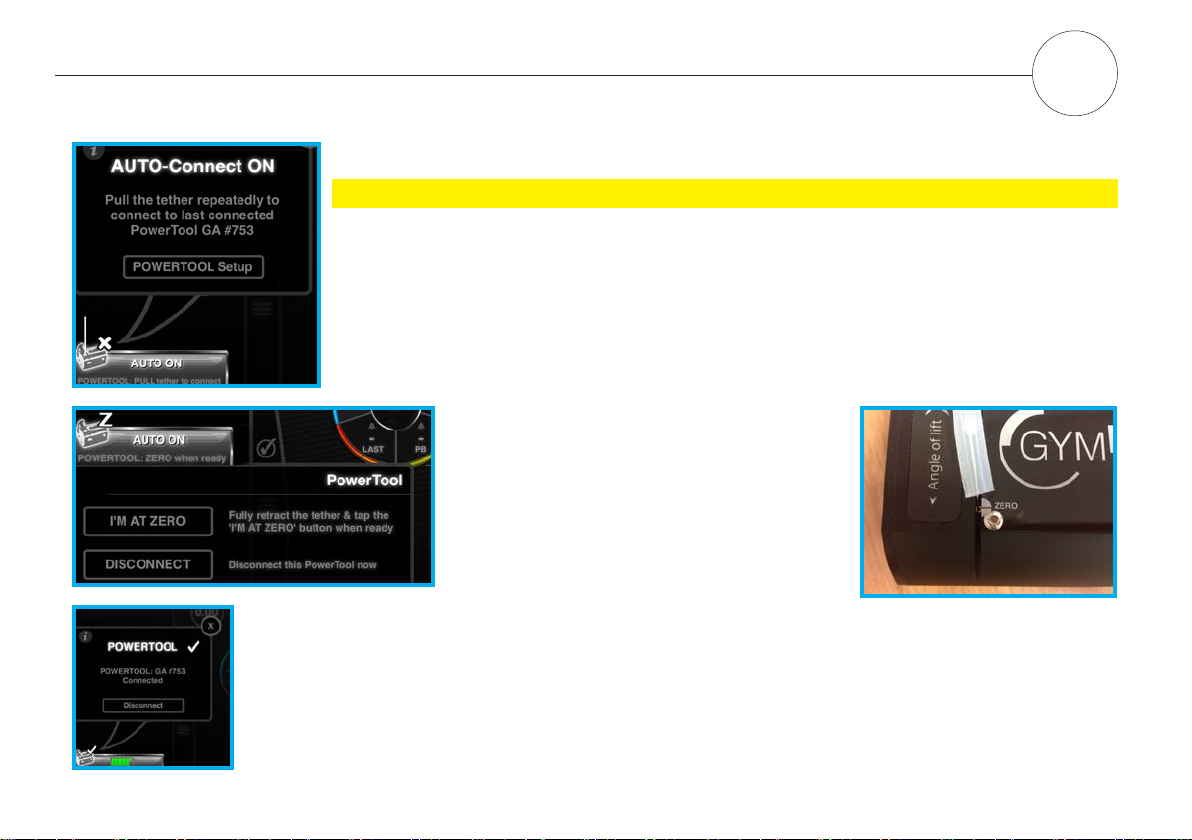
You will see the icon of the PowerTool with the battery indicator lights.
The colour of the battery will depend on the state of charge of your
PowerTool.
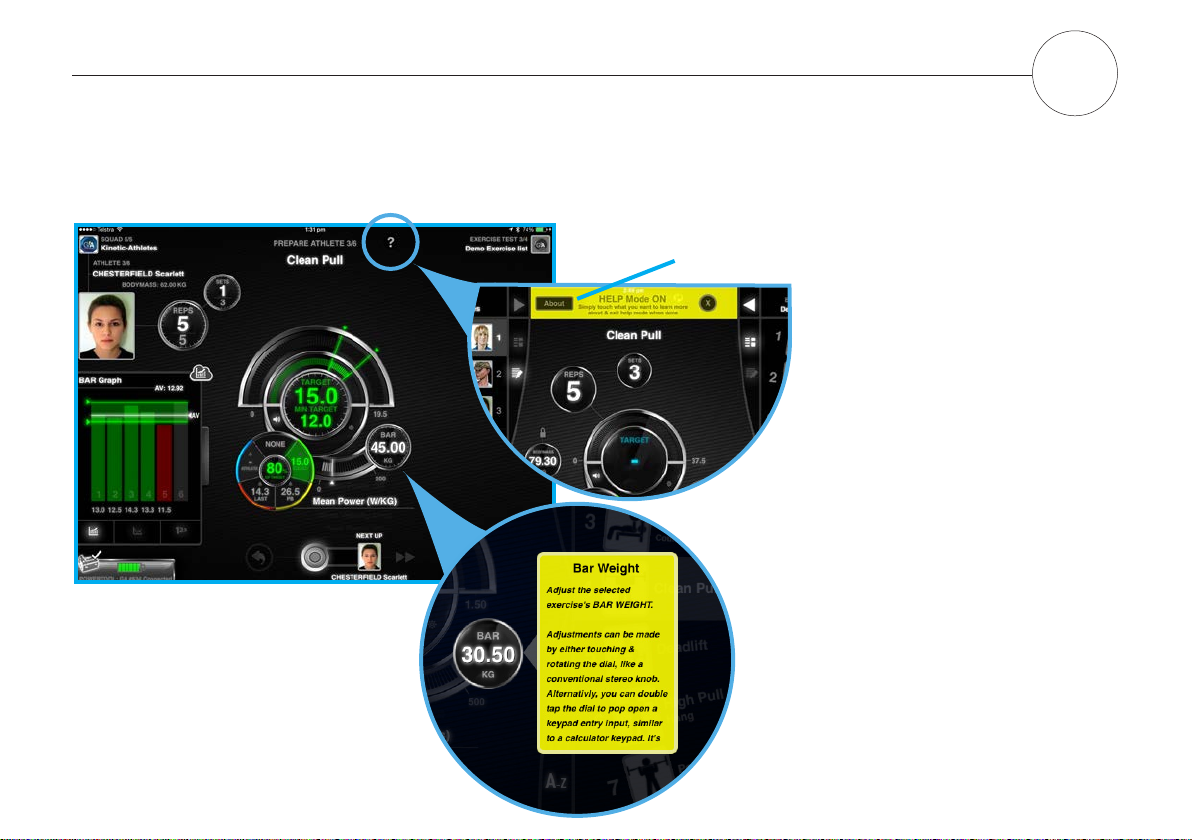
The target interface will now become coloured and active and you can
setup your athletes and exercises.
PowerTool at “Zero”
The tether is fully retracted.
You need to RETRACT the tether into the
PowerTool and tap the “I’m at Zero” button.
A double beep will sound and the LED’s on the
PowerTool will turn green.
This only needs to be done once per exercise
setup.
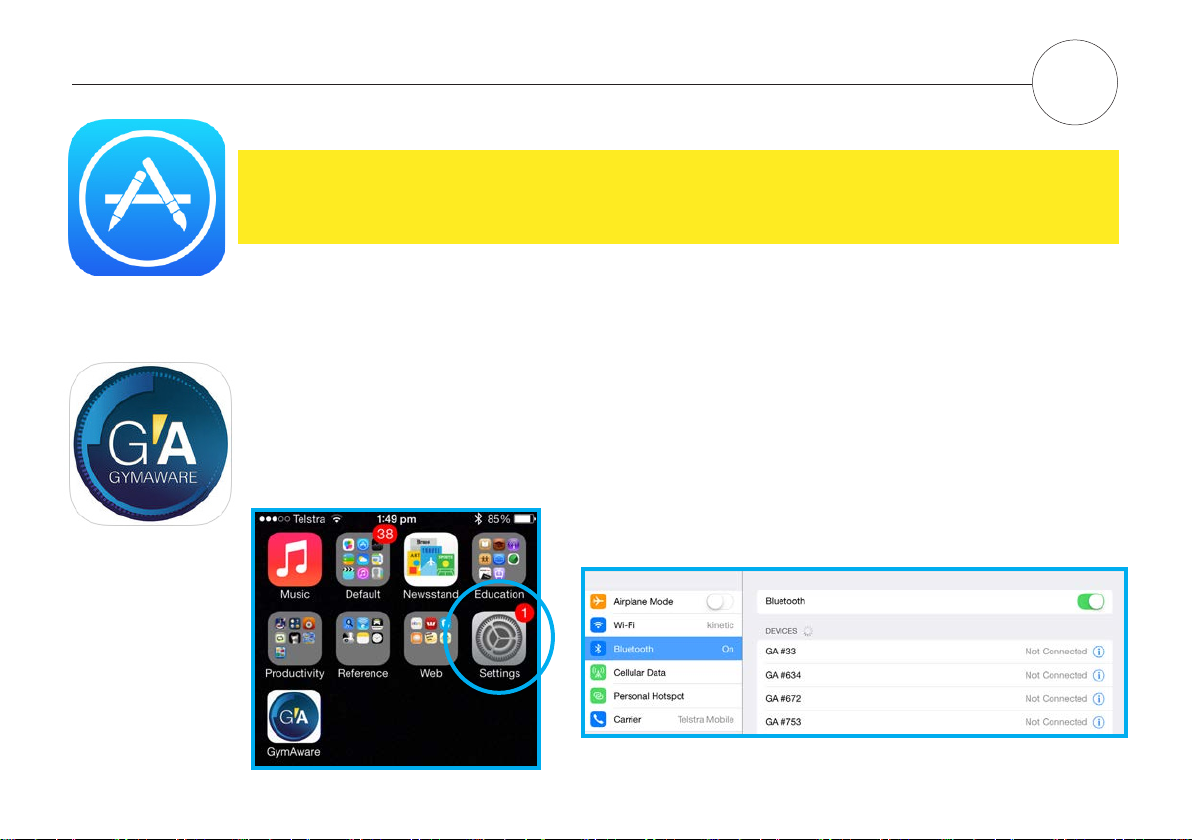
For each workout session, users need to connect to the PowerTool.
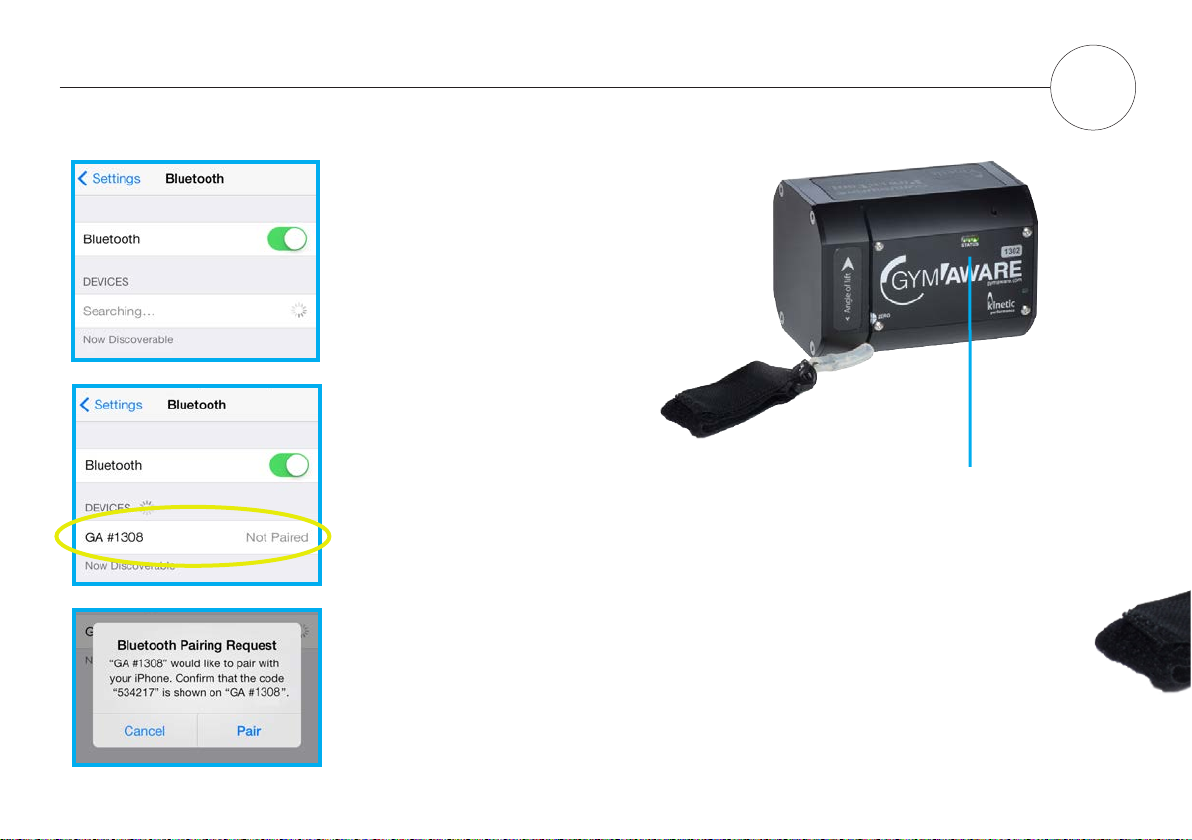
Pull the tether repeatedly on the PowerTool in order to connect to the last connected PowerTool.
The PowerTool will beep once to wake up and the LEDs will start ashing green to orange.
The PowerTool will beep twice once connected and the LED’s then turn orange.
Once initial connection is established, the PowerTool Tab will automatically expand to offer an
option to ‘Zero’ the PowerTool so that it is ready to use.