@2021 KITA Sensor Tech. Co., LTD. URL http://www.kita.com.tw
-2-
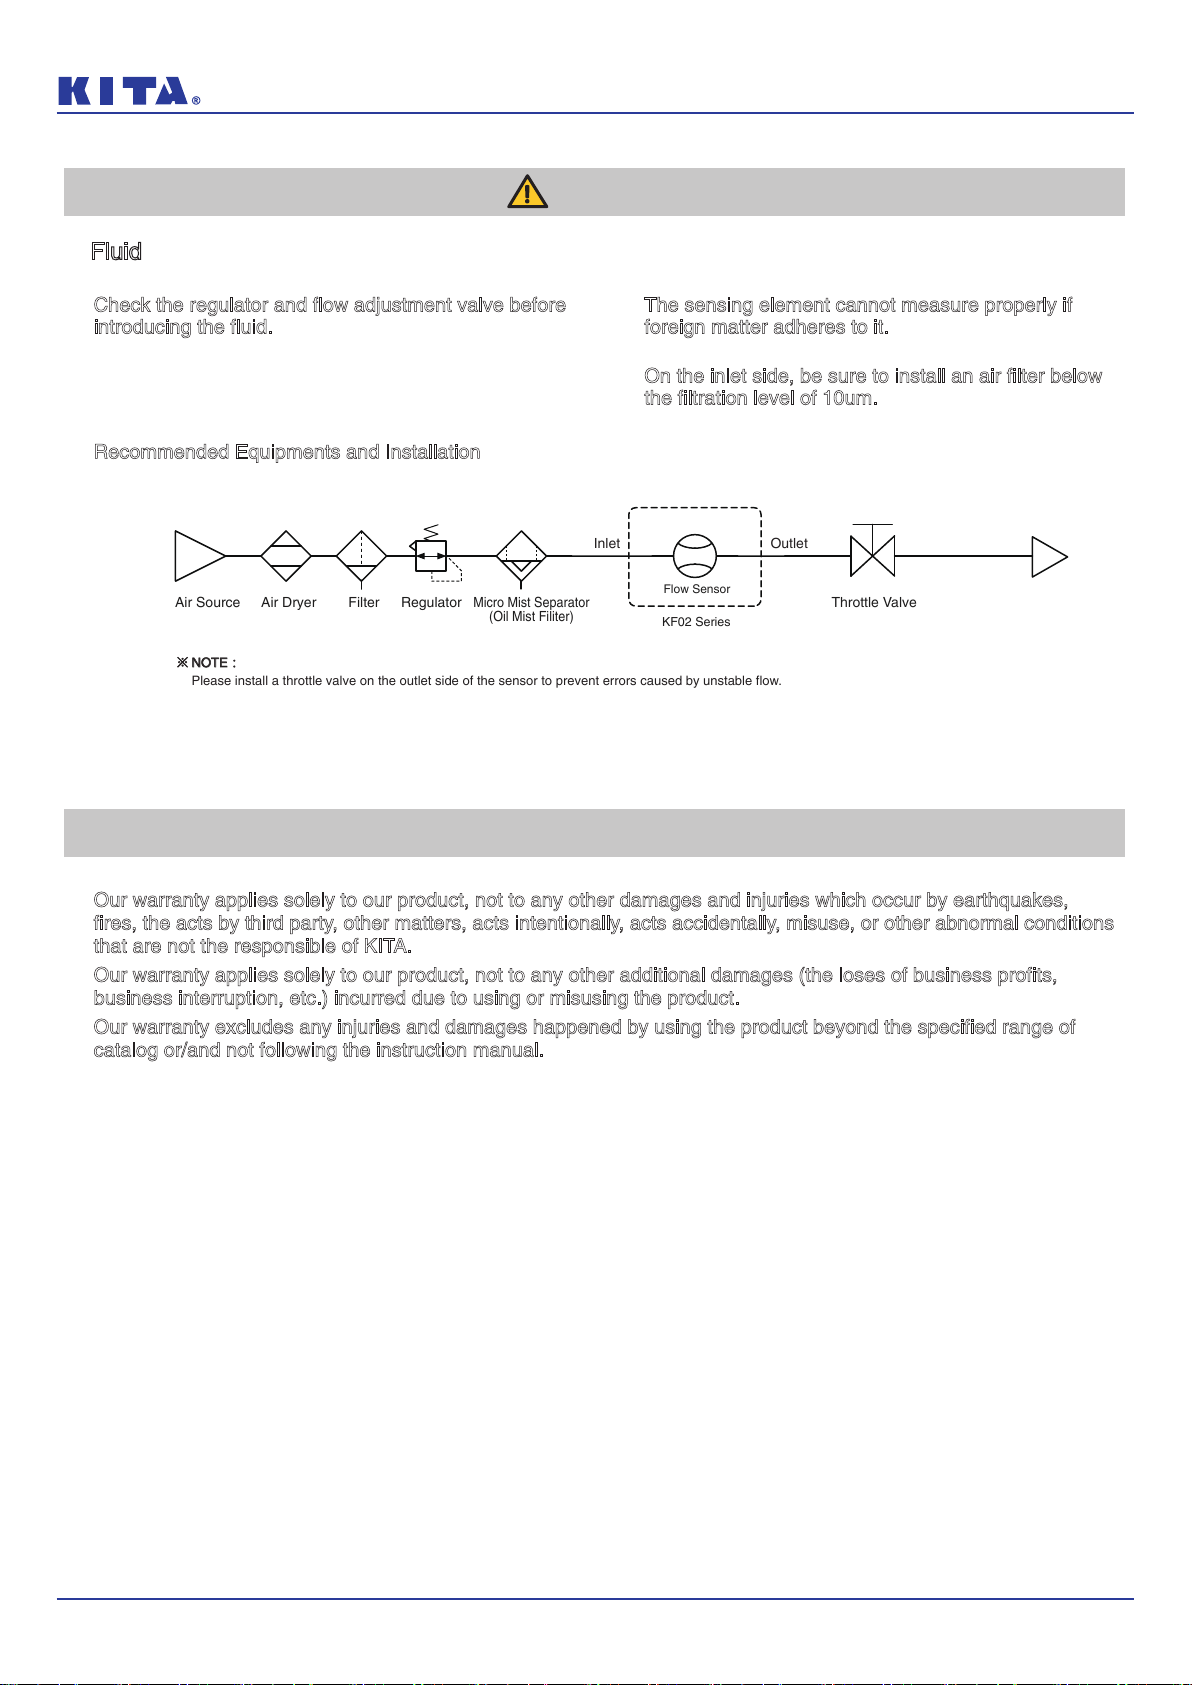
KF02 Series Instruction Manual
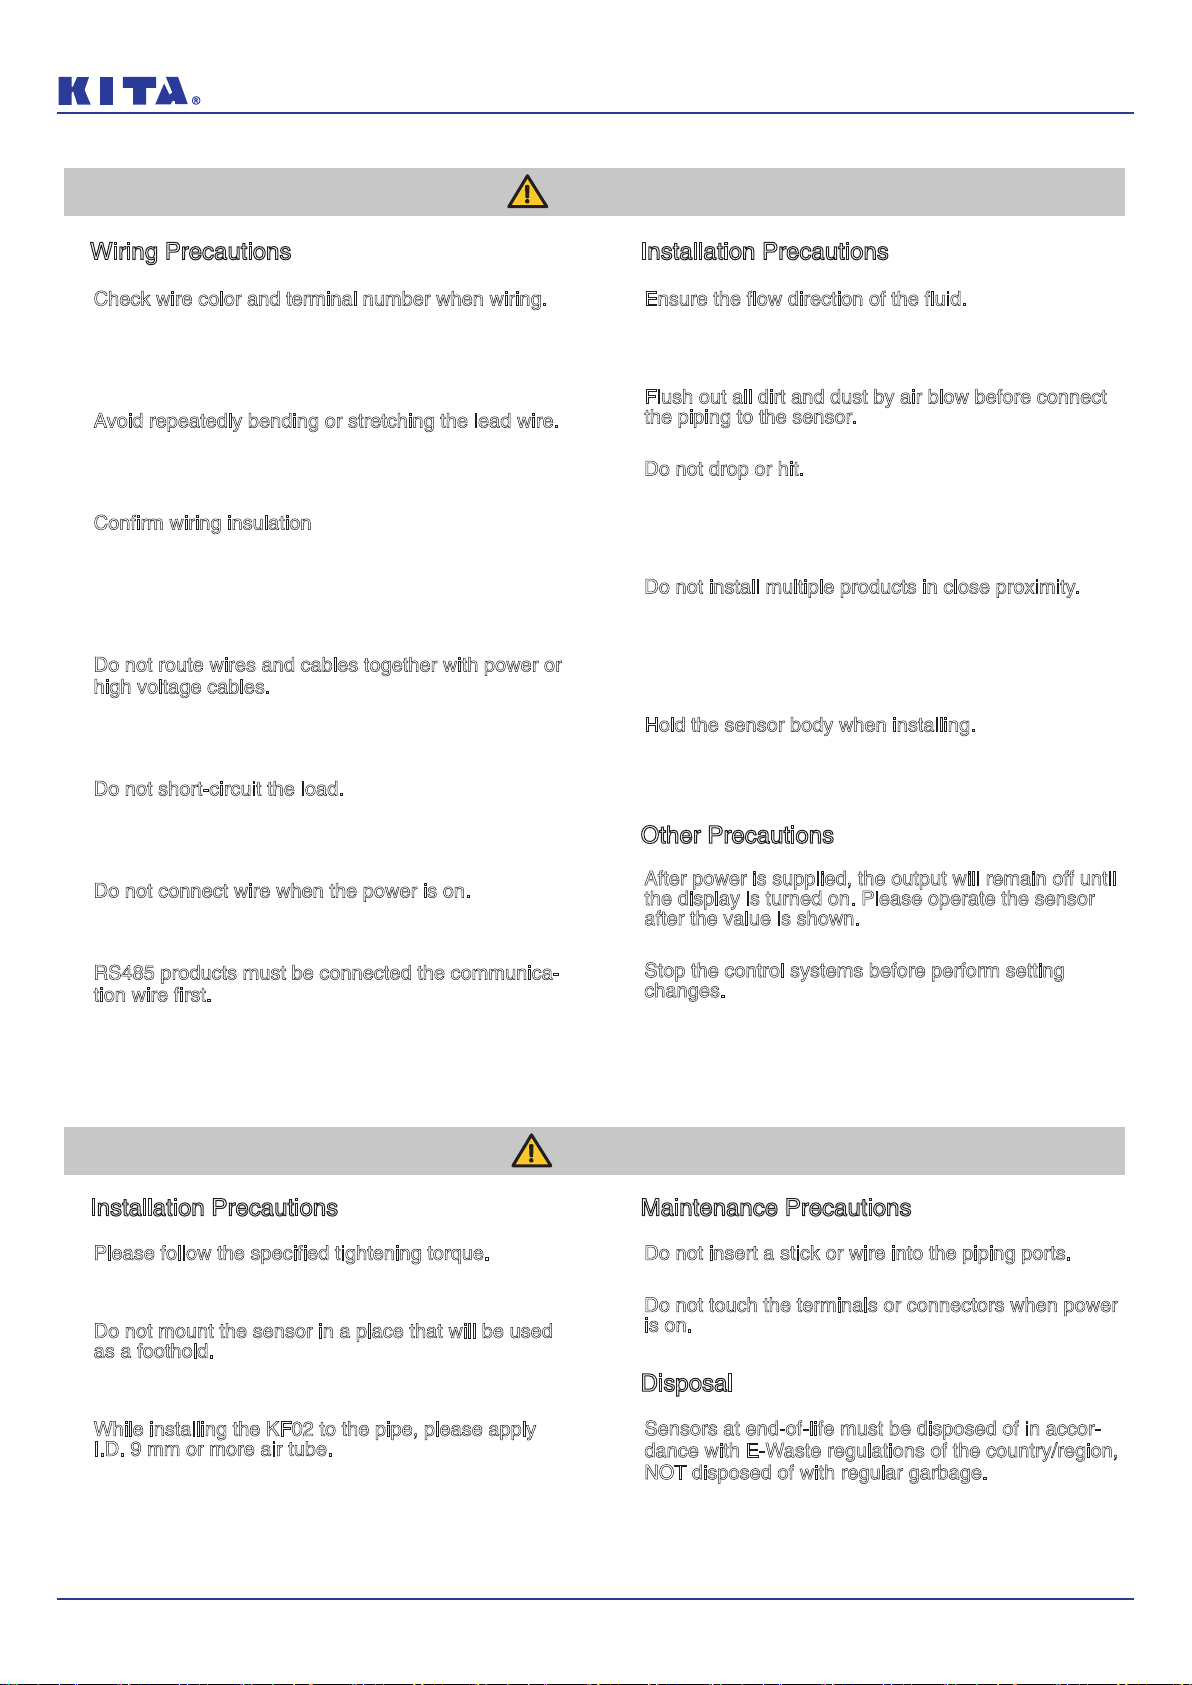
■ Installation Precautions
Ensure the flow direction of the fluid.
Please follow the flow direction indicator for installation and
piping.
Flush out all dirt and dust by air blow before connect
the piping to the sensor.
Do not drop or hit.
When installation, do not drop, hit or apply excessive shock
(100m/s2). Internal damage can cause malfunction even if
the housing appears to be undamaged.
Do not install multiple products in close proximity.
The heat generated from each product could cause the
temperature to rise and change the characteristics of
product or deterioration of the plastic parts. Please set the
products 10mm apart from each other.
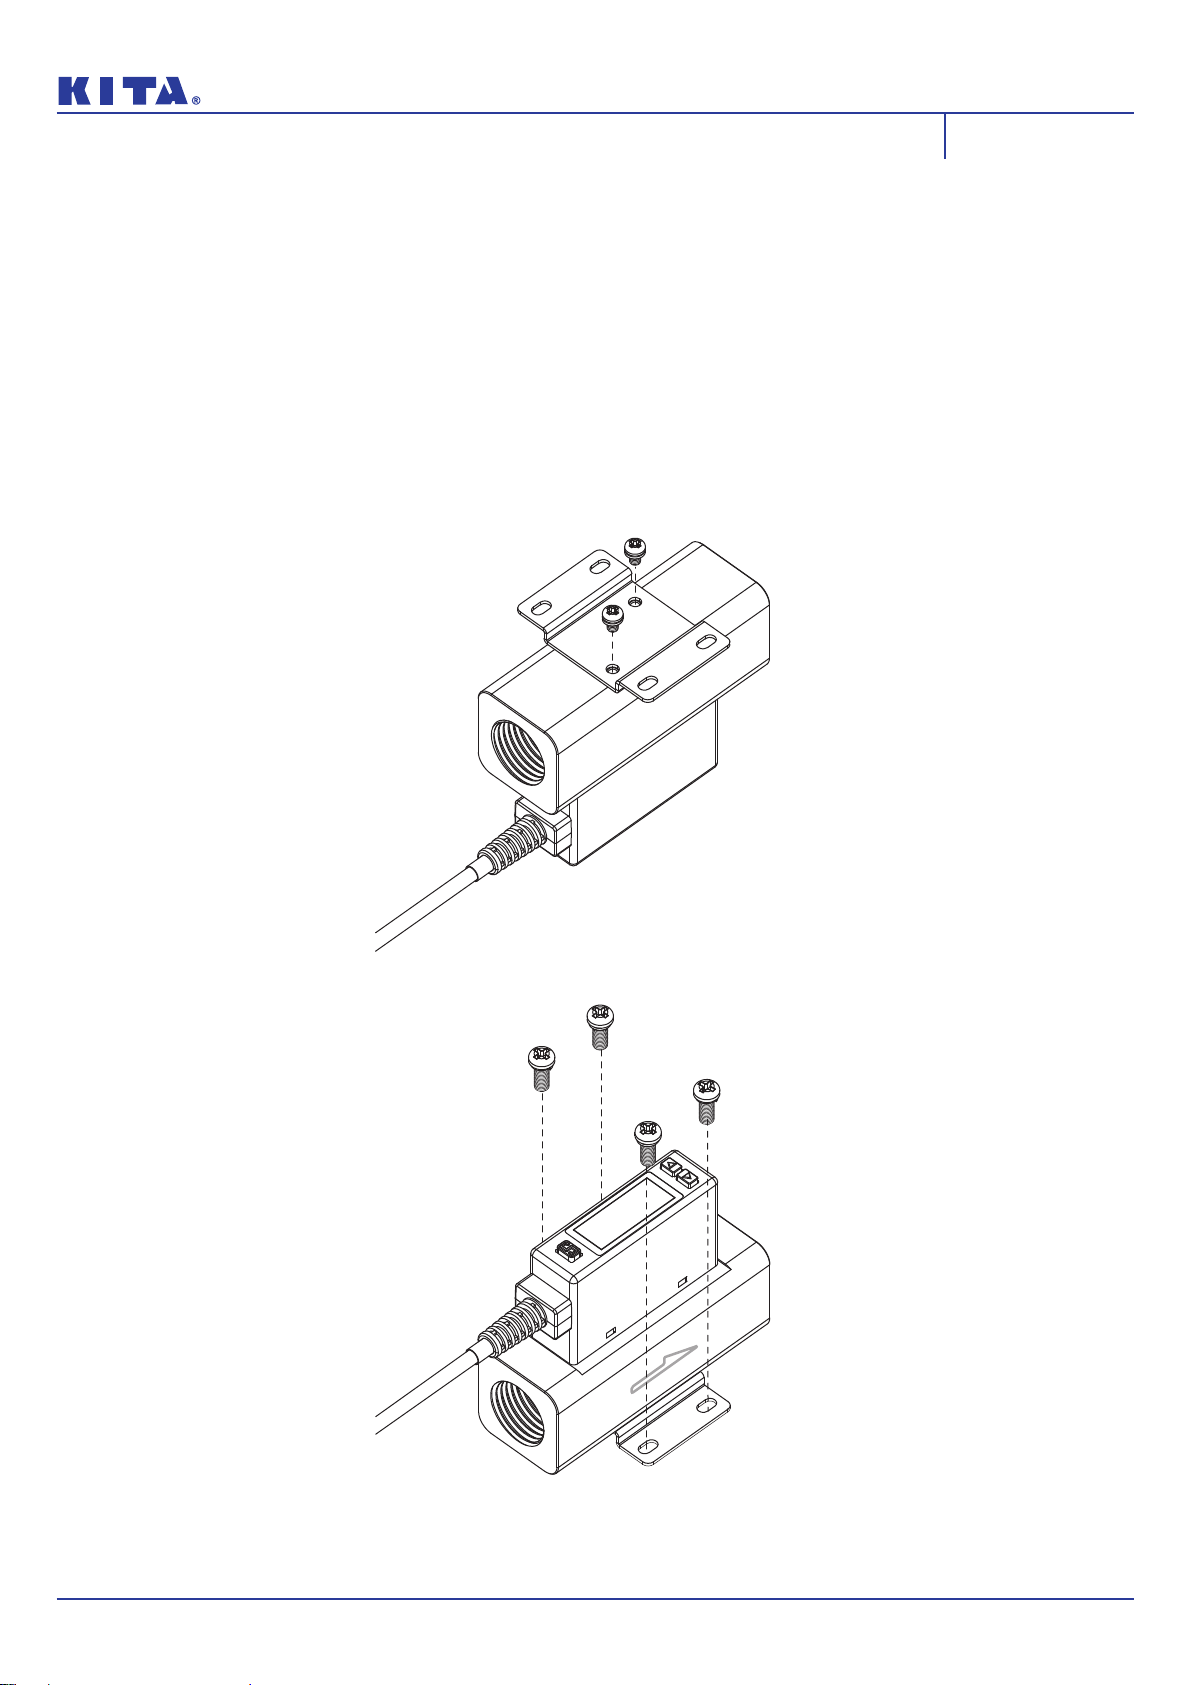
Hold the sensor body when installing.
The tensile strength of the cable is 24.5 N and apply
excessive pulling force can cause damage to the sensor.
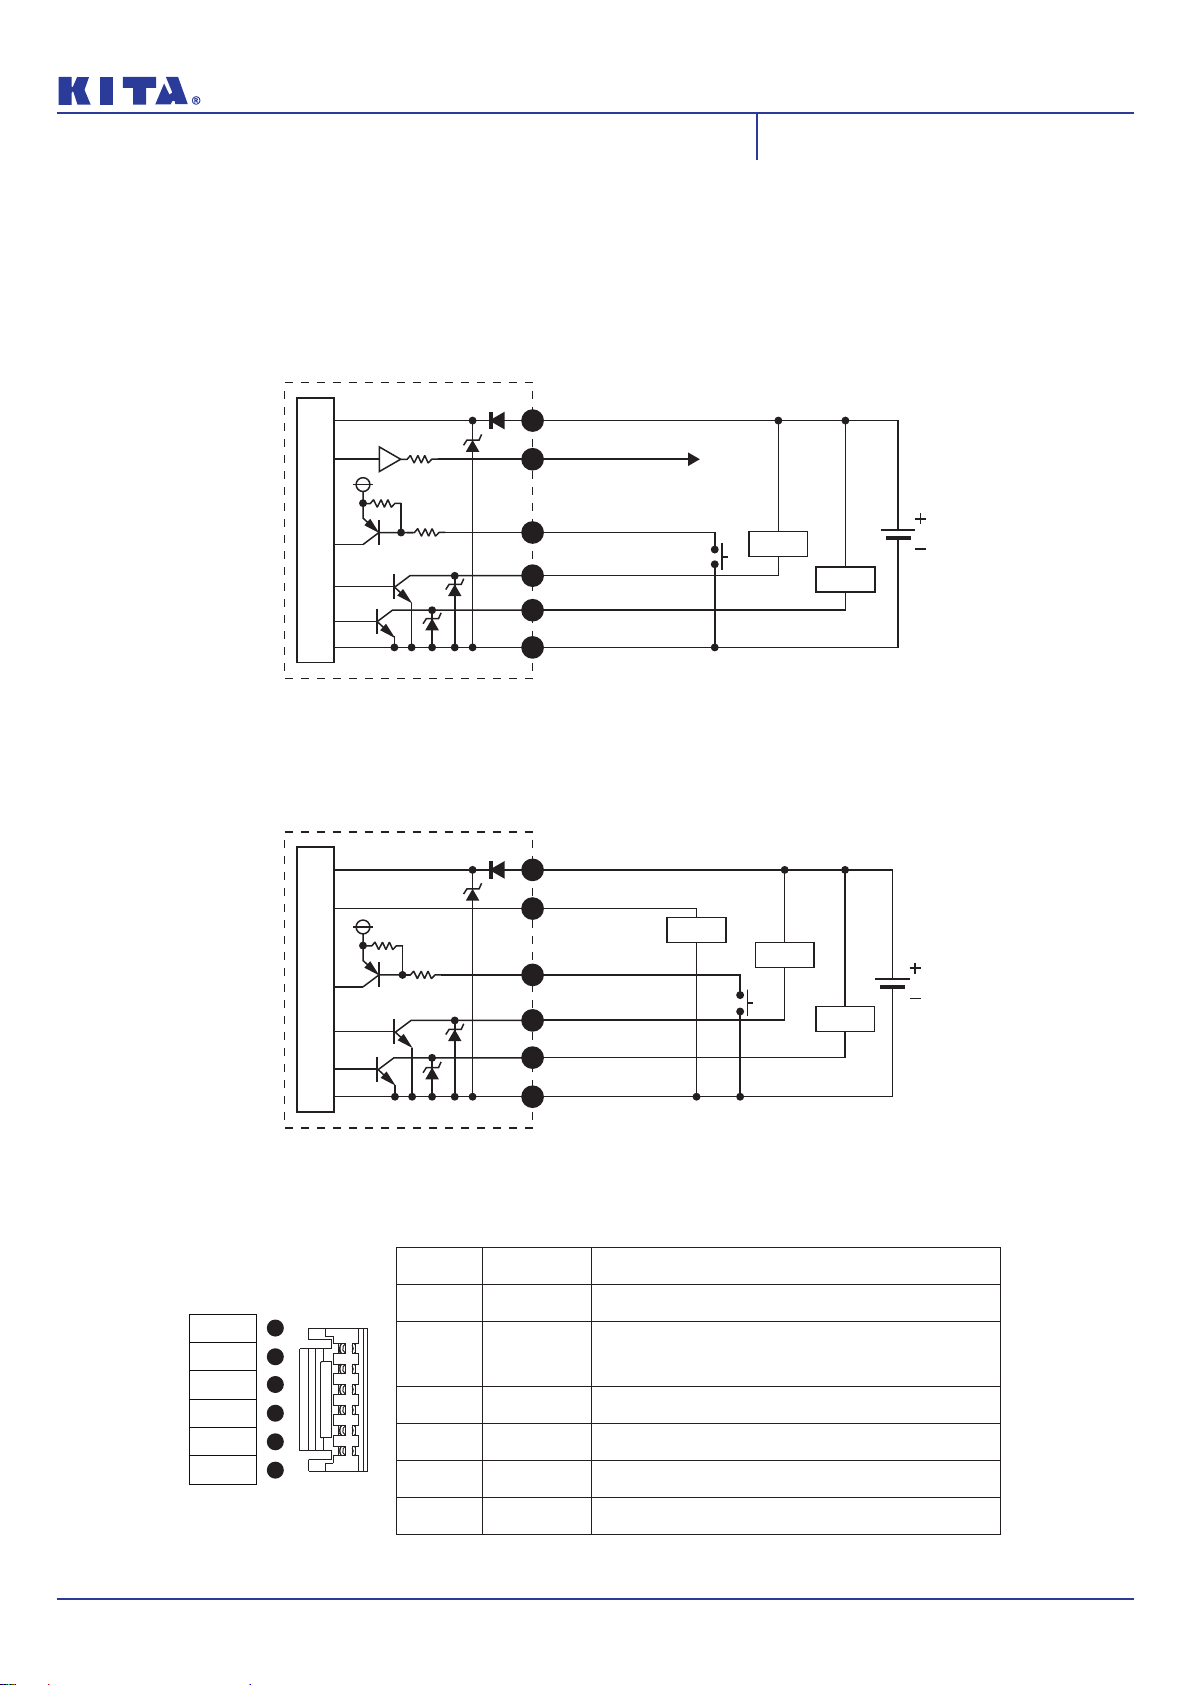
➀
➁
➂
➃
➄
■ Other Precautions
After power is supplied, the output will remain off until
the display is turned on. Please operate the sensor
after the value is shown.
Stop the control systems before perform setting
changes.
During the initial flow and pressure setting, the product will
switch the output according to the existing settings until the
changes are complete.
➀
➁
■ Installation Precautions ■ Maintenance Precautions
Do not insert a stick or wire into the piping ports.
Do not touch the terminals or connectors when power
is on.
➀
➁
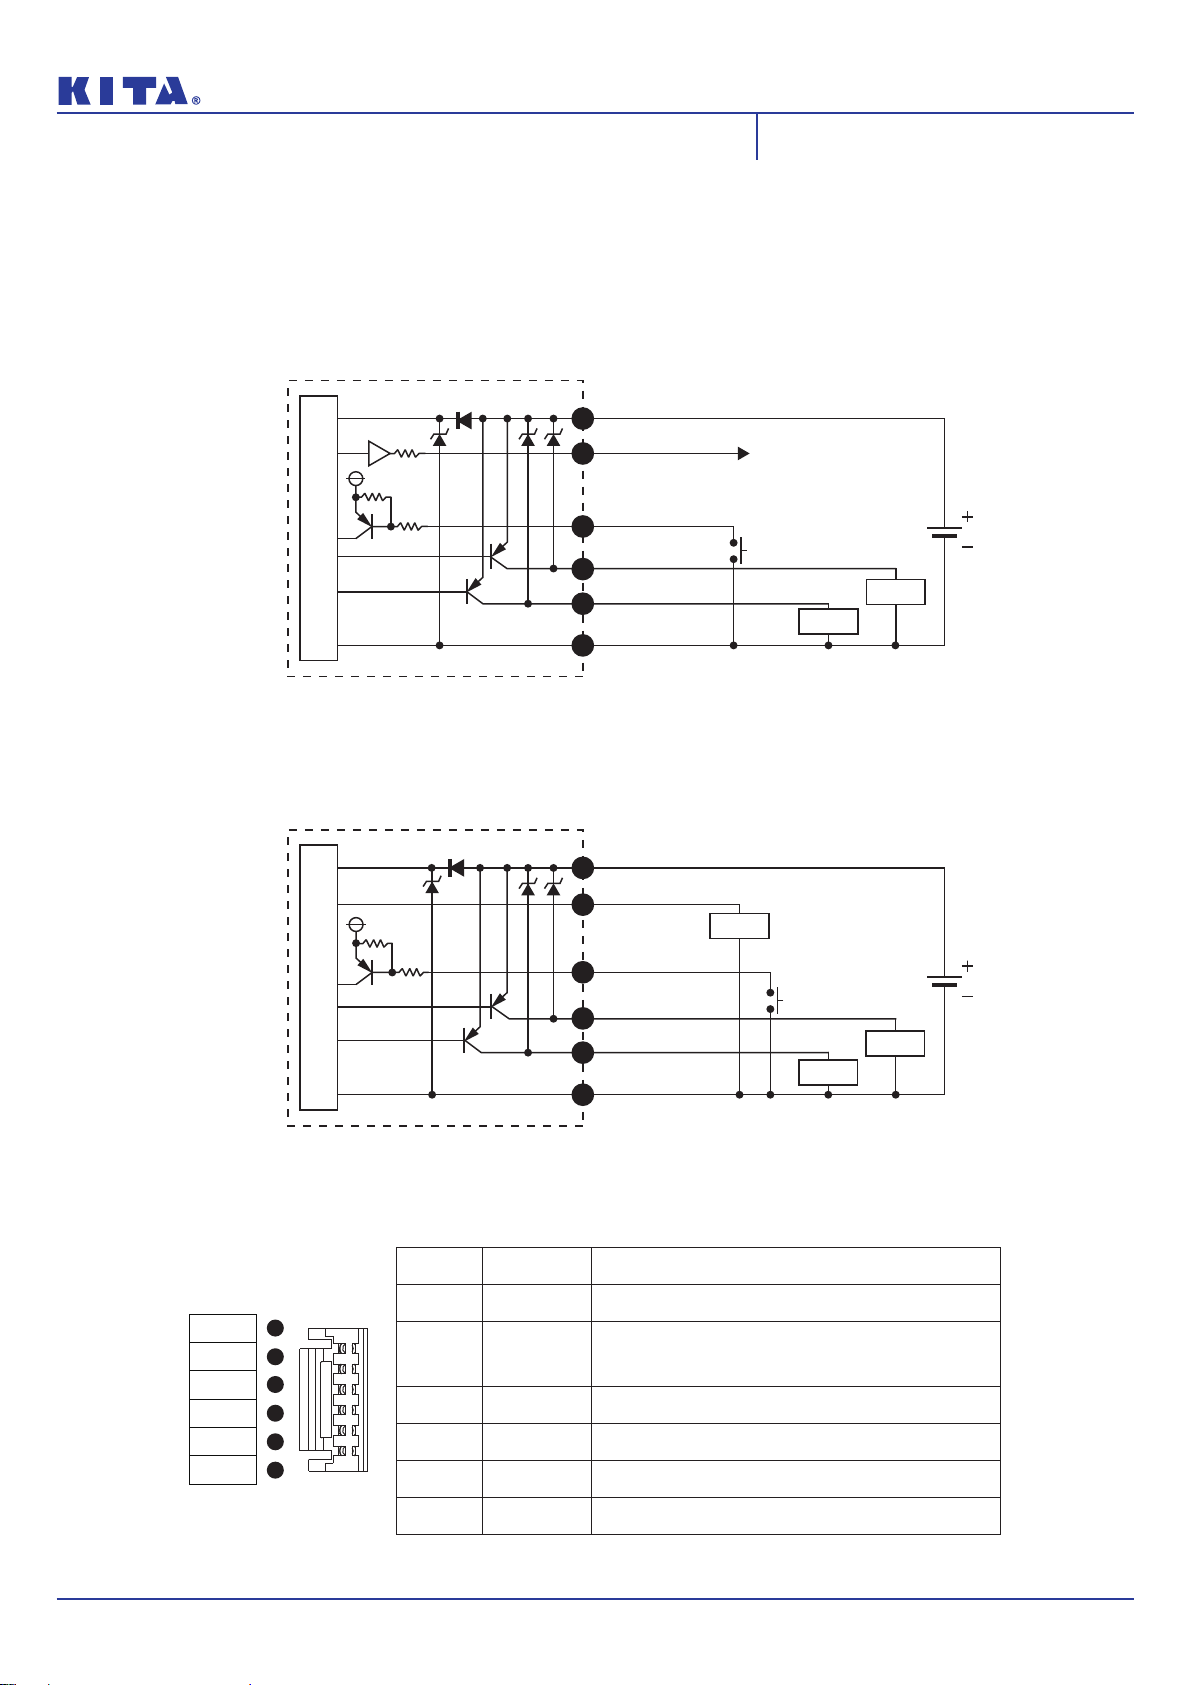
■ Wiring Precautions
Warning
Caution
Check wire color and terminal number when wiring.
Incorrect wiring can cause permanent damages to the
sensor, check wire color and terminal number against the
manual before wiring.
Avoid repeatedly bending or stretching the lead wire.
It can cause damage to the sheath, or breakage of the
wire.
Confirm wiring insulation
Please avoid poor insulations (and interference from
another circuit, poor insulation between terminals, etc.) it
can lead to over current being applied to the product,
causing damage.
Do not route wires and cables together with power or
high voltage cables.
The product may malfunction due to interference or noise
and surge voltage from power and high voltage cables.
Do not short-circuit the load.
When the load is short-circuited, an error will be displayed.
But excess current may cause damage to the sensor.
Do not connect wire when the power is on.
It may cause damages to the sensors/equipment/machines.
RS485 products must be connected the communica-
tion wire first.
To prevent product damage due to short circuit , MUST do
RS485 line conneciton BEFORE power line connection.
➀
➁
➂
➃
➄
➅
➆
Please follow the specified tightening torque.
Over tighten will damage the product.
Do not mount the sensor in a place that will be used
as a foothold.
The product may damage if sit or step on it accidentally.
While installing the KF02 to the pipe, please apply
I.D. 9 mm or more air tube.
➀
➁
➂
■ Disposal
Sensors at end-of-life must be disposed of in accor-
dance with E-Waste regulations of the country/region,
NOT disposed of with regular garbage.
➀