Kitchen Monkey KMCHM User manual

This manual contains important information regarding your unit. Please read this manual
thoroughly prior to equipment set-up, operation and maintenance. Failure to comply with regular
maintenance guidelines outlined in this manual may void the warranty.
INSTRUCTION MANUAL
Gas Cheesemelter

WARNINGS
• Do not store or use gasoline or other flammable vapors or liquids in the vicinity of this or any other equipment
• Improper installation, adjustment, alteration, service or maintenance can cause property damage, injury or death
• Read the installation and maintenance instructions thoroughly before installing or servicing this equipment
• Have the equipment installed by a qualified installer in accordance with all federal, state and local codes
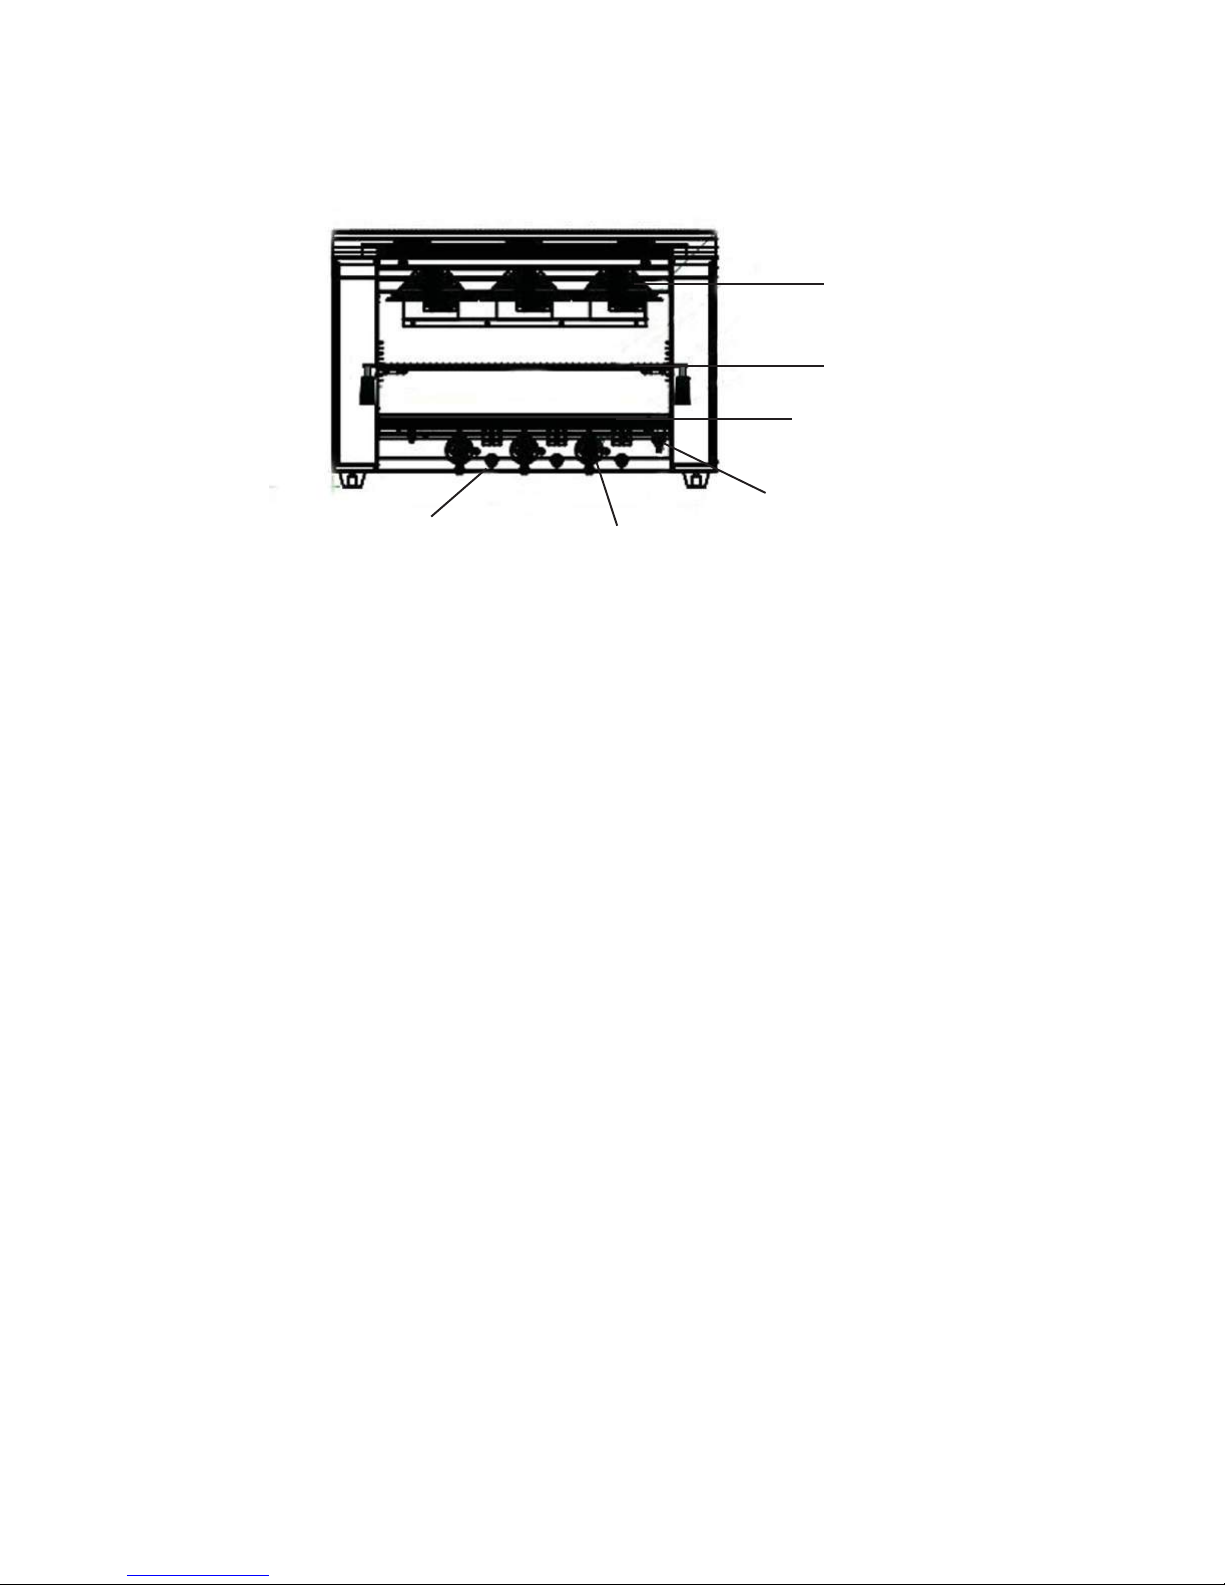
• Do not install or use without all 4 legs
• This equipment is for use in non-combustible locations only
• Do not obstruct the flow of combustion and ventilation air
• Do not spray controls or the outside of the equipment with liquids or cleaning agents
• Allow for hot parts to cool before cleaning or moving
• This equipment should only be used in a flat, level position
• Do not operate unattended
• Any loose dirt or metal particles that are allowed to enter the gas lines on this equipment will damage the valve and
affect its operation
• If you smell gas, follow the instructions provided by the gas supplier. Do not touch any electrical switch; do not try to
light the burner; do not use a telephone within close proximity.
TO INSTALL:
1. Remove unit from box and make sure all plastic, tape and packing materials are removed.
2. Place the unit on a flat, secure surface with at least 12” of open space around all sides.
3. Unit should be placed under a ventilation hood and their should be at least 2” of space between the back of the
oven and the wall. This will ensure proper airflow
The installation of this equipment must conform with local codes, or with the National Gas Code, ANSIZ223.1/NFPA 54,
or the Natural Gas and Propane Installation Code, CSA B149.1, as applicable.
The equipment and its individual shutoff valve must be disconnected from the gas supply piping system during any pres-
sure testing of that system at test pressures in excess of ½ psi (3.5 kPa).
The equipment must be isolated from the gas supply piping system by closing its individual manual shutoff valve during
any pressure testing of the gas supply piping system at test pressures equal to or less then ½ psi (3.5 kPa).
Clearance and positioning around the equipment:
This equipment must be installed adjacent to non-combustible surfaces only with a minimum spacing of 6” from all
sides. This equipment must be a distance of 6” from other equipment. The equipment must have the legs installed and
be placed on a non-combustible surface.
Air Supply and ventilation:
The area in front and around the equipment must be kept clear to avoid any obstruction of the flow of combustion and
ventilation air. Adequate clearance must be maintained at all times in front of and at the sides of the equipment for
servicing and proper ventilation.
Pressure Regulator:
All commercial cooking equipment must have a pressure regulator on the incoming service line for safe and efficient
operation. The regulator provided for this equipment is adaptable for both Natural gas and LP gas.
Regulator specifications: ¾” NPT inlet and outlet, factory adjusted for 4” WC Natural Gas standard and may be
converted by qualified personnel to be used for Propane at 10” WC.
Gas Conversion:
Conversion from Natural Gas to Liquid Propane (LP) or vice versa may only be performed by the factory or its authorized
service agent. In case of troubleshooting, ensure the correct orifice sizes of the tips have been provided.
Natural Gas Orifice is # 51
Liquid Propane Gas Orifice is #57
Orifice size is marked on the tip

TO USE:
1. Once unit is in place and gas connection is set up slide the crumb tray and broiler rack into place.
2. Turn the control knob to the ON position and press the ignition switch.
3. Slide out broiler rack and place food on rack and slide back in at the desired position.
4. You can adjust the intensity of the burner by rotating the control knob(s).
CLEANING - NOTE: To maintain cleanliness and increase service life, this item should be cleaned daily. Do not immerse
the unit in water or any other liquid. Before cleaning or attempting to move this item always turn off and let cool.
1. Remove the broiler rack and crumb tray and wash separately.
2. Wipe the entire unit with a clean soft cloth until it is completely dry.
3. To avoid damage to the unit, do not use abrasive cleaners or scouring pads.
4. If soap or chemical cleaners are used, be sure they are completely rinsed away with clean water immediately after
cleaning. Chemical residue could damage or corrode the surfaces of the unit.
To avoid serious injury or damage, never attempt to repair or replace a damaged power cord yourself. Contact a professional repair
service.
Burner
Broiler Rack
Crumb Tray
Gas Inlet Pipe
Ignition Switch Manual Control Knob
PRODUCT FEATURES:

Problem Possible Causes Solution
Pilot Flame isn’t lighting Pressure in gas pipeline is
not enough Increase pilot pressure
Pilot Flame isn’t lighting Pilot nozzle is blocked Unblock the nozzle
Pilot Flame isn’t lighting Connection of thermocouple
is loose Tighten the thermocouple
Pilot Flame isn’t lighting Thermocouple is defective Replace the thermocouple
Pilot Flame isn’t lighting Gas control valve is defective Repair or replace the gas
control valve
The pilot flame is on but the
main burner can’t light
Pressure in the gas pipeline
is not enough Increase burner pressure
The pilot flame is on but the
main burner can’t light Main nozzle is blocked Unblock the nozzle
The pilot flame is on but the
main burner can’t light Gas control valve is defective Repair or replace the gas
control valve
There is a poofing noise
when turning gas supply off
Nozzle diameter does not
match with the gas supply Regulate the nozzle diameter
There is a poofing noise
when turning gas supply off Supply pressure is too low Increase supply pressure
There is a poofing noise
when turning gas supply off
Flow of connected pipe is not
enough Increase the permitted flow
Flame is not solid blue, but is
red and yellow and black soot
buildup
Nozzle diameter does not
match with the gas supply Regulate the nozzle diameter
Flame is not solid blue, but is
red and yellow and black soot
buildup
Gas nearly runs out Replace the gas supply
Flame is not solid blue, but is
red and yellow and black soot
buildup
Gas ingredients are volatile
in gas peak period
Decrease the gas flow. Increase
it after the peak.
TROUBLESHOOTING

Parts Diagram for the Gas Cheesemelter

Parts List for the Gas Cheesemelter
Drawing
Number Description Quantity
1 Top plate of inner chamber 1
2Top plate 1
3 Upper plate to press insulation 1
4 Infrared Burner 3
5 Orifice Base 3
6 Nut to connect aluminum pipe 3
7 Orifice bracket 3
8 Rear plate of inner chamber 1
9 Rear beam 1
10 Rear plate 1
11 Thermocouple 3
12 Pilot bracket 3
13 Right side assembly 1
14 Side plate 2
15 Bottom plate of inner chamber 1
16 Probe base plate 1
17 Burner’s gas pipe 3
18 Pilot’s gas pipe 3
19 Rubber foot 4
20 1/2” angle connecter 1
21 1/2” gas bend connecter 1
22 Gas distribution pipe 1
23 Test orifice 1
24 Gas safety valve 1
25 Bottom beam 1
26 Baffle plate 1
27 Front panel plate 1
28 Ignition switch 3
29 Control knob 3
30 Bakelite handle 2
31 Broiler rack 1
32 Crumb tray 1
33 Left side assembly 1
34 Rack guide 8

Kitchen Monkey Equipment One Year Limited Warranty
Kitchen Monkey Equipment warrants its equipment against defects in materials and workmanship, subject to the
following conditions:
Kitchen Monkey Equipment is warranted for one year, effective from the date of purchase by the original owner. A copy
of the original receipt or other proof of purchase is required to obtain warranty coverage. This warranty applies to the
original owner only, and is not assignable.
Should any product fail to function in its intended manner under normal use within the limits defined in this warranty, at
Kitchen Monkey Equipment's discretion, such product will be repaired, replaced with a refurbished unit, or replaced
with a new unit by Kitchen Monkey Equipment, after defective unit has been inspected and defect has been confirmed.
Kitchen Monkey Equipment does not assume any liability for extended delays in replacing any item beyond its control.
This warranty does not apply to rubber and non-metallic synthetic parts that may need to be replaced due to normal usage,
wear or lack of preventative maintenance.
This warranty covers products shipped into the 48 contiguous United States, Hawaii, and metropolitan areas of Alaska
and Canada. Warranty coverage on products used outside the 48 contiguous United States, Hawaii and metropolitan
areas of Alaska and Canada may vary.
The following conditions are not covered by warranty:
• Equipment failure relating to improper installation, improper utility connection or supply and problems due to improper
ventilation.
• Equipment that has not properly been maintained, damage from improper cleaning, and water damage to controls.
• Equipment that has not been used in an appropriate manner, or has been subject to misuse, neglect, abuse, accident,
alteration, negligence, damage during transit, delivery or installation, fire, flood, riot, or act of God.
• Equipment that has the model number or serial number removed or altered.
• Equipment on which the security seal has been broken.
If the equipment has been changed, altered, modified, or repaired without express written permission from ACE, then the
manufacturer shall not be liable for any damages to any person or to any property, which may result from the use of this
equipment thereafter.
This equipment is intended for commercial use only and this warranty is void if equipment is used in other than a
commercial application.
For warranty and non-warranty related issues, technical support, purchase replacement parts and warranty registration
visit www.kitchen-monkey.com. Please have your model number, serial number and proof of purchase ready. It is not
necessary to contact the place where you originally purchased your product from.
“THE FOREGOING WARRANTY IS IN LIEU OF ANY AND ALL WARRANTIES EXPRESSED OR IMPLIED
INCLUDING ANY IMPLIED WARRANTY OF MERCHANTABILTY OR FITNESS FOR PARTICULAR
PURPOSES AND CONSTITUES THE ENTIRE LIABILITY OF ACE. IN NO EVENT DOES THE LIMITED
WARRANTY EXTEND BEYOND THE TERMS STATED HEREIN.”
Table of contents
Other Kitchen Monkey Kitchen Appliance manuals

Kitchen Monkey
Kitchen Monkey KMCP-60 User manual

Kitchen Monkey
Kitchen Monkey KMSL250ES-10 User manual

Kitchen Monkey
Kitchen Monkey KM300ES-12 User manual

Kitchen Monkey
Kitchen Monkey KMCHM-1200W User manual

Kitchen Monkey
Kitchen Monkey KMSL300C User manual

Kitchen Monkey
Kitchen Monkey KMSL300ES User manual

Kitchen Monkey
Kitchen Monkey KMCOT-21 User manual