manuals.online logo
Brands
  1. Home
  2. •
  3. Brands
  4. •
  5. Klein Tools
  6. •
  7. Flashlight
  8. •
  9. Klein Tools 56411 User manual

Klein Tools 56411 User manual

5
1
56411
Waterproof Pocket Flashlight -
Instructions
Linterna impermeable de bolsillo -
Instrucciones
Lampe de poche étanche–
Instructions
ENGLISH
7
FIG. A
CONTENTS
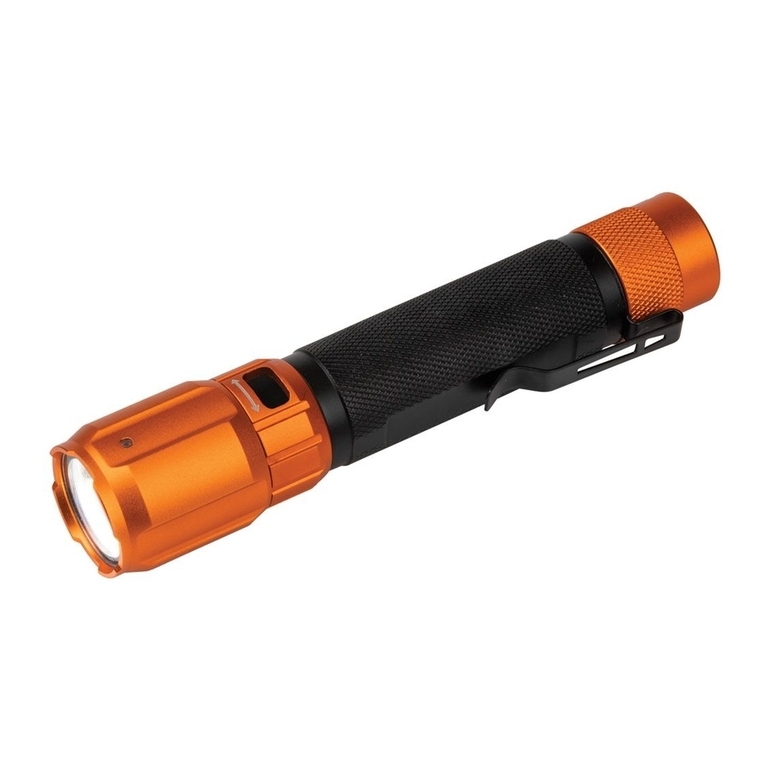
•56411 Waterproof Pocket Flashlight
•18" USB-C Cable
•Include pocket clip lanyard and pocket clip, installed
•Instruction Manual
GENERAL SPECIFICATIONS
•Battery Cell Type: 10440, 350 mAh
•Cell Chemistry: Lithium-Ion
•Operating/Storage Altitude: 6562 ft. (2000 m)
•Operating/Charging Temperature: 32° to 104°F
(0° to 40°C)
•Storage Temperature: -22° to 140°F (-30° to 60°C)
(up to 3 months)
•Storage Humidity: <75% Relative humidity
•Relative Humidity: <85% non-condensing
•Charging Time: Charge from empty to full in 3 hours
•Shelf Life: Charge every 3 months
•Life Expectancy: Up to 500 charging cycles typical
(depending on use & care)
•Battery Capacity: 350mAh
•Charging Requirements: Max. 5.0V DC, Min. 0.0650A
•Drop Protection: 6 ft. (2 m)
•Ingress Protection Rating: IP67
•Standards: REACH, RoHS, CE-EMC, CEC
Specifications subject to change.
WARNINGS
Read, understand, and follow these instructions
to ensure safe operation. Failure to observe these
warnings can result in risk of fire, electric shock,
serious injury and/or property damage.
•Use of a power supply, charger, or cable not
recommended or sold with this unit may result in a
risk of fire or injury to persons.
•
DO NOT use the product if it is damaged or modified.
Damaged or modified batteries may exhibit unpredictable
behavior resulting in fire, explosion or injury.
•
DO NOT subject to vibration, impacts, or drops. The
housing may not show signs of damage, but internal
components may have been compromised. It is advisable
to replace the unit if any such severe events occur.
• DO NOT expose to direct sunlight, open flame, heat
sources, equipment that produces heat, or extremes
in environmental temperature.
•Keep away from high voltage devices.
•DO NOT attempt to repair the flashlight or charging
cable. There are no user-serviceable parts.
•DO NOT immerse in water or other liquids. Avoid
spilling liquids or falling foreign objects into openings
on the unit.
•Risk of fire and burns. DO NOT open, crush,
heat above manufacturer’s specified maximum
temperature or incinerate.
•Properly seal the charging port cover to achieve
specified water & foreign object ingress protection.
Keep seal free of dirt, oil, sand, or other material that
interferes with proper sealing. Failure to do so can
result in risk of fire or electric shock.
•DO NOT open the charging port cover if wet or in a
wet environment. Thoroughly dry the unit and the
seal around water-resistant cover completely before
opening water-resistant cover.
•When the flashlight is in use or charging, make
sure there is adequate space to allow ventilation of
internally generated heat.
•Use safety-rated power supply or wall adapter. Never
use power supply or wall adapter that exceeds the
specified charging voltage and current.
•Route the power supply cable so that it will not to be
stepped on or pinched by other objects.
•Follow Manufacturer’s Instructions.
•DO NOT attempt to insert other USB connector types
into USB-C port.
FEATURE DETAILS (FIG.A)
1
Power button
5
Lanyard
2
Charging Port Cover
6
USB Charging Port
3
Battery Level Indicator
7
Micro-USB Charging Cable
4
Pocket Clip
DISPOSAL / RECYCLE
Do not place equipment and its accessories in the trash.
Items must be properly disposed of in accordance with
local regulations. Please see www.epa.gov or
www.erecycle.org for additional information.
.
32
4
6
www.calcert.com sales@calcert.com1.800.544.2843 0
5
10
15
20
25
30
ENGLISH
SYMBOLS ON PRODUCT
Warning or Caution
Risk of Electrical Shock
Read Instructions
WEEE – Battery disposal
BC
Conforms with BCS Regulations of
California Energy Commission
Conformité Européenne. Conforms with
European Economic Area directives
Direct Current (DC)
MAINTENANCE
CLEANING: Disconnect the device from all power
sources and devices prior to cleaning. Use clean, dry,
soft, lint-free cloth to wipe down the entire unit. DO
NOT use abrasive cleaners or solvents.
STORAGE: If storing for more than 1 month, charge
completely before storage, and recharge approximately
every 3 months to avoid full discharge. Store in cool
temperatures, mild humidity, and away from direct
sunlight (See GENERAL SPECIFICATIONS). Leaving the
unit in a vehicle or other confined spaces in extreme
hot temperatures can lead to decrease in service life,
overheating, or fire. Extreme cold temperatures below
the specified storage range can also harm performance
and service life. Keep away from corrosive chemicals
and gases. After taking out of storage, inspect
visually to make sure device and all accessories look
satisfactory. Allow unit to return to ambient conditions
before recharging or charging other devices.
RECHARGING: Recharge as needed. There are no
predesignated intervals at which to recharge as long
as you are using the unit regularly. Avoid discharging
completely on a regular basis, as this can impact overall
life. Regularly inspect ports and charging cable for any
debris, dirt, damage, and corrosion. DO NOT attempt to
fix. Replace device and/or cable as needed.
OPERATING INSTRUCTIONS
Read these instructions carefully before operating and
keep for future reference.
CHARGING BATTERY
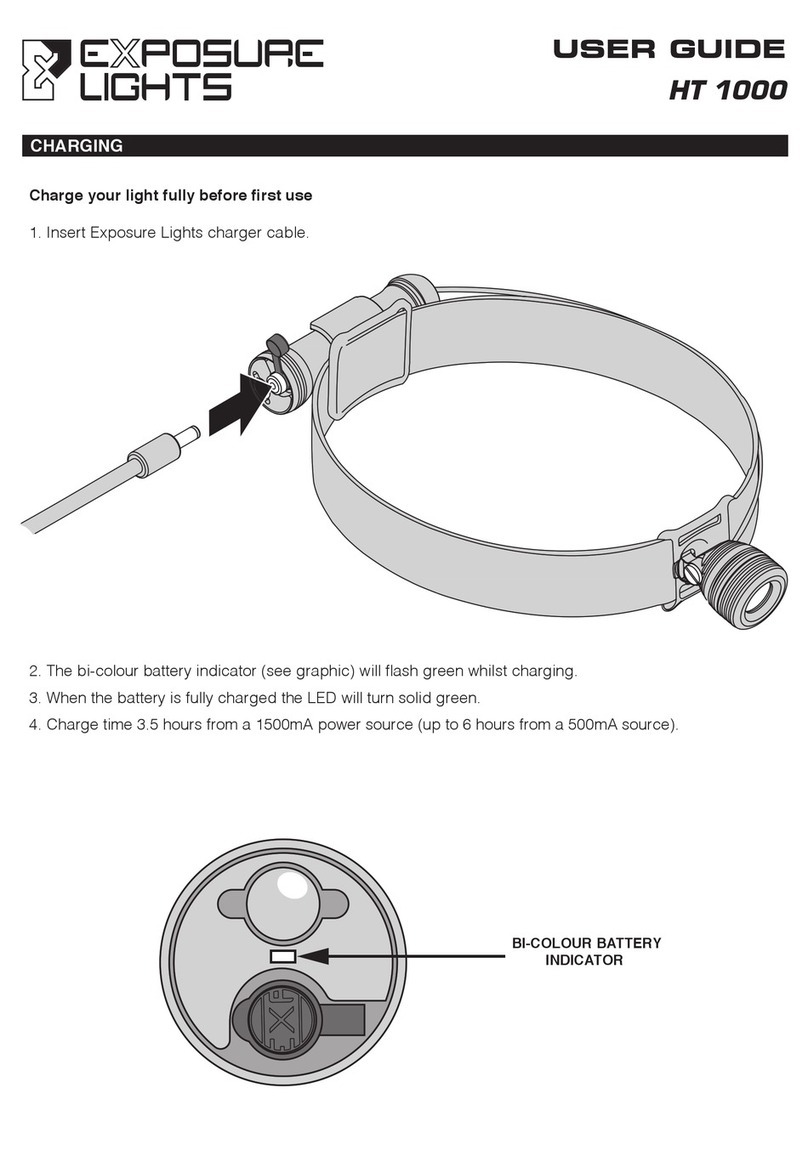
•To access the charging port, locate the collar just
below the flashlight head, slide it away from the
flashlight head to expose the charging port.
•Connect USB-C cable connection to the flashlight;
plug the other end of cable into USB (2.0 or higher)
port, or AC adapter (not included). USB adapter/
power supply should not exceed the specified
charging voltage and current (Max.5.0V DC, min.
0.650A).
•The battery level indicator will illuminate:
– Solid Green: 100% charge
– Blinking Green: 70-99% charge
– Blinking Yellow: 35-69% charge
– Blinking Red: 0-34% charge
• A full charge could take up to 6 hours, depending on
the charger’s output. Charge completely before using.
To maximize battery life, see MAINTENANCE section
(other side).
• NOTE: When charging the flashlight, the unit will
operate in all modes.
DISCHARGING BATTERY
• Battery indicator shows for 5 seconds when powered
on.
FLASHLIGHT POWER ON/OFF BUTTON
• To activate the flashlight, press and release the power
button. The unit will be in HIGH flashlight mode.
• To change modes, soft press the power button
without clicking. The unit will be in MED mode.
•Soft press the power button a second time to move to
ECO mode.
•Soft press the power button a third time to move to
LOW mode.
• To turn off the flashlight, press and release the power
button.
•NOTE: if the light is turned on again within 3 seconds
of turning off, it will move to the next mode. If the
light is off for more than 3 seconds, the light will turn
on in the same mode last used when turned off.
•This saves the time clicking through modes to power
down.
• NOTE: The light will turn on in the same mode last
used, when turned off.
MOUNTING OPTIONS
• The dual direction pocket clip allows the light to be
stored head up or head down. It can be clipped onto
the brim of a hat.
• The pocket clip can be removed by unscrewing the
endcap.
•The lanyard comes attached and is removable.
TROUBLESHOOTING
•56411 will NOT recharge IF: The cable is not properly
connected to charger output or battery input. Check
connection.
– The charging cable is damaged. Replace with
equivalent cable.
– The charging port or device is not able to supply
the minimum voltage and current for charging.
Connect to appropriate charging source.
www.calcert.com sales@calcert.com1.800.544.2843 0
5
10
15
20
25
30

Other Klein Tools Flashlight manuals

Klein Tools 56413 User manual

Klein Tools

Klein Tools 56413 User manual

Klein Tools 56411 User manual

Klein Tools

Klein Tools 56411 User manual

Klein Tools 56412 User manual

Klein Tools

Klein Tools 56412 User manual

Klein Tools 56412 User manual

Klein Tools

Klein Tools 56412 User manual

Klein Tools 56413 User manual

Klein Tools

Klein Tools 56413 User manual

Klein Tools 56413 User manual

Klein Tools

Klein Tools 56413 User manual

Klein Tools 56040 User manual

Klein Tools

Klein Tools 56040 User manual

Klein Tools 56412 User manual

Klein Tools

Klein Tools 56412 User manual

Klein Tools 56413 User manual

Klein Tools

Klein Tools 56413 User manual

Klein Tools 56411 User manual

Klein Tools

Klein Tools 56411 User manual

Klein Tools 56412 User manual

Klein Tools

Klein Tools 56412 User manual

Popular Flashlight manuals by other brands

PROMETHEUS FOURSEVENS PROMETHEUS MXS quick start guide

PROMETHEUS

PROMETHEUS FOURSEVENS PROMETHEUS MXS quick start guide

BINZEL-ABICOR PSB 31 operating instructions

BINZEL-ABICOR

BINZEL-ABICOR PSB 31 operating instructions

Godox WITSTRO AD400Pro user manual

Godox

Godox WITSTRO AD400Pro user manual

Night Stick NSP 1162 instruction manual

Night Stick

Night Stick NSP 1162 instruction manual

KSE-LIGHTS KS-9800 user manual

KSE-LIGHTS

KSE-LIGHTS KS-9800 user manual

StreamLight DUALIE 2AA user manual

StreamLight

StreamLight DUALIE 2AA user manual

UNILITE HT-900R quick start guide

UNILITE

UNILITE HT-900R quick start guide

tiki Glowing Torch Instructions and warnings

tiki

tiki Glowing Torch Instructions and warnings

Matco Tools MUC122LED manual

Matco Tools

Matco Tools MUC122LED manual

Bayco Products NightStick XPP-5422GX instruction manual

Bayco Products

Bayco Products NightStick XPP-5422GX instruction manual

Underwater Kinetics Super Q eLED instruction manual

Underwater Kinetics

Underwater Kinetics Super Q eLED instruction manual

Tellur TLL441101 user manual

Tellur

Tellur TLL441101 user manual

Lowel GL-1 instruction manual

Lowel

Lowel GL-1 instruction manual

Berner POCKET DELUX SUN instruction manual

Berner

Berner POCKET DELUX SUN instruction manual

Bergstrom H812 Instructions for use

Bergstrom

Bergstrom H812 Instructions for use

Cateye VOLT800 HL-EL471RC manual

Cateye

Cateye VOLT800 HL-EL471RC manual

PELI 7610 instruction manual

PELI

PELI 7610 instruction manual

Spectronics Spectroline LeakTracker SPI-LT instruction manual

Spectronics

Spectronics Spectroline LeakTracker SPI-LT instruction manual

manuals.online logo
manuals.online logoBrands
  • About & Mission
  • Contact us
  • Privacy Policy
  • Terms and Conditions

Copyright 2025 Manuals.Online. All Rights Reserved.