5
User Guide
Contents
Klecard specifications
Unpacking and inspection
Choosing a good location
Introduction to Klecard
Identify the parts of the printer
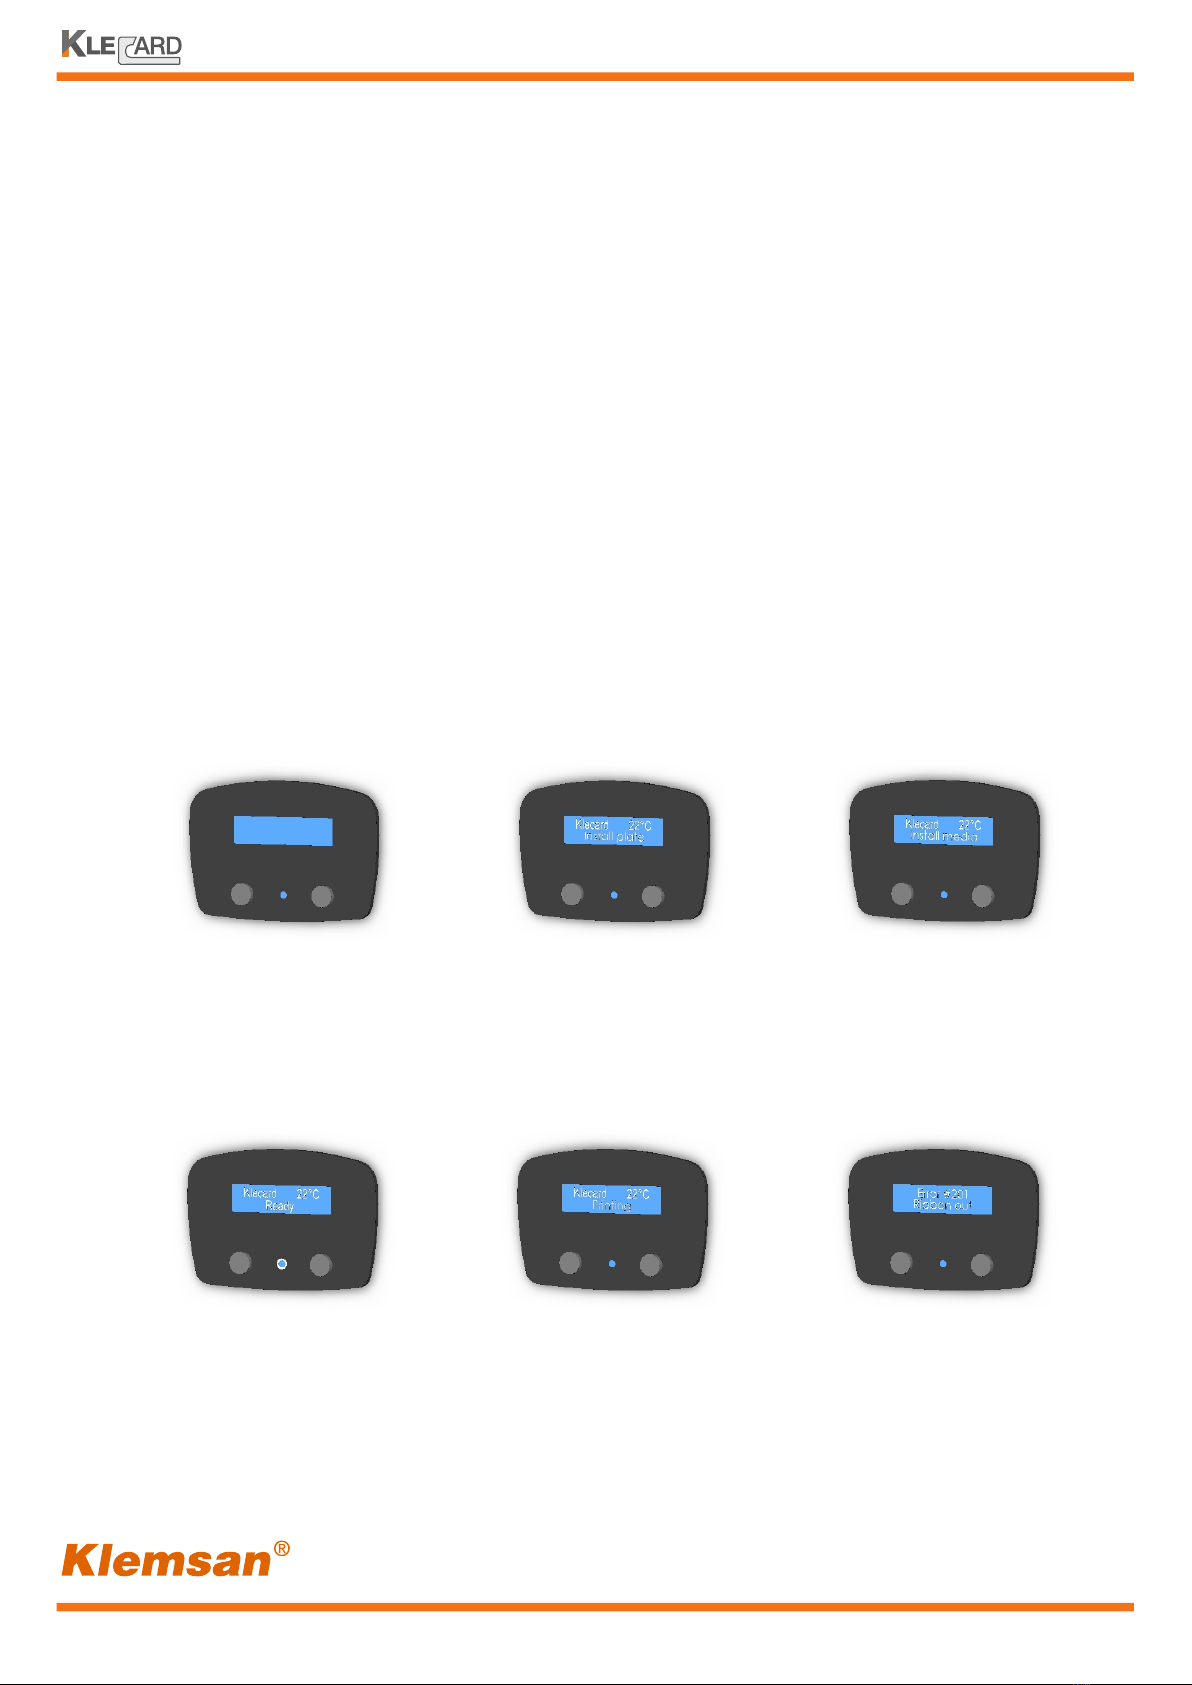
Human interface
Control panel
Back of the printer
Sensors of the Klecard
Operate the Klecard printer
Powering the printer
Loading the plates and the media
Setting the intensity
Setting the ribbon sensor
Maintain the Klecard
Changing the ribbon
Troubleshooting
Safety information
Warranty
6
7
7
8
9
9
10
11
12
13
14
15-16
17
18
19-20
21-23
24-25
26-27
28
...................................................................................
...................................................................................
...................................................................................
....................................................................................
..................................................................................
.
...................................................................................
....................................................................................
....................................................................................
...................................................................................
....................................................................................
....................................................................................
....................................................................................
....................................................................................
..............................................................................
..............................................................................
..............................................................................
..............................................................................
..............................................................................
..............................................................................