manuals.online logo
Brands
  1. Home
  2. •
  3. Brands
  4. •
  5. KLH
  6. •
  7. Speakers
  8. •
  9. KLH KENDALL User manual

KLH KENDALL User manual

FLOORSTANDING
LOUDSPEAKERS
KENDALL CONCORD
MANUAL
WELCOME!
Thank you for purchasing one of the best sounding loudspeakers
ever produced. At KLH, we have been making high-quality com-
ponents since 1957, and we take pride in making your music and
movies the best experience possible.
FOR YOUR SAFETY
Important Safety Instructions!
1. READ these instructions.
2. KEEP these instructions.
3. HEED all warnings.
4. FOLLOW all instructions.
5. DO NOT use this apparatus near water.
6. CLEAN with dry cotton cloth. Do not use microfiber.
7. DO NOT block any ventilation openings. Install in accordance
with the manufacturer’s instructions.
8. Do not install near any heat sources such as radiators, heat
registers, stoves, or other heat producing appliances
9. USE ONLY attachments/accessories specified by
the manufacturer.
10. DO NOT expose to excess moisture or liquids, and do not
place containers with liquids on top of speakers.
The exclamation point, within an equilateral triangle, is
intended to alert the user to the presence of important
operating and maintenance (servicing) instructions in the
literature accompanying the product.
The lightning flash with arrowhead symbol within an
equilateral triangle is intended to alert the user to the
presence of uninsulated “dangerous voltage” within the
product’s enclosure that may be of sufficient magnitude
to constitute a risk of electrical shock to persons.
EU COMPLIANCE INFORMATION:
Eligible to bear the CE mark, Conforms to European Union EMC
Directive 2004/108/EC; European Union Restriction of Hazard-
ous Substances Recast (RoHS2) Directive 2011/65/EC; European
Union WEEE Directive 2002/96/EC.
KLH and the KLH logo are registered trademarks of Kelley Global
Brands Inc., registered in the U.S. and other countries.
WEEE NOTICE
Note: This mark applies only to countries within the European
Union (EU) and Norway.
This appliance is labeled in accordance with European
Directive 2002/96/EC concerning waste electrical and
electronic equipment (WEEE). This label indicates that
this product should not be disposed of with household
waste. It should be deposited at an appropriate facility
to enable recovery and recycling.
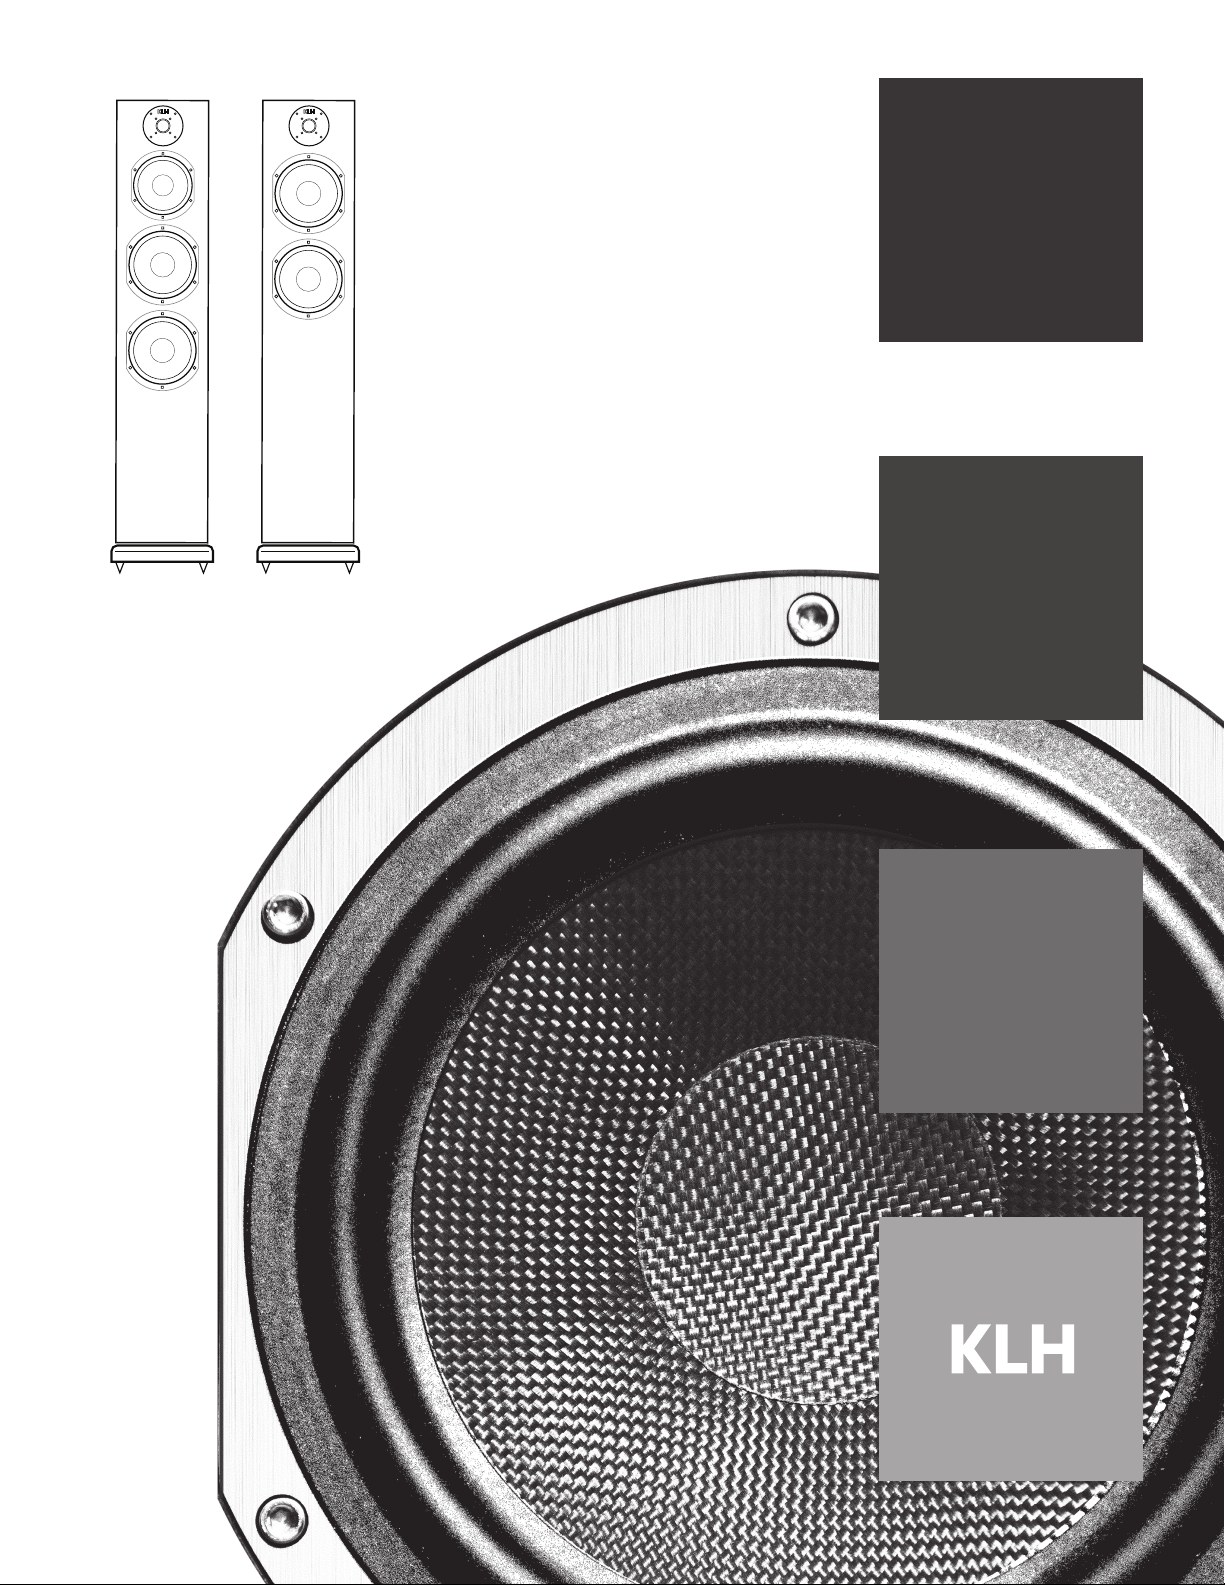
CONTENTS:
This package should contain 2 sets (4 each) of feet. The rubber feet
are used for solid flooring such as wood, tile and concrete, and the
chrome-plated spikes are used for carpet. Spikes may be used on
solid flooring when placed on chrome plated isolation discs.
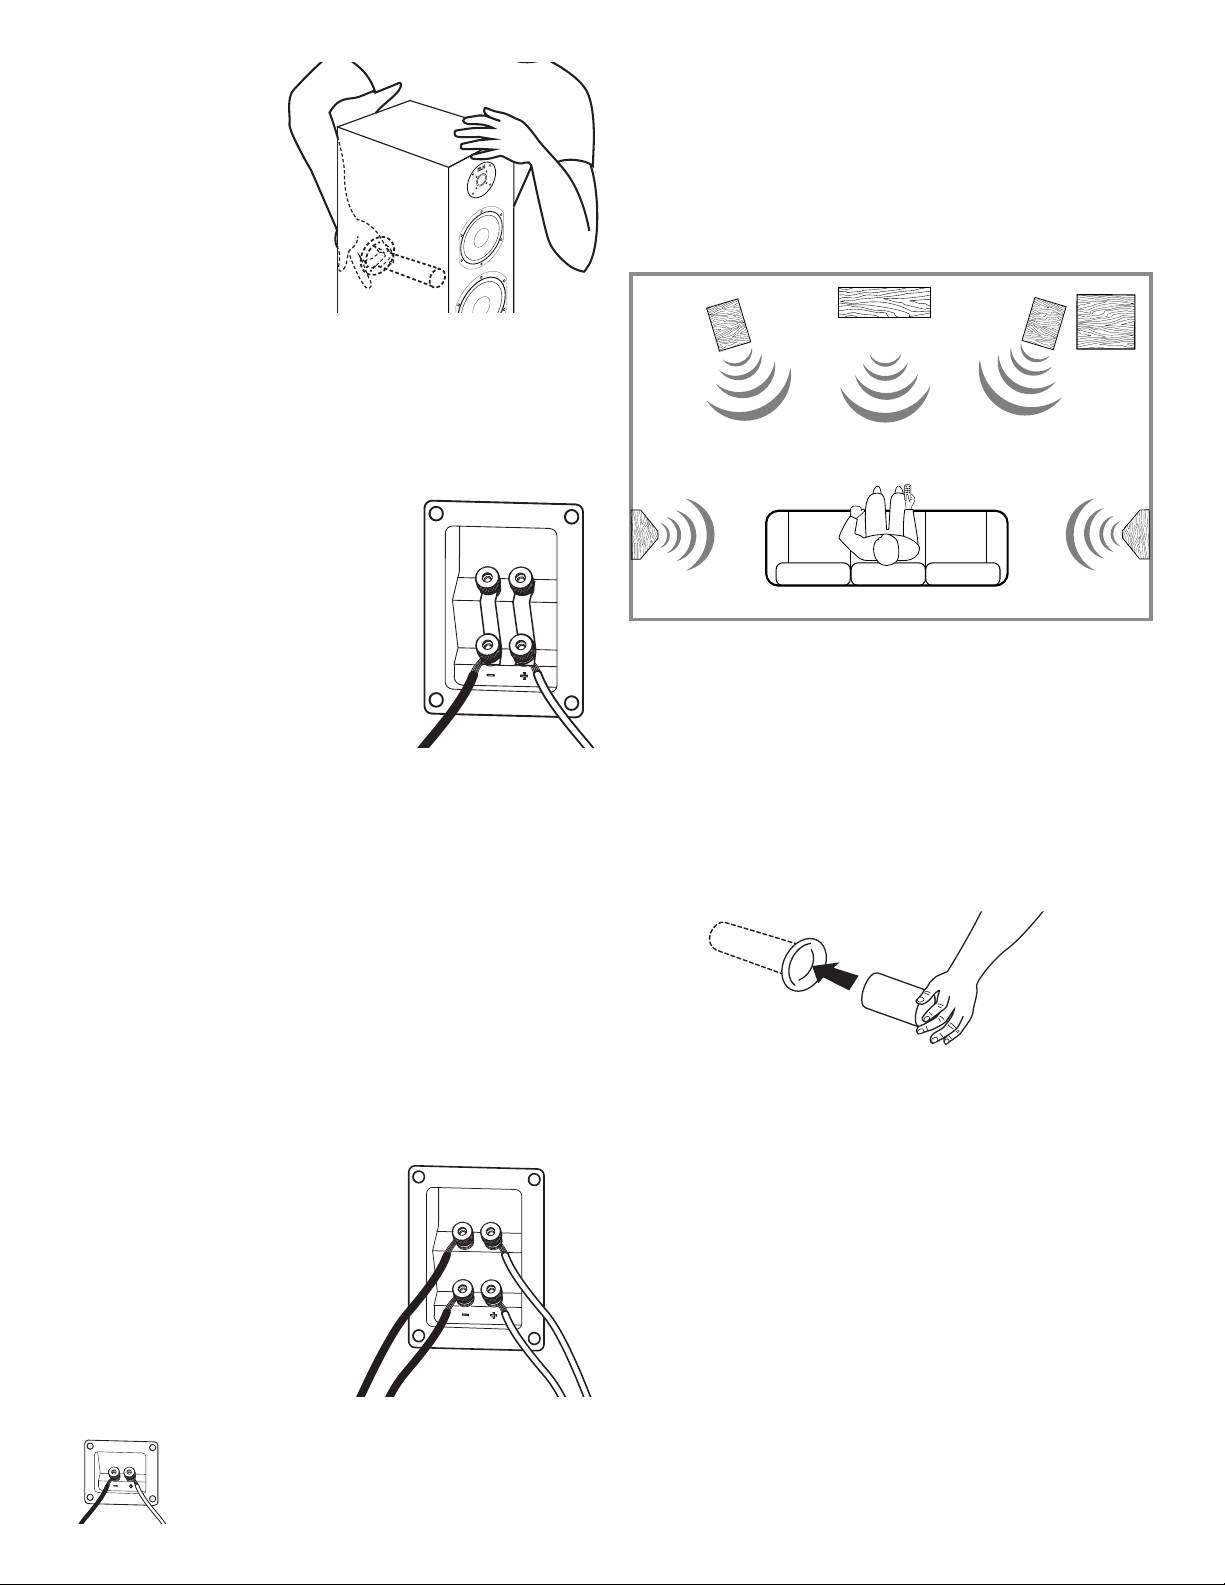
UNPACKING
Place the package on the floor with the box flaps up. Cut the tape
with a utility knife to open the package. Fold the carton flaps back
and carefully slide the speaker and packaging from the box, or turn
the box over with flaps open and remove the box. Stand the speak-
er and packing upright, making sure the loudspeaker plinth is on the
bottom, and remove the packing material.
C A UTION
RISK OF ELECTRIC SHOCK.
DO NOT OPEN.
WARNING: Do Not Open! Risk of Electrical Shock. Voltages in this
equipment are hazardous to life. No user-serviceable parts inside.
Refer all servicing to qualified service personnel.
AVERTISSEMENT: ne pas ouvrir! Risque de choc électrique. Les tensions
dans cet équipement sont dangereuses pour la vie. Aucune pièce réparable
par l'utilisateur à l'intérieur. Confiez toute réparation à un personnel qualifié.
MISE EN GARDE
RISQUE DE CHOC ELECTRIQUE
NE PAS OUVRIR.
13
2
SPIKE AND RUBBER FEET
LIst of items included in package (per speaker):
Spiked and rubber feet are to be used for bass decoupling
(reducing bass transmission) and should only be used when
plinth is on the bottom of the speaker. To install metal
spiked feet, you may place speaker on the floor on either
side. DO NOT place speaker front on floor, as this may
physically damage the tweeter guard and/or dome. First
thread ridged discs onto the metal spikes until flush. Follow
by threading both into the insert at the bottom corners of
the plinth. To level the speaker, height may be adjusted by
turning the spike section ONLY.
To avoid damage to floors other than carpet, the metal
spike can be used with protective ring as shown above on
the far right. Threaded rubber feet can be used on virtually
all surfaces. Installation is shown below.
ROOM POSITION
Placement of your floorstanding loudspeakers is a personal
preference, but it is recommended that speakers be placed at
least 6 feet apart whether they are being used for a stereo
application, or as the main left and right channels for a home
theater. For best imaging and separation, listening distance from
the speakers should be about 1.5 times the distance the speakers
are apart from each other.
Example: If the distance between each speaker and the listening
position is 9 feet, then the speakers should be 6 feet apart from
one another. Be sure that loudspeakers are placed at least 12
inches away from any wall. Further adjustments can be made to
optimize your listening experience.
AMPLIFICATION
Conventional amplification involves a single stereo amplifier
wired to a single set of binding posts with straps connecting the
second set of posts as seen in diagram above. Simply attach the
positive wire + to the red post, and the negative wire – to the
black post.
BI-AMPLIFICATION
This connection method (see diagram below) uses two separate
two channel amplifiers to power one set of speakers. One amplifier
is attached to one set of binding posts, and another identical
amplifier is attached to the other set of binding posts. This is
referred to as bi-amplification.
Be sure to remove the terminal
straps before using the bi-amplifi-
cation method. Connect positive
+ and negative – cables from the
amplifier to the top terminals,
and make sure the connection is
tight. Connect the second set of
cables (positive and negative) to
the bottom terminals and tighten.
Repeat these same steps using the
second amplifier to connect to
the second terminals.
NOTE: The Concord Floorstander has a single set of
binding posts, and this bi-amplification method is
not applicable.
CONNECTING YOUR
FLOORSTANDING LOUDSPEAKERS
Both floorstanding loudspeakers have the same quality nick-
el-plated binding posts that will accommodate stripped wire,
spade connectors or banana plugs. Be
sure to use quality speaker cables, up
to 12 gauge (AWG). The lowest gauge
possible is recommended. Before using
banana plugs, be sure to remove the
black and red inserts on the binding
posts. The straps connecting the binding
posts should remain in place for conven-
tional wiring, but may be removed where
bi-wiring is preferred. See the following
diagrams in the AMPLIFICATION section
for further instruction.
LEFT
SUB
RIGHT
CENTER
SURROUND
LEFT
SURROUND
RIGHT
PORT TUNING
If placing your floorstanding loudspeakers 6 inches or closer to a
wall, bass output can be controlled by reducing the amount of air
flow from rear ports. You can “tune” bass output by using the tuning
stops provided with your loudspeaker by inserting as shown.
NOTE: When moving
loudspeakers take extra
caution to place hands in a
position that will not
damage the drivers. This
can best be done by
placing one hand in the
port at the back of the
loudspeaker, and the other
hand at either top corner.
ALWAYS KEEP HANDS AWAY FROM TWEETER TO AVOID DAMAGE.
WARRANTY
Our 10 year warranty begins from purchase date of the item.
(Receipt Date) Warranty registration must be completed at
KLHAUDIO.com/warranty. Registration of the product must be
completed within 120 days of purchase for warranty validation.
Original receipt of purchase must be retained for proof of
purchase. For warranty or service issues, please contact authorized
KLH dealer. The warranty covers any production and/or material
defects of the product. This warranty is non-transferable.
The following is NOT COVERED by the warranty:
1. Accidents, misuse, poor maintenance, electrical overloads such
as lightning or voltage.
2. Incorrect use of product.
3. Altered serial number.
4. Transportation costs for service call.
5. Purchase of KLH products from unauthorized reseller.
Replacement item cannot exceed the cost of the item under
warranty. The supplier is responsible for only repair or
replacement. KLH toll free number is 1-833-554-8326
Kendall Floorstanding Loudspeaker
Frequency response 25Hz-23kHz.+/-3dB
Sensitivity 96dB.
Power handling 250 watts.
Components 2 x 6.5” Woven Kevlar bass drivers, 1 x 5.25” Woven Kevlar mid/bass driver
and 1 high performance 1” Anodized Aluminum tweeter
Finishes Walnut Wood Veneer or Black Oak Wood Veneer
Impedance 8Ω.
Crossover points 800Hz and 2.5kHz.
Dimensions: 40” x 7.75” x 14.75” (H x W x D).
Weight: 48.7 lbs.
Concord Floorstanding Loudspeaker
Frequency response 28Hz-23kHz.+/-3dB
Sensitivity 94dB.
Power handling 225 watts.
Components 2 x 6.5” Woven Kevlar bass drivers,
and 1 high performance 1” Anodized Aluminum tweeter
Finishes European Walnut Vinyl or Black Oak Vinyl
Impedance 8Ω.
Crossover points 600Hz and 2.6kHz.
Dimensions: 40” x 7.75” x 14.75” (H x W x D).
Weight: 45 lbs.
SPECIFICATIONS
984 Logan Street, Suite 301
Noblesville, IN 46060
klhaudio.com

This manual suits for next models

1

Other KLH Speakers manuals

KLH MAXWELL User manual

KLH

KLH MAXWELL User manual

KLH QUINCY User manual

KLH

KLH QUINCY User manual

KLH Faraday F-6600-AW User manual

KLH

KLH Faraday F-6600-AW User manual

KLH Model Five User manual

KLH

KLH Model Five User manual

KLH 3 User manual

KLH

KLH 3 User manual

KLH ALBANY II Quick start guide

KLH

KLH ALBANY II Quick start guide

KLH BEACON User manual

KLH

KLH BEACON User manual

KLH Nine User manual

KLH

KLH Nine User manual

KLH GRN800 User manual

KLH

KLH GRN800 User manual

KLH SC 2 Operational manual

KLH

KLH SC 2 Operational manual

KLH ALBANY User manual

KLH

KLH ALBANY User manual

KLH KENDALL User manual

KLH

KLH KENDALL User manual

KLH Story Centre Channel Speaker User manual

KLH

KLH Story Centre Channel Speaker User manual

KLH Satellite 970A User manual

KLH

KLH Satellite 970A User manual

KLH RSP800 User manual

KLH

KLH RSP800 User manual

KLH Kendall mk2 User manual

KLH

KLH Kendall mk2 User manual

KLH Kendall mk2 Series User manual

KLH

KLH Kendall mk2 Series User manual

Popular Speakers manuals by other brands

Steren BOC-845 quick start guide

Steren

Steren BOC-845 quick start guide

Behringer Ultrabass BXL900A Technical specifications

Behringer

Behringer Ultrabass BXL900A Technical specifications

Philips BT7500B user manual

Philips

Philips BT7500B user manual

Harman JBL EON315 Technical manual

Harman

Harman JBL EON315 Technical manual

Steg F8 owner's manual

Steg

Steg F8 owner's manual

Genius KYE Systems Genius SP-i170 Service manual

Genius KYE Systems

Genius KYE Systems Genius SP-i170 Service manual

Wharfedale Pro WLA-28SUBF instructions

Wharfedale Pro

Wharfedale Pro WLA-28SUBF instructions

JBL Studio S36 owner's manual

JBL

JBL Studio S36 owner's manual

Crestron SAROS ICS8T quick start guide

Crestron

Crestron SAROS ICS8T quick start guide

RETRO RetroPod RPOD4 Basic Installation Guidelines

RETRO

RETRO RetroPod RPOD4 Basic Installation Guidelines

Riedel PUNQTUM Q210 P quick start guide

Riedel

Riedel PUNQTUM Q210 P quick start guide

Alto TOURMAX SX115 quick start guide

Alto

Alto TOURMAX SX115 quick start guide

audiophony OHO-350 Series quick start guide

audiophony

audiophony OHO-350 Series quick start guide

Magnat Audio Sounddeck 150 Installation notes

Magnat Audio

Magnat Audio Sounddeck 150 Installation notes

Gemini PA-15L MKII manual

Gemini

Gemini PA-15L MKII manual

LG PJ9 Simple manual

LG

LG PJ9 Simple manual

Sentey B-Trek S2 user manual

Sentey

Sentey B-Trek S2 user manual

LG PL5 owner's manual

LG

LG PL5 owner's manual

manuals.online logo
manuals.online logoBrands
  • About & Mission
  • Contact us
  • Privacy Policy
  • Terms and Conditions

Copyright 2025 Manuals.Online. All Rights Reserved.