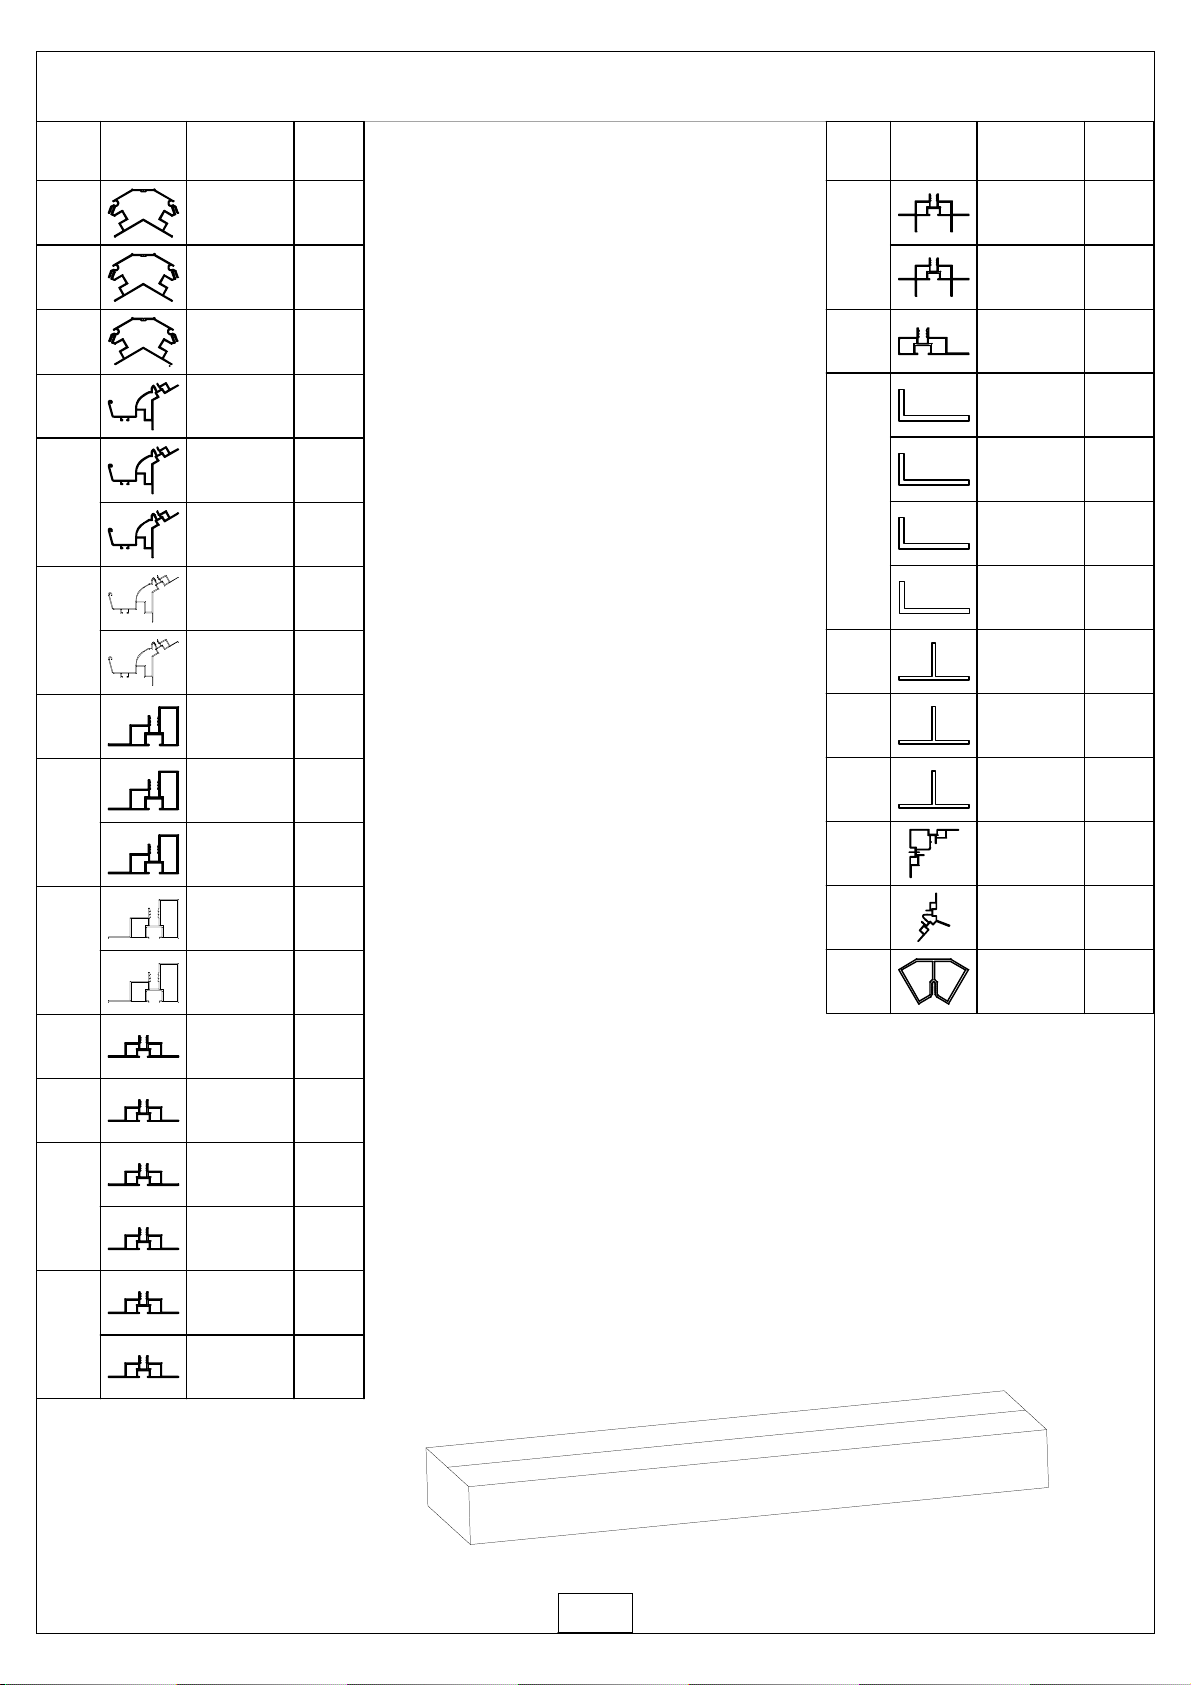
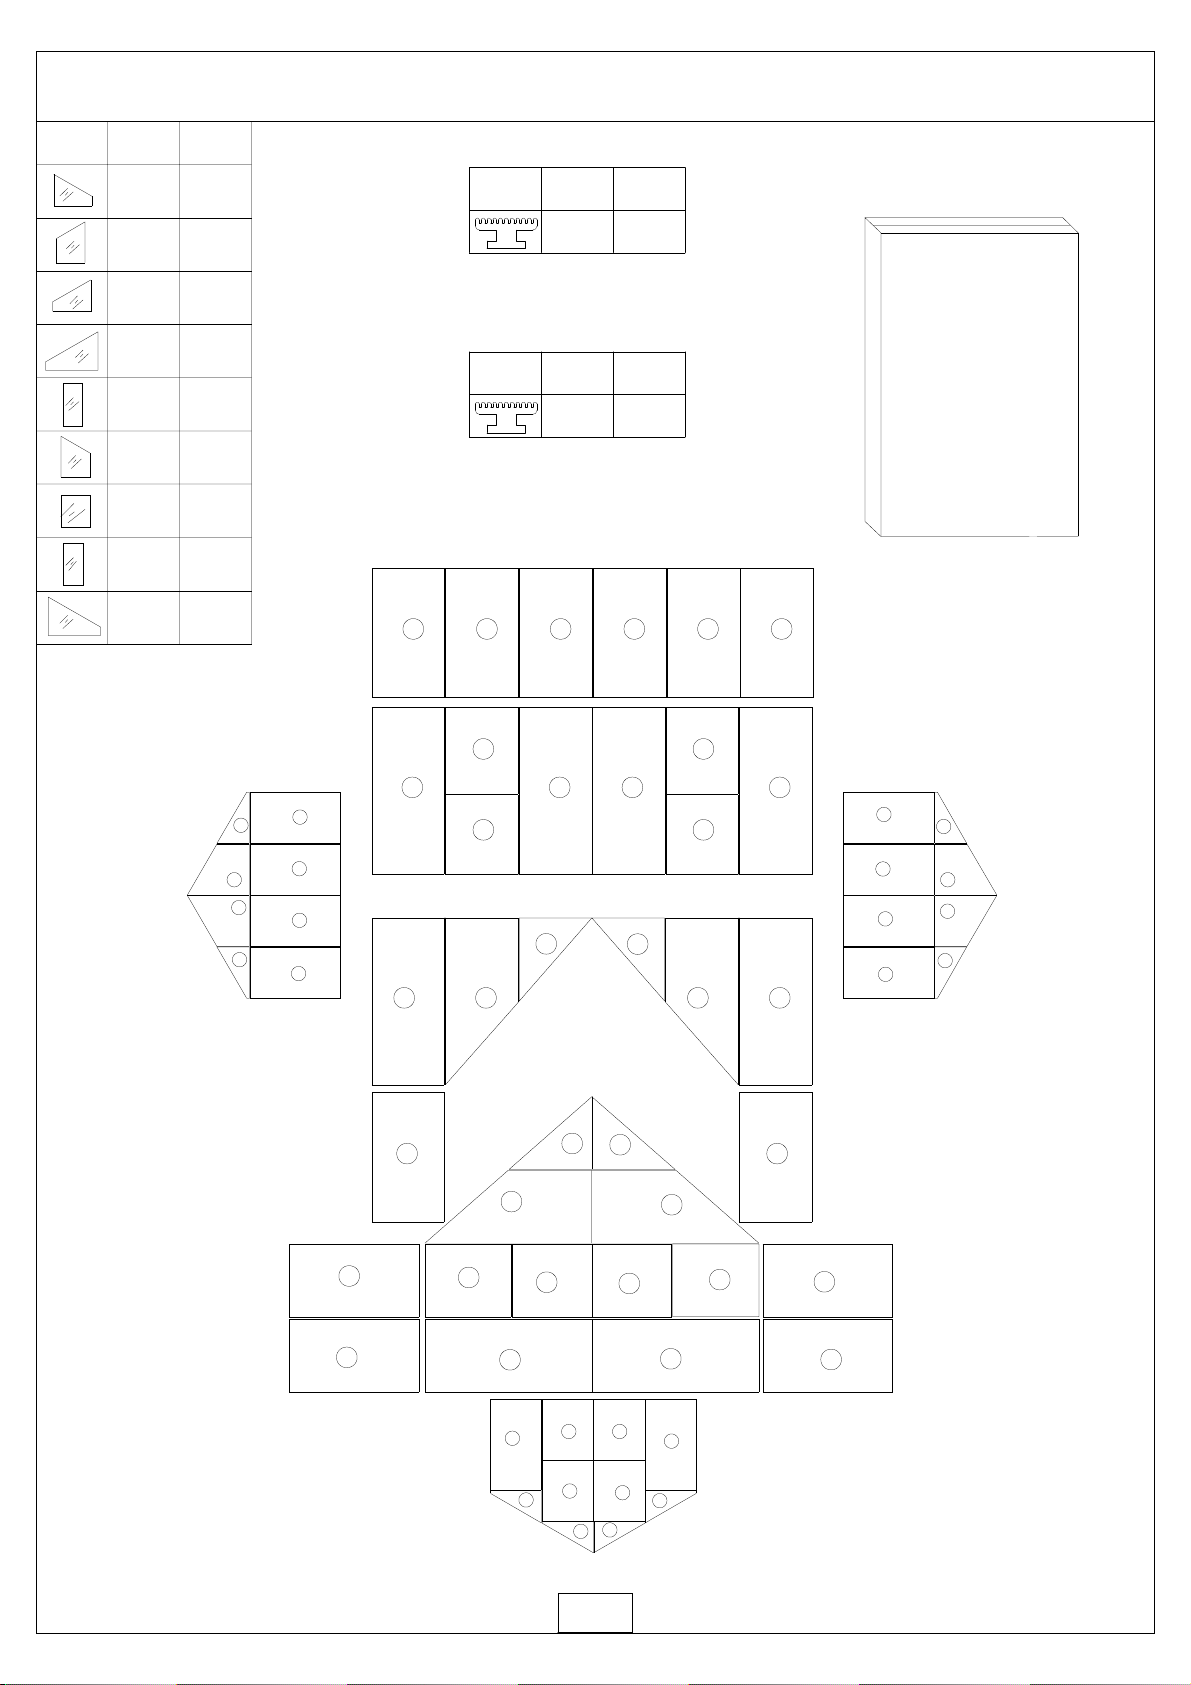
6 / 8MM PC Panel 4MM Glass Panel
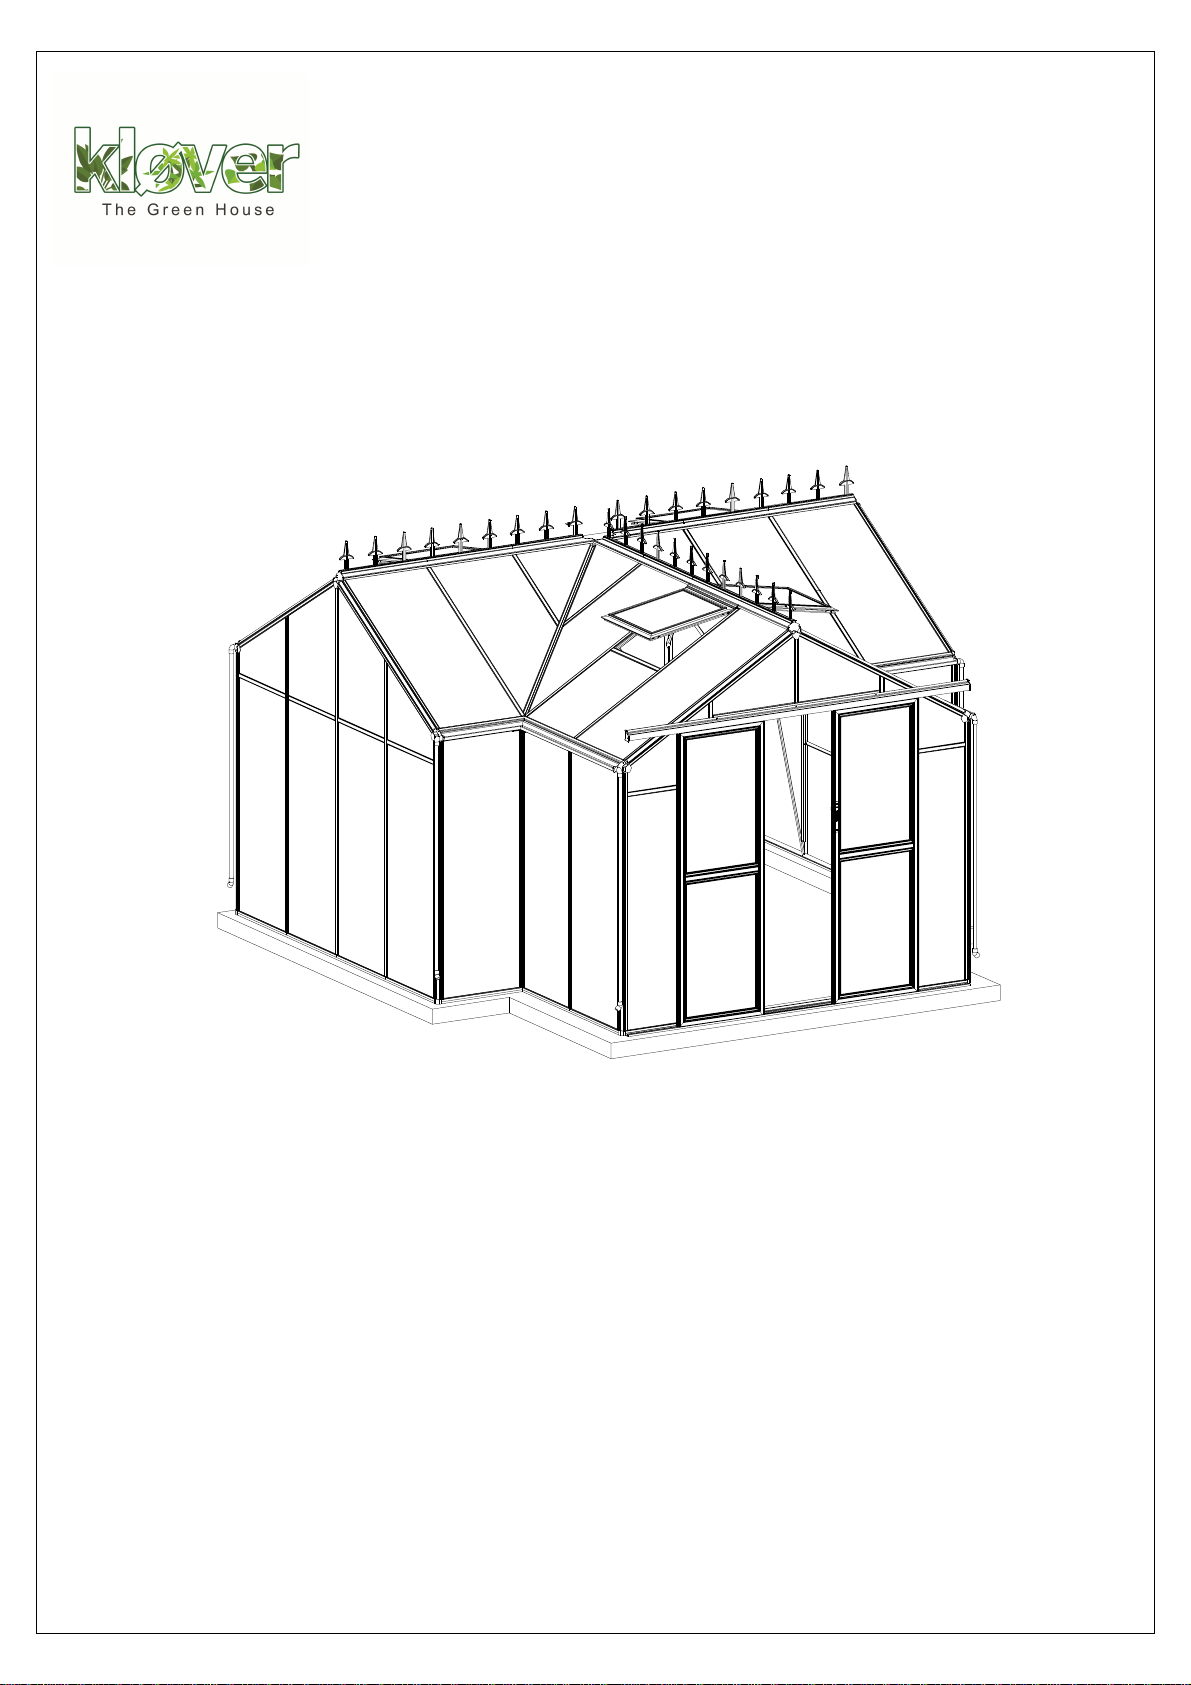
1
Functions and Features:
7mm/10mm
Assembly and Maintenance Advice
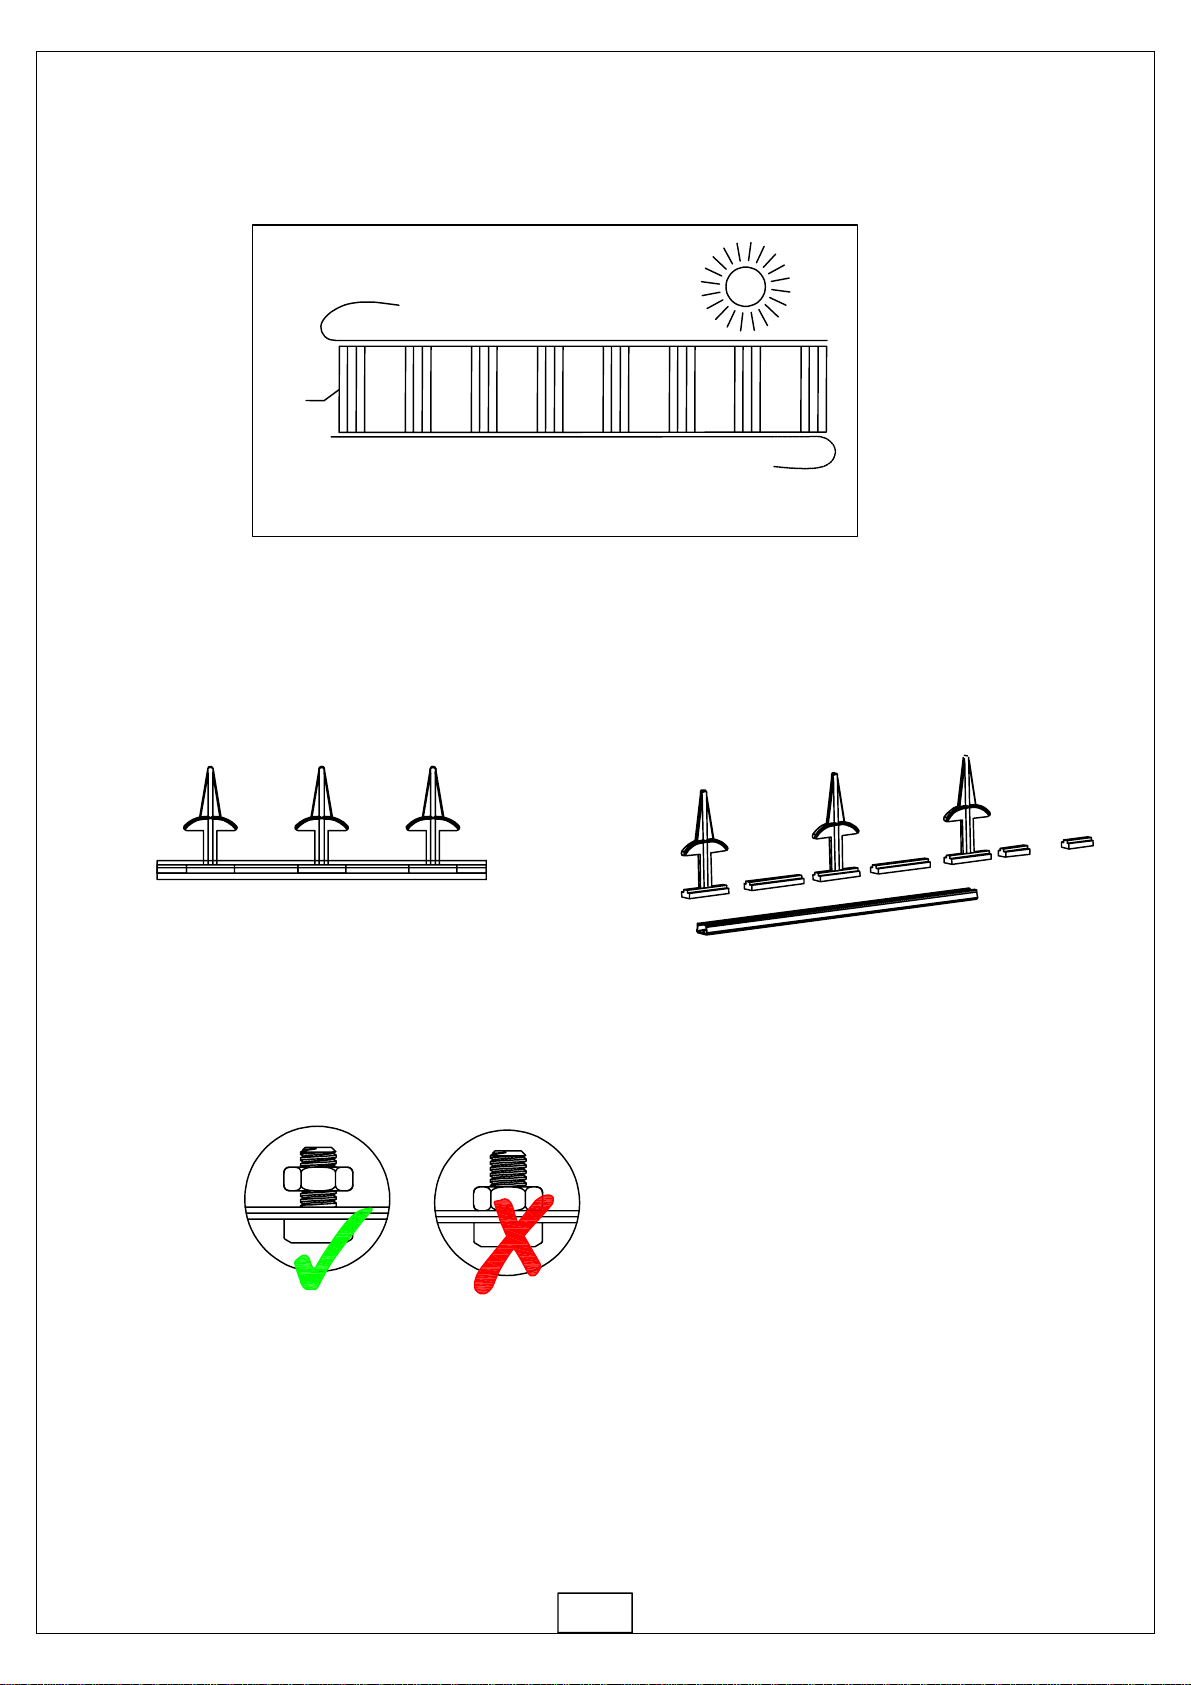
Free Tool Free Tool Free Tool Free Tool
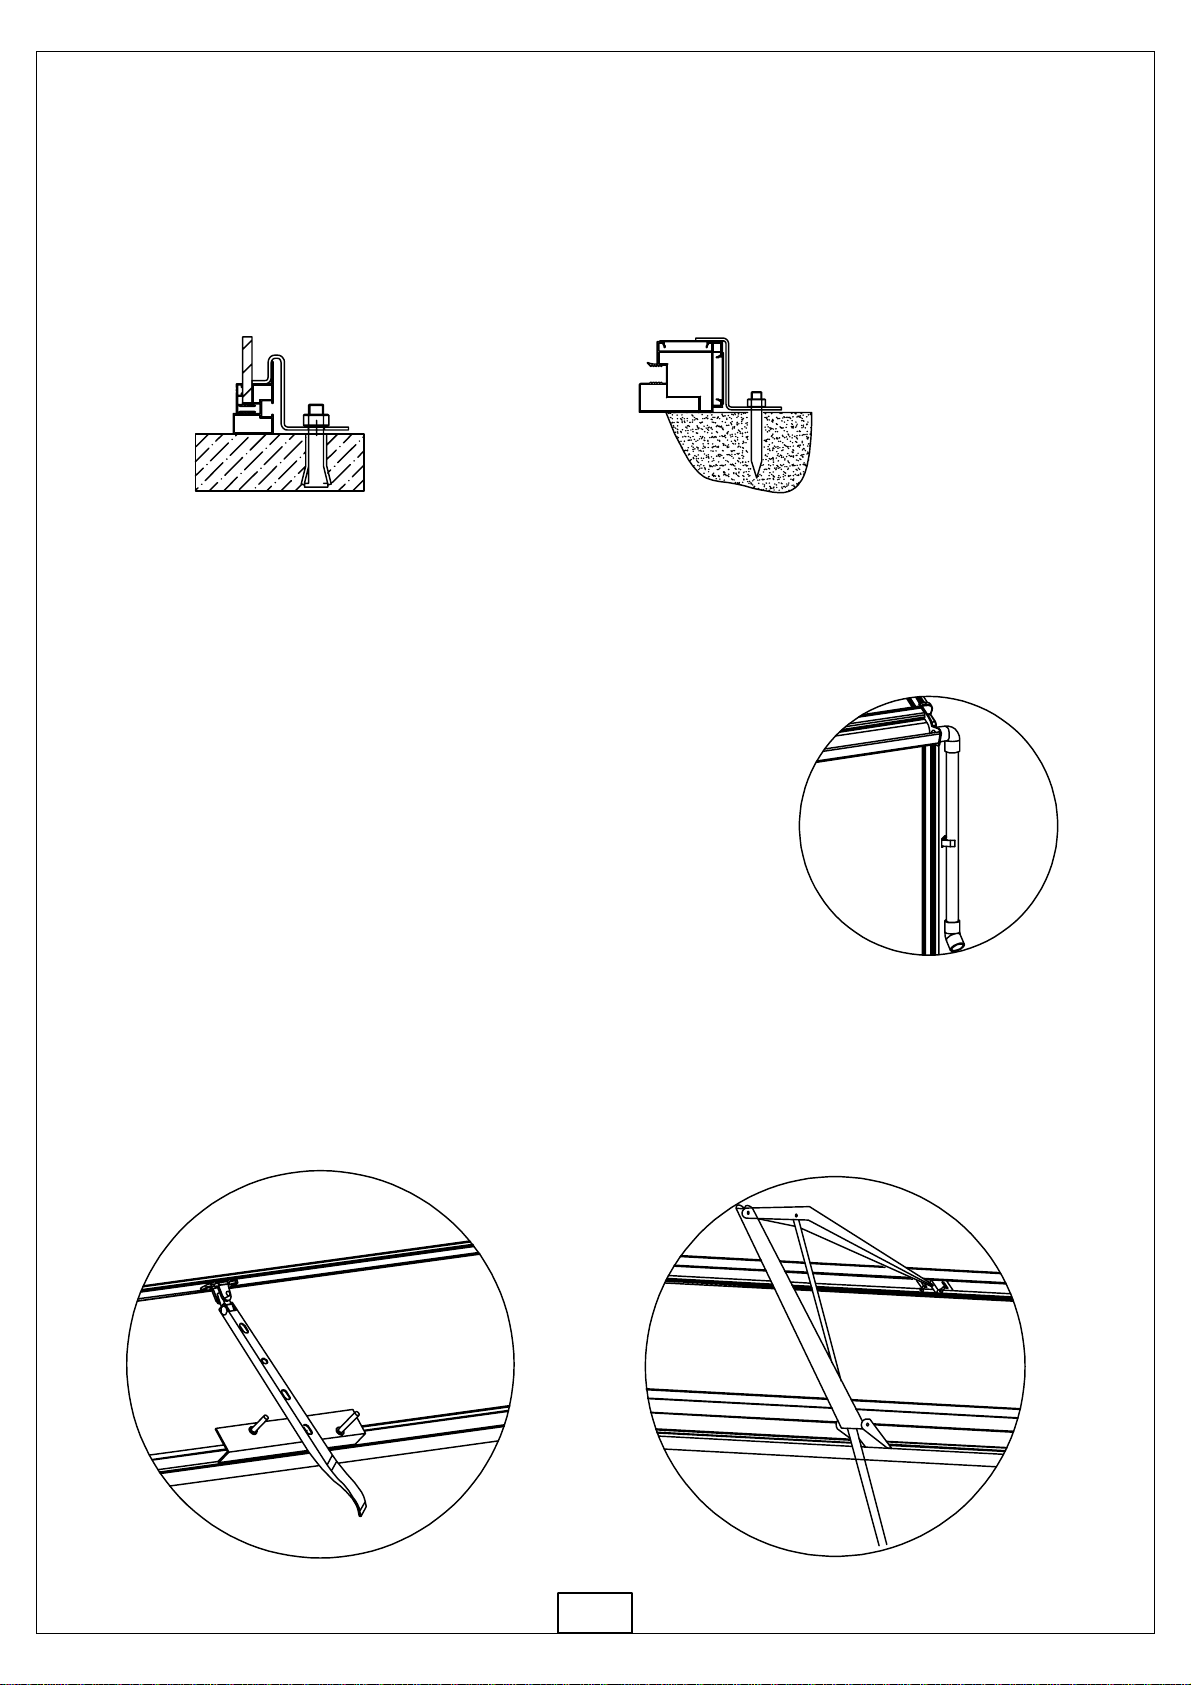
1. For safety purposes, we strongly recommend that this product is assembled by at least
two people.
2. Some components have sharp metal edges. Please be careful when handling metal
components. Please wear gloves, shoes and safety goggles during assembly.
3. Lay all of the components on a soft carpet or blanket to avoid any scratches or damages.
4. DO NOT climb or stand on the roof. Heavy articles should not be leaned against
the greenhouse.
5. Keep the roof and gutter clear of snow, dirt & leaves. Allowing snow to build up on
the roof may damage the product.
6. Unlike steel, if the paint finish is scratched this will not harm the aluminium underneath.
7. When your product needs cleaning, use a mild detergent solution and rinse with cold
clean water. Do not use acetone, abrasive cleaners or strong detergents to clean
the panels.
1. In comparison to a traditional greenhouse structure, all main profiles are manufactured
using a square hollow section design,resulting in a stronger more weather resistant product.
6 / 8MM PC Panel
4MM Glass Panel
* Slide the rubbery sealings into all profiles if assembling Glass Panels (NOT provided for PC Panels)
2. A great improvement for this new greenhouse is bar capping which is a neater and stronger
way to retain the glazing. Another benefit is that these greenhouses can be glazed with
glass or polycarbonate of varying thicknesses.