manuals.online logo
Brands
  1. Home
  2. •
  3. Brands
  4. •
  5. Outsunny
  6. •
  7. Greenhouse Kit
  8. •
  9. Outsunny 845-421V02 User manual

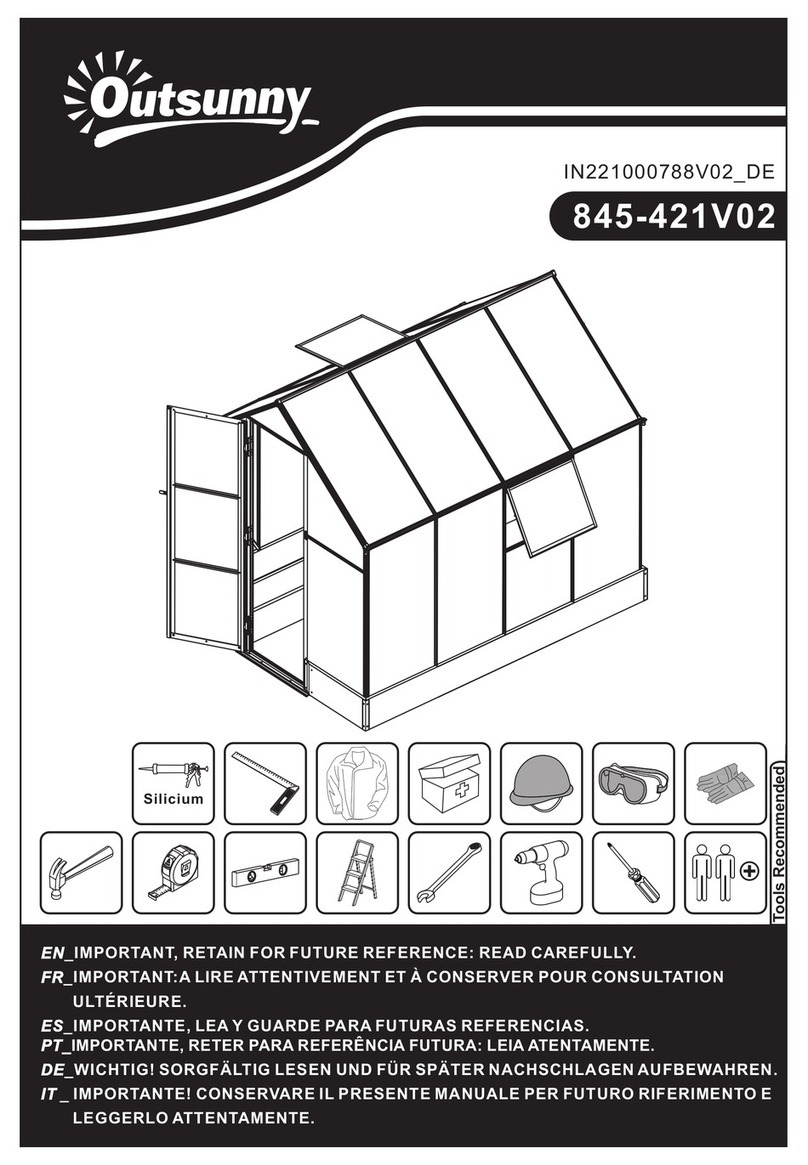
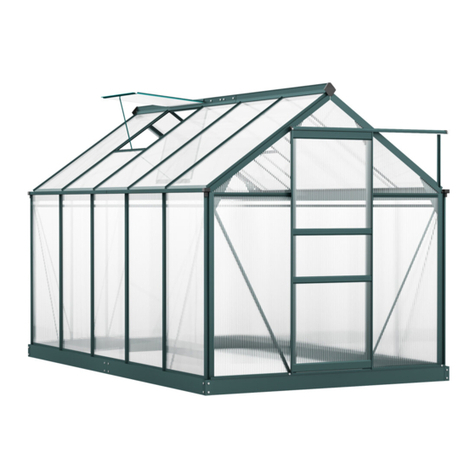
Outsunny 845-421V02 User manual

Other manuals for 845-421V02

1

Other Outsunny Greenhouse Kit manuals

Outsunny 84H-080V00 User manual

Outsunny

Outsunny 84H-080V00 User manual

Outsunny 845-421V02 User manual

Outsunny

Outsunny 845-421V02 User manual

Outsunny 845-301 Installation guide

Outsunny

Outsunny 845-301 Installation guide

Outsunny 845-391V01 User guide

Outsunny

Outsunny 845-391V01 User guide

Outsunny 845-011 Installation guide

Outsunny

Outsunny 845-011 Installation guide

Outsunny 845-334V01 Installation guide

Outsunny

Outsunny 845-334V01 Installation guide

Outsunny 845-391V02 Installation guide

Outsunny

Outsunny 845-391V02 Installation guide

Outsunny 845-435 User manual

Outsunny

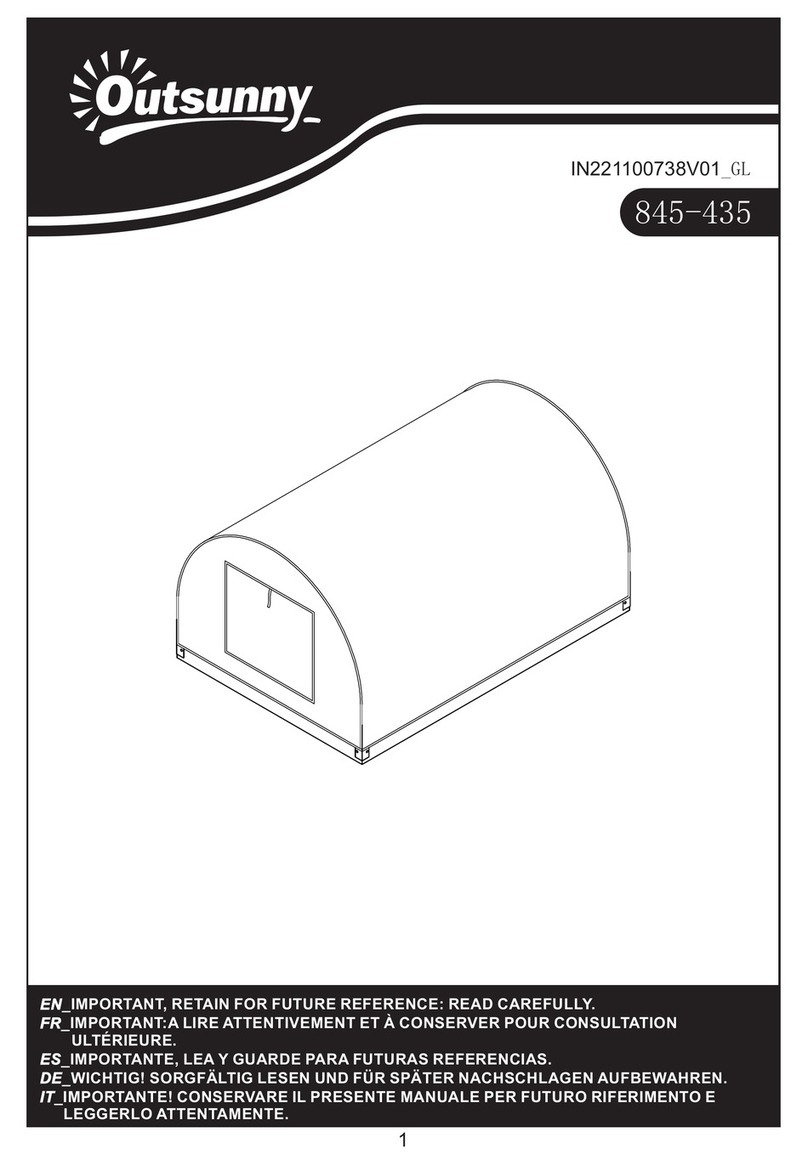
Outsunny 845-435 User manual

Outsunny 845-059V01 Installation guide

Outsunny

Outsunny 845-059V01 Installation guide

Outsunny 845-243 Installation guide

Outsunny

Outsunny 845-243 Installation guide

Outsunny 845-421V03 User manual

Outsunny

Outsunny 845-421V03 User manual

Outsunny 845-243 User manual

Outsunny

Outsunny 845-243 User manual

Outsunny 845-421V03 Installation guide

Outsunny

Outsunny 845-421V03 Installation guide

Outsunny 845-421 Installation guide

Outsunny

Outsunny 845-421 Installation guide
Popular Greenhouse Kit manuals by other brands

Dancover TITAN Arch 196 manual

Dancover

Dancover TITAN Arch 196 manual

ACD PRESTIGE MR3 H manual

ACD PRESTIGE

ACD PRESTIGE MR3 H manual

Vitavia VA0040-TRP Assembly instructions

Vitavia

Vitavia VA0040-TRP Assembly instructions

VegTrug Nursery manual

VegTrug

VegTrug Nursery manual

Riverstone Networks Monticello 041315V Assembly instructions

Riverstone Networks

Riverstone Networks Monticello 041315V Assembly instructions

CLIMA POD Spirit V7 Series Assembly instructions

CLIMA POD

CLIMA POD Spirit V7 Series Assembly instructions

Vitavia GAIA JUMBO Assembly instructions

Vitavia

Vitavia GAIA JUMBO Assembly instructions

Palram Harmony 6'x4' Assembly instructions

Palram

Palram Harmony 6'x4' Assembly instructions

ClearSpan Storage Master 104598 instruction manual

ClearSpan

ClearSpan Storage Master 104598 instruction manual

Sproutwell GRANGE - 5 Assembly instructions

Sproutwell

Sproutwell GRANGE - 5 Assembly instructions

STC Easy Grow 6x12 Greenhouse Assembly instructions

STC

STC Easy Grow 6x12 Greenhouse Assembly instructions

Growhouse Lean To 6 x 8 Erection and Glazing Instructions
Growhouse

Growhouse Lean To 6 x 8 Erection and Glazing Instructions

Riverstone Networks Grower's 181010V Assembly instructions

Riverstone Networks

Riverstone Networks Grower's 181010V Assembly instructions

GrowSpan 500 Series manual

GrowSpan

GrowSpan 500 Series manual

Stocker 9641/2 manual

Stocker

Stocker 9641/2 manual

ACD Piccolo 03 manual

ACD

ACD Piccolo 03 manual

Riverstone Networks MONT-8 Assembly instructions

Riverstone Networks

Riverstone Networks MONT-8 Assembly instructions

oGrow OGAL-666A manual

oGrow

oGrow OGAL-666A manual

manuals.online logo
manuals.online logoBrands
  • About & Mission
  • Contact us
  • Privacy Policy
  • Terms and Conditions

Copyright 2025 Manuals.Online. All Rights Reserved.

EN_IMPORTANT, RETAIN FOR FUTURE REFERENCE: READ CAREFULLY.
FR_IMPORTANT:A LIRE ATTENTIVEMENT ET À CONSERVER POUR CONSULTATION
ULTÉRIEURE.
ES_IMPORTANTE, LEA Y GUARDE PARA FUTURAS REFERENCIAS.
PT_IMPORTANTE, RETER PARA REFERÊNCIA FUTURA: LEIA ATENTAMENTE.
DE_WICHTIG! SORGFÄLTIG LESEN UND FÜR SPÄTER NACHSCHLAGEN AUFBEWAHREN.
IT _ IMPORTANTE! CONSERVARE IL PRESENTE MANUALE PER FUTURO RIFERIMENTO E
LEGGERLO ATTENTAMENTE. US_CA
Tools Recommended
IN221000788V01_UK_FR_US_CA
845-421V02
Silicium
1
2
3
4
5
PRODUCT SIZE
6
PART
LIST
Linke und rechte Wände und oben
Mur avant et mur arrière
EN_
FR_
EN_
FR_
7
PART
LIST
Résumé du panneau en polycarbonate
Vers le côté film blanc au soleil car il est protégé contre les UV.
EN_
FR_
EN_
FR_
EN_
FR_"Installation "vis hexagonale
Placez la "vis hexagonale" dans la fente,
tournez dans le sens des aiguilles d'une montre
jusqu'à ce qu'elle cesse de tourner.
Ajustez la "vis hexagonale" à la main et tournez
de manière à ce que le filetage la fixe en place.
Placez les autres pièces sur la "vis hexagonale"
et assemblez l'écrou.
8
02
01
EN_DOOR
FR_PORTE
EN_WINDOW
FR_FENÊTRE
EN_
FR_Note vers la surface UV vers le
Soleil.
Notez la direction de la partie n° 3
EN_
FR_Le F2 sera facile à installer grâce
à l'utilisation de lubrifiants
EN_
FR_Noter la direction des parties F8 et F9
9
04
03
FR_Utilisez les mains pour serrer les vis F4
ne peuvent pas glisser.
EN_