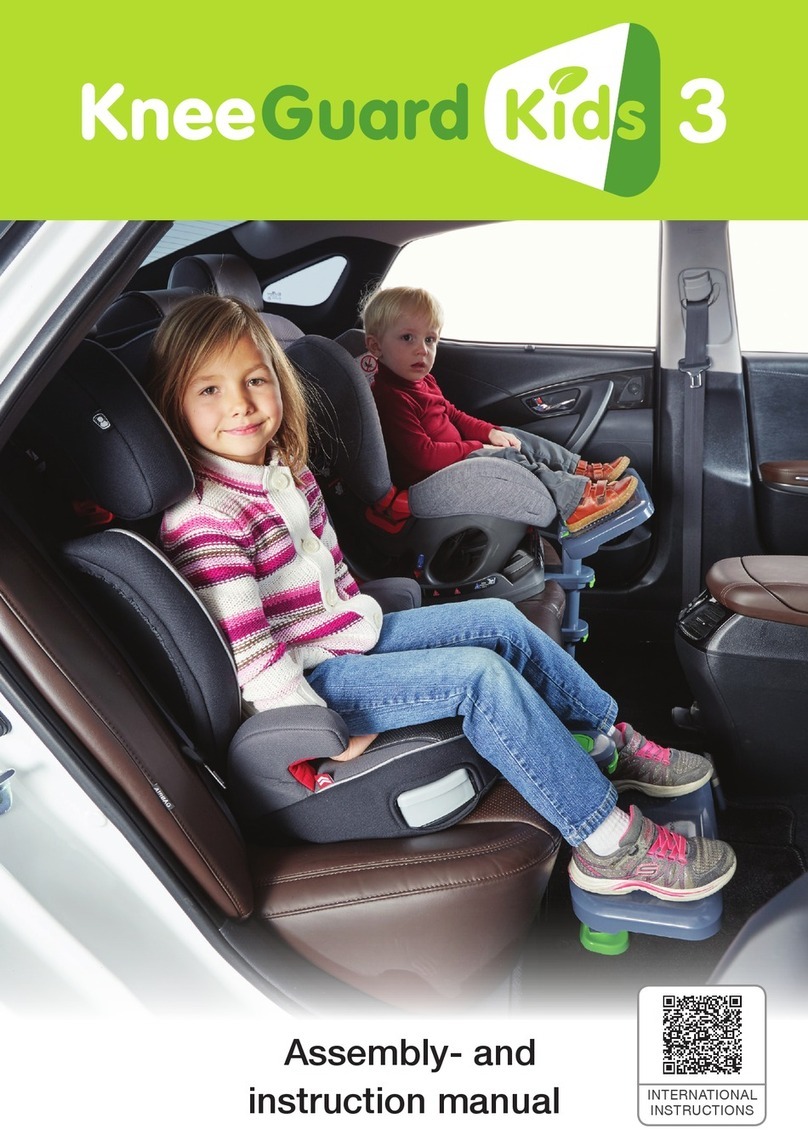
KneeGuardKids 3 User manual

KneeGuard Kids 3 Instruction Manual
Watch
Instruction
Video
FOOTREST
Car Seat
START YOUR JOURNEY TO CALMER CAR RIDES

Warning
· This product is not designed to protect against shock or injury caused by car accidents.
· This product is designed to be a footrest and should only be used as such.
· Do not stand on the footrest or use it as a step to get into the car seat.
Caution
· Cannot be used for car seats with a load leg (See image on the right). Can
be used if the load (support) leg is detachable and removed.
Box Contents
※ Please ensure all the contents below are present before using.
※ Please note some of the parts may come assembled.
1 Installation Plate 1 Footplate 1 Height Control Bar 1 Load Leg
2 LATCH Hooks 2 Installation Clips 2 Belts 1 Instruction Manual
Load Leg
2
· Mount firmly and securely using the LATCH Hooks or Installing Clips.
· Enter or exit the vehicle only after fully folding the Footplate.
· Do not stand on the Footrest or use as a step to get into the car seat.
· Height and angle adjustment should be adjusted by an adult when
the vehicle is not in motion.
KneeGuard Kids 3 Instruction Manual
Watch
Instruction
Video
FOOTREST
Car Seat
STARTYOUR JOURNEY TO CALMER CAR RIDES

The KneeGuard Kids Footrest Components:
Footplate Dimensions : Length 14.6in, Width 8.7in
For cars without LATCH,
Install using the Clips instead
of the LATCH Hooks
Installation Plate
Height Control Lever
of Installation Plate
Angle Control
Switches
Footplate
Height Control Bar
LATCH Hooks Belts
Height Control Lever
of Load Leg
Load(support) Leg
Height Control Lever
of Footplate
Bottom Plate of
Load Leg
3
Installation Clips

For Car Seats (Ages 3 and below)
Set up the Installation Plate first, then the Footplate,
this will allow the child's legs to reach the Footplate
as its in a higher position.
Assembly
STEP 2. Attach the Footplate
Lift the Lever of the Footplate.
(※YoucanpulldowntheHeightControlLeverbymovingitupanddownslightlytocorrespondtothegrooveandunevensurface.)
STEP 1. Assemble the Installation Plate
4
Lift the Lever of Installation Plate. Push the button (protrusion) found
inside the groove in the Installation
Plate to connect the Installation
Plate and the Height Control Bar.
Push the button (protrusion) found
in the groove within the Footplate to
connect the Footplate and the
Height Control Bar.
Place the Footplate on top of the
Height Control Bar, then pull down
the lever.
Place the Installation plate in the
middle of the Height Control Bar,
then pull down the lever.

For Booster & Junior Car Seat
Assemble the Footplate first, then install the plate.
Followbelowsteps
STEP 2. Assemble the Installation Plate
(※YoucanpulldowntheHeightControlLeverbymovingitupanddownslightlytocorrespondtothegrooveandunevensurface.)
STEP 1. Assemble the Footplate
5
Cars with LATCH (Install with LATCH Hooks)
Car Installation
as close
as possible
Lift the lever of the Footplate. Push the button (protrusion) found
in the groove within the Footplate,
then connect the Footplate and the
height control bar.
Place the footplate midway on the
Height Control Bar, then pull down
the lever.
Place the LATCH hooks from top to
bottom on the LATCH.
Place the Height Control Bar close to
the vehicle seat and then fasten the
belts. Adjust straps so that the
Installation Plate is snug on the seat.
See diagram above.
(※ if the Height Control Bar is not
firmly connected to the vehicle seat,
the Footplate may be unsteady.)
After installing the car seat on the
Installation Plate, adjust the height
of the Footplate and the load leg for
the comfort level of your child.
(※ please refer to page 7 for a
detailed height adjustment
method.)
Lift the lever of the Installation plate. Push the button (protrusion) in the
Installation Plate, then connect the
Installation Plate and the Height
Control Bar.
Place the Installation Plate on top of
the Height Control Bar, then pull
down the lever.

For Use with the Installation Clips
(Cars without LATCH)
1
2
STEP 2.
STEP 1.
as close
as possible
6
Insert your hand in the gap between
the cushion and the back of the
vehicle seat to ensure there is
adequate space for the Installation
Clips.
(※ be cautious when inserting your
hand and take care not to get hurt.)
Hold the Installation Clips
horizontally, facing upside.
Insert the Installation Clips into the
gap as shown while keeping them
face-down.
Push the Installing Clips horizontally
as far as you can, then push the clips
and position it vertically.
(※ if you can't turn the clips upright,
push the Installing Clips further
downward.)
Place the Height Control Bar close to
the vehicle seat and fasten the belts.
(※ if the Height Control Bar is not
firmly connected to the vehicle seat,
the Footplate may be unsteady.)
After installing the car seat on the
Installation Plate, adjust the height
of the Footplate and the load leg for
the comfort level of your child.
(※ please refer to page 7 for a detailed
height adjustment method.)
Hold the Belt with the engraved logo
facing you, and insert it in the top
gap of the Installing Clip. Then pull it
out through the bottom gap.
Insert the Belt through the back of
the Installation Plate from bottom to
top.
Insert the Belt into the adjustable
buckle.
(※ Please follow the steps as pictured
in the illustration above.)

For Booster & Junior Car Seat
For Car Seat (Ages 3 and under)
Height Adjustment Method
Angle Adjustment Method
7
40˚
Place the child in the car seat and lift
the lever of the Installation Plate.
Adjust the height of the Footplate to
match the length of the child's feet
and then pull the lever down.
Lift the lever of load leg. Adjust the
height of load leg to reach the floor
of the vehicle and then pull down the
lever
Lift the lever of the load leg. Adjust
the height of the load leg to reach
the floor of the vehicle, and then pull
down the lever.
Place the child in the car seat and lift
the lever of Footplate. Adjust height
of the Footplate to match the length
of the child's legs and then pull down
the lever.
※ Caution
Always make sure the Installation
Plate is on the seat. If the seat is
lower make sure to lower the
Installation Plate to touch the seat.
Push both of the angle control
switches outward.
After releasing the switches at a
desired angle, gently shake the
Footplate up and down until the
switches return to their original
position.
Younger children tend to sit on a 40
degrees angle. Adjusting the
Footplate to this degree will greatly
increase their comfortability.

·Product: Car Seat Footrest
· Model Number: Ig-500
· Recommended Age: 1 -9 Years.
· Materials: ABS, PP, PC
·Importer: Mom&Baby Supplies Inc
· Country of Origin: South Korea
Specifications:
· This product is manufactured in Korea using the most advance technology
ensuring the highest quality for the Kneeguard Kids Footrest
·
·
The Footrest comes with a 6 month warranty against manufactures defects from date of purchase
Imported & Distributed by:
Mom&Baby Supplies Inc. Brooklyn NY
Tel: 1800-718-0360
Email: [email protected]
Warranty
www.kneeguardkids.com
Table of contents
Other KneeGuardKids Automobile Accessories manuals
Popular Automobile Accessories manuals by other brands

Lund
Lund Interceptor installation instructions

aFe Power
aFe Power 77-43025 instruction manual

ECS Electronics
ECS Electronics CT-052-D1 Fitting instructions electric wiring

ULTIMATE SPEED
ULTIMATE SPEED 273311 Assembly and Safety Advice

Front Runner
Front Runner SLIMLINE II KRFE009T Read me first

LSD-Doors
LSD-Doors 50075002 installation instructions