Table of Contents
Safety Instructions.................................................................................................................................................3
General Safety Instructions...........................................................................................................................3
Installation...........................................................................................................................................................4
Cleaning...............................................................................................................................................................5
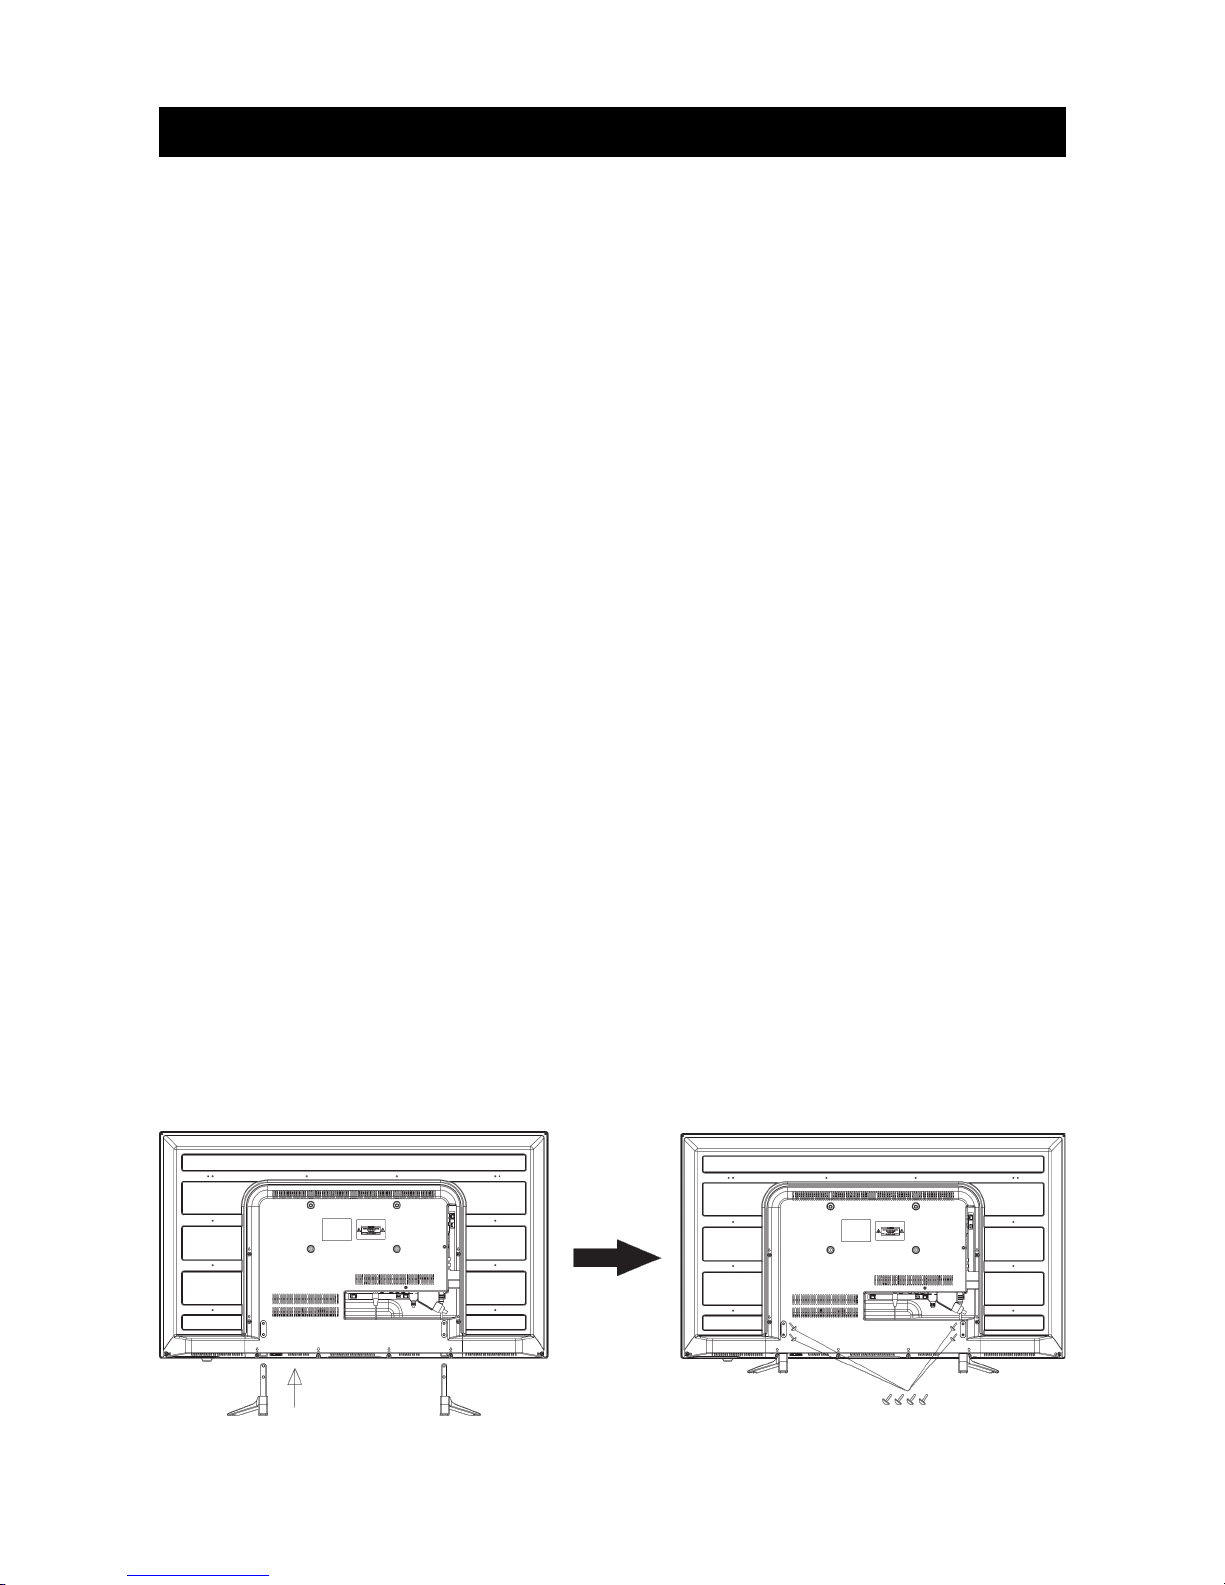
Installation................................................................................................................................................................6
Base Stand Assembly Instruction...............................................................................................................6
Wall Mounting Installation Guidelines.......................................................................................................
Antenna................................................................................................................................................................
Power....................................................................................................................................................................
Front Panel Layout...........................................................................................................................................8
Keyboard Layout...............................................................................................................................................8
REAR AV Connections....................................................................................................................................9
SIDE AV Connections......................................................................................................................................9
AV EQUIPMENT Connections.....................................................................................................................10
HDMI (basic)................................................................................................................................................10
HDMI (advanced).......................................................................................................................................10
AV (Audio/Video).......................................................................................................................................11
Audio...............................................................................................................................................................11
PC Connections.................................................................................................................................................11
Remote Control.....................................................................................................................................................13
Battery Installation ........................................................................................................................................13
Getting Started......................................................................................................................................................14
First Powering on the TV.............................................................................................................................14
Menu Settings........................................................................................................................................................15
Using the Main Menus....................................................................................................................................15
Channel Menu...................................................................................................................................................15
Auto Tuning..................................................................................................................................................15
DTV Manual tuning....................................................................................................................................16
ATV Manual tuning....................................................................................................................................16
Program Edit...............................................................................................................................................16
Signal Information.....................................................................................................................................16
Software Update (OAD)..........................................................................................................................16
Software Update (USB)...........................................................................................................................16
Picture Menu.....................................................................................................................................................1
Sound Menu.......................................................................................................................................................1
Time Menu..........................................................................................................................................................18
Options Menu................................................................................................................................................... 18
PVR File System...............................................................................................................................................19
Select Disc ...................................................................................................................................................19
Check PVR File System...........................................................................................................................19
Format ..........................................................................................................................................................19
PVR File System Type..............................................................................................................................19
Speed............................................................................................................................................................20
Record Limit............................................................................................................................................... 20
FACTORY RESET NOTE.........................................................................................................................20
Lock Menu........................................................................................................................................................20
Block Program ..........................................................................................................................................20
Parental Guidance....................................................................................................................................20
USB Source...................................................................................................................................................... 20
EPG MENU (Electronic Program Guide).................................................................................................21
DTV EPG........................................................................................................................................................21
PVR Operation......................................................................................................................................................22
1