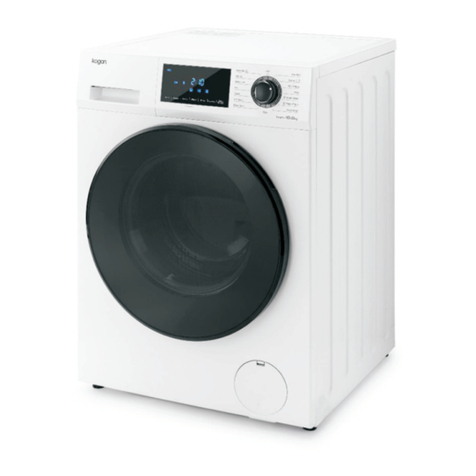
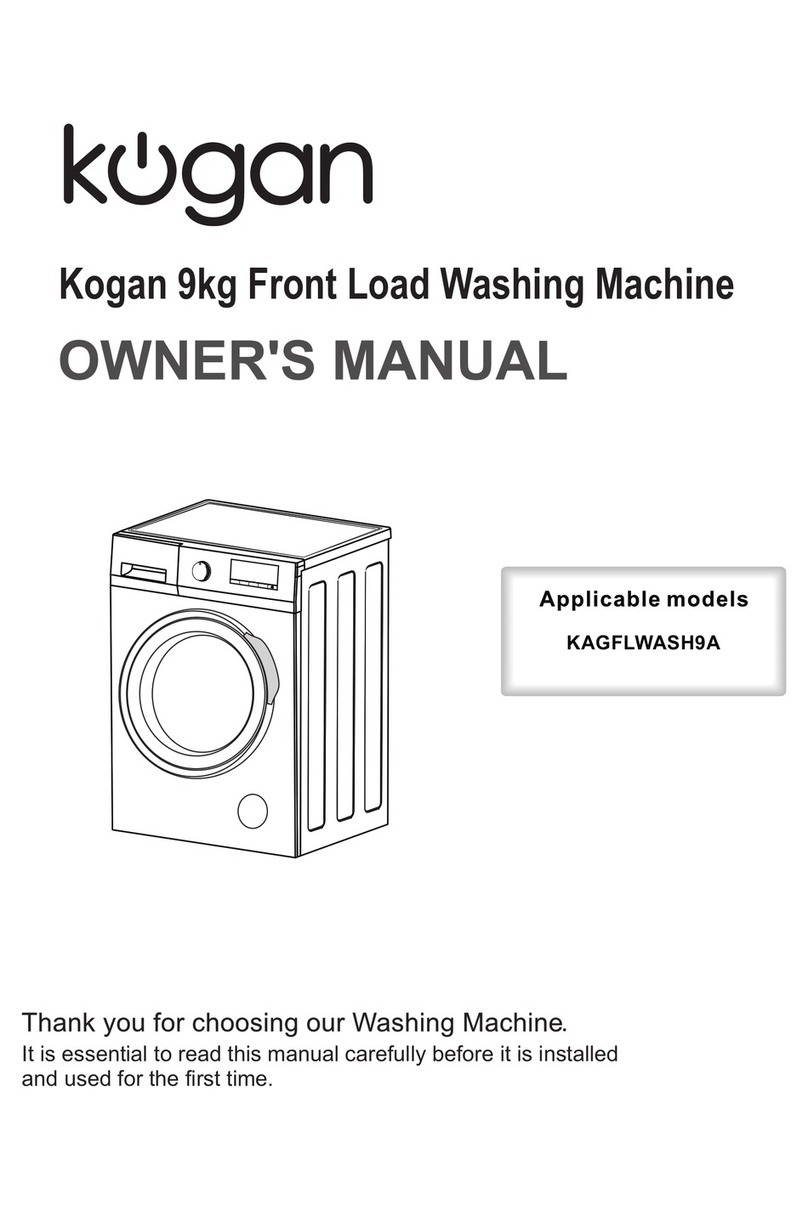
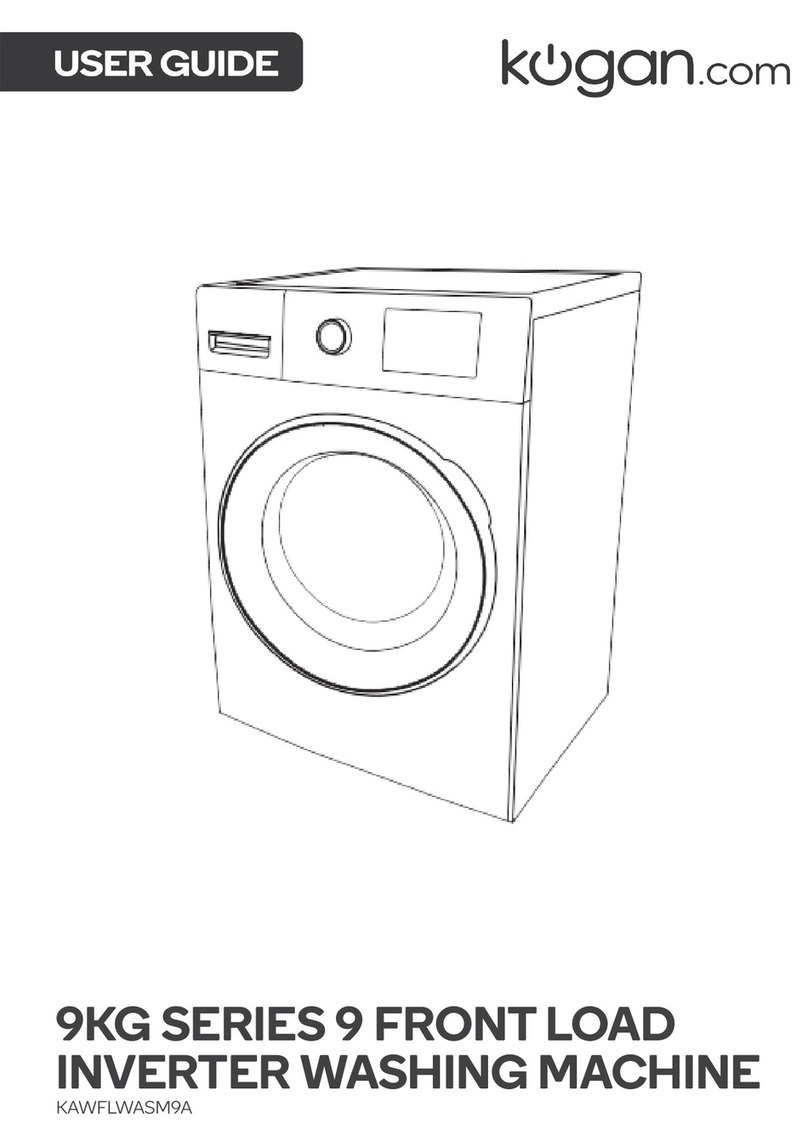
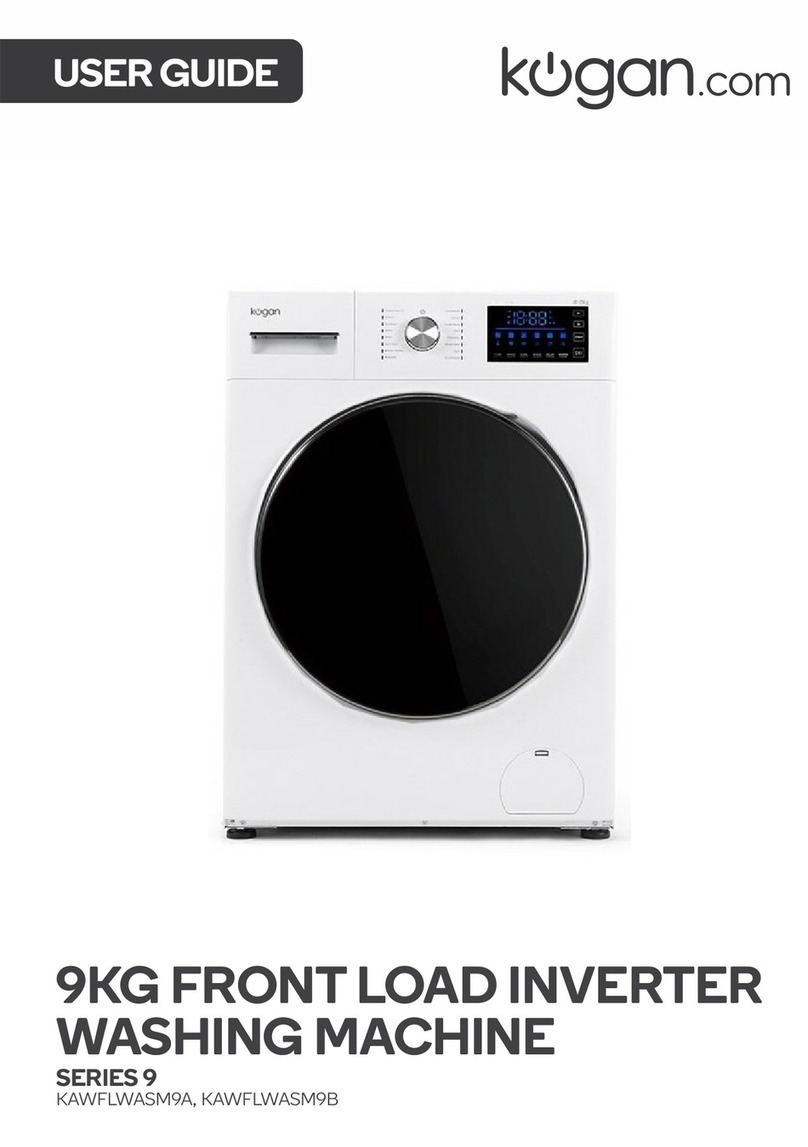
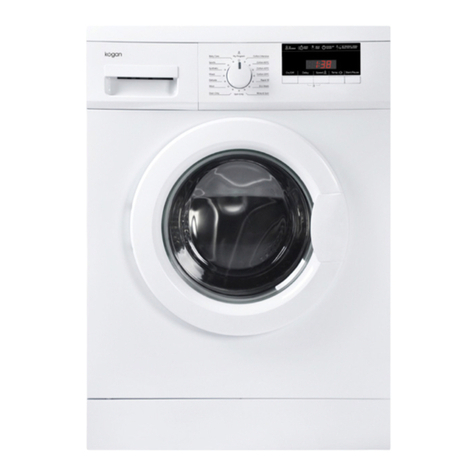
Kogan 8KG Series User manual

KOGAN 8KG SERIES 9 FRONT LOAD
INVERTER WASHING MACHINE
KAWFLWASM8A. KAWFLWASM8B


•To avoid hurting people or damaging property, you must read and adhere to this
manual before using the product. Failure to adhere to the manual could cause
serious harm or death.
•Ensure you have read, and fully understand. the contents of this manual before
operating your machine.
Warning
•Dismantling, repair or alterations should only be carried out by a professional
technician. Unauthorised repairs may result in electric shock, fire or injury.
•The washer should only be connected to power with a dry plug and dry hands.
Otherwise, an electric shock may occur.
•Damaged or loose wires or plugs should not be used, turn off the power, cease use
immediately, and contact Kogan.com support.
•Do not damage the power cable. Do not damage, alter, forcibly bend, pull, twist, or
mishandle the cable. Do not place heavy items on the cable or plug.
•The machine should not come into contact with water during maintenance or
repair.
•Do not put gasoline, benzene, alcohol, thinners, or fabrics with stains from these
substances, into or near to the washing machine, as a fire or explosion may result.
•This washing machine is equipped with a dual-electrode grounding plug and
should be used with an appropriate socket. The socket should be properly
insulated.
•Use a single socket only, not an adapter, and ensure that the voltage and current
matches the plug marked specifications. Sharing the same socket with other
electric appliances may cause a fire or trip the power.
•Thoroughly wipe the power plug when the dirt has adhered to the prong or around
the base of the prong. Do not use water to clean the prongs.
•The washing machine should not be installed in a humid place or in places
exposed to wind and rain.
•The washing machine should never be used in close proximity with candles,
mosquito-repellent, incense, cigarettes or other sources of open-flame.
•Do not operate the machine when there is a gas leak.
•Keep children away from the washer and do not place boxes or shelves next to the
washing machine.
•This appliance is not intended for use by persons (including children) with reduced
physical, sensory or mental capabilities, or lack of experience and knowledge unless
they have been given supervision or instruction concerning use of the appliance by
a person responsible for their safety.
•The glass door becomes hot during high-temperature washing. Do not touch the
door when the machine is on, especially children.
•If you need to open the door during high-temperature washing, wait until the
temperature drops to a safe level, and the door will unlock automatically.
SAFETY & WARNINGS

•Packing material may be dangerous to kids, please keep all packing material
(plastic bags, foam etc) far away from kids.
Attention
•Do not pull the wire when unplugging the device from the socket, grip the plug.
•Please unplug the unit during long periods of inactivity, such as going on holidays.
•Contact Kogan.com if the machine requires maintenance or repairs.
•If the power cord or supply cord is damaged, the manufacturer or its service agent
or similarly qualified person must replace it in order to avoid a hazard.
•Water temperatures of above 50 degrees C should not be used for washing.
•Do not wash, rinse or spin waterproof fabric or cloth, such as sleeping bags,
raincoats, ski covers, utilities, bicycles, cars and motors. Doing so may cause
abnormal vibration and damage to the washing machine, wall, floor and clothes.
•Do not stand on or put weight on the top of the unit.
•Two people are required when moving or transporting the machine.
•Keep hands and feet away from the bottom of the washing machine when it is
motion.
•Check the water supply hose connection by turning on the water before washing.
•The new hose-sets supplied with the appliance must be used, old hose-sets should
not be reused.
•Do not install the washer over carpeted flooring, the carpet may block the
ventilation openings on the bottom of the unit. Do not block the ventilation
openings on the bottom of the washer by carpeting when the washer is installed on
a carpeted floor.
•The water supply hose should be tightly screwed to the unit.
•After extended periods of use, the device may experience leakage caused by the
union nut loosening. Every few months, check it and tighten it again if necessary.
•Please turn off the water tap when not using the unit.
•To prevent damages caused by water leakage.

Additional components
User Guide
Water Supply Hose
Lid (4 Piece)
Spanner
PRODUCT OVERVIEW
Detergent Case
Control Panel
Power Cord
Water Inlet Valve
Washer Door
Wash/Spin Tub
Adjustable Leg
Frame

Transportation
Two people are required to carry the machine. One person on each side carries the machine
by holding the feet of the machine.
Location of washer
The washing machine must be installed on the ground which must be hard, flat and skid-
proof. Please do not lay the washing machine on soft blankets or wooden floors. Do not lay
the washing machine on a platform or bracket.
Sloping ground
Platform or bracket
Concave-convex ground
Transit Bolts
To protect the machine during transportation, there are 4 bolts inserted into the inner part of
the machine. Remove these bolts before use.
If the transit bolts are left in place, there will be a strong shock, loud noise and misfunction
during the spin process.
INSTALLATION

1. Unscrew the bolts that are fixed before transportation by spanner (4 bolts).
2. Remove the bolts horizontally.
3. Fit the cover lid into the holes.
•Hove the machine installed by o professional.
•Keep the removed transit bolts in a safe location; you will need them during
moving.
•As the picture shows, please be sure to confirm that the base protection device is
not stuck at the bottom of the washing machine before use, otherwise, it will affect
the normal use of the washing machine.
Adjust the machine horizontally
There will be a strong shock, noise and misfunction in operation if the washing machine is
not installed correctly. Please adjust the front adjustable Leg.
Methods are as follows
1. Check whether the washer is on a level surface using a plumb line as shown in the
figure below. The washer is on the level ground floor if the Frame line of a washer is
parallel with the plumb line.
2. Adjust the Adjustable Leg of washer if necessary, to make the washer level as
shown in the beside figure.
3. Put your hands on the washer diagonally, press and shake the washer slightly to
make sure that the washer is steady.
Base Production Device

Connecting the Supply Hose
1. Check that the sealing washers are firmly seated.
2. Attach the curved end of the hose to the inlet valve of the washing machine.
Tighten the coupling nuts securely by hand.
3. Attach straight end of the hose to the tap. Tighten the coupling nuts securely by
hand.
4. Turn on the taps and check for leaks. Tighten the coupling nuts firmly if there is any
leakage. If the water pressure is strong, close the water tap completely then open it
slightly.
Caution!
Sealing Washer
Tap
Tap End
Inlet Hose
Twist
Opening
plumb
Opening
plumb
line
Fundus
Fundus
Loosen
Down
Tighten
Screw on the Lock
nut by wrench
Up

•Do not use water which is hotter than 50°C.
•If your faucet is not suitable, please consult your plumber.
Installing Water Supply Hose to the Washer
Turn the nut clockwise till the nut turned tight while holding the hose.
Turn the nut counterclockwise after turning the faucet off when you want to detach the
water supply hose.
Connection of Drain Hose
Whilst the washing machine is off, place the drain hose onto the back of the machine, as
shown in figure 1 below.
Whilst the washing machine is on, place the drain hose into the drain location, as shown in
figure 2. The drainpipe can go directly into your drain but ensure that the hose is not kinked
and there is no sag in the hose, to avoid pooling.
To ensure that the washing machine functions normally, it is essential to clean the filter
periodically.
Note:
Do not remove the drain hose holder; otherwise, there may be drainage problems.
Nut
Hose
Nut
Hose

Prior to first use:
Attention!
•We recommend the user run the tub clean program before the first time washing.
This is to remove any debris or dust from the tub, which would otherwise go onto
your washing.
•Don’t forget to close the water tap and take down the power plug to avoid any
flood or fire disaster.
Drain Hose
1200mm
Drain Hose Stay
Drain Hose

Start/Stop:
Press the button to start and press again to stop.
Power Knob:
Turn the power on or off. Please note, when a program has finished, the machine will
turn off automatically.
Display window introduction:
•When the power is on, the display will show the spin speed and other information.
•When running, it will display the remaining time.
•When breakdown, it will display the error code.
Temperature button:
•Set the washing temperature according to the clothes type.
•The temperature setting range is different among programs. Some of them have o
range limitation.
Speed button:
•Set the spin speed according to your requirements.
•Some programs have a spin speed limitation.
CONTROL PANEL
Button
Display
Knob

Delay button:
•Delay the start of your wash using this button.
Oxygen Fresh button:
•Used to enable the Oxygen Fresh function.
•In some pogroms, the oxygen fresh function is limited.
Rinse button:
•Set the rinse times.
•In some programs, the number or rinses that you can set is limited.
Soak button:
•Set the soak time.
•In some programs, the soak time options are limited.
Stains button:
•Used to set the stain type. Please note, this is only available for some washers.
Time wash button (+/-):
•Select the washing time.

Normal Clothes
Method
1. Preparation
•Put the clothes in and close the door.
•Put the detergent or washing powder into the detergent box.
•Switch on the water tap, put the drain-pipe and plug in the power supply.
2. Open the power.
3. Choose a suitable program.
4. Choose o suitable button.
5. Press the "start/stop" button.
6. When finishing washing, the buzzer will sound.
Wool
Method
•Turn on the power and choose the wool program.
Attention
•Please check the washing label on the clothes before washing and confirm they are
suitable for washing.
•When finishing wash, please take the clothes out immediately for airing in order to
avoid clothes deformation.
•The temperature can't be setting more than 40 degrees to avoid clothes broken.
•Using the wool detergent can improve the washing performance.
•Separate light colour clothes and dark colour clothes before washing.
OPERATION
Note:
Ensure transit bolts have been removed prior to operation. Failure to do so may result in
damage.

Backpack Wash
Method
•Turn on the power and select the backpack program.
Attention
•This mode is only designed for washing the backpack with water.
•Please take off any loose items or decorations before washing and wrap the strops
tightly.
•Remove the backpack immediately to air out after washing.
•Please pull up the zipper and wash the backpack separately with other clothes.
Delayed Wash function
Method
•Tu r n on the power and choose a suitable wash program based on your items to be
washed.
•Press the delay button to set the finish time.
•Press the start/stop button to start-up the delay wash function. The delay time is a
one-hour interval and maximum is 24 hours.
Attention
•If you need to change the delay length, please press the power button and set it
again.
•After setting the delay time, you can cancel by pressing the power button.
•When you have selected your preferred delayed wash length, please press the
delay button. The time set will display for 5 second
•The time is different for different conditions. It depends on the water pressure,
drainage, clothing type and water temperature.
Add-up Function
•This function allows you to odd extra items during washing.
Method
•Press the "start/stop" button during washing until the timer tight turns off. After
some time, the door lock will release and the display will show "Add". Please add
washing and close the door, then press the "start/stop" button to continue
washing.
•Please don't forcibly open the door, it is unsafe and will cause damage.
•When there is a lot of foam or water in the drum, please use o dry towel to prevent
foam and water from spilling out after opening the door.

Cancel the buzzer
•Turn of the buzzer when the program finishes.
Set/Cancel method
•Turn on the power and press the "start/stop" button until the buzzer sounds. When
releasing the button, "cancel the buzzer" function will be shown and activated. If
you repeat this, the setting will be cancelled.
Child protection function
•In the event that the door is opened before the program starts, the machine will
activate child protection mode.
•Firstly, the door will be opened and the motor will be running for a while.
•And then, the door will be unlocked for a while still working again. If during the
waiting time, the door is opened. The machine will be stopped.
Child lock function
•User can set child lock function in order to ovoid child operate the machine when it
is working. So, the door can't be opened and the button except power button can't
be handled. When this function is cancelled, the door can be opened again.
Set/Cancel method
•Open the power and press "temperature" button for 3 seconds till the buzzer sound.
The child Lock function will be set. If you repeat this action, the child lock function
will be cancelled.

Door Lock
When the machine is working, the door locks automatically. It cannot be opened until the
cycle is stopped. See below,
Unlock
When the machine is working, press the "start/stop" button. The door can be unlocked after
the inner tub stops spinning.
•If the power plug is removed when the machine is running, the door won't be
unlocked automatically.
•If the door is opened whilst the machine is working, bubbles may escape, please
clean it with towel.
•You cannot open the door when the machine is running with a high working
temperature.
Introduction to each compartment of detergent box:
Power Synthetic detergents
•For the undissolved detergents, for example: power state soap, dissolve it in
advance and then pour into the detergent box.
Liquid Detergent Bleach
•Use low bubble liquid synthetic detergents.
LOCK AND UNLOCK METHOD

•For the concentrated liquid detergents, dilute it with water by half and then pour
into the detergent box.
Softener
•Put into the detergent drawer before washing, it will be poured into the machine
automatically during the last round of rinsing.
•For concentrated detergents, use a corresponding proportion of water to dilute the
detergent then pour it into the detergent drawer.
•Do not exceed the full mark line.
Notes:
•High bubble washer power or detergents are forbidden.
•Use detergents in accordance with the instruction provided by the manufacturer.
•Excessive detergents will cause too many bubbles and affect the rinse and may
affect the functions of the washer.
•Choose suitable detergents in accordance with the type and colour of clothes, the
water temperature and the stain.

Washing Programs (quick reference)
Cotton Eco
Eco Cotton Wash
Cotton
Regular Cotton Wash
MixWash
Cotton and Synthetics Mixed Wash
Jeans
Wash Jeans
Wool
Wool Wash*
Synthetic
Synthetic Wash
Winter clothes
Down Jacket Wash*
Quick wash
Small Wash or Only Slightly Dirty
Colours
Wash Setting for Clothes with a Deep Colour
or a Light Colour
UnderWear
Wash Underwear
Shirt
Wash Shirts
Kidswear
Wash Kids Wear
Rinse + Spin
Rinse and Spin Only
Spin
Spin Only
Drum clean
Clean the Drum Without Clothes
Backpack
Wash a Backpack
* Item must be marked as machine washable on the label.
PROGRAMS / MODES

Washing Programs (detailed guide)
Program
Cotton Eco
Application
Used for energy efficient washing.
Default time
5:39
Max. load (kg)
Rated capacity
Washing time (min)
Rated capacity
Temperature (°C)
40°C
Rinse (cycles)
3
Spin time (minutes)
14
Spin speed (rpm)
1400rpm
Stain
N/A
Program
Cotton
Application
Everyday cotton and linen fabrics.
Default time
1:08
Max. load (kg)
Rated capacity
Washing time (min)
20 minutes
Temperature (°C)
Default 30°C
Rinse (cycles)
2 (0-6)
Spin time (minutes)
6 minutes
(8 min @ 1200 rpm;
9 min @ 1400 rpm;
remaining time will be accumulated)
Spin speed (rpm)
Default 1000rpm
(400-600-800-1000-1200-1400)
Stain
Oil (30min-50° C)
Paint (25min-40° C)
Wine (25min-40° C)
Juice (25min-30° C)
Coffee (35min-45° C)
Stain (refer to specification)

Program
Mix wash
Application
For a mixed load of synthetic and cotton
textiles.
Default time
1:03
Max. load (kg)
≤6kg
Washing time (min)
15 minutes
Temperature (°C)
Default 30°C
Rinse (cycles)
2 (0-6)
Spin time (minutes)
6 minutes
(8 min @ 1200 rpm;
9 min @ 1400 rpm;
remaining time will be accumulated)
Spin speed (rpm)
Default 1000rpm
(400-600-800-1000-1200-1400)
Stain
Oil (30min-50° C)
Paint (25min-40° C)
Wine (25min-40° C)
Juice (25min-30° C)
Coffee (35min-45° C)
Stain (refer to specification)
Program
Quick wash
Application
For a few lightly soiled items.
Default time
0:16
Max. load (kg)
≤1kg
Washing time (min)
3 minutes
Temperature (°C)
Default Cold
(Cold-10-20-30)
Rinse (cycles)
1 (1-6)
Spin time (minutes)
3 minutes
(6 min @ 1000 rpm;
8 min @ 1200 rpm;
9 min @ 1400 rpm;
remaining time will be accumulated)
Spin speed (rpm)
Default 800rpm
(400-600-800-1000-1200-1400)
Stain
N/A
Other manuals for 8KG Series
1
This manual suits for next models
3
Table of contents
Other Kogan Washer manuals

Kogan
Kogan KAWWASHT10A User manual

Kogan
Kogan KATTLWASH8A User manual

Kogan
Kogan KATTLWASH9A User manual

Kogan
Kogan KAGFLWASH8A User manual

Kogan
Kogan 7 Series User manual

Kogan
Kogan androidtv 9 Series User manual

Kogan
Kogan KAWWASHT85A User manual

Kogan
Kogan KAGFLWAS10A User manual

Kogan
Kogan KAWWASHT12A User manual

Kogan
Kogan KATFWASH75A User manual