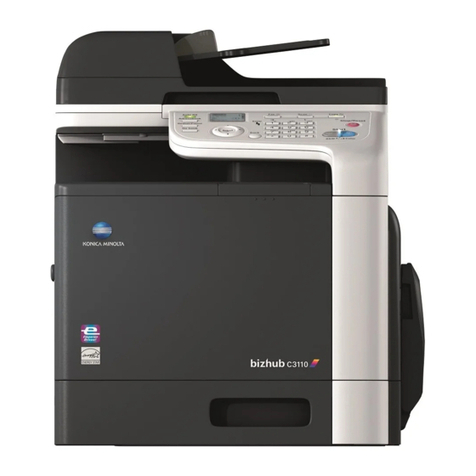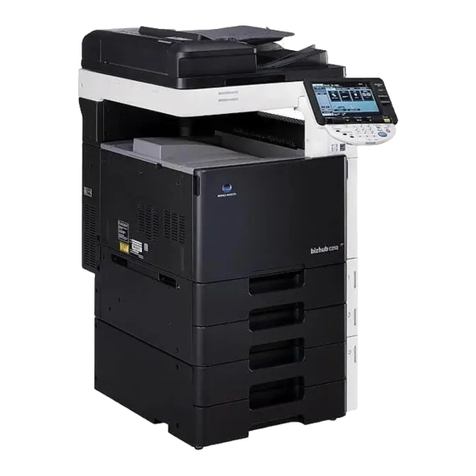
bizhub PRO C5500 Controller - no or slow print, scan failure, garbled data, lockup
Solution
The IC-303 is configured using 2 different methods.
1. After the controller has initialized completely and is connected to the MFP, a controller button will be available under the Machine settings on theMFP LCD
panel. This button will allow basic funtions to be configured under setup. Server Name, system Date/Time, TCP/IP settings, Ethernet speed, enabling Remote
Desktop and Enabling web services are the basic functions that can be configured.
Ensure that Web services are enabled as the remainder of the configuration will have to be done from the web-based configure utility.
2. After a TCP/IP address has been configured and Web services are enabled, launch configure from a Web browser and configure the remaining settings on
the IC-303.
SPECIAL NOTE : Solution contribution by Ed Bellone, Production Print/SSD
Solution ID Solution Usage
TAUS0657643EN*
Description
Unable to scan to FTP.
Solution
CAUSE: FTP function is prohibited.
SOLUTION: To enable FTP, perform the following:
1. Select Utility\Counter.
2. Select Machine Admin. Setting.
3. Select System Setting.
4. Select Operation Prohibit Set.
5. Select Scanner Prohibit Setting.
6. Select Permission next to the FTP tab.
7. Exit the Administrator mode.
Note : Make sure that FTP is enabled on the Fiery® controller.
SPECIAL NOTE : Solution contribution by Cesar Jimenez/Ed Bellone/David Aekus, Production Print/SSD
Solution ID Solution Usage
TAUS0800364EN*
Description
Unable to print a configuration page and the machine prompts for 64gms to 74gms paper weight yet the tray is set for the proper paper weight. This problem
also occurswhen printing.
Solution
CAUSE: The firmware on the machine is corrupt or the system code on the IC-408 is corrupt.
SOLUTION: Upgrade the firmware on the machine to at least version 12 and the IC-408 system code to version 1.0a. The latest version firmware or system
software is available via the Konica Minolta Download Selector. Access the Selector from SSD Web Support (CS Expert Support) by clicking on 'Download
MSDS, Drivers, Firmware and more'.
SPECIAL NOTE : Solution contribution by Mark D'Attilio, Production Print/SSD
Solution ID Solution Usage
TAUS0801668EN*
Description
After updating the IC-408 to version 1.1, unable to print andfinishing options and features not available.
Solution
CAUSE:Correct PPD has not been loaded in Adobe® PageMaker® or PPD has not been assigned to printer in PageMaker® print dialog box.
SOLUTION:To correct this:
1. Remove the EF9M9A90 and the EF9M9090 PPDs from the C:\Program Files\Adobe\PageMaker 7.0\RSRC\USENGLSH\ppd4 folder.
2.Copy and paste the EF9M9A91.ppd from the extracted IC-408 version 1.1 print driver into the PPD4 folder.
3.Reboot the system then open PageMaker® file (File=> print => select the IC-408 printerthen select PAPER). This should now make the DOCUMENT
button available.
4.Select DOCUMENTand change the PPD to Fiery® X3ETY2 65_55C-KM.
5.Press ENTER on keyboard. This may cause job to print but the PPD will now be assigned as the default PPD to use for this printer.
Note :Once the PPD is selected in the Document screen all the finishing features become available andthe remainder of the steps are just to set the PPD to
that printer so the PPD does not have to be selected everytime.
SPECIAL NOTE : Solution contribution by Chuck Tripp, Production Print/SSD
Solution ID Solution Usage
TAUS0808310EN*
8
Copyright , Konica Minolta Business Solutions U.S.A., Inc.
March 2010
