8
WORKING WITH AUDIO SOURCE
1. Use connective wire to join the audio source and the main unit together.
2. Adjust volume of the audio source in order to get a better amplifying effect.
REMARK : DO NOT set the audio source to too high volume to avoid overloading. The output
sound of the main unit will be eliminated and replaced once the ‘AUDIO IN’ JACK (15) has
connected to other audio source. The sound will resume once the connective wire is removed
from the jack.
If ‘audio in’ function is in use and broadcasting music, the alarm sound will insert into the music
at the pre-set wake up time. To stop the sound, simply press the power on/off alarm off button
(14).
RADIO OPERATION
- Press the power on/off button (14) to turn radio on.
- Select AM or FM band using the wave band switch (2).
- Select the station using the tuning control (8).
- Press the volume control button (3)/(4) to adjust volume as required.
- Press the power on/off button (14) to turn radio off.
Note :
- The AM band use an internal directional aerial. Rotate the radio for best reception.
- Ensure that the FM cord antenna (7) is completely unrolled and extended for best FM
reception.
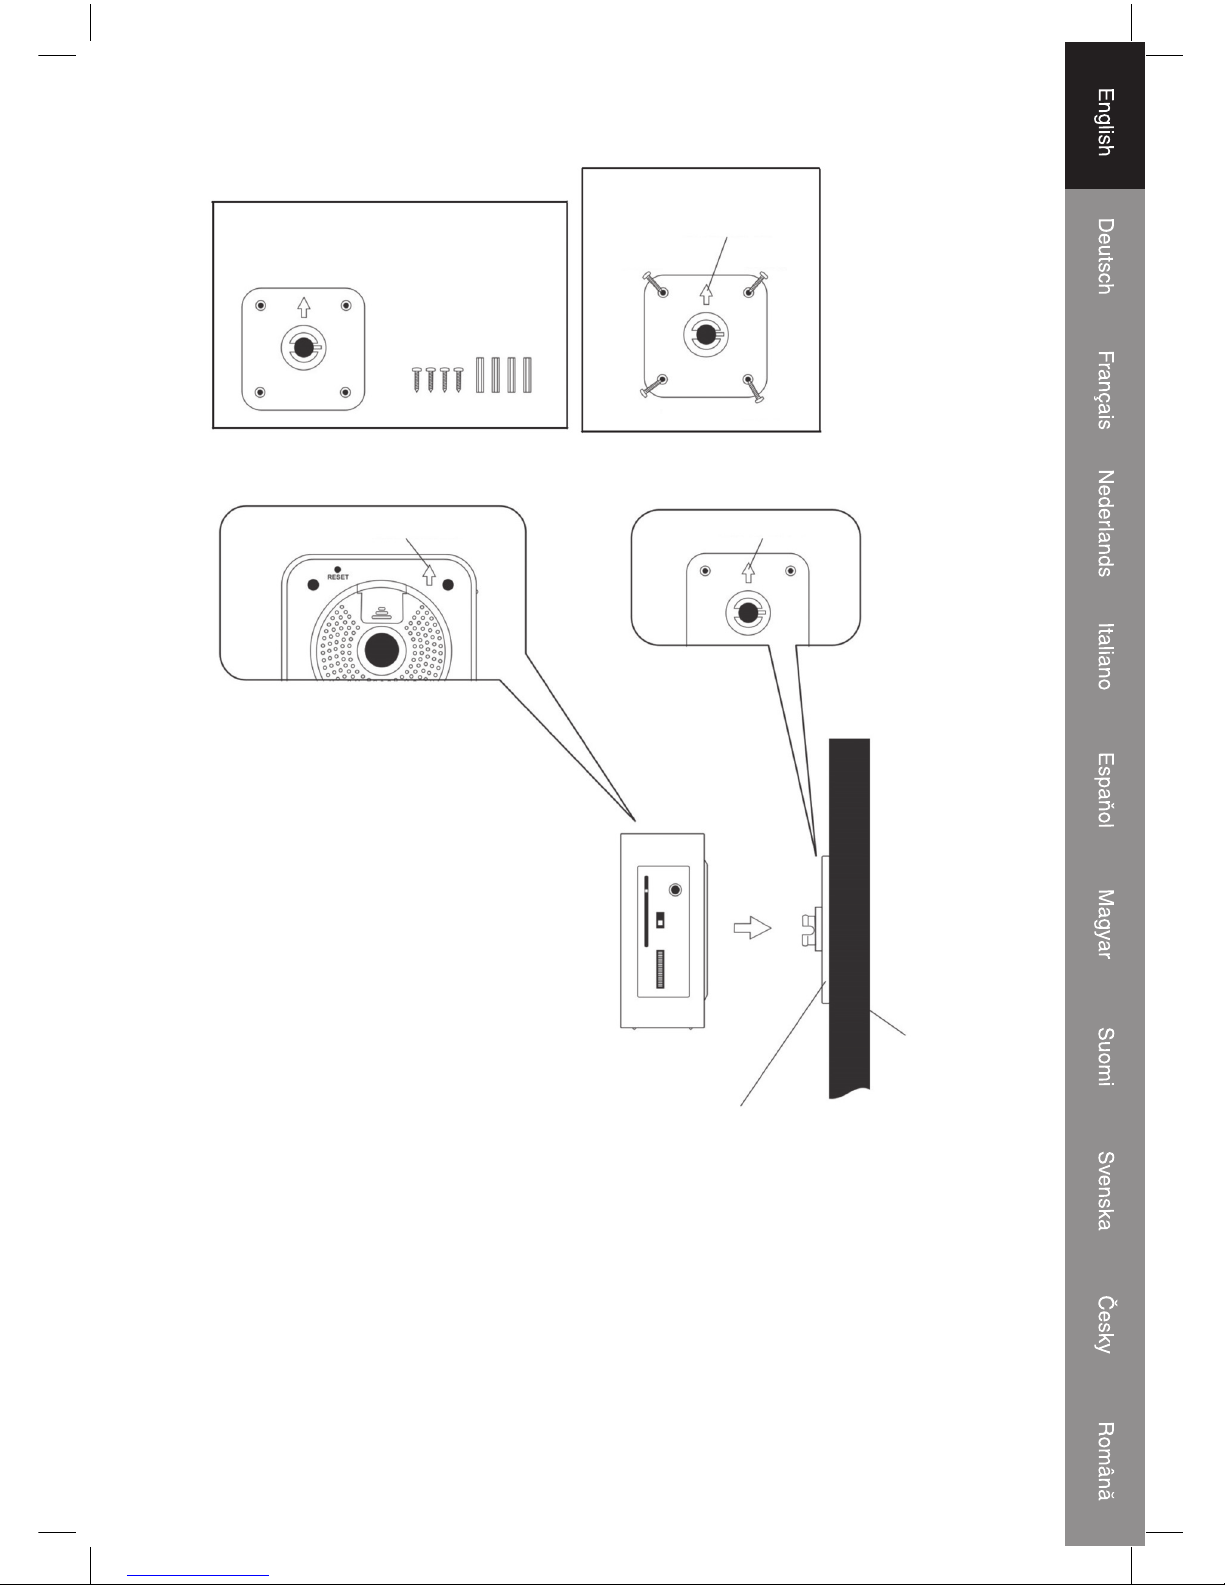
RESET
- The reset button (17) is located on the bottom of unit. Use a ballpoint pen to press it whenever
you change the batteries, or unit is not performing as expected. This will return all settings to
default value, and you will lose any stored data (alarm and clock settings).
SPECIFICATIONS
Frequency range: AM 540 – 1600 KHz
FM 88 – 108 MHz
Output Power: 280 mW
Speaker impedance: 8 Ohm
Battery backup: 1 x CR2032, 3V Flat Lithium (battery not included)
Dimensions: 105 x 48 mm
Power source: AC 230 V ~ 50 Hz, 5 W