Konka KL42CS62Q User manual

1
Incaseofsmoke, strange noiseorstrangesmell
fromtheunit:
Turn offthepowerswitchimmediately;
Disconnect thepowerplug from thepower
outlet;
Contactyourdealerorservice centre. Never
attempt to makerepairsyourself becausethis
couldbe dangerous.
High Voltage
Donotopen
Riskof electronicshock,donot open.
Do not attempttoservice this product yourself
asopeningorremovingcoversmayexpose
you to dangerousvoltage orotherhazards.
Referall servicing to qualifiedservicepersonnel.
CAUTION
Important SafetyInstructions
ImportantSafetyInstructionsand Maintenance
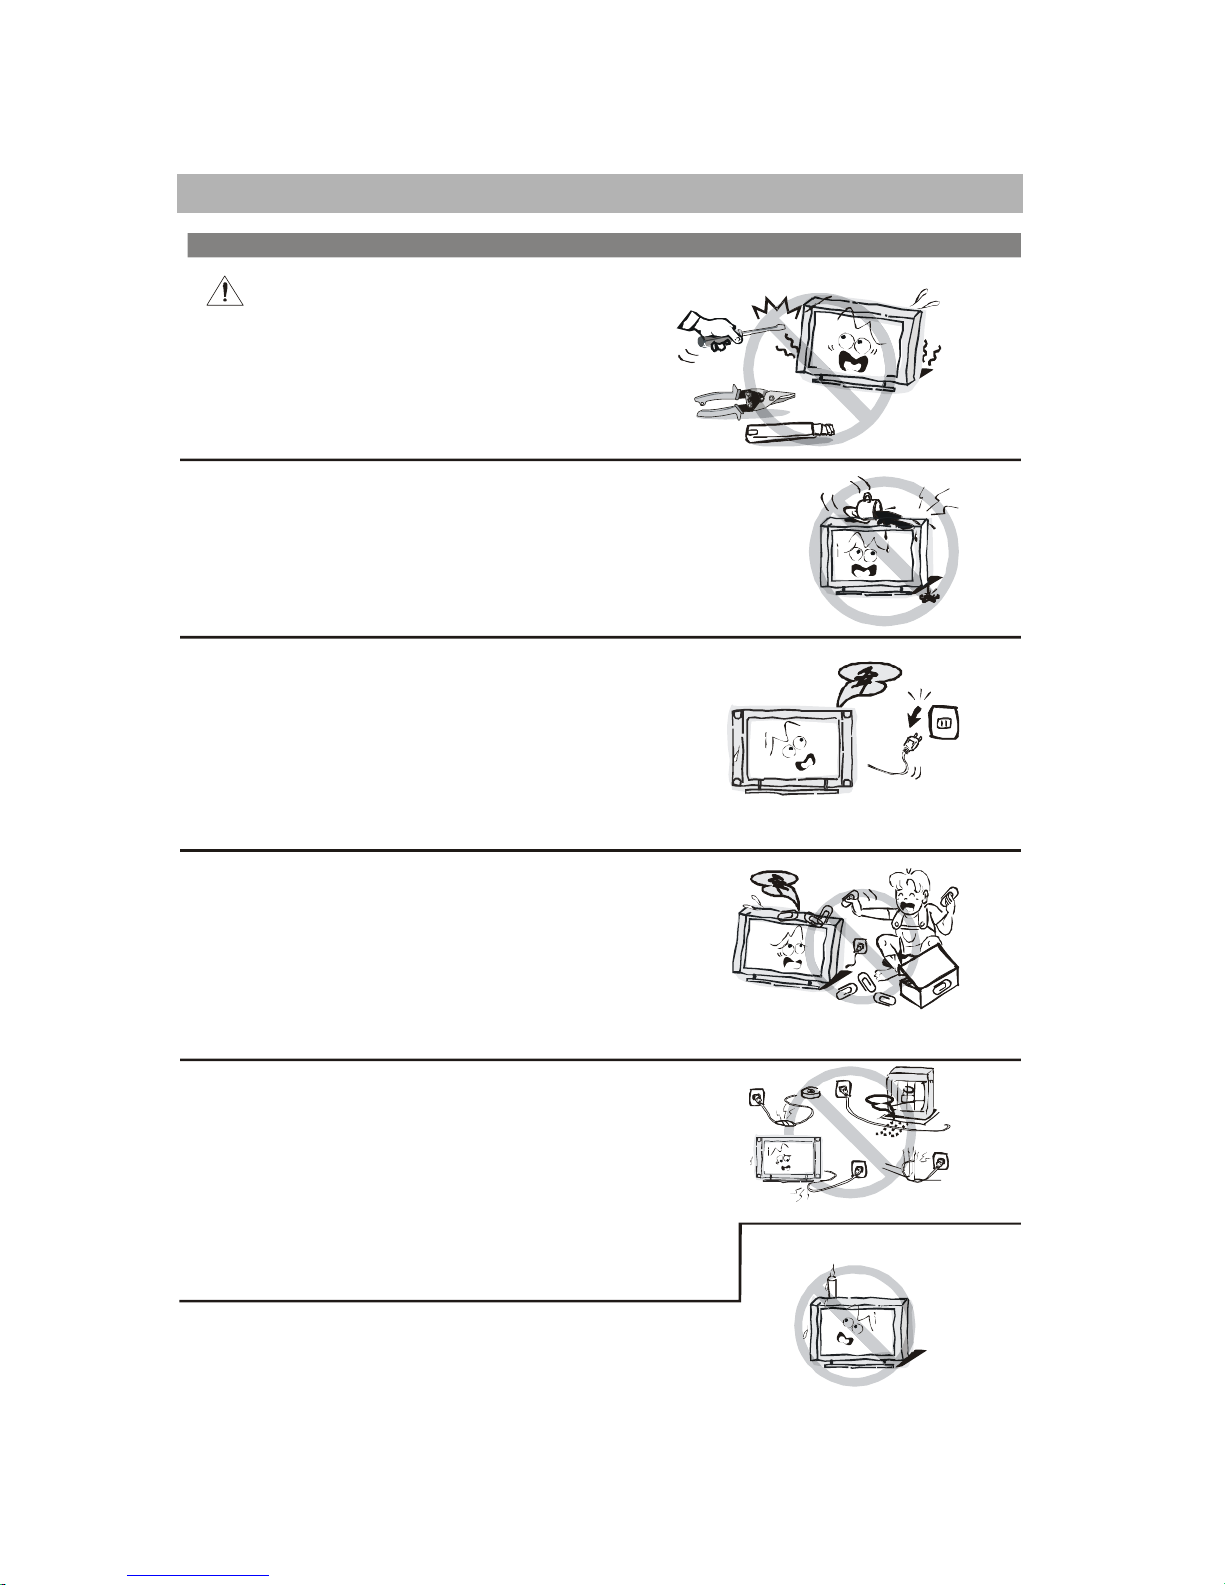
Neverpushobjectsofanykind into the set
through thecabinet slotsastheymaytouch
dangerousvoltagepointsorshort-circuitpartsthat
could result in afire orelectric shock. Neverspill
liquid ofanykindon theset. Usespecialcaution
in householdswhere children arepresent. The
apparatusis not suitableforchildrenunder3-year
tooperate.
Powersupplycordsshouldbe routedsafetyto
prevent lifeand propertyfromdangerouswith
damagedcord.
Mainsplugisused asthedisconnect device.It
shall remainreadilyoperableandshould not be
obstructed duringintendeduse. To be completely
disconnectedtheapparatusfromsupplymains,the
mainsplugof the apparatusshallbedisconnected.
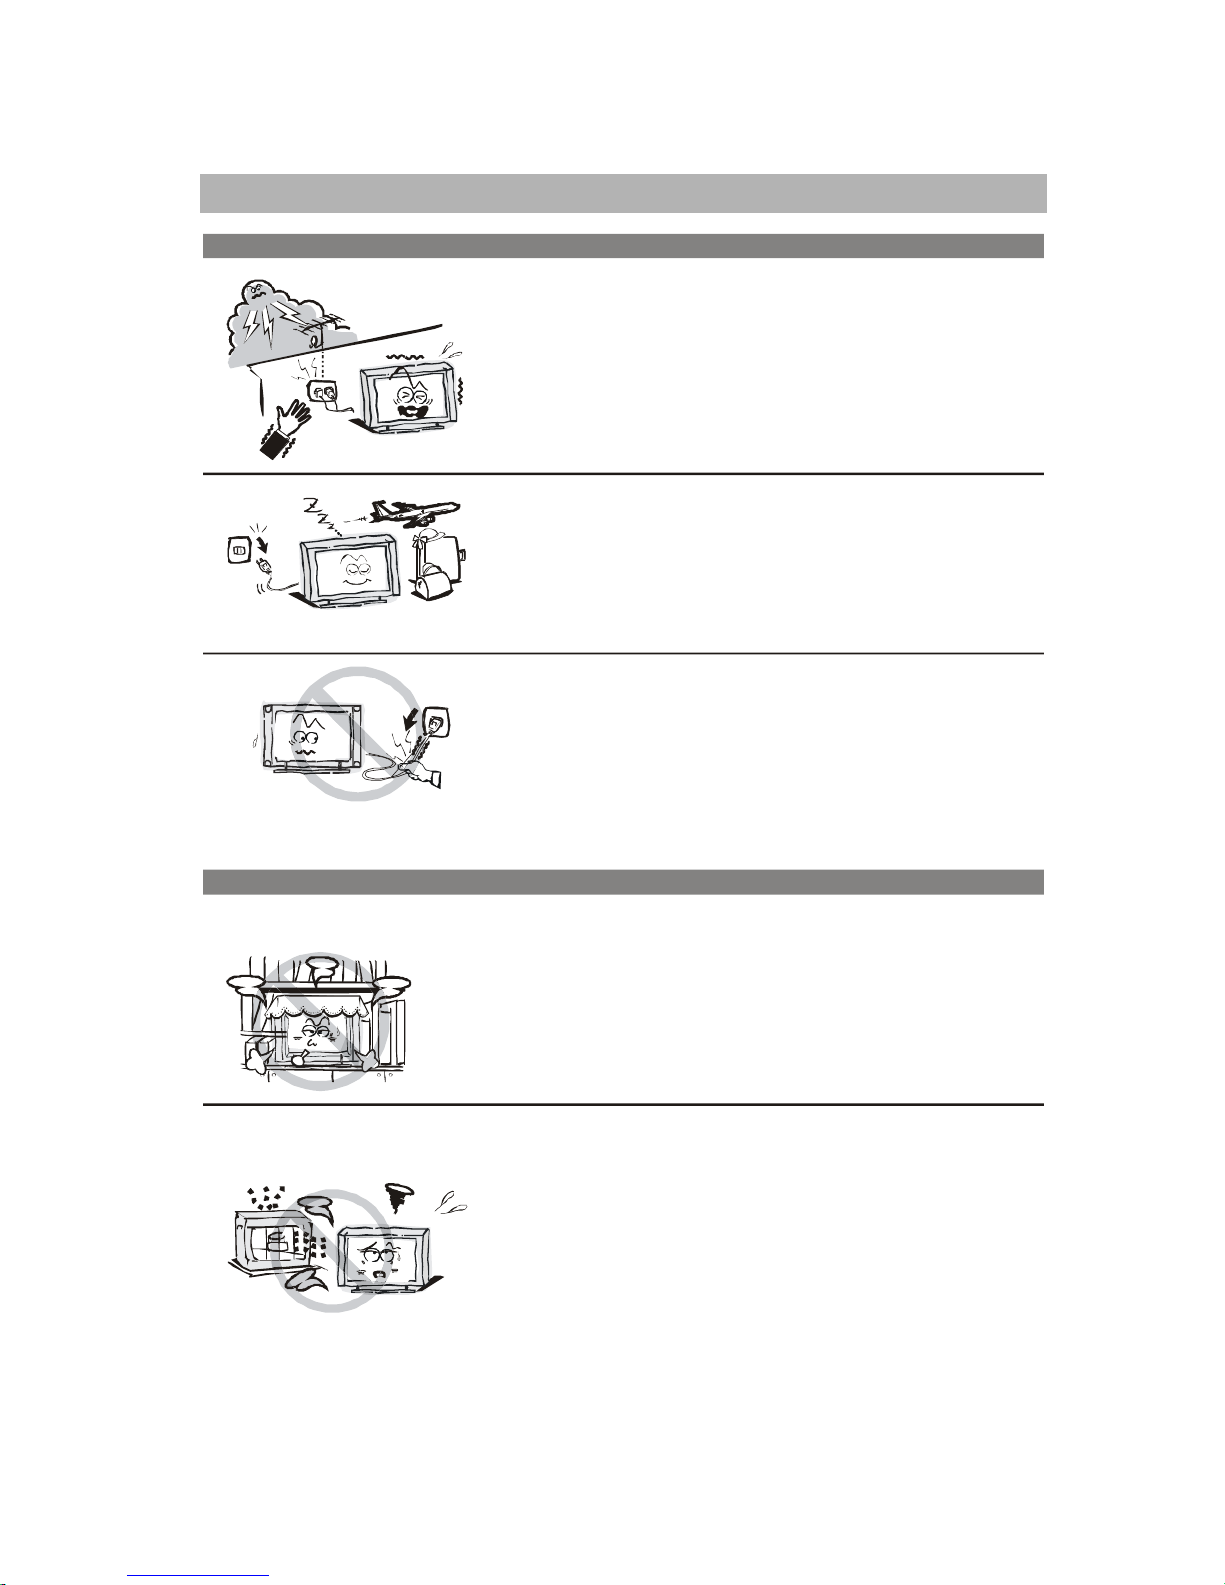
Toreducetherisk offireorelectricshock,do not
expose thisproducttorain ormoisture.
Theapparatusshallnot be exposed to dripping
orsplashingandnoobjectsfilledwithliquids,
suchasvases,shallbeplacedon theapparatus.
Toavoid thefire,no nakedflamesource,
suchaslighted candles, shouldbe
placedon the apparatus.

2
ImportantSafetyInstructionsand Maintenance
Important SafetyInstructions
Alwaysturnthe setoffwhenitisnot beingused.
Unplug theapparatusfromtheACoutlet when itwill
not be usedfora long period oftime.Andwhenthere
isa lightning,unplug theunitfrom the ACoutlet
immediately.Nevertouchtheantennawireduring
lightning.
An outside antennasystem should notbelocated in
the vicinityofoverheadpowerlinesorotherelectric
light orpowercircuits,orwhereitcanfallinto such
powerlinesorcircuits.When installing anoutside
antennasystem,extreme caresholdbe takento keep
from touching such powerlinesorcircuitsascontact
withthem mightbe fatal.
Installation
The ventilation shouldnot be impededbycoveringthe
ventilationopeningwith items, suchasnewspapers,
tablecloths,curtains, etc.
Atleast10 cmspaceshouldbeleft around the
apparatusforsufficientventilation.
The productshouldbe situatedawayfrom heat
sourcessuchasradiators,heat registers, stoves,or
otherproducts(includingamplifiers)that produce heat.
Placethe apparatusin suchapositionthat the screen
isnotexposed to direct sunlight. It isbestto havesoft
indirectlightingwhilewatching and avoidcomplete
darkenvironmentandreflection from thescreenas
thesemaycauseeye fatigue.
Keepthe productawayfrom high magnetic field(i.e.
power-amplifiedpowerspeaker) to avoidaffectingthe
tint;
Do not pull the plugout bythe wire;
Nevertouch theplugwithwet hands.

3
ImportantSafetyInstructionsandMaintenance
ImportantSafetyInstructions
Always turnthe setoffwhenitisnotbeingused.
Unplug theapparatusfrom theACoutlet whenit will not be used
fora longperiod of time.Andwhen there isa lightning,unplug
theunitfromtheACoutlet immediately.Nevertouchtheantenna
wire during lightning.
An outside antennasystemshould not be locatedin the vicinity
of overheadpowerlinesorotherelectriclightorpowercircuits,
orwhere itcan fall intosuchpowerlinesorcircuits.When
installing anoutside antenna system,extremecare shouldbe
takento keepfrom touching suchpowerlinesorcircuitsas
contactwiththemmightbe fatal.
Installation
Theventilation shouldnot beimpeded bycoveringthe ventilation
opening withitems,such asnewspapers,tablecloths, curtains,etc.
Atleast 10 cmspace shouldbeleft aroundthe apparatusfor
sufficient ventilation.
Theproduct should be situated awayfrom heat sourcessuchas
radiators, heatregisters,stoves,orotherproducts(including
amplifiers)thatproduceheat.
Placetheapparatusin such aposition thatthescreenisnot
exposedto directsunlight. It is best to have softindirect lighting
while watching and avoid complete darkenvironment andreflection
fromthe screen asthese maycauseeye fatigue.
Keep the productawayfrom highmagneticfield(i.e. power-amplified
powerspeaker) to avoidaffecting the tint;
Donot pulltheplugout bythewire;
Nevertouch theplug withwethands.
Excessivesoundpressurefromearphonesand headphonescan
cause hearing loss.

4
Contents
Generaldescription5
Specificationsandaccessories6
Overview7
Basic operation10
External connection22
Stand23
Troubleshooting25
Picturedefectsand countermeasures26
Note:
lThe illustrationsandon-screendisplaysinthisuser smanualarefor
explanationpurposes and mayvaryslightlyfrom actualoperations.
lIncase of anydesignchange, a notice will notbe released.

5
Generaldescription
Feature:
lZeroXradiationcompliestogreenenviromentprotectionrequirement
lAutotuningandfinetuning
lTwoS-Video inputsockets
lTwoearphoneoutputsockets
lPCVGAinputsocket
lTwoYPbPr inputsockets
lTwoHDMIinputsockets
lTwocompositevideo inputsockets
lNICAM
lMulti-languageOSD
lProgrammableTVsleeptimer
lWiderangevoltageinput
lNo-signalautomaticpowerofffunction
l128totalchannelstopreset
lPCVGAmode: VGA, SVGA,XGA, SXGA
Note:
1. Incaseofanydesign change,anoticewillnotbereleased.
Specification

6
Specifications:
Accessories:
l User smanual l Remotecontrol
Note: DuetoTVmaybeusedwithdifferentdisplayscreen,weightmarkedin
thisuser's manual orin packaging boxaresubject tochange without
notice.
Specifications and accessories
KL32CS62QKL42CS62Q
Finedigitalcontrol
AC~110-240V50/60Hz
75ohms,unbalanced
2X5W
150W
(3Wstandby)
1366x768
32"Diagonalmax.)
(
ColoractivematrixLCDdisplay
PAL:I,B/G,D/K; SECAM: D/K,B/G
,
Displayscreentype
Displaysize
LCDpanelresolution
Imagecontrol
Powersupply
TVreceivesystem
Video IN
Antennainputimpedance
Speakeroutput power
MaxPowerconsumption
Dimensions
(LXWXH)
Weight
(Net weight)
Operationenvironment
temperature
Description
170W
(3Wstandby) 220W
(3Wstandby)
12.5Kg
(TVwithstand)
10.5Kg
(TVwithoutstand)
2X5W2X5W
KL37CS62Q
37"Diagonalmax.)
(
42"Diagonalmax.)
(
1920x10801920x1080
Powersupplyforremotecontrol DC3V(Two 7# batteries)
16Kg
(TVwithstand)
13Kg
(TVwithoutstand)
23Kg
(TVwithstand)
20Kg
(TVwithoutstand)

7
Overview
1.Power Switch
Press this buttontoturnTV onor off.
2.Power Indicator
Green:Normalplayingstatus; Red: Standbystatus.
3.RemoteSensor
Pointremote control at this sensor toconductremotecontrol.
4.INPUT
Pressthis button todisplaythe selectable signalsourceformainsource.
5.MENU
Press thisbuttontodisplay OSD menu.
6.PROG.r/s
Press thesetwo buttons to select program.
7.VOL r/s
Press these twobuttonsto increase or decrease thevolume.
8. Press thisbutton to enter standbymode under normalplay, or press this button
enter normalplay mode understandbymode.
9.S-VIDEO
S-Videoinput socket,forreceivinghigher resolutionand betterpicturequality
signal.
10.VIDEO
Video input socket for connecting an externalinputdevice.
11.AUDIO(L& R)
Audioinput sockets(L&R)for connecting audioinputfroman externaldevice.
12.HEADPHONE
Audiosocket for connectinga pairof headphone.
S-VIDEO
VIDEO
AUDIO
L
R
4
5
6
7
8
9
10
11
12
Remotesensor
Powerindicator Powerswitch
MENU
INPUT
VOL
1
2
3

8
Overview
SupportingSignals
RGB/PC
AUDIOinput
HEADPHONE
output
HDMI2input
-
HDMI1input
-
Component
AUDIOinput
Component
signalinput
Antenna input
VGA
input
S-VIDEO
input
VIDEO
Inputoutput
/
AUDIO
Input output
/

9
Overview
Remotecontrol
Loading batteries:
1)Removethe lid of thebatterycompartment.
2)Insert 2sizeAAAbatteries with polarities as indicated inside the compartment.
3)Replace thelid.
Note:
1)One loadingof batteries will last 1yearundernormaluse.
2)If youdont intend touse the remotecontrol for along periodoftime, remove
them to avoiddamage due to leakage.
3)Do not mixoldandnewbatteries, or different types.
4)Don t throwthe batteries into fire or water.
5)The batteries (battery packor batteries installed) shall not be exposed to exces-
sive heatsuchassunshine, fireorthe like.
PC
POWER
LED
SCALE
RECALL
MENU
SND.MODE
VOLUMEUP
PROGRAMDOWN
SUBCODE
CANCEL
FASTTELETEXT
CALL
NICAM
SLEEP
VOLUMEDOWN
PROGRAMUP
INPUT
PIC.MODE
LANGUAGE
DIGITALBUTTONS
TV
YPbPr
HOLD
MIX
HDMI
PC
SIZE
REVEAL
MUTE
TV/TEXT
INDEX
FREEZE
ARROWBUTTONS
()

10
Basicoperation
Remotecontrol introduction
1.LED
Press any button, the led willlight.
2.POWER
Press thisbuttontoswitch to standbymode, and press it againto turn TVon.
3.INPUT
This buttonis usedtoswitch among different sources.
4.PICMODE
This button isusedtoadjustuser picture mode, pressthis button repeatedlyand
selectone offour settings.
Normal
Dynamic
Mild
User
5.SNDMODE
This buttonis usedto selectthe sound mode.
Normal
News
Music
User
6.SCALE
This button is usedtosetdisplaywindow.
7.SLEEP
Press to select atime (15Min,30Min,45Min, 60Min) fortheTVtoturnoff automatically.
PressMENU button to exit when you havesetthe sleeptimer. Afteryouhave set
sleeptimer, press SLEEPbutton again,youwill seetheRemaining time.
Note: Thesleep timeryou have setwillbecancelled whenthe TV turnsoff or if a
powerfailure occurs.
8.LANGUAGE
This buttonis used toswaplanguage.
9.NICAM
The button isusedtosetNICAM soundsystem.
10.CALL
The buttonisused to displaycurrent TVchannel number.

11
Basicoperation (tobecontinued)
11.Digital(0~9)
To selectchannelwith digital buttons.
12. -/--
This button is used to selectprogram number: single, doubleor treble.
13.RECALL
Toswap to thepreviousprogram youwanted from current program.
14.TV
Switchto TV mode directly.
15.YPBPR
Switchto YPBPR1 or YPBPR2 (twice) directly.
16.PC
Switchto PC mode directly.
17.HDMI
Switchto HDMI1 or HDMI2 (twice) directly.
18. VOLrandVOLs
Press these buttonsto adjust TVvolume.
19.PROGrandPROGs
Pressthesebuttons tochange channelupwardor downward.
20.MENU
Pressthisbuttontodisplay mainmenu or exitthe menu.
21.ARROW()
Useto movecursor up/down/left/right.
22.MUTE
Press to temporarilycutoff the TVsound, press again to restore TV sound.
23. FREEZE
This buttonis used tofreeze picture.
24.TV/TEXT
Press this buttonto openor closeteletext.

12
Basicoperation (tobecontinued)
25.HOLD
Press HOLD buttonto toggle Holdfunction onor off.WhenHold is switched on,
the pageacquisitionisstopped. When Hold is switched off,the pageacquisition
is started.
26.SIZE
Thisisatogglefunction among 3 differentsize:
Normal Size
Top-half
Bottom-half
Normal size: Displayfull screeninnormal size.
Top-half: Displaythe upperhalf of thescreen indoubleheight.
Bottom-half:Displaythelower half of thescreenindouble height.
27.SUBCODE
Subcodemodegivesthe possibility toselectcertainsubcodepagesof a Teletext
page.Entryofdigitswithin the range0...9 for current subcode entry. If thedigit
completestheentry, apagerequestis started.Press q/pArrowbutton to change
the subcode pages.
28.Red/Green/Yellow/Blue/Command
These fourbuttons areused to request linked pagenumber withthecurrentpage.
29.INDEX
PressINDEXbutton, then indexpagedisplays.
30. MIX
PressMIX button,the teletext pagechanges transparent, TVcontent and teletext
page content will displayat thesame time. Press MIXbuttonagain to exit mixmode.
31.REVEAL
Some pagescontainhidden information. Thehidden textis displayed if the
REVEAL button is pressed. Thehidden text will be cancelledwhen another page
isrequestedifa different subpage isbroadcasting or iftheREVEALbuttonispressed.
32.CANCEL
Press CANCEL buttonwill remove all teletext display fromthe screen.Ifthe system
was alreadyunder cancelmode, press thisbuttonagain to returnto full screen
teletext display.
Note: 24-32 only available inteletext channel.

13
Basicoperation(tobecontinued)
TurningtheTVOn and Off
1.Insert theACmainwireintoTVpowerport.Press
ON/OFF switchto turnpower on.
2.If TVis in standbymode, please press POWER
buttonon the remote controlorTV side panelto
turnit on. Theindicatorwillswitchfrom red to
green.
3.If you want to interrupt watching TVor go out for
a while, you canpress POWERbuttononthe
remote control. If you want to watchTV again,
youcanpress thisbuttonagain.
4.Unplugthe power cord whentheTV will not be
used fora long period time.
PCandHDMImode Autopower-saving
In case under non-signalstate, TVwill enter
power savingmode automatically in 45
seconds.
In case detectssignal-in,TVwill enter PC or
HDMI mode back.
Autopower-off
In case under non-signalstate, TVwill enter
standbymodeautomatically in 5 minutes in TV,
SVideomode,AV mode,YPBPR mode.InPC
andHDMI mode, TVwill enter power saving
mode in 45 seconds and power off in 5minutes.
MemorizingtheChannels
YourTVcanmemorizeallof theavailable
channels. After theavailablechannels are
memorized,usePROGr/sbuttontoscan
throughchannels.
Languageselect
Before using TV,youcanset the language:
1)Press MENUbuttonontheremote controlor TV
side panel,thenpress t/uArrow buttonto se-
lect “Setting”menuas following:
PictureSound
Channel
Setting
Function
MENU
Exit
Select
Adjust
Opaque
Blue
Always
OSDH-Position
OSDV-Position
OSDTimer
OSDHalftone
OSDSkin
50
50
OSDLanguageEnglish
PC

14
Basicoperation (tobecontinued)
2)Press qArrowbutton toenter the submemuand press t/uArrowbuttonto
selectthe language.
Settingvideoformat
In order to meet thevideoformat in your country, you canset the video format as
following:Press q/pArrow button toselect “Colour System”under “Channel”
menu, andthenpress t/uArrow button to changevideo format as following:
AutoPAL SECAM
Settinginputmode
Press INPUTbuttonon theremote control or TVsidepanel,so youcanswitch
input sourcesasfollowing:
SettingSoundSystem
Press MENU buttononthe remotecontrolor TVside panel,andthen press
q/pArrowbutton toselect “Sound System”underthe “Channel”menu, then
presst/uArrowbuttonto selectsound system asfollowing:
Tuner setup
Press MENU buttononthe remote controlor TVside panel,then press t/uArrow
buttonto select “Channel”:
1)Current Channel
In “Channel”menu,press q/pArrow buttonto select “Current Channel”,presst/
uArrow button to adjustcurrent channel,youcansee the current channelnumber.
2)TargetChannel
In “Channel”menu,press q/pArrowbuttonto select “TargetChannel”,press
the t/uArrowbuttonto adjusttargetchannel.
3)Exchange
In “Channel”menu, press q/pArrowbuttonto select “Exchange”,thenpress
Auto BG IDK
TVAV1AV2SVideo1 SVideo2YPbPr1YPbPr2PCHDMI1HDMI2
PictureSound
Channel
Setting
Function
MENU
Exit
Select
Adjust
0
Auto
Off
114.12MHz
CurrentChannel
Target Channel
Exchange
Skip
AFT
FineTune
AutoSearch
ManualSearch
ColourSystem
SoundSystem
Auto
0
Off

15
Basicoperation (tobecontinued)
uArrowbuttonto performthe exchange operation,thenyoucanswap “Current
Channel”to “Target Channel”.
4)Skip
Selectthe channelyouwantto delete by using current channel and set the skip
“On”. Ifyouwant to restorejust press digital buttons to select thischannel and
operate as steps above, but setit “Off”.
5)AFT
In “Channel”menu, press q/pArrow buttonto select “AFT”,thenpress t/u
Arrowbuttonto select “On”or “Off”.
6)Fine Tune
Incase ofunfavorable imageorsound of TV program,you can usefine tune
functionto obtainsatisfiedimageorsound withoperating stepsas follows:
i)Press MENU buttonto displaythe main menu onthe screen, thenpress t/u
Arrow buttontoselect “Channel”, press qArrow button toenter “Channel”
submenu.
ii)Press q/pArrowbuttonto select “FineTune”in “Channel”submenu,press
t/uArrowbuttonto conduct fine tuning fromhighfrequencyto lowfrequency
orfrom low frequencyto highfrequencytillbest picture orsound effect is
obtained.
iii)When “AFT”is set to “Off”, the “Fine Tune”canbe adjusted.
7)Auto Search
Under “Channel”menu,press q/pArrowbutton to select “Auto Search”, then
press uArrowbuttonto enter “Auto Search”menu as follows :
TV will auto tune and all programssearched will be saved into memoryuntilthe
whole process is overautomatically, pleasedontinterrupt it.
Note:
1)If youuse theTV for thefirst time, you must use “Auto Search”to searchTV
channels inorderto memorize allchannels.
2)IfyourTV isnotin TVinputstate, youmust switchitto TVstate (detail
operationplease refer to “Settinginputmode”).
3)If you wantto stoptheprocess of “Auto Search”, just press MENU button to
exit.
A

16
8)ManualSearch
Under “Channel”menu. Press q/pArrowbuttontoselect “ManualSearch”,
and thenpress uArrowbuttonto enter “Manual Search”menu as following:
TVwilltunefrom lower frequency to higher frequencywhenyoupress u
Arrow button,andfrom higherfrequency to lower frequency whenyoupresst
Arrow.
9)ColourSystem
Press q/pArrowbutton to select “Colour System”andpress t/uArrow button
to set the coloursystemto yourdesire.
10)Sound System
Press q/pArrowbutton to select “Sound System”and press t/uArrowbutton
toset thesoundsystemtoyour desire.
How to select TV channel
1)Select thechannel youdesired to watch
Press PROGr/sbuttonor use number button directely to select what youwant
to watch, thedefault channel number is single-digit. Press “0”to “9”directly
to select fromchannel 0 to channel 9;Press “-/--”buttontwiceor thrice to display
“--”or “---”onthe up-right of screen, thenpress digitalbuttonsto select channel
10 to channel127.
2)PressVOLr/sbuttontoadjust TV soundvolume youwould like to enjoy.
3)Press MUTE button to cutoffvolumecompletely.Torestore the volume,press
MUTEbuttonagain.
4)PressCALL button, TV willdisplaycurrentchannelinformationonthe up-right
screen.
Basicoperation (tobecontinued)
M

17
Adjustingthepicture
Press MENU button onthe remotecontrolorTV sidepanel,then press t/u
Arrowbuttonto select “Picture”menu.
Note: Only “Brightness”, “Contrast”, “ColourTemp.”and “ScaleMode”are
availablefor PC mode.
1) Picture Mode
In “Picture”submenu,press q/pArrowbuttontoselect “Picture Mode”,and
press t/uArrowbuttonto adjust picture mode, until youlikeit.
Note:Brightness, Contrast,Tint,Saturation, Sharpness and Backlight adjust-
ing areonlyavailableinuser mode.
2)Adjusting theBrightness ofpicture
In “Picture”submenu, press q/pArrowbuttonto select “Brightness”, and press
t/uArrowbuttonto set brightness to yourdesire.
3)Adjusting theContrast of picture
Inthe “Picture”menu, press q/pArrowbuttontoselectthe “Contrast”,then
press t/uArrowbuttontoset contrastto your desire.
4)Adjusting the Tint of picture
In the “Picture”menu,press q/pArrowbuttonto select the “Tint”,thenpress
t/uArrowbutton to set colour to your desire.
Note: Only in NTSC available.
5) Adjustingthe Saturationof picture
In the “Picture”menu, press q/pArrow buttonto select the “Saturation”, then
press t/uArrowbuttonto setsaturationto yourdesire.
6)Adjusting theSharpness ofpicture
In the “Picture”menu,press q/pArrow buttonto select the “Sharpness”, then
press t/uArrowbuttonto set sharpness to your desire.
7) Adjustingthe Backlightof picture
Inthe “Picture”menu, press q/pArrowbutton toselect the “Backlight”, then
Basicoperation (tobecontinued)
Picture Sound ChannelSetting
Function
Full
Normal
Brightness
Contrast
Tint
Saturation
Sharpness
Backlight
ColourTemp.
ScaleMode
PictureModeUser
MENU
50
50
48
50
50
0
ExitSelectAdjust
Picture
Sound Window
Setting
Function
MENU
Exit
Select
Adjust
Brightness
Contrast
ColourTemp.
ScaleMode
50
50
Full
Normal

18
press t/uArrowbuttonto set backlightto your desire.
Note: Thisfunction isonly available for models withBacklightfunction.
8) Adjustingthe ColourTemp. of picture
In the “Picture”menu,press q/pArrowbuttonto select the “ColourTemp.”,then
press t/uArrowbuttonto set colourtemperature to yourdesire.
9) Adjustingthe Scale Mode of picture
In the “Picture”menu,press q/pArrowbuttonto select the “Scale Mode”, then
press t/uArrowbutton to set scalemode to yourdesire.
Note: Can t beadjustedunder no signal .
Adjustingthesound
Press MENU button onthe remotecontrolorTV sidepanel,then press t/u
Arrowbuttonto select “Sound ”menu.
1)AdjustingSound Mode
In “Sound”menu,press q/pArrow buttontoselect “Sound Mode”,use t/u
Arrowbuttonto adjust soundmode.
Notes: Bassadjusting andtreble adjustingareonly available in user mode.
2)Adjusting Bassofsound
In “Sound”menu,press q/pArrowbuttontoselect “Bass”,use t/uArrow
button toadjust sound bass.
3)Adjusting Treble of sound
In “Sound”menu,press q/pArrow buttonto select “Treble”,use t/uArrow
buttontoadjustsound treble.
4)Adjusting balance ofsound
In “Sound”menu, press q/pArrowbutton toselect “Balance”,use t/uArrow
button toadjust sound balance.
5)AdjustNICAM
In “Sound”menu, press q/pArrowbutton toselect “NICAM”, use t/uArrow
buttonto adjust NICAM.
Basicoperation (tobecontinued)
Picture Sound
Channel
Setting
Function
MENU
Exit
Select
Adjust
User
Mono
50
50
0
SoundMode
Bass
Treble
Balance
NICAM

19
Setting
Press MENUbuttononthe remote control orTV side panel,press t/uArrow
buttontoselect “Setting”menu.
1)OSDLanguage
Press q/pArrowbuttonto select “OSD Language”andpress t/uArrowbutton
to setlanguage youdesired.
2)OSDHorizontal Position
Press q/pArrow buttonto select “OSD H-Position”andpress t/uArrow button
to set horizontal position of OSD.
3)OSDVerticalPosition
Press q/pArrowbuttonto select “OSD V-Position”andpress t/uArrow button
to set verticalpositionof OSD.
4)OSDTimer
Press q/pArrow button to select “OSDTimer”in “Setting”menu, press t/u
Arrowbuttonto select one of the following times:15s, 30s, 45s, 60s andAlways.
5)OSDHalftone
Press q/pArrowbuttonto select “OSD Halftone”in “Setting”menu,press t/u
Arrowbuttonto selectthehalftoneyoudesired.
6)OSD Skin
Press q/pArrowbuttontoselect “OSD Skin”in “Setting”menu,press t/u
Arrowbuttonto select theskin youdesired.
Basicoperation (tobecontinued)
PictureSound
Channel
Setting
Function
MENU
Exit
Select
Adjust
Opaque
Blue
Always
OSDH-Position
OSDV-Position
OSDTimer
OSDHalftone
OSDSkin
50
50
OSDLanguageEnglish

20
Basicoperation (tobecontinued)
Functionsetup
Press MENUbuttononthe remote control orTV side panel,press t/uArrow
buttontoselect “Function”menu.
1)SleepTimer
Press q/pArrowbuttonto select “Sleep Timer”in “Function”menu, press t/u
Arrowbuttontoset sleep time: Off, 15Min, 30Min, 45Min, 60Min.
2)Freeze
Press q/pArrow button to select “Freeze”in “Function”menu, press t/uArrow
button to set it “On”or “Off”.
3)Split Screen
Press q/pArrowbuttonto select “Split Screen”in “Function”menu,press t/u
Arrowbutton to set it “On”or “Off”.
Note: Only availablewhensignalis inputted and “Scale Mode”is “Full”in TV/AV/
SVideo/YPbPr mode.
4)3D NR
Press q/pArrowbuttonto select “3D NR”in “Function”menu, press t/uArrow
buttonto set it “High”, “Mid”, “Low”, “Off”.
5)Blue Screen
Press q/pArrowbuttonto select “Blue Screen”in “Function”menu, press t/u
Arrowbutton to set it “On”or “Off”.
6)Parent Control
In “Function”menu, press q/pArrowbuttonto select “Parent Control”, press t/
uArrowtoenterthe inputpasswordmenu.Inputthepasswordto enter the
submenu(the default and omnipotent passwordis 1980).
PictureSound
Channel
Setting
Function
MENU
Exit
Select
Adjust
Mid
Off
Off
SleepTimer
Freeze
SplitScreen
3DNR
Blue Screen
Parent Control
Off
Off
TeletextLanguage
East
MENU
Exit
Select
Adjust
ParentControl
ChildLock
Channel Select
Channel Lock
Off
Off
2
NewPassword
1)NewPassword----Youcanchangethe password in “NewPassword”.
This manual suits for next models
2
Table of contents
Other Konka LCD TV manuals

Konka
Konka KLC-TM1508 User manual

Konka
Konka KLC-2722US User manual

Konka
Konka L32K6RW MST6E16 User manual

Konka
Konka KDL32AT23U User manual

Konka
Konka DLC-3211UT User manual

Konka
Konka KL26CS66 User manual

Konka
Konka KL32IS10 User manual

Konka
Konka KLC-2718UG User manual

Konka
Konka KLC-2611QS User manual

Konka
Konka DLC-3211UT User manual