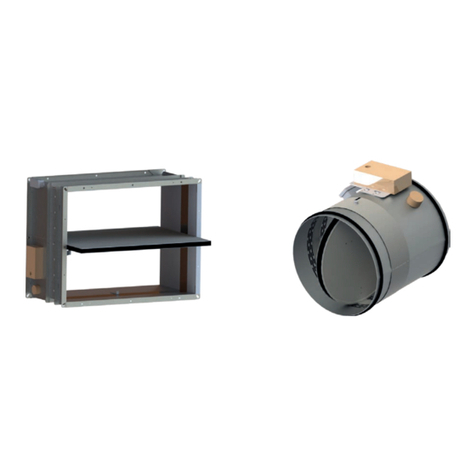
DF-47-TR
Installation instructions
1.- For correct installation and optimum operation the diuser must be installed with the oset angle
label located on the top side of the diuser (Figure 1).
Use the pre-drilled holes to securely fasten the diuser to the duct or wall.
Once fastened, ensure that the moving part of the diuser does not touch or rub against any external
obstruction.
To install the DF-47 TR diuser:
Unless otherwise dened, the diuser will be set in the factory to 0º (with respect to the horizontal
axis) for cold air and -20º for hot air.
On site, use the following steps to adjust the oset angle:
Figure 1
“The numbers should be correctly displayed, with the grade label on top and right“
2.- Adjusting oset angle of the temperature-adjustable DF-47-TR.
The DF-47-TR diuser has the capability of being directed up at an angle of 20º (with respect to the
horizontal axis) to supply cold air (Air Temp. < 20ºC) or down 20º to supply hot air ( Air Temp. > 30ºC).
In general, the correct angle will depend on the supply air temperature, the height of the installation
and the area to be covered. As such, it is recommended that this is evaluated during each project.
Figure 2
COLD AIR < 20 ºC HOT AIR > 30 ºC
Slot 1
Screw 2
2


