KOSMEN KM-A99 User manual

SMART AIR PURIFIER
KOSMEN KM-A99
USER MANUAL
www.kosmen.vn

Thank you for choosing this Air Purifier
KOSMEN KM-A99
Please read this instruction carefully before using and keep it for future reference.

Contents
1 . Safe handling and cautions.......................................................................................................................1
2. Package list................................................................................................................................................2
3. S
pecifications
.....................................................................................................................................4
4. Preparation before using............................................................................................................................5
5.Touch panel
...........................................................................................................................................6
6. Display panel.............................................................................................................................................7
7. Guidline for operation...............................................................................................................................8
8. PM2.5 concentration monitoring function................................................................................................9
9. Guidline for using humidifier..................................................................................................................10
10. Guidline for filter replacement..............................................................................................................11
11. Common problems................................................................................................................................12
12. Installation instructions (fresh air version only) ...................................................................................13
13. Installation instructions.........................................................................................................................14
14. Warranty................................................................................................................................................16

Mục lục
1. Xửlý an toàn và thận trọng.....................................................................................................................19
2. Danh sách gói hàng................................................................................. Error! Bookmark not defined.
3. Cấu tạo sản phẩm (mặt trước).................................................................................................................21
4. Thông số..................................................................................................................................................22
5. Chuẩn bịtrước khi sửdụng.....................................................................................................................23
6.Bảng cảm ứng
....................................................................................................................................24
7. Bảng hiện thị...........................................................................................................................................25
8. Hướng dẫn vận hành ...............................................................................................................................26
9. Chức năng giám sát nồng độ bụi PM2.5.................................................................................................27
10. Hướng dẫn sửdụng chức năng tạo độ ẩm.............................................................................................28
11. Hướng dẫn thay thếbộlọc ....................................................................................................................29
12. Các vấn đề thường gặp..........................................................................................................................30
13. Hướng dẫn lắp đặt (chỉphiên bản không khí trong lành) .....................................................................31
14. Hướng dẫn cài đặt .................................................................................................................................32
15. Bảo hành................................................................................................................................................34

1
1 . Safe handling and cautions
We hope you can take a few minutes to read this user instruction for safety information and
proper use.
Please read this instruction carefully before installing and use each maintenance of this purifier
so that the product can provide you with the best experience.
Failure to follow this instruction may cause injury or property damage.
Please keep this instruction manual for future reference.
When maintaining or replacing the filter on a daily basis, please turn off the power.
For your safety, please contact the after-sales if there is an abnormality in the product.
Non-professional serviceman does not remove or repair the purifier, due to personal removal or
repair caused any issue, all the consequences need to be assumed by their own.
Do not insert fingers or sticks into the fan body or into the air drain or exhaust port of the air.
Do not use the machine for kitchen fumes, which will shorten the life of the filter and damage
the machine.
Never place this kind of products such as heaters or humidifiers to prevent overheat or excessive
vapor from affecting the machine's sensors and damaging the machine.
Do not allow children to operate without permission.
Please take good care of the warranty for repair.

2
2. Package list
Air Purifier
Remote Control
Power Cord

3
3. Product structure (front side)
Toch
pane
l
Display
Cover
Air outlet
Upper board
Air quality
indicator
Lower side plate
Base
Raise the lid
your hand
by Your
Hand
Upper back
plate
Raise the lid
your hand
Lower back
plate
Power
plug
Sensor
Fresh
air
Humidification module
HEPA filter
Fan motor
Activated Carbon
Filter
UVModule
Pre-Filter

4
4. S
pecifications
Product KOSMEN Air Purifier
Model Name KM-A99
Air Volume 1200m³/h
Rated Voltage 220-240V~50/60Hz
Rated Power 145W
Noise ≤65dB
Mode Auto/Manual
Product Size 390x390x1010mm
Product N.W. 22 KGS
Humidification Type Ulitrasonic

5
5. Preparation before using
Description of the placement
The choice of the most suitable space depends on the central position of the air
purification action.
There are two main factors:
5.1 Time usage in the room.
5.2 The location of the main source of air pollution, generally speaking, the closer the purifier to
air pollution, indoor air purification effect is better. Although adjacent rooms can also achieve air
purification effect, but the main air purification is carried out in the room where the machine is
located, in order to achieve the best air purification result in the adjacent room must be
completely open the door of these rooms. In general, the more centered the purifier is, the better.
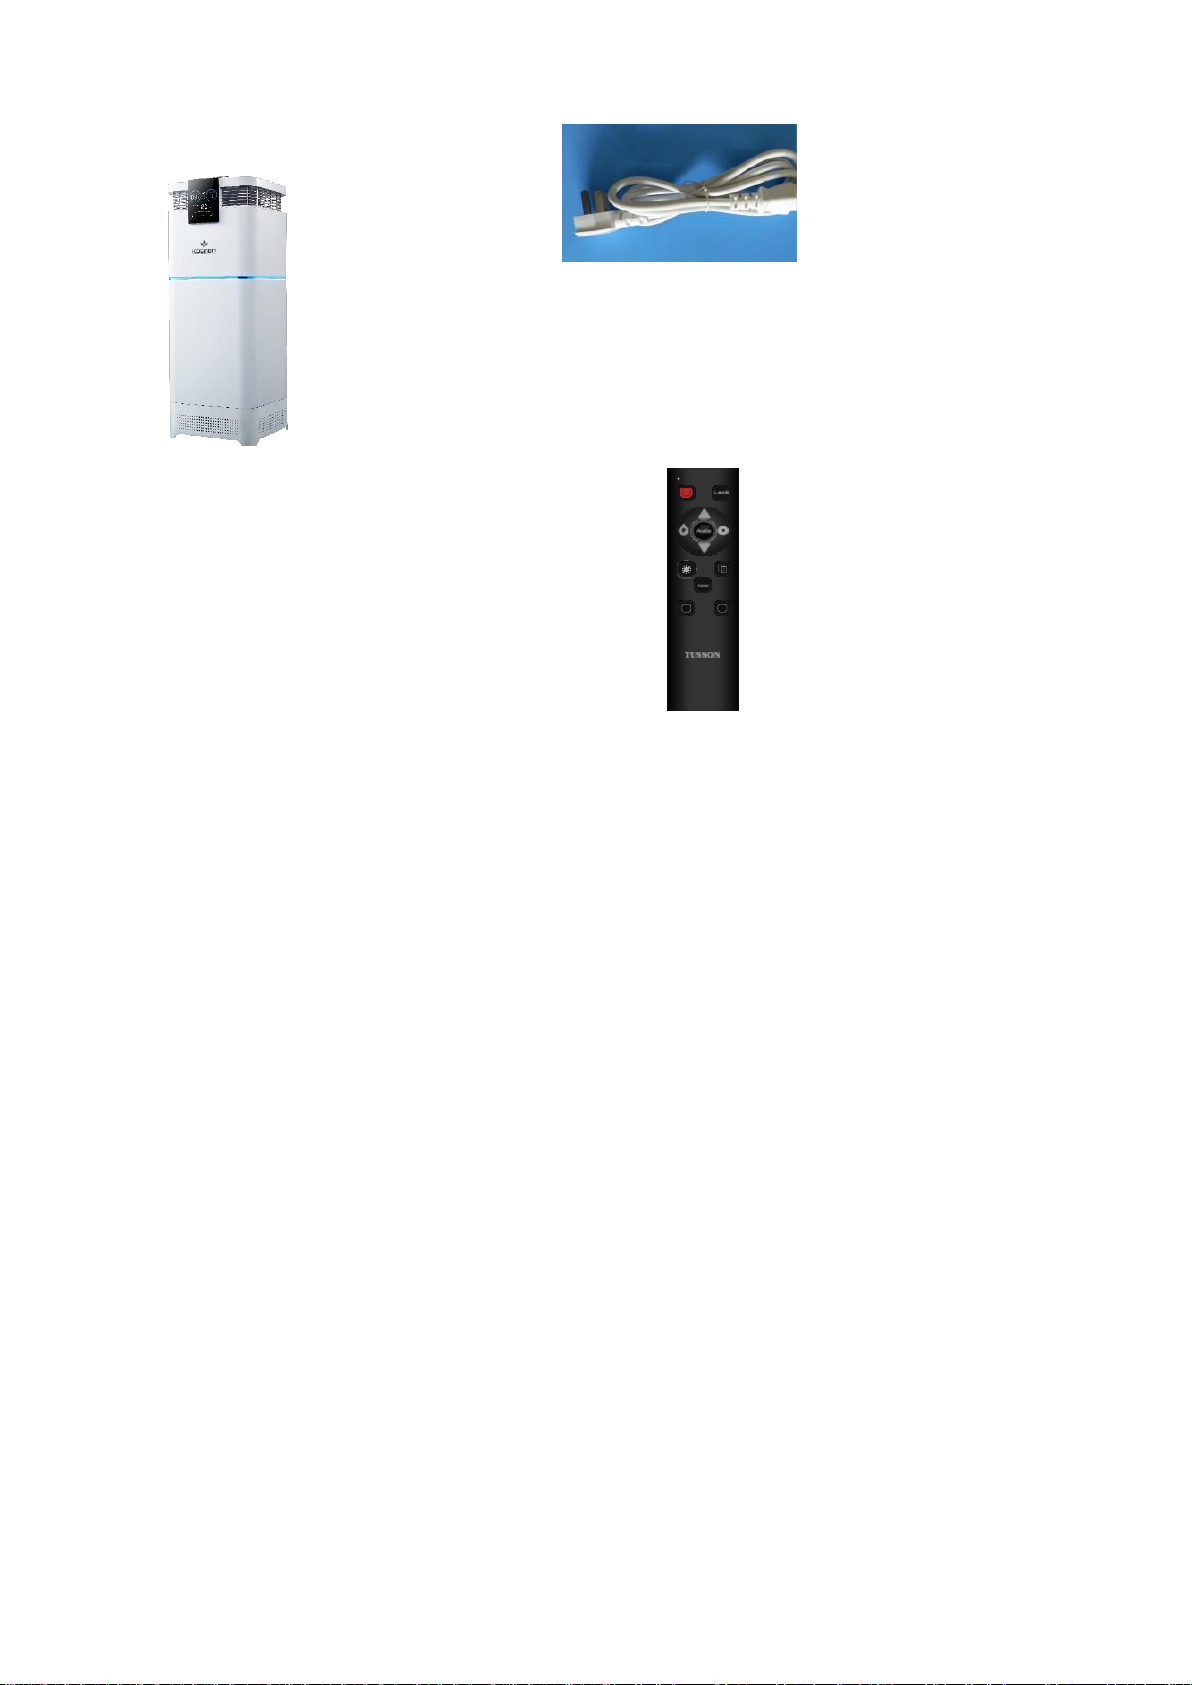
Place the purifier close to the power outlet to ensure that the power cord does not cause block the
passage. Make sure that the camera is positioned in a convenient position for the touch panel
operation.
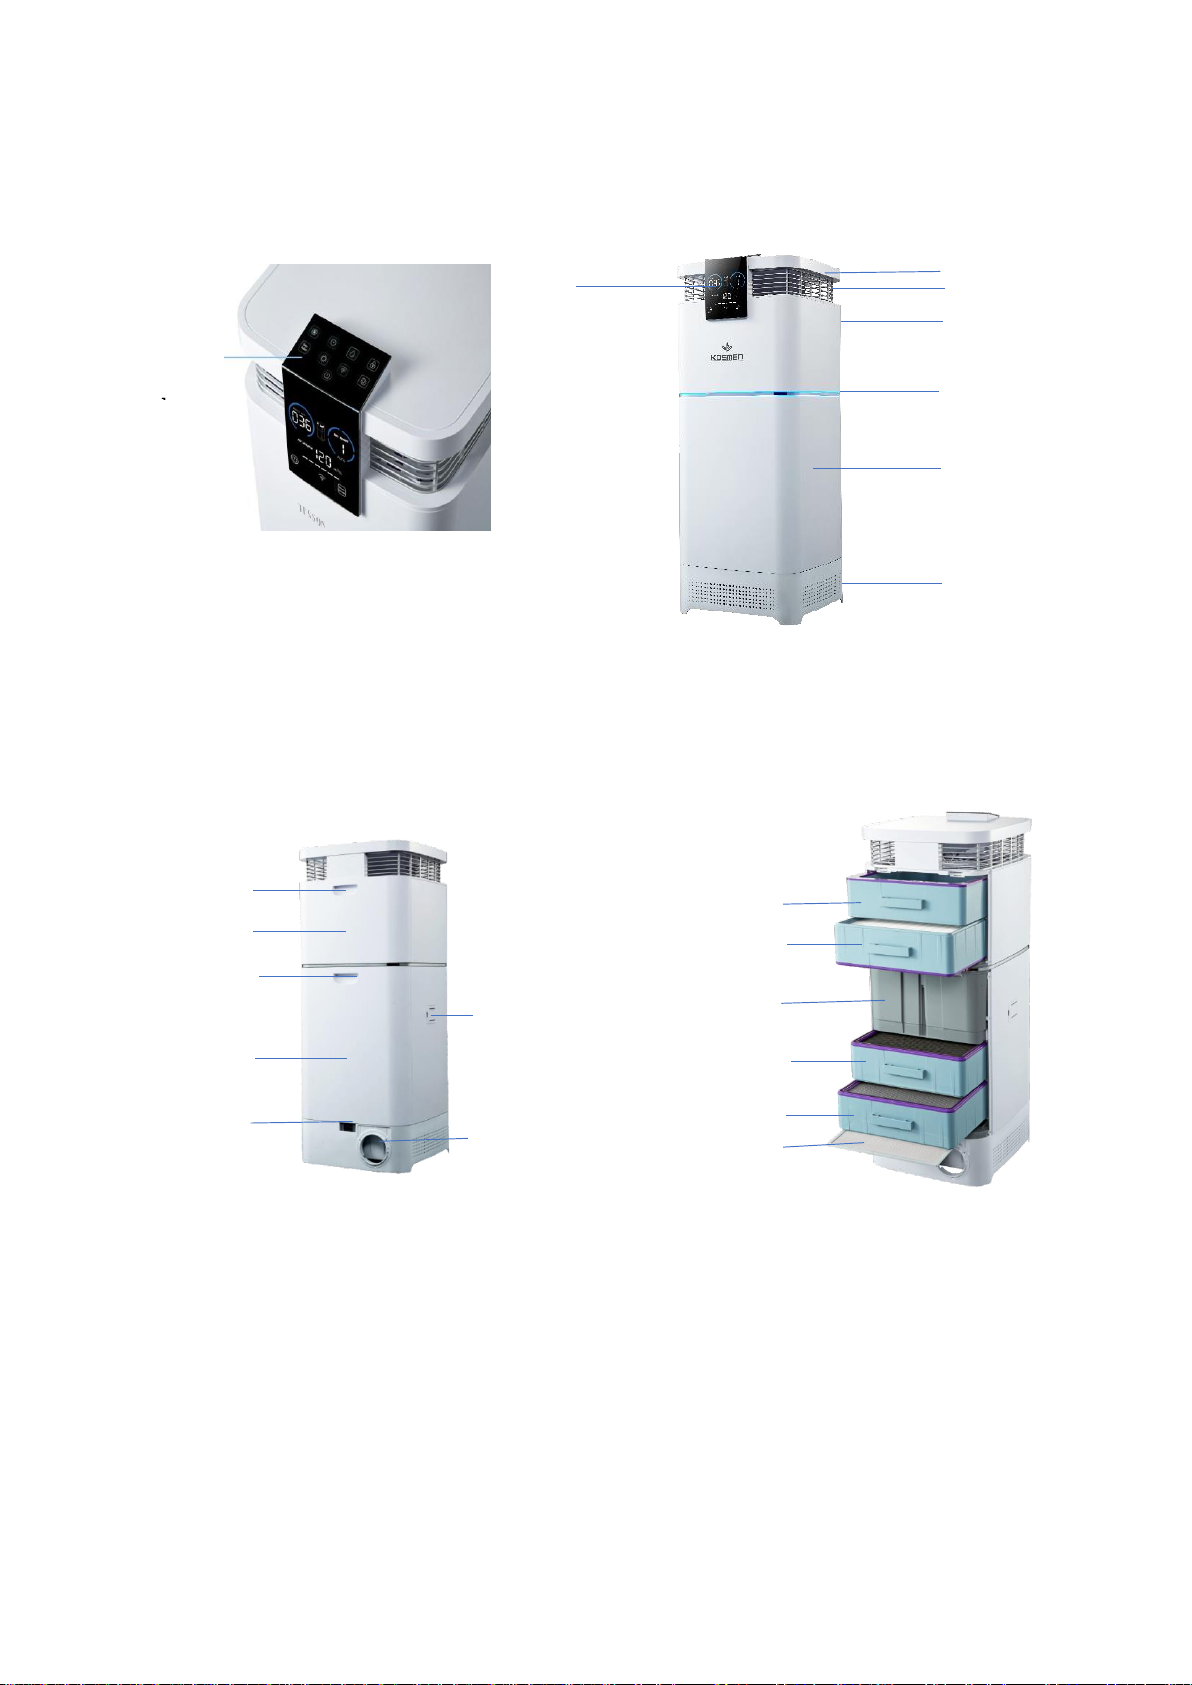
This purifier must be placed on a smooth indoor floor, in order to play the best purification effect,
it is recommended to put it indoor which is better for air circulation. The position is the nearest
vertical surface of more than 30CM
Close doors and windows when you use this purifier.
Connect the power supply after rotating the purifier correctly, plug the power plug into the power
outlet. The only way to completely cut off the power is to unplug it.
Do not use this purifier when the power cord is damaged.
30cm from
wall
30cm
from
wall

6
6. Touch panel
Power button
Tap 1 second to turn the machine on or off.
Fan speed button
Touch the Fan speed button for recyclable control through auto, 1st, 2nd, 3rd, 4th fan speeds, and
the fan speed condition is displayed on the display panel.
Timer button
Setting a shutdown time, you can select the automatic shutdown after 1/4/8/12 and when you
select it, display PM2.5 will display the area.
Humidification button
Turn on or off the humidification, red iconindicates not setting a humidification module or water
shortage state, touch panel with white long light but the display panel is not lit indicates that
there has no water. This icon always lit if turn on the humidification.
Child lock button
Longs press for 3 seconds to turn on the child lock, to prevent children from misoperation by
locking the machine, long press for 3 seconds again to unlock.
Disinfection button
Start or turn off disinfection and sterilization functions (Uvc lights and negative ions).
Energy-saving button
Full-bright/semi-bright/dark mode can be chosen.
WIFI button
Long press for 3 seconds to configure wifi icon staying staying on indicates wifi connected
successuflly, icon flashing indicates wifi is beening connected.
Filter resetting button
The HEPA filter needs to be changed to a newone if this icon become red. Long pressfor 5
seconds after the replacement of a new filter, the filter life is reset completely.

7
7. Display panel
Disin- fection

8
8. Guidline for operation
WIFI connection instructions
Through the Tuya Smart APP and Smart life APP, you can remotely control the host and view the
indoor particulate pollution value to know the life of the filter element, the steps to configure the
network for the first time are as follows:
(When configuring networking, the mobile phone and the machine must be in the same WIFI
environment that can connect to the same Internet, and the mobile phone has been connected to a
WIFI signal)
8.1 Download the APP and register an account
Download the Tuya Smart APP through the application market, enter the APP and follow the
prompts to register an account after that enter the APP through the account to start connecting with
the device.
8.2 WIFI configuration settings for the first time
a. Click on ‘Home’ click on “add device” (Picture 1).
b. After adding the device to press the WiFi password, note that before pressing the password, you
must turn on the Bluetooth on the device and press and hold the phone for 3 seconds (Picture 2)
Picture 1 Picture 2 Picture 3
8.3. Remote control
After the device is added successfully, click on the machine added in the list of equipment, enter the
control interface, the page will show the indoor particulate pollution value, filter life. Control

9
options at the bottom of the page allow you to control the switch of the host and select fan speed,
tying, child lock, negative ions, energy saving and other modes (Picture 3).
Click the device in the list to swipe left to rename, share and delete the device.
9. PM2.5 concentration monitoring function
There is built-in high precision laser sensor inside the machine. The Air Quality Indicator changes
color according to different air quality.
Standard of indoor PM2.5 particle concentration
PM2.5 value
Color of air quality indicator
Air quality
6-70
Blue
Excellent
70-150
Purple
Good
150-250
Dark purple
Fair
250-500
Red
Poor

10
10. Guidline for using humidifier
Status identification and operation of humidification module
10.1 The red humidification icon indicates there is no humidification module inside or the water
tank is lack of water. The red humidification icon is in inoperable state.
10.2 The humidification icon is bright but no display, it indicates the humidification is off even
though there is water in the water tank
10.3 The display panel and humidification icon are always lit to indicate that the humidification
function has been turned on.
Humidification module watering operation
10.4 The upper back plate removed from the machine (Figure 1).
10.5 The humidification module will be removed from the machine (Figure 2).
10.6 Remove the water tank cover according to the label, from the water injection port to add 1.5L
clean water (Figure 3).
Add water to the maximum water mark or else it will overflow from the spill.
10.7 After adding water, push the water tank into the machine, cover the back plate and touch the
panel Humidification iconto turn on humidification function (Figure 4).
Figure 1 Figure 2 Figure 3 Figure 4 Figure 5

11
11. Guidline for filter replacement
Filter replacement
11.1 Filter replacement time is based on good or bad air quality, if the air is fresh, the replacement
time will extend. If the air is poor, the replace time is shortened.
11.2 When the filter needs to be replaced, the display panel icon will be lit red and flash.
11.3 After replacing the filter, tap the touch panel to reset the filter icon for 3 seconds to reset the
filter time.
Filter replacement operation
11.4 Remove the upper and lower back plate from the machine (Figure I).
11.5 The filter that needs to be replaced is removed from the machine (Figure II).
11.6 The filter is replaced and pushed into the machine, the filter should be pushed into place
(Figure III).
11.7 After the filter is installed, the upper and lower back plate loaded into the machine, tap the
touch panel reset filter icon 3 seconds the sound "Dee" can reset the filter time (Figure 4).
Figure 1 Figure 2 Figure 3 Figure 4

12
12. Common problems
How to solve the problem of mobile phone network failure?
12.1 Please make sure that the mobile phone and the machine are connected to the same WIFI, the
mobile phone and the machine network need to be in the same WIFI environment for the first
time.
12.2 Please check that the WIFI password entered at the time of configuration is correct.
12.3 Make sure that the configured WIFI public environment, that is, does not support the
password time-available WIFI configuration device.
12.4 Turn off the AP isolation and WMM options in the router.
12.5 Make sure that the router's devices are connected to no more than 15 units.
12.6 Make sure the distance between the machine and the router does not exceed 8 meters.
Why there is no reaction when press the main button?
12.7 Please check whether the machine is powered on, such as the socket is plugged in? Is the
socket powered on?
12.8 Is the machine in a child lock mode?
There is no air or air volume is very small at the air outlet
12.9 Check that the machine is powered on and turned on.
12.10 Check that the filter bag has been removed.

13
13. Installation instructions (fresh air version only)
Accessories table (optional):
Accessory
Quality
Screw & Nut
1 set
Flange
2
Air Pipe
1
Cover of Air Pipe
1
Folding Tube
1
Cover of Folding Tube
1
Installation tools:
110# Rhinestones
Cross( or Slotted) Screwdriver
Tapeline
Pencil
Horizontal Ruler
Cutter Knife
Glass Cement
Polystyrene
Saw
Film( to avoid soiling the wall)

14
14. Installation instructions
Attentions to installation
You need to confirm with the community whether the wall can open a hole.
Choose the vested front for the air outlet, especially in the cold region in your country.
The installation location of the main body must be able to support the weight of the purifier and it
cannot be installed on the hollow wall or outdoors.
The machine should be placed as straight as possible and the installation position should be
selected to be conducive to indoor air circulation and the entrance and exit seals cannot be blocked
by obstacles. The upper and lower sides of the fuselage should be kept at least 30 cm away from
the ground and ceiling.
The hole position should be kept as far away as possible from the beams, doors, windows and
other places, so as not to damage the wall load-bearing or reinforced structure, and to confirm that
the wall does not have power lines, plumbing, rebar and other obstacles.
Adequate maintenance, access and ventilation are required.
Pay attention to safety and environmental protection when punching holes, stay away from non-
builders (especially the elderly and children) and avoid contaminating floors, walls and furniture.
Installation steps:
The location of the Installation is determined air drilling air pipe installation
the machine is installed commissioning acceptance
14.1 Open the packaging and take out the machine, check the machine and accessories are
complete or not and read the instructions carefully to read the instructions.
14.2 Select the wall with the thickness of 180-400mm, determine the level with a horizontal ruler,
make the marks in the wall.
14.3 110# water drill bits are used to open a hole at the center of the mark of the air pipe (the
punch should be tilted down 1-3 degrees slightly, the outer hole of the wall is 3-6mm lower than
the level of inner hole, to prevent the rain pouring by this way) and then drill an M6 small hole at
the mark of the other expansion screw holes (base on the actual expansion screw hole size) and
insert the plastic plug into each hole.
c

15
14.4 After the drilling is completed, measure the thickness of the wall, cut the pipe with the
appropriate length according to the thickness of the wall.
14.5 Connect the connector, the cover of air pipe and the air pipe, fill the waterproof glue to the
connection position, put a layer of waterproof glue outside the air pipe, make sure the sealing and
waterproof treatment is done. Then, install the flange kit. Please make sure the air cover of the air
pipe faces down to prevent the rainwater pouring.
14.6 Make the machine against the wall, remove the tube cover, connect the machine with the air
pipe with the folding tube.
14.7 Power on and confirm whether the fan is working properly or not, check if there is any
abnormal noise or vibration.
Clean up the installation site and recycle the installation waste and sundires.

16
15. Warranty
Thank you very much for purchasing Kosmen Air Purifier KM-A99
This product is covered by a one-year free warranty (except consumable items, such as filters)
from the date of purchase, please read the following warranty terms carefully.
15.1 Please activate the warranty stamp before using the machine.
15.2 Any malfunctions of the product, such as the compoments quality problems, the supplier will
offer the maintenance for free during the period of warranty.
The following damages are not covered by the warranty
15.3 Any damages by the inccorect installation & operation, which is not accoradin to the
instructions.
15.4 Any artificial damages or accidential damages.
15.5 Any shell aging of the product surface, bruises or sratches.
Table of contents
Languages:
Other KOSMEN Air Cleaner manuals
Popular Air Cleaner manuals by other brands

AtmosAir
AtmosAir Rainier Summit R1 User Guide & General Maintenance

HealthWay
HealthWay 2000ILP Installation and operation manual

Mistral
Mistral Mistralaire TL2831 instruction manual

3M
3M Filtrete FAP-T03-A2 Series manual

Jet
Jet AFS-1000B operating instructions

King Industrial
King Industrial KAC-1050 instruction manual

KES
KES AiroClean420 AIRO-50XL Owner's maintenance manual

Bioclimatic
Bioclimatic ActiveOx Series Installation, operation and maintenance guide

BROAD Clean Air
BROAD Clean Air SQ300-D Operation and maintenance manual

Guardian
Guardian AC9400W Use & care instructions

NuWave
NuWave OxyPure Zero E500 quick start guide

Philips
Philips AC4373 user manual