Kruger ALTO-H User manual

ALTO •H
USER MANUAL
ENGLISH GETTING STARTED

Thank you for choosing Krüger home appliances!
Please follow the recommendations and guidelines contained in this manual.
This way the appliance will give you consistent high performance and efciency for many years to come.
Table of Contents
Warnings & Caution
Characteristics
Installation & Usage
Operation
Maintenance & Cleaning
2
3
3
7
8
Rated Voltage
Rated Power Frequency
Lighting Power Consumption
Motor Power Consumption
Total Power
Motor(s)
Duct Adaptor Dimensions
Dimensions (KH300)
Dimensions (KH360)
Weight
(KH300) Net
(KH300) Gross
(KH360) Net
(KH360) Gross
Power Output
Low
Medium
High
Product Specications and Technical Parameters
110V - 120V
60Hz
2 x 20W Halogen Lights
120W
260W
1
6” (Circular)
29 3/4 ” (W) x 24 1/8” (D) x 14 1/4 ” (H)
36 ” (W) x 24 1/8” (D) x 14 1/4 ” (H)
46 KG
55 KG
55 KG
64 KG
550 CFM
660 CFM
750 CFM

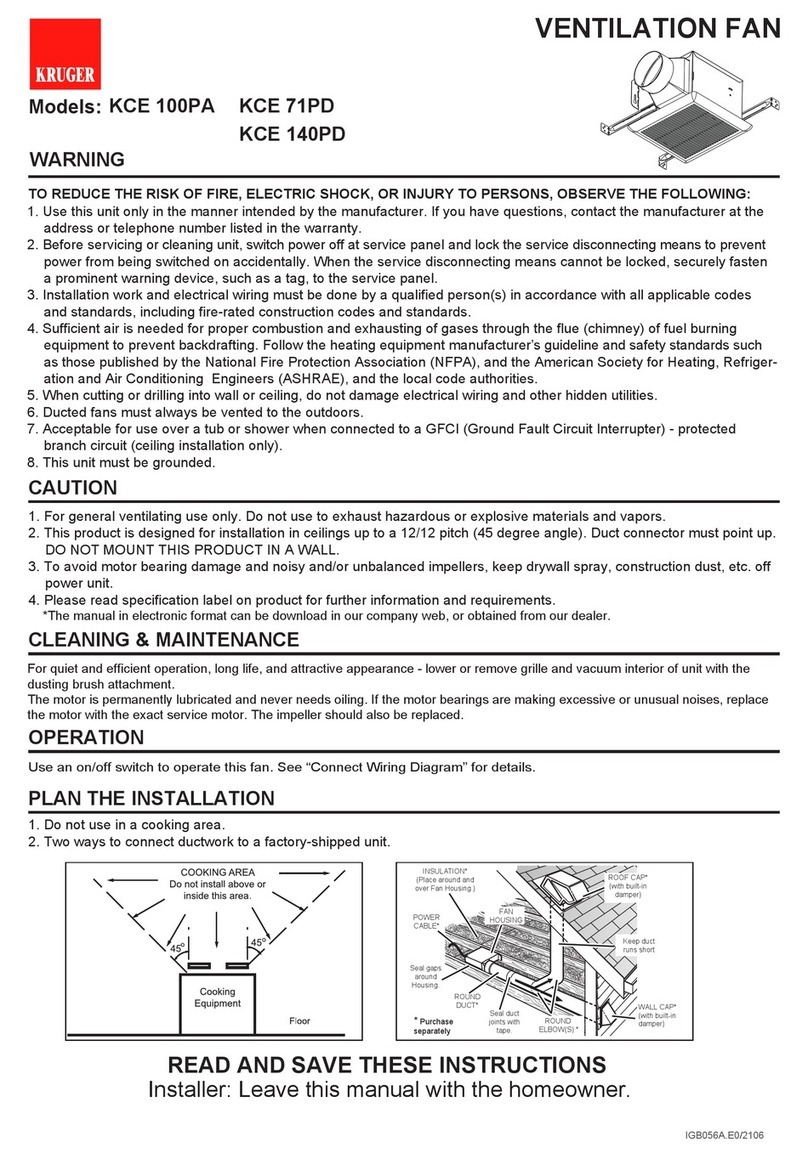
WARNING
TO REDUCE RISK OF FIRE, ELECTRIC SHOCK OR
INJURY TO PERSONS, PLEASE OBSERVE THE
FOLLOWING:
1. Installation work and electric wiring must be done by a qualied professional in
accordance with local applicable codes and standards, including re-rated construction.
2. The stainless steel structural housing may have sharp edges. Be careful to avoid
cuts and abrasions during installation and cleaning.
3. The hood must be placed at a minimum distance of 26” and a maximum of 30”
from the cooktop for best capture of cooking impurities, and a minimum distance
of 28” from gas range.
4. Provide sufcient air for proper combustion and exhausting of gases through the
chimney of the burning equipment to prevent backdraft. Follow the heating
equipment manufacturer’s guideline and safety standards such as those published
by the National Fire Protection Association, and the American Society for Heating,
Refrigeration and Air Conditioning Engineer (ASHRAE), and the local code authorities.
5. Ducted fans must always be vented outdoors.
6. This appliance is designed to be operated by adults. Children are not allowed to
tamper with the controls or play with this appliance.
7. To reduce the risk of re or electric shock, do not use this fan with any solid-state
speed control device.
8. When cutting or drilling into the wall or ceiling, do not damage electrical wiring and
other hidden utilities.
9. This unit is meant for household kitchen use only. To ensure your safety, it needs to
be connected to a GFCI protected branch circuit.
10. Before servicing or cleaning unit, switch power off at the service panel. This will
prevent power from being switched on accidentally.
11. Use this unit only in the manner it is intended for by the manufacturer. If you have
any questions regarding the usage of this appliance, please contact the manufacturer
or the local agent closest to you.
12. Never leave surface units unattended at high settings. Over boiling can cause
smoke and grease spills that may ignite. Heat oils slowly on low or medium settings.
13. Always turn hood ON when cooking at high heat, especially when there is an open
ame. ie: Crepes Suzette, Cherries Jubilee, Peppercorn Beef Flambé.
14. Clean ventilating fans frequently. Grease should not be allowed to accumulate on
fan or lter.
15. Use proper pan size. Always use cookware appropriate for the size of the surface
element.
2

3
CHARACTERISTICS
Dimensions
Pre-Installation
INSTALLATION
NOTE: Installation will require 2 people for easier installation. Please read all instructions carefully before installing.
1. If you are renovating your kitchen, be careful to protect your range hood.
Volatile gases from building materials, dust, paint and coatings can
corrode and tarnish the surface of your range hood. Instead, install
your range hood after your kitchen renovation is complete.
2. The stainless steel may have very sharp edges; wear protective
gloves when removing the range hood for installing, cleaning or servicing.
3. Be careful not to damage any hidden electrical wiring when drilling
into a wall. Unplug the range hood from the power source before
installation; the main power box or fuse box should also be switched off.
4. If the gas stove needs to be removed before installing the range
hood, make sure to switch off the gas valve completely before
moving the gas stove.
5. Always use a power socket with reliable grounding. Compromised
power line, extension cords and multi-port wiring devices may lead
to electric shorts, causing plugs and sockets to overheat and become
re hazards.
7. After installation, test run the unit to make sure there is no abnormal
operation or malfunction. Read the instruction manual carefully and
keep it in a safe place.
30” or 36”
24”
12”
17”
2 3/4”
14 1/4”
6. Make sure all electrical connection is done by professional electricians,
and strictly abide by national and local electric laws and regulations.
Switch the power off and take measures to prevent the power switch
from accidentally switching on before proceeding.

Measurements
4
If there is a gas stove under the range hood, the minimum
distance between the cooking area and the hood should be 30".
If there is an electric stove under the range hood, the minimum
distance should be 24" to 30".
Tools
Floor to Counter
36”
Counter to Hood
24” ~ 30”
Hood Height
14 1/4”
Wall Cabinet Height
15” ~ 20”
Philips Screwdriver Flathead Screwdriver
Drill Bit Flashlight
Electric Drill Safety Glasses

Mounting The Hood
1. Determine the location of the exhaust pipe which discharges
to the outside.
The shorter and more linear the ducting is, the more
effective the ventilation will be. (A on gure 1)
Avoid using long ducting with lots of bends, elbows, and
transitions, as they will affect the performance and may
shorten the service life of the hood. (B on gure 1)
Connecting The Ducting
3. Use the phillips screwdriver to screw in the FOUR mounting
spots. Use a drill to drill pilot holes if needed.
2. Mark the location of the FOUR mounting holes as well as
TWO security holes on the wall (gure 2).
4. Mount the hood onto the mounting screws and level the
unit before tightening the mounting screws.
5. For safety reasons, please install two more screws into the
TWO security holes from inside the unit. This prevents the
unit from lossening the mounting screws or accidentally
falling off the wall.
2. Attach the included circular duct outlet to the exhaust
outlet at the top of the unit. (gure 3)
5
WARNING: Do not exhaust into a shaft, ue, or pipeline that is being used
to exhaust fumes from other appliances burning gas or other fuels.
3. Attach an adequate length of 6” diameter ducting to the
exhaust outlet of the unit.
4. Attach the ducting from the house to the top of the
ventilation unit. (gure 4)
1. Install a roof or wall cap on the exterior of the house.
Connect round metal ductwork to the cap and work
backwards towards the hood location. Use duct tape to
seal the joints between sections.
NOTE: make sure the hood has been installed rmly before letting go.
gure 1
gure 2
gure 3
gure 4
B.
A.
mounting x4
security x2

6
LIGHTING
The range hood requires two type JCD, 12V, 20W max, G-4 base,
halogen bulbs.
WARNING: Always switch off the electrical supply before
carrying out any operation or maintenance on the appliance.
1. Remove the halogen bulb cover with a athead screw driver.
2. Remove the bulb by pulling it out of its socket horizontally.
DO NOT ROTATE THE BULB.
3. Replace the bulb with an identical type JCD, 12V 20W G-4
base halogen bulb. DO NOT touch replacement bulbs with
bare hands.
CAUTION: The surface, the cover of the bulbs, and the bulbs
themselves may be hot. Please use extra care when removing
them.
Electrical Connection
1. Electrical wiring must be done by a qualied professional in
accordance with all applicable codes and standards. Turn off
electrical power at service panel before wiring.
2. Do not extend the cord with an extension cord or splitter that
is not supplied with the hood.
3. Grounding of this product is compulsory. Do NOT remove
ground prong of the plug.
3. The maximum distance between the power outlet and the unit
is 50”. Do not stretch or over-tighten the power cord.
50”

7
Set Clock
This range hood is operated using a digital LCD interface with button switches on the front panel.
1. While the unit is off, press once
2. The buttons , , and will light up
3. The LCD screen will icker, and you will have 8 seconds to set the hour of the clock
4. Press to increase the hour, and press to decrease the hour
5. After setting the hour, press again to set the minute
6. Press to increase the minute, and press to decrease the minute
7. After setting the time, you can wait 8 seconds or press to exit
KH300 / KH360
OPERATION
Power Level
1. Turn on the unit by pressing
2. The default power setting is set to high
3. To turn down the power levels, press
4. Press to cycle through the different power levels
Lighting
1. Press to turn the lights on
2. Press again to turn the lights off
On & Off
1. Press to turn on the unit
2. Press again to set the unit to turn off in three minutes
3. Press again to turn off unit immediately

WARNING: If the range hood and lters are not cleaned periodically,
it may become a re hazard
8
Bafe Filter
1. The bafe lter should be cleaned frequently; minimum every two months
2. The bafe lters are made of surgical grade T304 stainless steel, and are
dishwasher safe
a. Use only mild soap or detergent solutions
b. DO NOT allow salt solutions, disinfectants, bleaches, cleaning
compounds, or rubbing compounds to remain in contact with
stainless steel for extended periods of time. Many of these
compounds contain chemicals which may be harmful to the
surface of the range hood. Rinse with water after exposure and
wipe dry with a clean lint-free cloth
c. DO NOT allow deposits to accumulate or remain on the hood
d. DO NOT use ordinary steel wool or steel brushes. Small bits of
steel may adhere to the surface
7. Remove the lter by pushing it towards the front of the hood, then pivot
the lter loose from the back
8. Allow the lter to dry completely before reinserting
MAINTENANCE & CLEANING
CAUTION: Before servicing or cleaning unit, completely disconnect the
unit from the power source.
1. Hot water with liquid soap can remove most stains easily.
2. Always rinse the surface with clean water and wipe dry with a soft clean
cloth to prevent water marks.
3. Hard to remove stains, discolourations, and persistent deposits can be
removed with a non-abrasive household cleaner or stainless steel polishing
powder with a little water.
4. For stubborn stains and deposits, use a scouring pad or soft bristle
brush along with a stainless steel cleaner and water. Always rub in the
direction of the polished lines, or “grain” of the stainless steel nish.
Avoid using too much pressure as it may mar the surface.
5. Do not allow deposits to remain for long periods of time. Do not use
ordinary steel wool or steel brushes to clean the range hood.
6. Do not allow salt solutions, disinfectants, bleaches, or cleaning compounds
to remain in contact with the stainless steel surface for prolonged periods
of time. Many of these compounds contain chemicals that can be harmful
to the stainless steel nish. Always rinse with water after every cleaning
and wipe dry with a clean cloth.

WARNING: Unplug the appliance from the power source before
servicing or cleaning
CAUTION: Tampering with the electrical system of the unit may
result in unnecessary electrical and re hazard and will void your
warranty. Please consult with manufacturer before doing so.
Electrical Diagram
9

1 YEAR LIMITED VENTILATION PRODUCT WARRANTY
ALTO™ and KRÜGER ZENISS™ are all subsidiary development branches of KRÜGER™ electrical appliances LTd. © 2011 All rights reserved.
For more information on how to care for your kitchen ventilation unit, please contact us at www.krugerliving.com
The KRÜGER limited warranty is subject to the original purchaser (consumer) of its
products only and is not transferable. KRÜGER warrants that its products will be free
from defects in materials or workmanship for a period of ONE YEAR from the date of
original purchase. THERE ARE NO OTHER WARRANTIES, EXPRESS OR IMPLIED,
INCLUDING, BUT NOT LIMITED TO, IMPLIED WARRANTIES OF MERCHANTABILITY
OR FITNESS FOR A PARTICULAR PURPOSE.
During this one year warranty period, KRÜGER will, at its option, repair any product or
part that is found to be defective under normal use and service. The end user will need
to submit the defective part(s) to the KRÜGER head ofce for processing. Once the
part(s) has been received, a replacement will be sent out to the sender's address.
This warranty does not cover:
(1) Normal maintenance and service.
(2) Any products or parts that have been subject to misuse, negligence, accident,
improper maintenance or repair, faulty installation or installation not in accordance to
recommended installation instructions.
(3) Any light bulbs, lters, or parts that are considered as consumable parts.
(4) Any cosmetic wear and normal wear and tear on mechanical and/or movable and/or
removable parts, including tracks, ball bearings, and extensions.
(5) Any labour charges incurred from the warranty claim.
The duration of any implied warranty is also limited to the one year period as specied
above for the express warranty. In that case the above limitation may not apply to you.
KRÜGER'S OBLIGATION TO REPAIR OR REPLACE PRODUCT OR PARTS, AT
KRÜGER'S OPTION, WILL BE THE PURCHASER’S SOLE AND FINAL REMEDY
UNDER THIS WARRANTY. KRÜGER WILL NOT BE LIABLE FOR INDIRECT,
INCIDENTAL, CONSEQUENTIAL OR SPECIAL DAMAGES ARISING OUT OF OR IN
CONNECTION WITH PRODUCT USE OR PERFORMANCE. Some provinces do not
allow the exclusion of incidental or consequential damages. In that case the above
limitation may not apply to you.
This warranty gives the original purchaser (consumer) specic legal rights, and there may
also be other rights that vary depending on provincial legislation. This warranty
supersedes all prior warranties.
To qualify for warranty service, rst; (1) Notify your local KRÜGER dealership at the
address shown below, by telephone: 1-604-214-4477, or by email:
Describe the nature of any defect in the product or part. At the time warranty service is
requested, proof of purchase and evidence showing the original purchase date must be
presented.
Write down the following information to better help you obtain assistance or
service should you need it. You will need to know your complete model number
and serial number. You can nd this information on the inspection label located
on your appliance.
Keep this form and your sales slip together for future reference. You must provide
proof of purchase or installation date for in-warranty service. Fax or email this form in
to register your warranty with KRÜGER.
Dealer Name
Customer Name
Address
Phone Number
Model Number
Serial Number
Invoice Number
Date Purchased
______________________________
______________________________
______________________________
______________________________
______________________________
______________________________
______________________________
______________________________
Table of contents
Other Kruger Ventilation Hood manuals

Kruger
Kruger KH 300 User manual

Kruger
Kruger ALTO-T User manual

Kruger
Kruger KM300 User manual

Kruger
Kruger KCE 140PA User manual

Kruger
Kruger Alto S User manual

Kruger
Kruger KA300 User manual

Kruger
Kruger KA300 User manual

Kruger
Kruger KR-300 Alto-R User manual

Kruger
Kruger KM300 User manual

Kruger
Kruger Ecowatt Drive K354 Series Installation guide
Popular Ventilation Hood manuals by other brands

Creda
Creda C60AHBG user manual

Fisher & Paykel
Fisher & Paykel HP36ILTX1 installation instructions

AEG
AEG PERFEKT-GLIDE-30-REC-2 manual

Dacor
Dacor ILHSF10 installation instructions

KitchenAid
KitchenAid 30" Freestanding Range Installation Instructions and Use & Care Guide

Franke
Franke TALE 605 installation manual