- 6 -
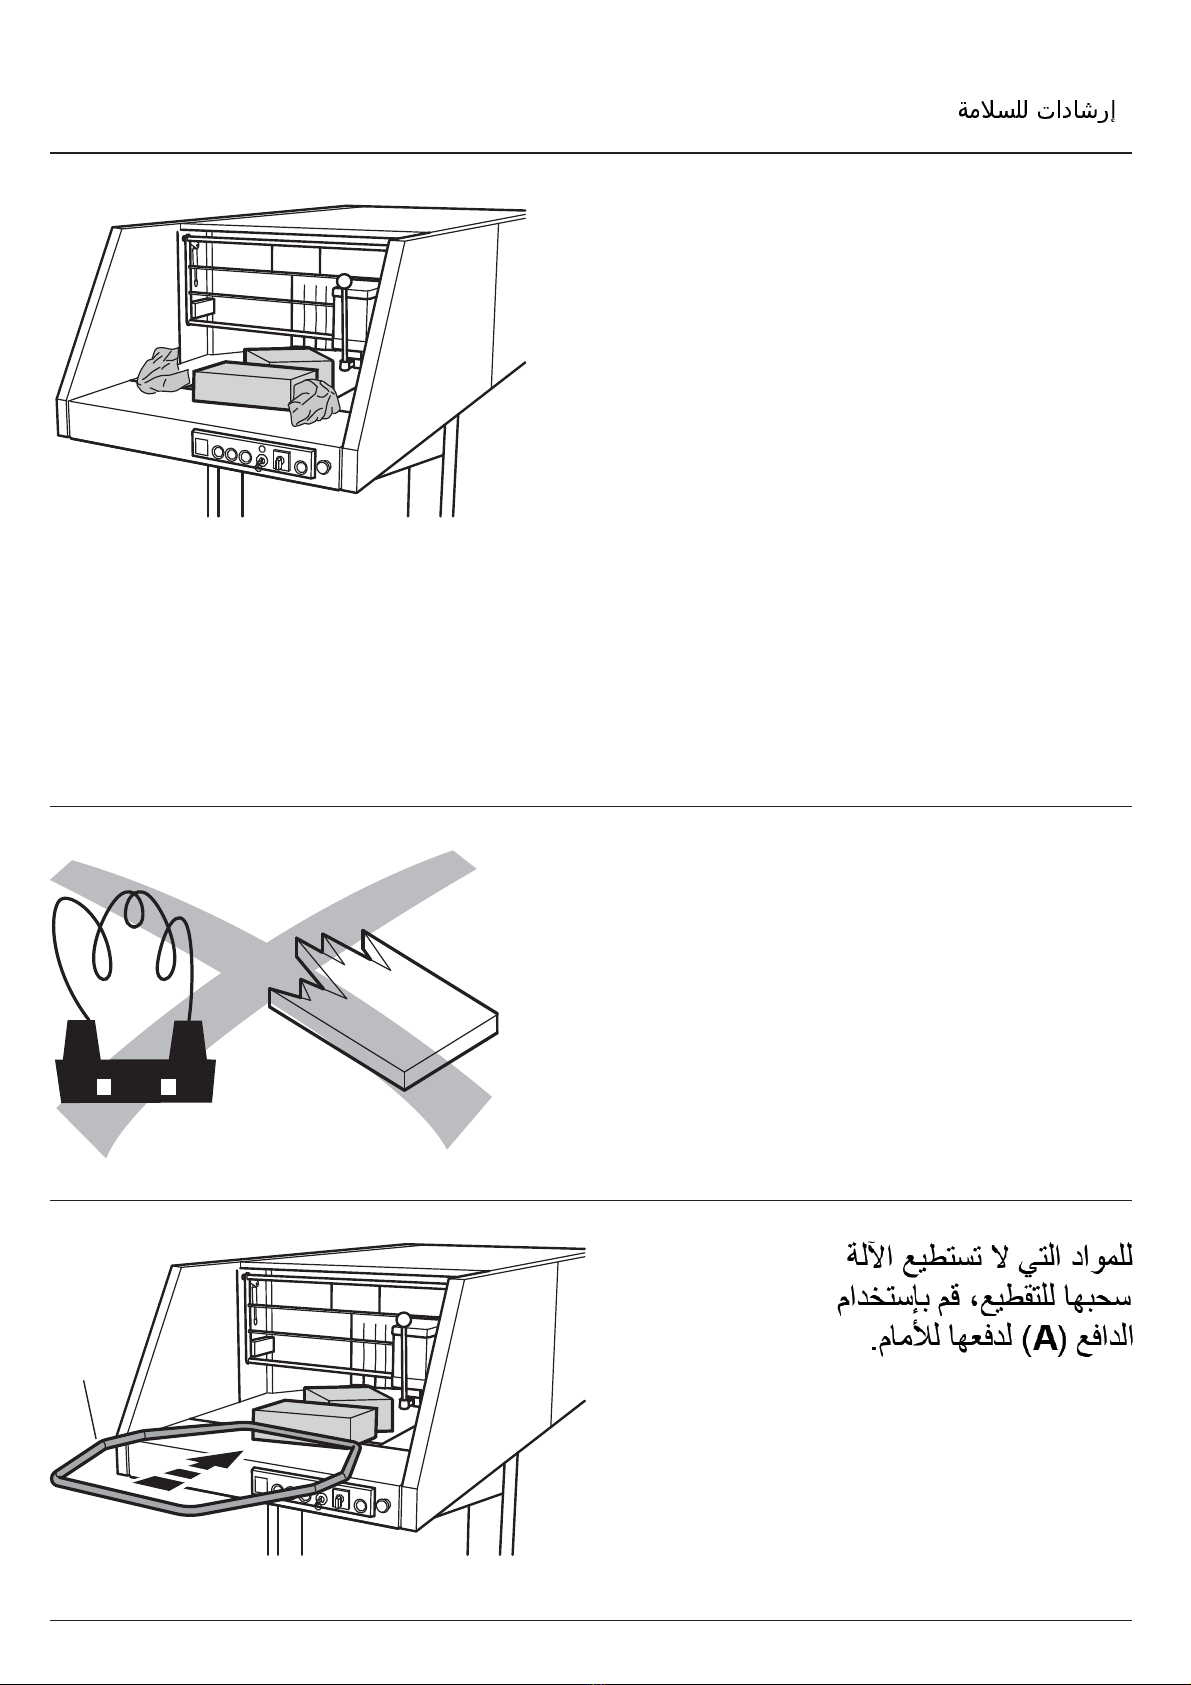
A
.ﺎﯾﺎظﺷ وأ تاءاوﺗﻟﻻ ﺔﻧِّ
وﻛُﻣ داوﻣ مرﻔﺑ مﻘﺗ ﻻ
Do not shred materials forming loops and
splintering.
مرﻔﻟ ﺔﺻﺻﺧﻣ هذھ قروﻟا ﻖﯾزﻣﺗ ﺔﻟآ .1
تاوﺑﻌﻟاو دﻌﺟﻣﻟا وأ بﺋﺎﺳﻟا قروﻟا
كﺑﺎﺷﻣ ﻰﻠﻋ كﻟذﻛ يوﺗﺣﻣﻟاو ،ﺔﯾﻧوﺗرﻛﻟا
صارﻗﻷا نﻣ ﺔﻠﯾﻠﻗ تﺎﯾﻣﻛ ﺎﺿﯾأو قروﻟا
.ﺔﻧرﻣﻟا
موﻘﺗ ﺔﻧﯾﺗﻣﻟا لﺻﻧﻟا ﺔﯾدﺎﺣأ ﻊطﻘﻟا ةادأ .2
ﺔﯾﻟآ ًﻼﻣﺎﺷ لﻣﺎﻛﻟﺎﺑ قاروﻷا دﻠﺟﻣ مرﻔﺑ
.تﯾﺑﺛﺗﻟا كﺑﺷﻣ
تﺎﻣﯾﻠﻌﺗﻠﻟ ﻖﺑﺎطﻣﻟا مادﺧﺗﺳﻻا
• Intended use • الاستخدام المطابق للتعليمات •
Intended use
1. This document shredder is intended for
shredding lose or crumpled up paper,
cartons, including staples, and a small
number of discs.
2. The rugged single-blade cutting unit
shreds entire file folders, including ring
binder mechanism.
Material not caught by the shredding
mechanism must be pushed with the
pusher (A).
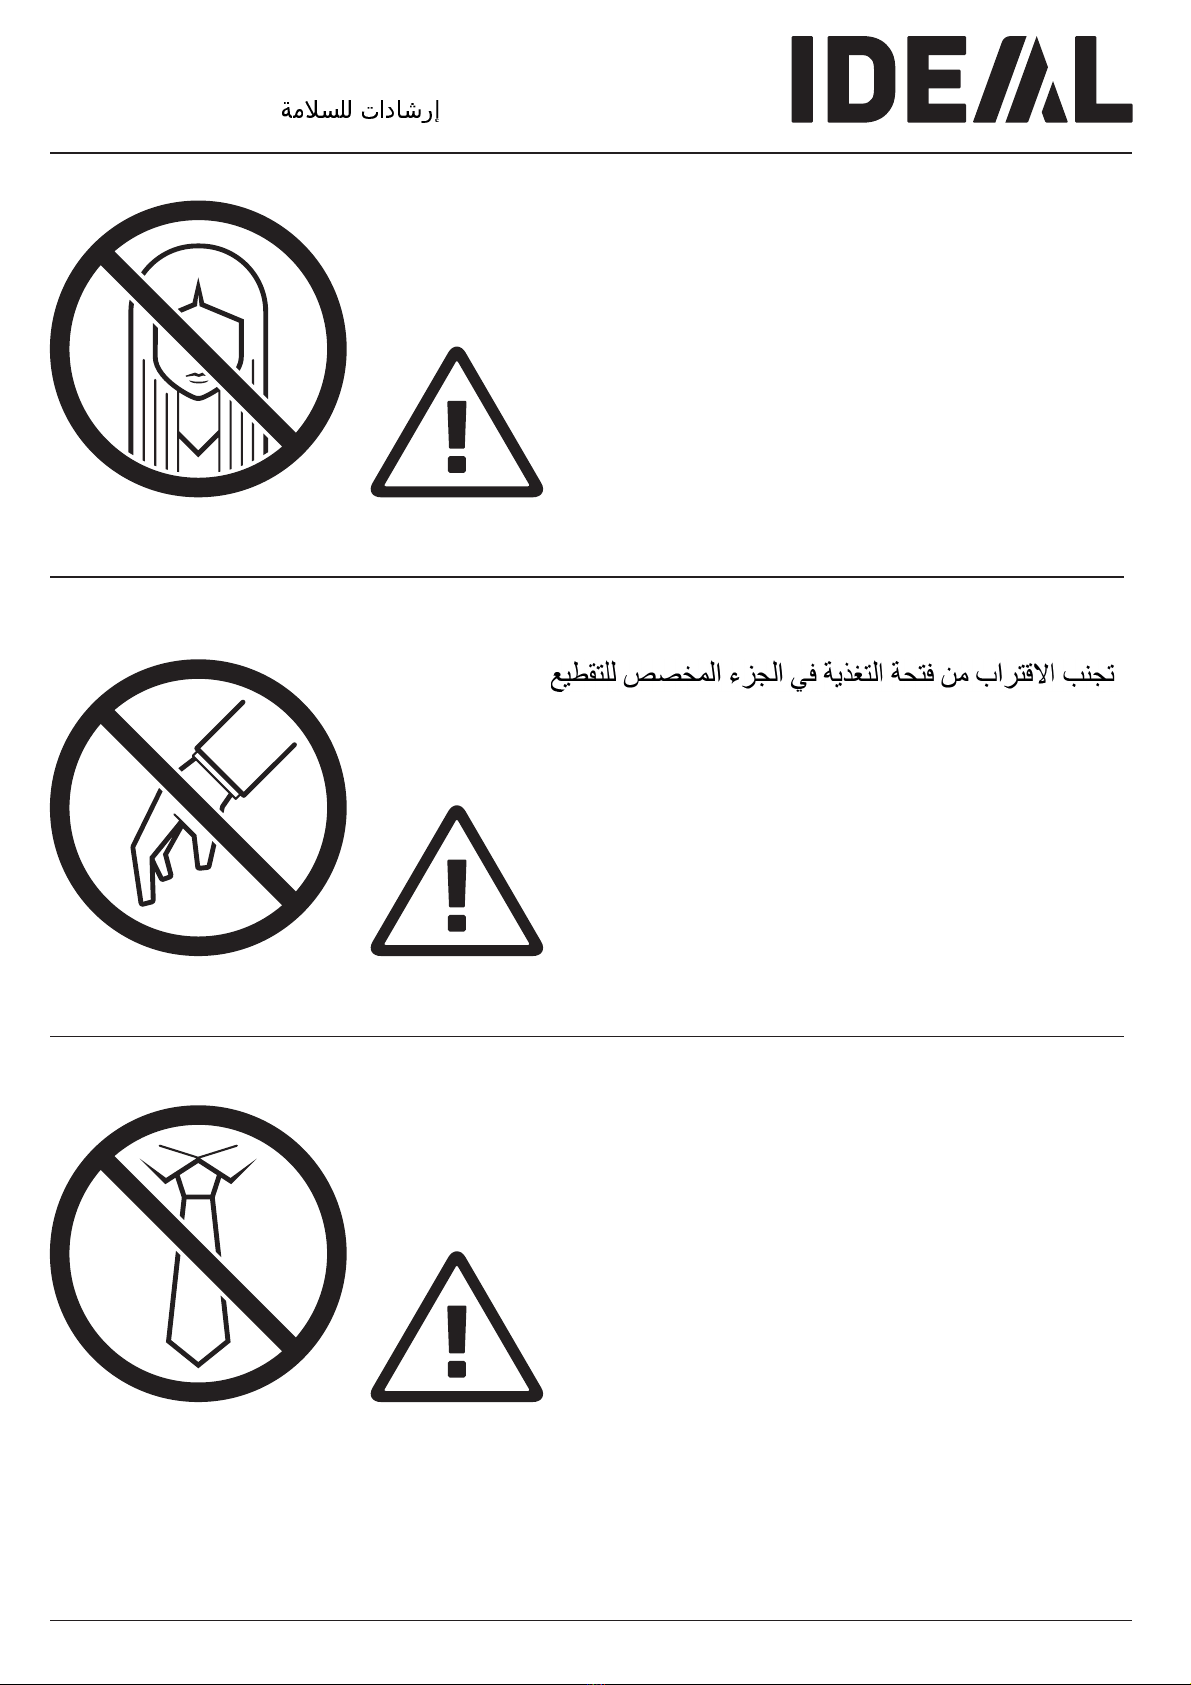
• Safety precautions • •