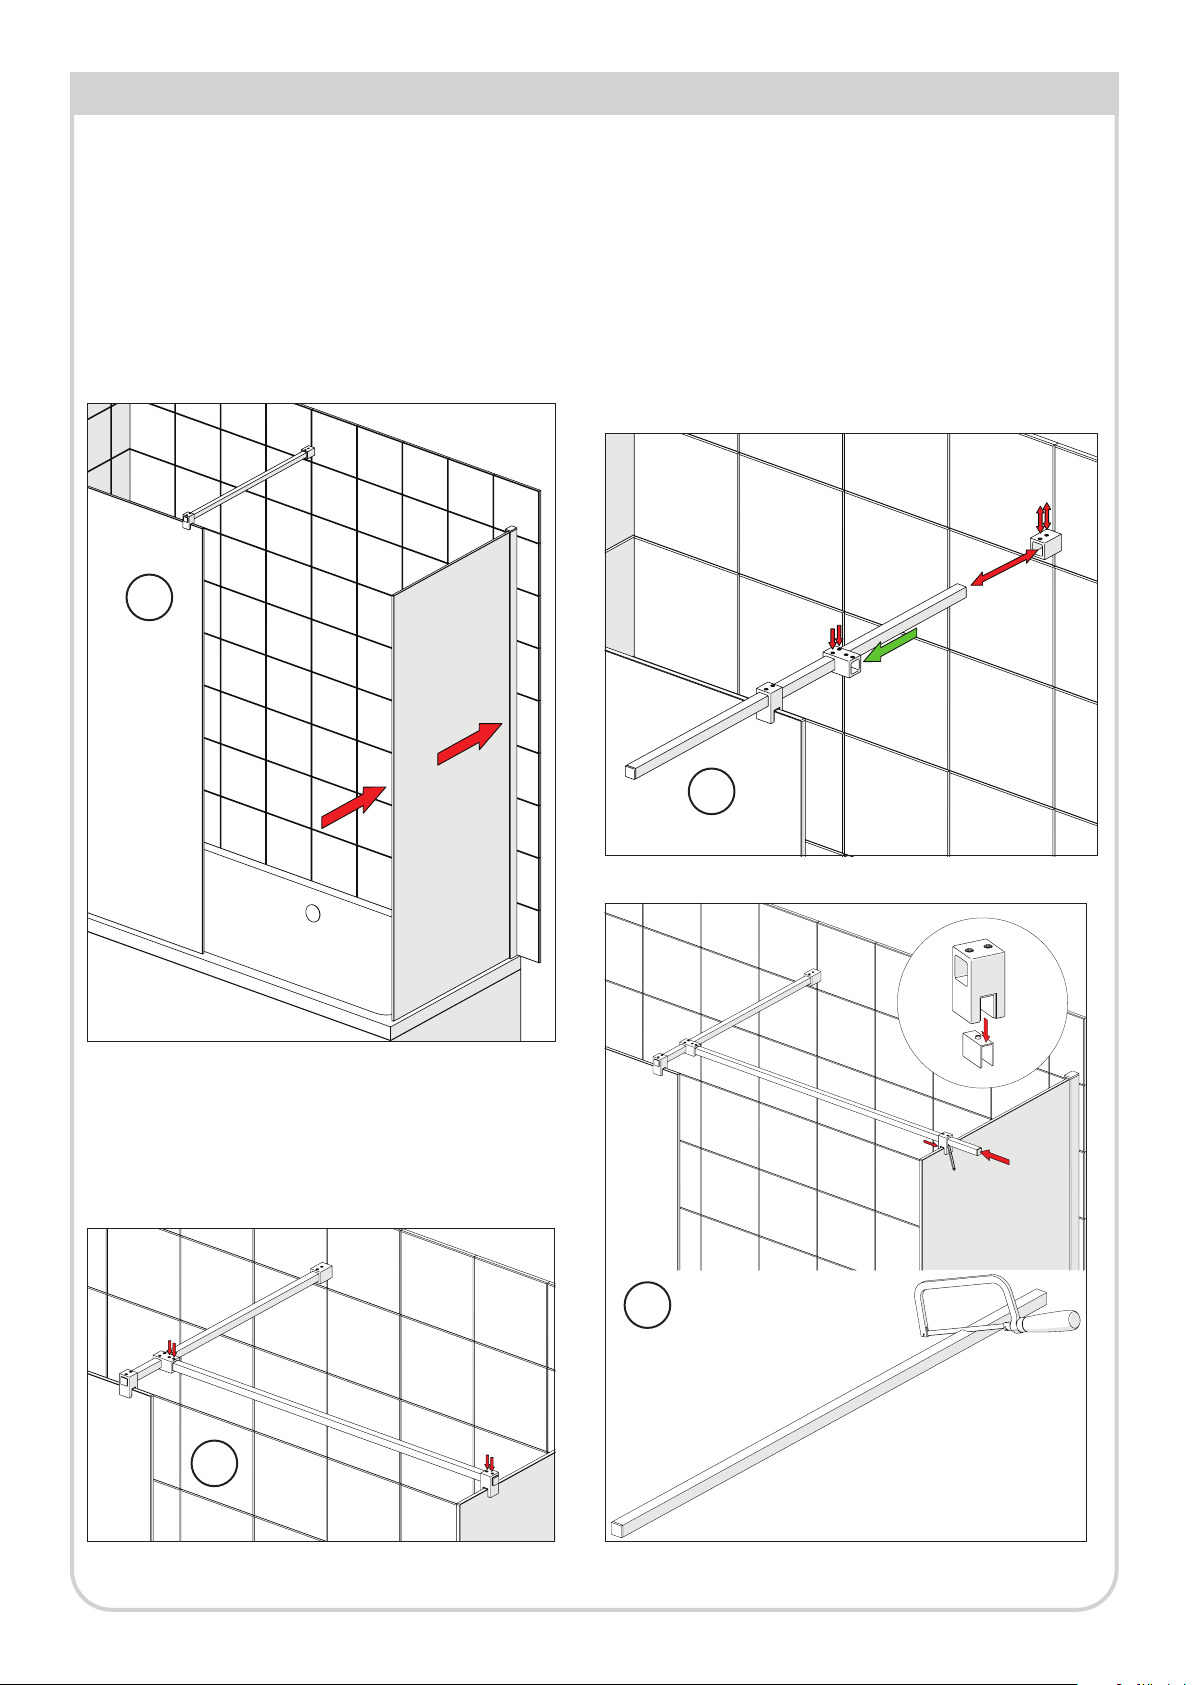
3Issue 01 JUNE.21
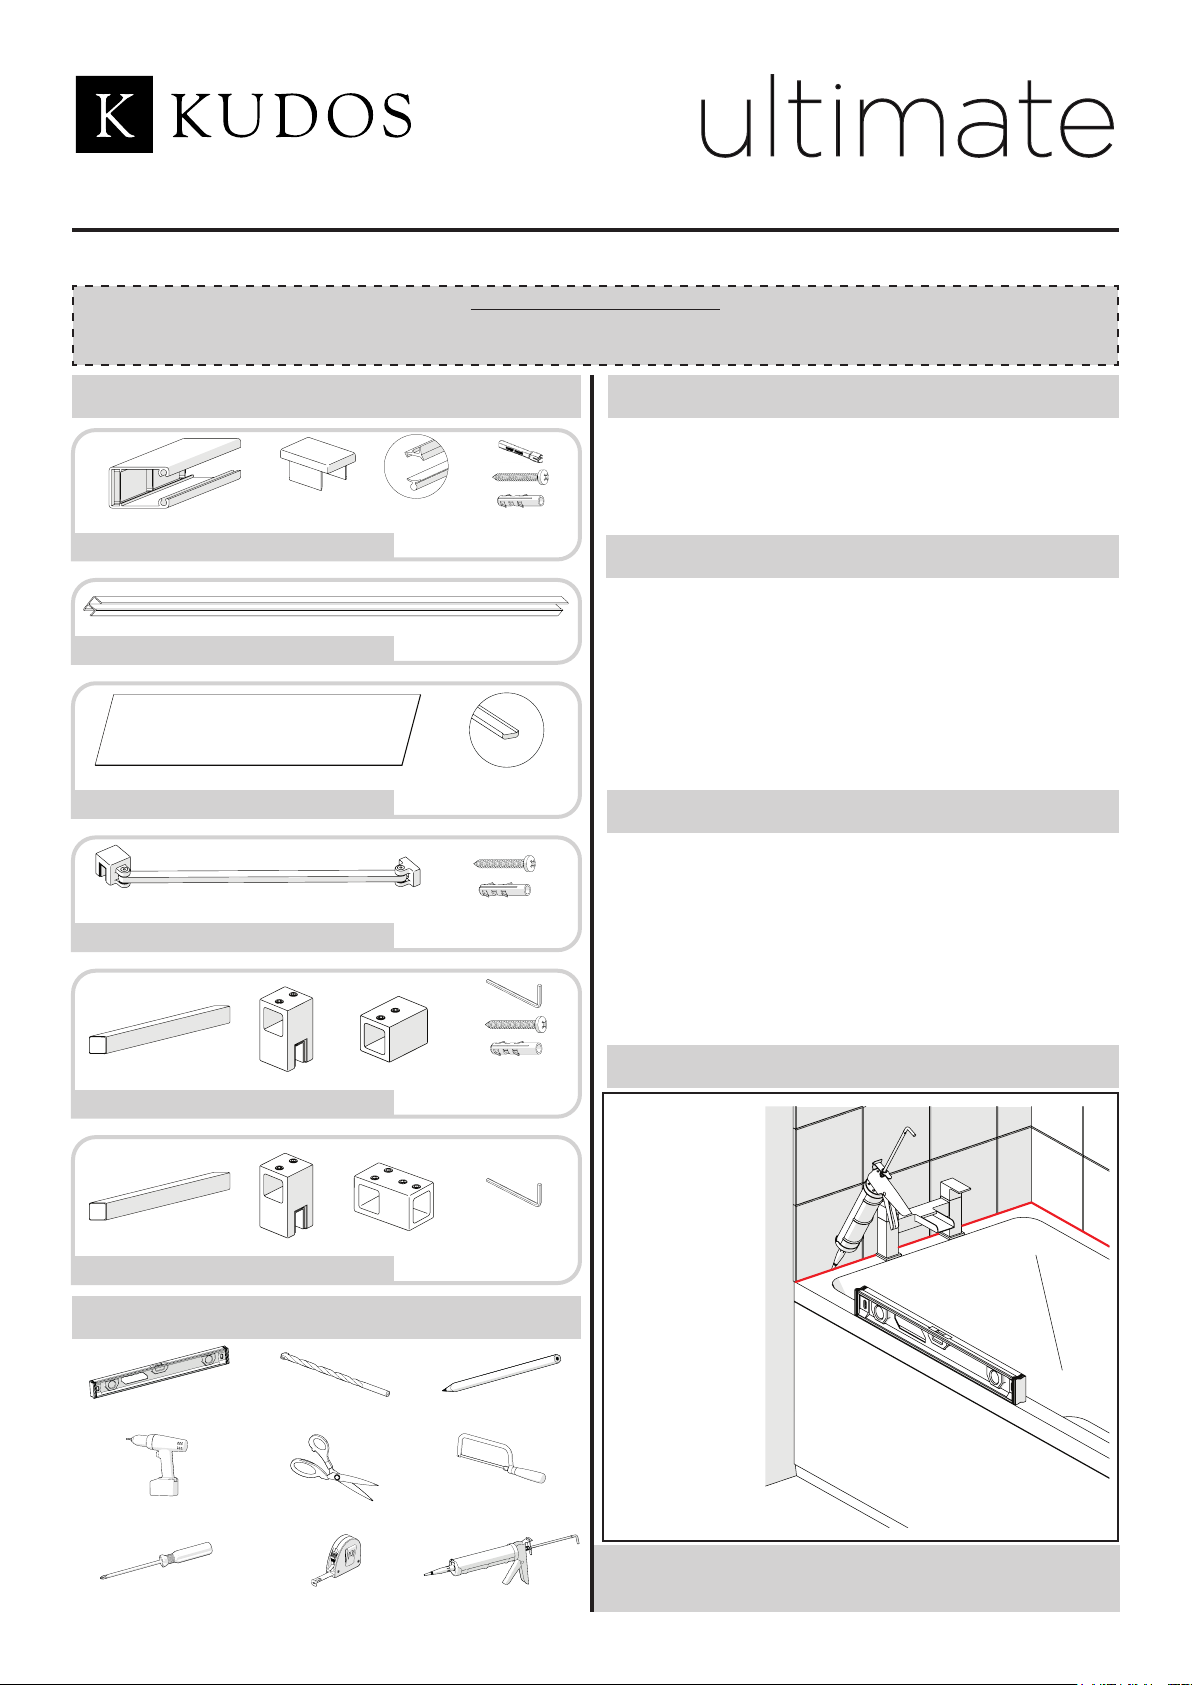
Fitting Glass Panel
1. Take note of label ‘This surface to outside’ this will determine
which is the bottom edge of your installation. Ensure that the glass
surface treated with lifesheld faces INSIDE of shower enclosure
2. Acquire the Glass Trim. Cut 15mm from one end. Peel off a
small length of the bottom trim adhesive tape and apply to bottom of
glass panel 15mm from the end that will be going into the wallpost, as
shown. Continue along length of trim, peeling away the tape as you go,
until the full trim length is adhered to the panel.
Use small upturned edges on bottom trim against chamfered glass edges
to ensure trim is tted centrally.
3. Carefully t glass panel into slot in wallpost, ensuring panel is parallel
to tray edge. Ensure outer edge of in-line panel is plumb vertical, as
shown, using spirit level.
4. Secure panel by inserting glazing seal, starting from top and working
downwards, trim excess length.
If tight, lubricate glazing seal with water. Do not stretch seal when inserting,
beacuse, after cutting to length, the seal will shrink and leave a gap.
20mm
max
glass adjustment
within wallpost
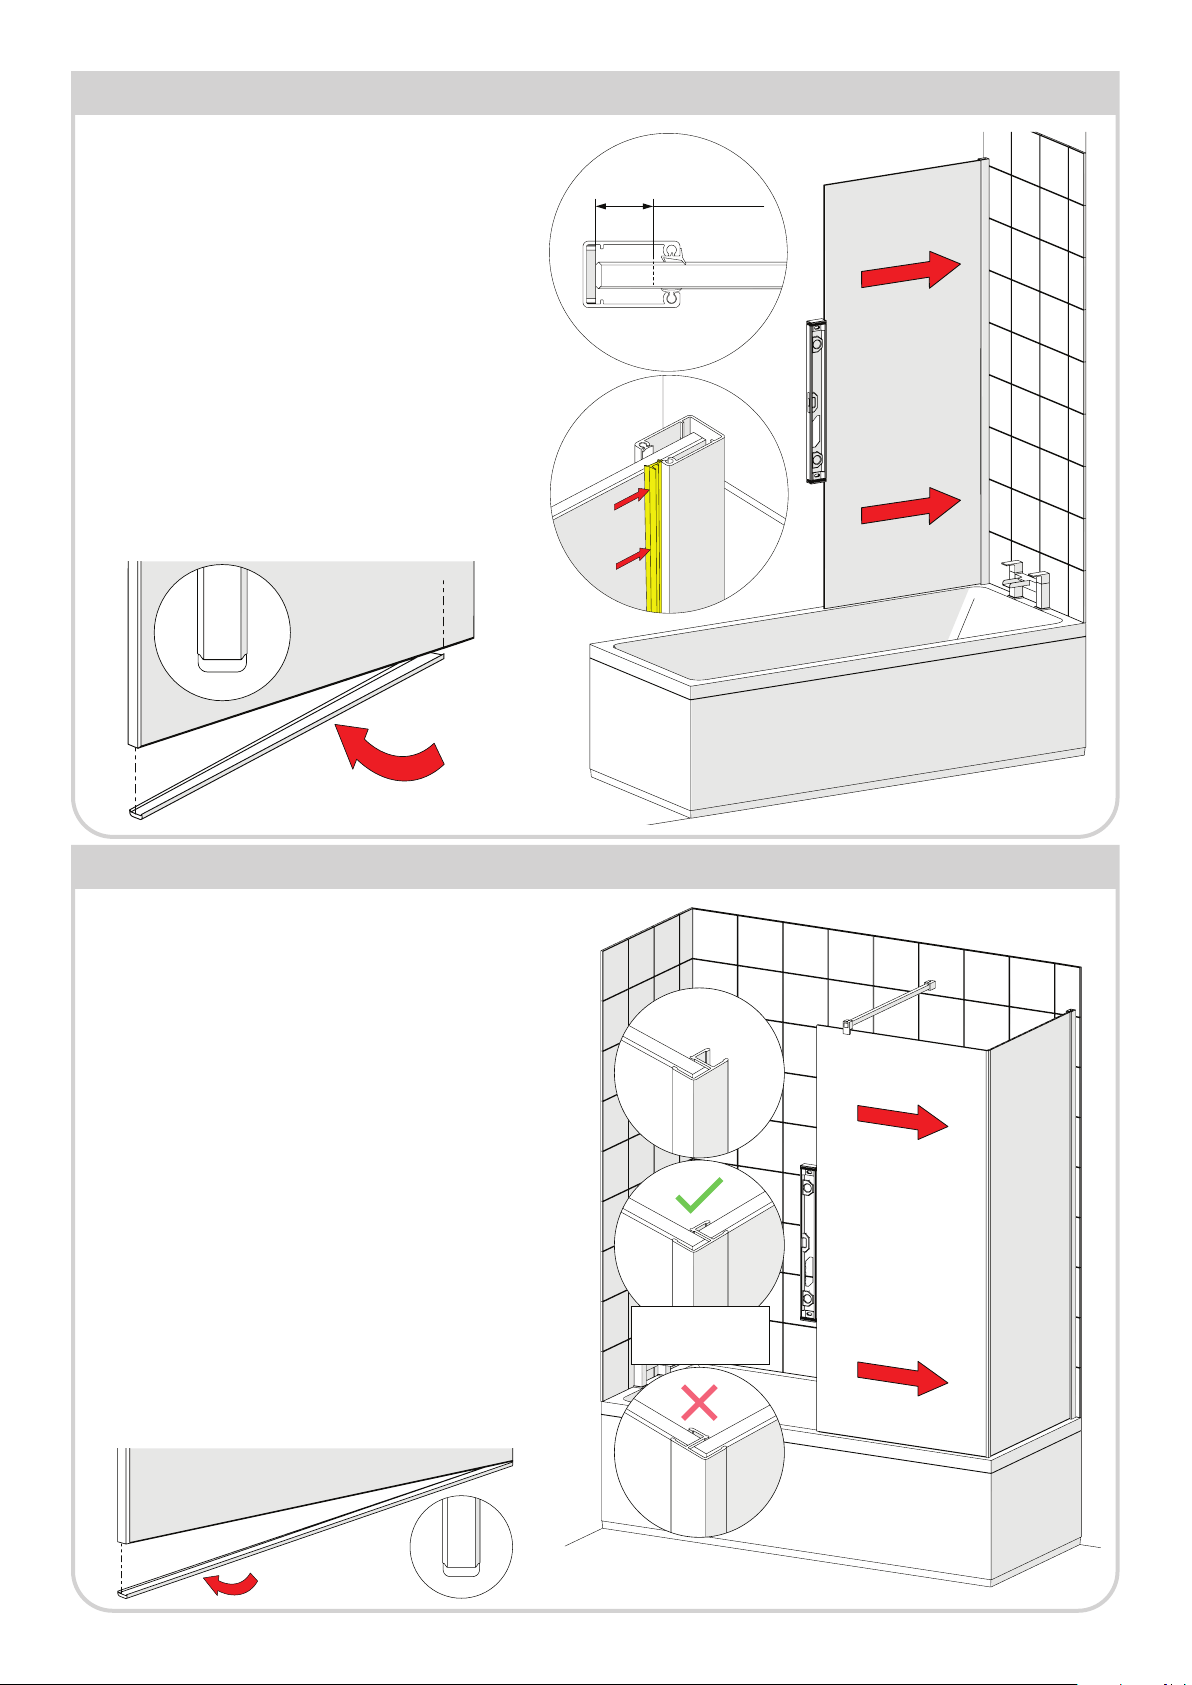
Fitting Glass to Glass Panels
1. Fit wallpost and rst panel (A) to wall, as previously described.
2. Take note of label ‘This surface to outside’ this will determine which is
the bottom edge of your installation. Ensure that the glass surface treated with
lifesheld faces INSIDE of shower enclosure
3. Acquire the Glass Trim. Peel off a small length of the bottom trim adhesive
tape and apply to bottom of glass panel from one end. Continue along length
of trim, peeling away the tape as you go, until the full trim length is adhered to
the panel.
Use small upturned edges on bottom trim against chamfered glass edges to
ensure trim is tted centrally.
4. Fit glass to glass orner seal to edge of second panel (B), ensuring seal is level
with top & bottom of glass panel.
5. Carefully offer up second panel to rst panel, ensuring the tted corner seal
lines up with edge of rst panel at the bottom.
6. Ensuring second panel is square to rst panel, push t corner seal onto
edge of rst panel. Corner seal must be fully inserted onto both panels.
7. Fit front panel component pack to second panel (B). See next page.
If tight, lubricate the corner seal of glass edges with a damp CLEAN cloth to ease
fitment - the water will evaporate over a short period. DO NOT USE silicone
spray or any other substance other than water, these will not fully dry out and will
compromise the grip and rigidty of the joint.
Front Panel ‘B’
always in front of
side panel ‘A’
Inside view Inside view