Kyocera Event Specification sheet

Get
Started
All you need to know to get going.

2
Welcome!
Thanks for choosing Sprint. This booklet introduces
you to the basics of getting started with Sprint Prepaid
and your KYOCERA Event.
For ongoing support and resources, visit
sprint.com/prepaidsupport. There, you’ll
ind guides, tutorials, and more to help you
get the most out of your phone.
Note: Available applications and services are subject to change at any time.

Using This Guide
3
This Get Started guide is designed to help you set up and use your
new KYOCERA Event. It’s divided into four sections to help you nd
the information you need quickly and easily.
Using This Guide
Get Ready − page 5 − Find out what
you need to do before you use your
phone the rst time, including inserting
a battery and activating Sprint Prepaid
service on your phone.
Android Basics − page 7 − Learn some
basics about how to move around on
your phone, use the home screen, and
enter text. If you’re familiar with Android™
phones, you can probably skip these
pages (although a refresher course never
hurt anyone).
Use Your Phone − page 10 − Take
advantage of your phone’s features
and Sprint services, from the basics
(Making Calls) to the more advanced
(using Google Play™, Wi-Fi®, and more).
Tools & Resources − page 20 −
Find useful tips for your phone and
discover resources and other
helpful Sprint information.
For additional information including
the full User Guide, videos, tutorials,
and community forums, visit
sprint.com/prepaidsupport.

4
Your KYOCERA Event
Power
Button
Speaker
Headphone Jack
Microphone
Charger/Accessory Jack
Volume
Button Camera
Flash
Camera
Lens
Earpiece
Display
Screen
Menu
Key
Back
Key
Proximity Sensor/
Light Sensor
Home Key
LED
Indicator
microSD
Card Slot
(under the battery)
Internal
Antennas

Get Ready
visit sprint.com/prepaidsupport for guides, tutorials and more 5
Set Up Your Account
Register Your Phone on Sprint Prepaid
1. From your computer’s browser, visit
sprint.com/prepaidactivate.
2. Choose an activation option and click
Next, and then enter your ZIP code and
click Next.
3. When prompted, enter the serial number
(MEID) printed on the label on your
phone’s packaging.
4. Follow the instructions to select a plan and
payment method.
• If you’re swapping phones or bringing
your number over from a dierent carrier,
follow the prompts to sign in or provide
additional information.
Install the Battery
1. Using the slot on the left side of the battery
cover, gently lift the cover o the phone.
2. Insert the battery, contacts end irst, and
gently press into place. Replace the
back cover.
Charge the Battery
1. Insert the USB cable into the
charging head.
2. Insert the small end of the USB cable into
the charger/accessory jack at the top of
the phone.
3. Plug the charging head into a standard AC
power outlet.

6
Basic Phone Functions
Turn the Phone On
• Press and hold the Power button.
Unlock the Screen
• Flick
to unlock the screen.
Turn the Screen On and O
• To quickly turn the display screen o,
press the Power button.
• To turn the screen on and display the
unlock screen, press the Power button.
Turn the Phone O
• Press and hold the Power button and then
touch Power o > OK to turn the phone o.
Activate Your Phone
• Press and hold the Power button to turn your
phone on.
Your phone is designed to activate
automatically. When you turn the phone
on for the irst time, you should see a
Hands Free Activation screen, which may
be followed by a PRL Update screen and a
Firmware Update screen. Follow the
onscreen instructions to continue.
If your phone is still not activated, visit
sprint.com/prepaidsupport for assistance. If
you do not have access to the Internet, call
Sprint Customer Service at 1-855-639-4644
from another phone.

visit sprint.com/prepaidsupport for guides, tutorials and more 7
Android Basics
Your Home Screen
Viewing Your Home Screen
Your phone’s Home screen extends
horizontally up to ive full screens.
• To display the main (center) Home screen,
press
from any screen.
• To view extended screens, swipe the screen
left or right.
Status Bar
The status bar at the top of the Home screen
lets you quickly see both your phone status
(connections, signal strength, battery, GPS)
and any current notiications.
Notiications Panel
You can expand the notiication area to see
more about your notiications.
1. Drag down from the top of the screen to
open the Notiications panel.
2. Touch a notiication to open its application.
Customize Your Home Screen
• To add app shortcuts or widgets, touch ,
touch and hold an app icon or widget, and
drag it to the home screen.
• To change wallpaper, touch and hold an
empty area on a home screen and choose a
wallpaper option.

8
Buttons and Keys
Phone
People
Browser
Messaging
Menu
Key
Home
Key
Back
Key
Apps
Open Apps
Buttons and Keys
The bottom front of your phone contains a
Home button and two touch keys. Above
this row is a row of program icons that are
available from every Home screen.
Open Apps
• If an app is on one of your Home screens,
just touch it to open it.
• If an app is not available from your Home
screen, touch
(if you’re not already on the
Home screen), touch to display the
applications list, and then touch the
application from the alphabetical list. You
may have to scroll to the side to ind the
application you’re looking for.

visit sprint.com/prepaidsupport for guides, tutorials and more 9
Android Basics
Your QWERTY Keyboards
Your phone oers two onscreen keyboards:
Android keyboard and Swype. Select a
ield that requires text or numbers to
display a keyboard.
Note: To switch between keyboards, drag the
notiications bar down, touch Select input
method, and touch a keyboard type.
Android Keyboard Tips
• Touch
or
to change entry type.
• If predictive text is on, words will appear
above the keyboard as you type. Touch a
word to enter it and move to the next word.
Your Keyboard Settings
You can customize your onscreen keyboard
settings to suit your needs:
• Touch > System settings > Language &
input, and then touch the settings icon
next to a keyboard option.
Google Voice Typing
Use your voice to enter text instead of typing.
1. From any screen where you can enter text,
touch the input ield to reveal the keyboard.
2. Touch and speak clearly.
Typing on Your Phone

10
Calls Voicemail
Make a Phone Call
1. Touch > to display the phone dialpad.
• If the phone dialpad is not displayed,
touch the Phone tab .
2. Touch the digits of the number you want to
call on the dialpad. Touch to delete one
or more digits.
3. Touch to place the call.
Respond to an Incoming Call
• On the incoming call screen, lick the
Answer icon .
• Flick the Ignore icon to send the call to
your voicemail inbox.
• Flick the Ignore & Text icon to ignore the
call and send a message to the caller.
Set Up Your Voicemail
All unanswered calls are automatically
transferred to your voicemail, even if your
phone is in use or turned o. You should set
up your voicemail and personal greeting as
soon as your phone is activated:
1. Touch >
> Voicemail .
2. Touch Personalize now and then the voice
prompts to create your password and
record your name and greeting.
Sprint strongly recommends setting a
voicemail password.
Retrieve Your Voicemail
1. Touch >
> Voicemail .
2. Touch a message to listen to it.

visit sprint.com/prepaidsupport for guides, tutorials and more 11
Use Your Phone
People
Save a Phone Number
1. Touch > .
2. Enter a phone number using the keypad.
3. Touch
> Add to contacts >
CREATE NEW CONTACT.
4. Select an account for the contact, such as
Google or Corporate. Select Phone to save
the contact to your phone only.
5. Touch Name and enter a name for the
new entry.
6. Touch MOBILE (default) to select a label
such as MOBILE, HOME, etc.
7. Add any other information you want
to save.
8. Touch DONE to complete and save
the entry.
Add a New Entry to People
1. Touch > > People > .
2. Touch any ield and use the onscreen
keyboard to enter the name, phone
number, and other contact details.
3. Add more data ields or a picture if
desired, and touch DONE.
Find a Contact
1. Touch > > People , and then
touch .
2. Enter the irst letter or letters of an entry.
3. Touch a name to display its information.

12
Messaging
Send a Text or MMS Message
1. Touch >
> Messaging .
2. Touch .
3. Enter a phone number, email address, or
contact name in the To ield.
(If available, touch a name from the list to
inish the entry.)
4. Touch Type message, and then type
your message.
• To insert pictures, videos, or other iles for
a multimedia message (MMS), touch
and select a ile type.
5. When you are inished, touch .
Access Messages
1. Touch >
> Messaging .
2. From the Messaging screen, touch the
message you want to view.
–or–
1. Open the Notiications panel.
2. Touch the message you want to view.
Text and MMS messages are collected in
ongoing “conversations,” so when you view a
message, you can scroll through the entire
history of your messages with that person.

visit sprint.com/prepaidsupport for guides, tutorials and more 13
Use Your Phone
Email Setup
Your phone’s Email applications let you access
and manage multiple email accounts.
Set Up a Gmail™Account
1. Touch
>
> System settings > Accounts
& sync > ADD ACCOUNT > Google.
2. Follow the instructions to set up or sign in
to a Gmail account.
Set Up a Standard Email Account
1. Touch >
> System settings >
Accounts & sync > ADD ACCOUNT > Email.
2. Enter the Email address and Password for
the email account.
3. Touch Next and follow on the onscreen
instructions.
–or–
Touch Manual setup, select an account
type, and follow the instructions to
conigure your account.
Set Up a Microsoft®Exchange
ActiveSync®Account
Note: Contact your company’s
Exchange Server administrator for
required sign-in information.
1. Touch >
> System settings >
Accounts & sync > ADD ACCOUNT >
Corporate.
2. Enter your Email address and Password
information and then touch Next.
3. When prompted to provide additional
detailed information, scroll down the screen
and touch Next.
4. Enter a Domain\User name, Password, and
Server information.
5. Follow the prompts to set additional
options and permissions. Touch Done
when inished.

14
Access Email or Gmail Messages
1. Touch >
> Email
or Gmail .
• To view a dierent folder, touch the folder
name at the top of the screen and then
touch the folder you want to view.
2. From the selected folder, touch the
message you want to view.
Send an Email or Gmail Message
1. Touch >
> Email
or Gmail .
2. Touch
.
3. Enter an email address in the To: ield.
4. Enter a subject and a message.
• To add attachments, touch
>
Attach ile and select an attachment.
5. Touch .
Email

visit sprint.com/prepaidsupport for guides, tutorials and more 15
Use Your Phone
Camera & Video
Take a Picture
1. Touch >
> Camera .
2. Aim the camera lens at your subject,
and touch .
Record a Video
1. Touch >
> Camera .
2. Touch and then touch to access
the video camera.
3. Select MMS or Long video.
4. Aim the lens at your subject, select a
recording mode, and then touch
begin recording.
5. Touch to stop recording.
View Pictures and Videos
1. Touch
>
> Gallery
.
2. Select a folder or album, and then touch a
picture or video to display it.
• For video playback, touch play .
Share Pictures and Videos
1. Touch > > Gallery , and then select a
folder or album.
2. Touch and hold a thumbnail or touch an
item to display, and then touch .
3. Select a share option, such as Bluetooth,
Picasa, Messaging, Email, or Gmail. Follow
the onscreen instructions to send your
picture or video clip.

16
Web
Connect to a Wi-Fi Network
When you’re in range of an available Wi-Fi
network, use your phone’s Wi-Fi feature to
access the Internet and other data services.
1. Touch
>
> System settings > Wi-Fi.
2. Touch the Wi-Fi ON/OFF icon to turn
Wi-Fi on.
3. Touch a Wi-Fi network to connect. If
necessary, enter the security key
(password) and touch Connect.
Go Online
1. Touch >
> Browser . The irst time,
you may be prompted to enter your
wireless phone number.
2. From the Sprint home page, select
categories, navigate to websites, read
blogs, download content, and more.
• To go to a speciic website, touch the
address bar and enter the Web address.
• To access and manage bookmarks,
touch > Bookmarks in the browser
options menu.
Note: Additional browser options, such as
Google Chrome™, may also be available on
your phone.
Wi-Fi

visit sprint.com/prepaidsupport for guides, tutorials and more 17
Use Your Phone
Google Play™ is the place to go to ind new
apps, games, movies, and more.
Use Google Play for Downloads
1. Touch >
> Play Store .
2. The irst time you visit the Google Play
Store app, touch Accept to accept the
Terms of Service.
3. Browse through featured apps and games,
or touch
to start a search.
4. Touch an item to read a description
and reviews.
5. Touch Install (for free apps) or the price
(for paid applications) and follow the
onscreen prompts.
Note: You must have a Google Account set up
on your phone to purchase and download
applications from Google Play.
Google Mobile Services
Your Event provides easy access to a variety
of Google services.
• Gmail – The Google mail service. Your
Gmail account lets you access many
Google-related services including
Google Play.
• Google Hangouts – Google’s versatile IM
app. Touch >
>Hangouts to begin
using the service.
• Google Maps – The Google location app.
Touch >
>Maps
to begin using
the service.
• YouTube – View and share videos. Touch >
> YouTube
to browse through and view
available videos. Sign in with your Google
Account to upload your own videos.
Google Play and Google Mobile Services

18
Bluetooth
Pair and Connect with a
Bluetooth®-Capable Device
1. Verify your Bluetooth is turned on.
(Touch > > System settings >
Bluetooth and touch the ON/OFF
icon to turn Bluetooth on.)
2. From the Bluetooth page, touch your phone’s
name to make it discoverable.
3. Touch SEARCH FOR DEVICES. You’ll see a
list of in-range Bluetooth devices.
4. Select an available device and follow the
prompts to pair the devices. You may be
required to enter a passcode (often 0000)
to complete pairing.
5. Once you’re paired with a device, your
connection should launch.
Share Contacts, Files, or Pictures
Using Bluetooth
1. Open the app containing the ile you want
to share (for example, touch > >
Gallery ).
2. Locate the ile or entry you want to share.
• You can send pictures and videos directly
from the camera or from Gallery, Calendar
events, or Contacts. Not all devices can
receive all ile types.
3. Touch > Bluetooth.
4. Touch the name of the device to which
you’re sending the ile.
5. Follow the onscreen instructions to
complete the process.

visit sprint.com/prepaidsupport for guides, tutorials and more 19
Use Your Phone
Social Networking: Facebook, Twitter & More
Set up and access all your favorite social
networking apps on the go.
Set Up Social Networking Accounts
Before using your social networking
accounts, you may need to download them
from the Google Play Store app.
1. Touch >
> Play Store .
2. Browse or search for the app you want to
download, for example Facebook, Twitter,
or Instagram.
3. Touch the app and then touch Install.
Follow the prompts to download and
install the app.
Use Social Networking Accounts
1. Touch >
> Facebook (or Twitter,
Instagram, etc.).
2. Follow the onscreen instructions to sign
into your account, for example, by entering
a user name and password.
3. Update your status, post pictures, follow
your
favorite tweets, and more, all on your
KYOCERA Event.
Note: Touch
to access settings for your
apps, depending on the account type.
Tip: You can add Home screen widgets for
many social networking apps. Touch
>
WIDGETS and then drag the widget to the
empty space.

20
Settings
Accessing Settings
1. Touch >
> System settings.
–or–
Touch >
> Settings .
2. Select the settings category you want to
change.
Categories include:
• Wi-Fi
• Bluetooth
• Data usage
• More...
• Sound
• Display
• Storage
• Battery
• PC connection
• Apps
• Accounts & sync
• Location services
• Security
• Language & input
• Backup & reset
• Date & time
• Accessibility
• Developer options
• Activate this device
• About phone
• System update
For detailed information about
settings, please see the User Guide
at sprint.com/prepaidsupport.
Table of contents
Other Kyocera Cell Phone manuals

Kyocera
Kyocera Coast User manual

Kyocera
Kyocera Milano User manual

Kyocera
Kyocera Kona User manual
Kyocera
Kyocera DuraTR User manual

Kyocera
Kyocera DURAXTP User manual

Kyocera
Kyocera 3225 User manual

Kyocera
Kyocera KYOCERA Hydro EDGE User manual

Kyocera
Kyocera Strobe User manual

Kyocera
Kyocera Cyclops K325 User manual

Kyocera
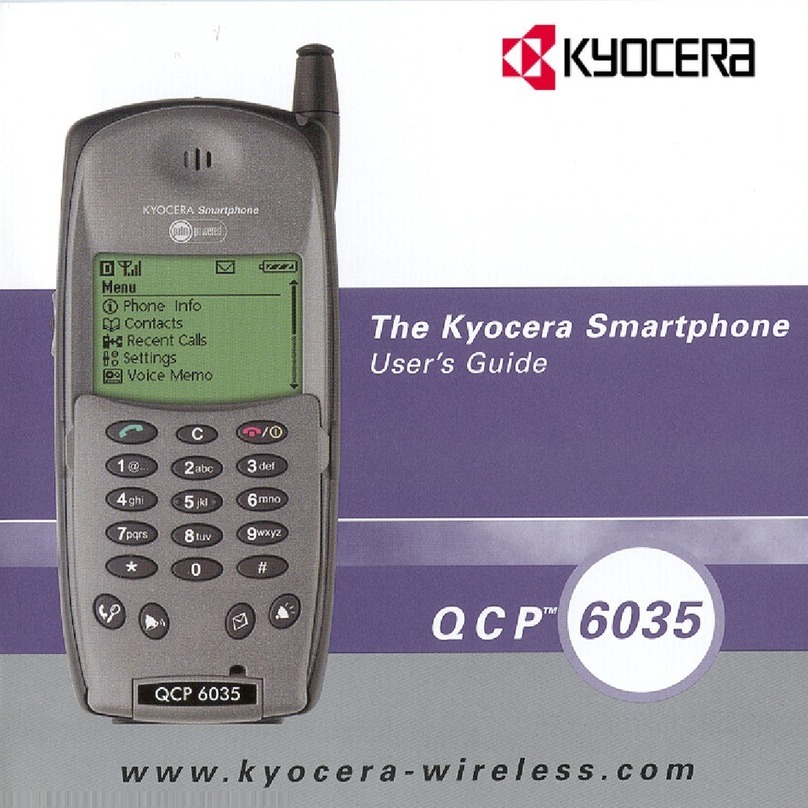
Kyocera ENERGI K490 User manual

Kyocera
Kyocera DuraMax User manual

Kyocera
Kyocera SE47 - Slider Cell Phone User manual

Kyocera
Kyocera KX2 User manual
Kyocera
Kyocera KX9a User manual

Kyocera
Kyocera DuraForce PRO User manual

Kyocera
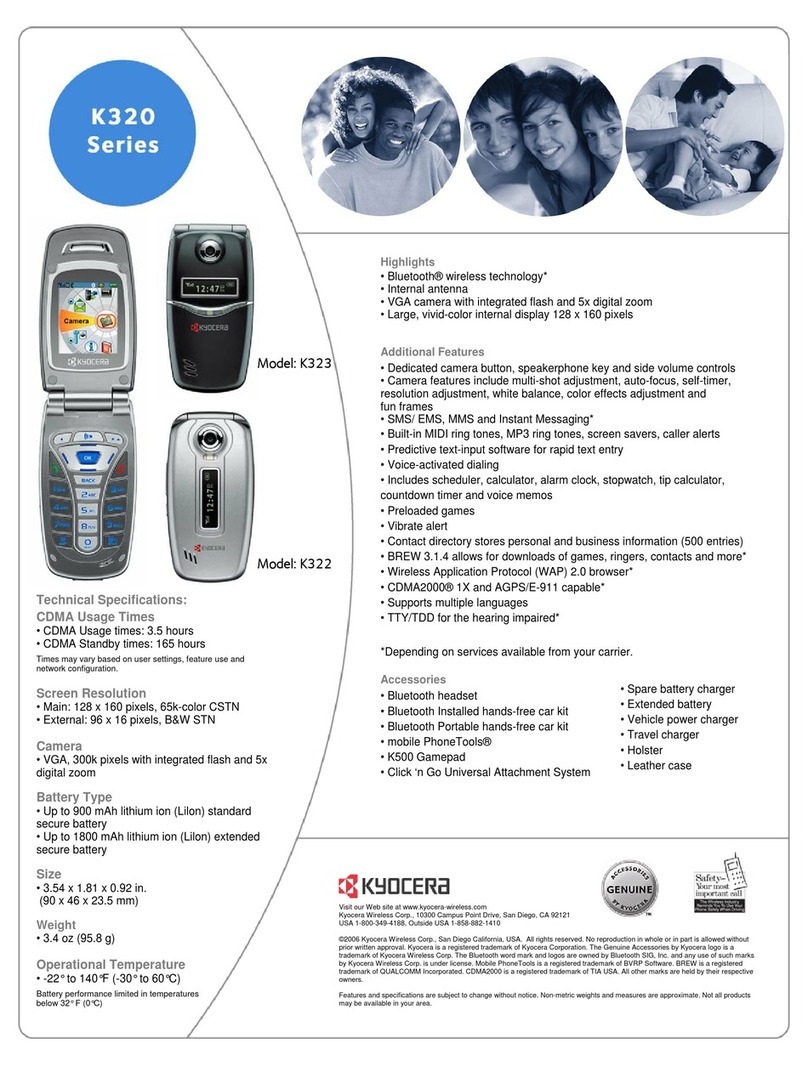
Kyocera Slider User manual

Kyocera
Kyocera S1000 User manual

Kyocera
Kyocera K822 User manual

Kyocera
Kyocera K9 User manual

Kyocera
Kyocera 2300 Series User manual