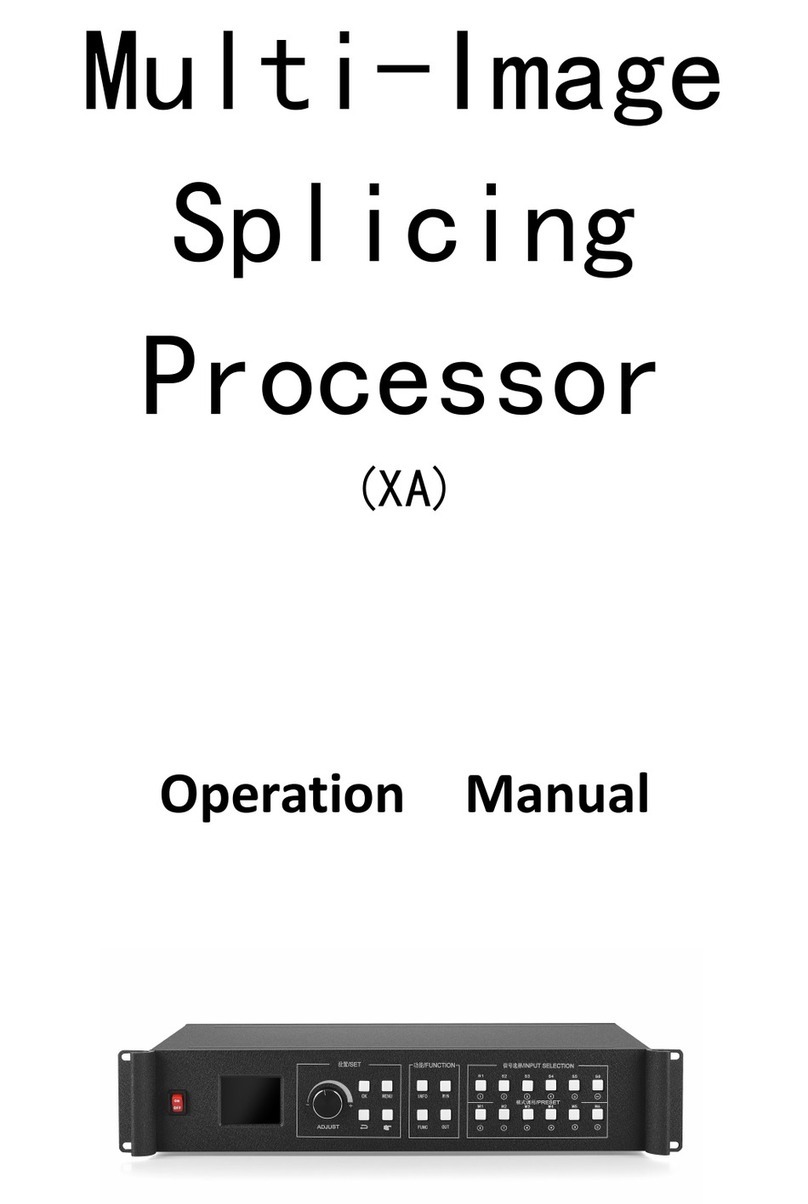
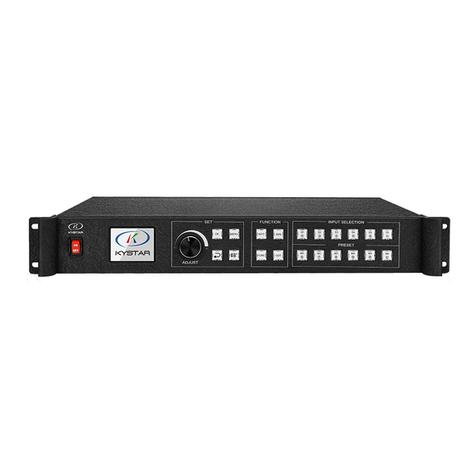
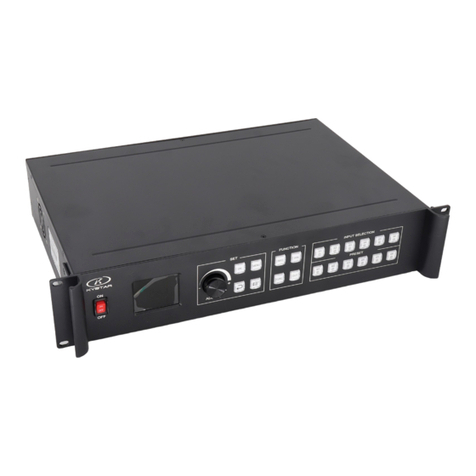
Kystar KS9000 User manual

Multi-picture stitching processor
KS9000
user's manual
Beijing Kystar Technology Co., Ltd.

Safety Precautions
Danger
● There is high voltage in the equipment. Non-professional maintenance
personnel must not open the back cover to avoid danger.
Warning
● This equipment is not waterproof, please do waterproof treatment in
humid environment;
● The device must not be near fire or high temperature environment;
● If this device emits strange noise, smoke or strange smell, you should
immediately unplug the power plug and contact your dealer;
●It is strictly forbidden to plug and unplug VGA and DVI signal cables
while power is on.
Attention
1. Please read this manual carefully before use, and keep it for future use;
2. In the case of lightning or long-term use, please unplug the power plug;
3. This equipment is not suitable for non-professional operation and
debugging, please use it under the guidance of professionals;
4. Do not insert any objects into the ventilation holes of this equipment, so
as not to cause equipment damage or accidents;
5. It should not be used near water or other humid places;
6. It is not advisable to place the device in a heat sink or other high
temperature places;
7. please properly organize and place the power cord to prevent damage;
8. If the following conditions exist, unplug the power plug of the device and
entrust repair:
● When liquid has been spilled into the device
● When the device is dropped or the case is damaged
● When the device appears to be malfunctioning or performance is
significantly degrade

Directory
1、Introduction..............................................................................................................2
2、Hardware introduction.............................................................................................3
1. Introduction of the rear panel..............................................................................3
2. Connection diagram............................................................................................4
3、Software installation ................................................................................................5
4、Device connection....................................................................................................6
1.Open the Software ..............................................................................................6
5、Software settings....................................................................................................10
1.Output settings...................................................................................................10
2.Establishment of paintings.................................................................................12
3.Mode saving and recall......................................................................................13
6、Special function .....................................................................................................16
1.Insert picture ......................................................................................................16
2.Insert text ...........................................................................................................17
3.Adjusting the OSD.............................................................................................18
7、VGA Correction.....................................................................................................19
8、Selection of CV signals,character overlay for signals ...........................................20
9、Frequently asked questions....................................................................................22
Attachment:Settings for graphics card copy mode and extended mode...................24
1、AMD graphics card(XP system).....................................................................24
2、NVIDA graphics card(XP system)...............................................................25
3、Win7、Win8 system.......................................................................................26


KS9000 user manual www.kystar.com.cn
2
1.Introduction
This product is the industry's first truly multi-window splicer. It is a professional
video processing and control device. It is a splicing controller specially designed for
large-screen, projection, LCD and other devices.
The multi-screen mosaic processor developed by our company adopts FPGA pure
hardware architecture without any operating system. The entire system runs
completely closed, with simple operation and high stability.
Widely used in monitoring, dispatching command center, video conference center, etc.
This software is management software designed for this platform. Users can set
parameters and operate management of hardware devices through this software. All
operation procedures are intuitive and convenient.
Suitable for Windows XP, Windows7, Windows8, Windows10 operating
systems.
The following descriptions are all examples under the Window7 operating
system.

KS9000 user manual www.kystar.com.cn
3
2.Hardware introduction
1. Introduction of the rear panel
1. Input board: It can support DVI, VGA, CVBS, HDMI, SDI, IP stream, 4K and
other signal inputs, and can expand up to 216 channels.
2. I / O board: full DVI-I output, supports up to 30 splicing outputs.
3. control board: including power switch, COM port, network port, USB.
4. Power supply: up to four redundant power supplies.
2.Connection diagram
③
②
①
④

KS9000 user manual www.kystar.com.cn
4
3.Software Installation

KS9000 user manual www.kystar.com.cn
5
Insert the CD-ROM included in the product's junction box into the CD-ROM
drive. You can view the contents of the CD-ROM in the file manager.
Double-click to enter the following installation interface:
After selecting the installation language, click OK to enter the installation wizard
interface, as shown below:
Follow the wizard prompts to install until the installation wizard is complete and
the software installation is complete.
4.Device connection

KS9000 user manual www.kystar.com.cn
6
1.open the software
Double-click the software shortcut on the desktop to open the software and enter
the software startup page, as shown in the figure below:
Just click OK without password for the first time. If you set a password, you need to
enter the password correctly to enter the software.
Click "OK" to enter the software main interface, as shown below:

KS9000 user manual www.kystar.com.cn
7
Click "Connect Device", the "Communication Settings" window pops up, as shown in
the figure below:
This software can choose NET or COM two connection methods, choose different
connection methods to prepare different work.
(1) Select NET connection
I. Wiring
Use a CAT5 network cable, with one end connected to the processor's LAN port
and one end connected to the PC's network port (can also be connected through a
switch).
II. Modify the IP of the local connection
Under Windows 7 system, you can find the local connection through Start →
Control Panel → View Network Tasks → Change adapter settings. Right-click the
local connection and select Properties to bring up the dialog box below. Double-click
Internet Protocol Version 4 (TCP / IPv4), and The data is modified as shown below:

KS9000 user manual www.kystar.com.cn
8
Note: The IP address is any value other than the IP of the network segment 0. If you
need to change the IP segment, you need to change it in the software settings.
III.Establish communication
During software communication, select "NET connection" and directly click
"OK". If the connection is successful, a prompt box as shown in the figure below will
pop up, and then click "OK".
(2)COM Connection
I. Wiring
Use the supplied RS232-RJ11 connection cable. One end is connected to the
COM1 port of the processor, and the other end is connected to the serial port of the
PC (supports USB to nine-pin serial port).
II. Modify COM port
In software communication, "optional COM connection":

KS9000 user manual www.kystar.com.cn
9
Under normal circumstances, the software will automatically recognize the COM port,
users do not need to set it, just click OK. However, in some cases, the PC may have
multiple COM ports at work, causing software recognition errors. At this time, you
need to select the COM port (please try in order).
III.Establish communication
During software communication, select "COM connection" and click "OK" directly.
If the connection is successful, a prompt box as shown in the figure below will pop up,
and click "OK".
5.Software Settings
1.Output settings
After the device is successfully connected, click "Screen Configuration" under the
"Main Function Area" to pop up the screen parameter setting interface. The six dotted
field boxes in the operation area correspond to the device output ports (from left to
right as seen from the back). The loading of each output port and the arrangement of
output ports are set under this interface. As shown below:

KS9000 user manual www.kystar.com.cn
10
The "screen resolution" is the maximum resolution that can be output by each
output port, and is generally greater than or equal to the resolution of each sending
card or each display.
The "row" and "column" can be set as required. The "1920" above the layout and the
"1080" on the left can be modified according to the actual number of loaded points.
Double-clicking the value can modify it.
For example, the screen size is 6016 * 2080, and it is loaded with six sending cards.
The loading size and arrangement are shown in the following figure:
Then, the screen parameter setting interface needs to be set as follows:
2048
1040
1040
2048
2048
2048
1920
1920
1040
1040

KS9000 user manual www.kystar.com.cn
11
P: "Synchronize all screen brightness" This option is marked with a check mark
to indicate that the modified color value is for all output ports. Remove the check
mark to adjust the color for a single output port.
After setting the output port layout and loading points, click OK to return to the
operation area.
2、Establishment of paintings

KS9000 user manual www.kystar.com.cn
12
With the above settings, the entire large screen has been stitched together. The
gray area represents the entire large screen. How to display it on the large screen
requires the creation of a picture. Here is an example of how to create a picture with 2
rows and 2 examples.
Hold down the left mouse button and drag it in the operation area. When you
draw a rectangle, release the left button, and a window will be created (or click "New
window").
The top bar of the window is displayed in gray and blue. When the window is blue,
it indicates that the window is selected and you can perform direct operations. When
the window is gray, it indicates that the window is unselected. To do this, left-click
the top bar of the window. The top bar turns blue to set the window. The selected and
unselected states are shown in the following figure:
Right-click the window in the selected state, you can see a list of function menus for
this window:

KS9000 user manual www.kystar.com.cn
13
Among them, click "Properties" to see:
classification
Function description
Save settings
Archive the currently set parameters, a total of 12 gears
Sticky
Bring the current window to the top
Set at the end
Bring the current window to the bottom
Attributes
Set the properties of the current window
Panorama →
Partial
Switch between panorama and partial mode: panorama is
the entire picture of the input signal, and partial is the
partial picture of the input signal (select the size and
position of the partial picture by changing the input zoom in
the window properties; if not set, and the window size is
smaller than the input Signal resolution, the default partial
screen size is the same as the window size, starting point is
0,0)
full screen
Cover the entire screen of the current window
Intra-unit
maximization
The simulation operation area is divided into several areas
by dashed lines and solid lines. The current window may
span multiple areas but is not completely filled with these
areas. Through this operation, the current window can be
filled with the spanned areas.
reduction
Restore window size before adjustment (for full screen or
in-cell maximize operation)
close
Close (delete) the current window
All close
Close all windows in the simulated operating area

KS9000 user manual www.kystar.com.cn
14
The property settings mainly include the following three items: signal source
selection, picture parameters, and partial display.
Signal source selection is to select the desired signal source for the current window, or
you can directly click the signal source in the signal source column on the left to
switch the signal.
The picture parameter is to set the current window size. If the entire screen is
required, a picture is played. The size of the window can be set to the screen pixel size.
If the effect of multiple pictures is required, adjust it according to the actual situation.
Local display parameters are used to specify the size and position of the input area,
for example:
If you need to capture the blue flower area into a window and play it, you need to
set the horizontal and vertical positions of the input scale of the window to 0, the
horizontal size to 800, and the vertical size to 600. If the window is full screen , The
effect on the screen is:
position(0,0)
resolution(800*600)

KS9000 user manual www.kystar.com.cn
15
3. Mode saving and recall
I.Model save
Click the save mode in the main function area, and the save mode setting
window pops up, as shown in the figure below:
In this interface, you can change the mode ID according to your needs, that is,
the mode you want to save to, or you can change the mode name according to your
needs. (Excluding preview and hot backup settings).
P: The device defaults to the data of the first startup mode, so it is recommended
to save the data of the most commonly used display mode in the mode "1".
II.Mode call
Click the left side of the software interface, and double-click the corresponding
mode to invoke the mode.

KS9000 user manual www.kystar.com.cn
16
P: Right-click the user mode to modify the name of this mode, which is more
intimate and convenient.
6、Special function
OSD refers to the graphic subtitle overlay system. This software can import
graphic subtitles to the processor and set the corresponding attributes of the graphic
subtitles.
1、Insert image
Click to insert image:
OSD 设置
Insert
background
Insert a high-resolution bottom image with all open windows
over it
Insert image
Insert picture into screen
Text
Edit and insert monochrome subtitles in the picture
Multicolor
subtitles
After inserting the picture, the system will remove the pure
white background of the picture, leaving only the text part,
and adding color subtitle
Open OSD
Enable OSD function
Close OSD
Disable OSD function

KS9000 user manual www.kystar.com.cn
17
Select the picture you want to import (BMP format, 24-bit color), and click Open to
see the progress bar of image loading:
After loading, you can see the pictures you added in the software. You can load up to
two files, and the system numbers the loaded files in order (1 or 2).
2、Insert text
Click to insert text,Text edit input possible:
You can edit the text directly in the text editing area, and click OK to load the edited
text into the system.
3、Adjusting the OSD
Font size
Font
Italic
Font color
Bold
Underline
Text editing area
Other manuals for KS9000
1
Table of contents
Other Kystar Computer Hardware manuals